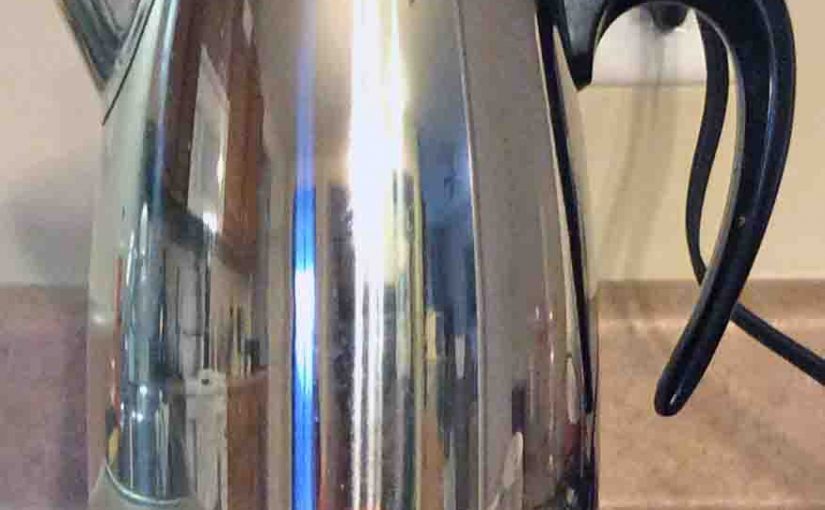
We’ve brewed several tens of pots of coffee in our Farberware automatic percolator. We’ve found that without routine cleaning, this appliance becomes stained brown. Then, that unsightliness is hard to clean off if allowed to build up. So, wanting to preserve that silver, new look of our stainless steel coffee pot as long as possible, we searched for routines and cleaning tips, that would keep our percolator clean and gleaming bright. The methods and tips below we’ve found quite effective at how to clean a percolator.
How to Clean a Percolator
Keep it Clean to Begin With
With minimal occasional cleaning, percolators, are easy to keep stain free. Your first defense against accumulated coffee build-up and the need for deep cleaning, is to not allow them to stain up at all. To do that, wash out your percolator right after every use. Plus, don’t allow the coffee to dry out inside. Regular dish detergent (for the sink, not the dishwasher) works well as a soaking agent. But if your percolator still smells of coffee after cleaning, than you did not clean it well enough. Clean it again. You may have to clean it several times. Try a stronger soap solution too.
Pitch that Old Coffee and Grounds Right Away
Also, keep your percolator clean by discarding unwanted, unused coffee right away. Best not to let hot coffee stand in it for long. Why not? This can “bake in” that pesky brown coffee color. Often, people allow the coffee to “mellow” in the hot percolator for days at a time. Don’t get into this habit though, as this can “cement” the coffee into the metal or glass, and greatly complicate getting it out.
How to Clean a Percolator: Follow Owners Guide for Percolator Cleaning Instructions
Most percolators come with a users guide, with detailed cleaning instructions on how to clean a percolator. First and most importantly, follow these. Indeed, the manufacturer probably knows best how to clean their percolators the best and safest way. Many suggest nothing stronger than several drops of dish soap. Do not worry about this creating an aftertaste in the coffee though, for it definitely not if you rinse out the percolator and all parts thoroughly.
Avoid Hard Scrubbing and Scratching
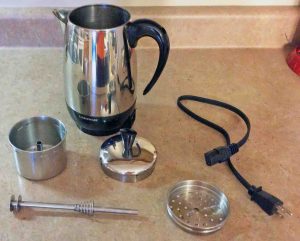
The types of finishes found on most percolators resists staining as long as you do not scratch or mar it. So to avoid dulling these surfaces, including those found on the basket, spreader, and well stem, avoid scouring with any abrasive cleansers, pot scrubbers, steel wool pads, and bathtub cleaning agents. By all means, avoid any sort of scrubbing device made of metal, such as wire brushes or burnishing tools. Use plastic or Nylon scrubbers sparingly on these parts. Save these for the really tough stains, and rely primarily on your dishcloth for routine percolator cleaning.
How to Clean a Percolator: Dissolve Hard Water Stains with White Vinegar
For those stains that dish soap does not clean off, deep clean the percolator as follows. Run a pot of half water and half white vinegar through the percolation cycle. Do this in well ventilated areas, outdoors if you can, to avoid stinking up the inside of your home. If your water is hard, use distilled water to boost removal of the hard water deposits from the percolator. Cycling the percolator with all its parts attached, cleans it all.
When a coffee brewing cycle with water and vinegar does not work well, then remove the well tube, basket, and water spreader. Soak these in a sink or bucket filled with hot vinegar water (half and half). Allow them to marinate in this solution for several hours or overnight, periodically checking the descaling progress.
How to Clean a Percolator: Try Soaking with Hot Soapy Water and Baking Soda
White vinegar may not completely descale your percolator, depending on the amount of and type of minerals and metals in your water. If so, then a couple tablespoons of baking soda added to a percolator full of hot soapy water (dish soap) may do the trick.
Do not perk with soapy water. This will quickly create a sudsy bubbly mess.
Many users report that automatic dishwasher soap (E.g. Cascade) added to a full pot of boiling water, and then allowed to mellow in the percolator, until the water cools, really lifts those deep brown stains effectively. Automatic dishwasher soap is designed to be non abrasive and gentle on glassware and china. So it is safe to use inside your percolator.
Percolators Need Not Be Brand New Clean
Some brown staining on the interior does not negatively affect the flavor of the coffee brews. So it’s not necessary to overly worry about maintaining an absolutely spotless coffee percolator. As long as you prevent buildup of the loose residues and oils that accrue after even just a single use, your fresh perked java will taste just fine. Besides, a brown cast on the coffee handling components indicates (to some) a well-seasoned percolator, that brews better tasting coffee than those brand new, brown-less coffeepots.
How to Clean a Percolator: Warnings
Disconnect power to Electric Percolators Prior Cleaning
Even in percolators, water and electricity do not mix. Otherwise, you could receive a fatal electric shock.
Do Not Submerge Electric Percolators
Also, do not immerse electric percolators unless the manufacturer says they’re submersible. Just fill them with the cleaning solution and let them sit on the counter while inside the pot has a bath.
Use Cleaning Procedures Appropriate to your Percolator
Note that procedures that work well for an aluminum percolator may hurt a stainless steel unit. So, be sure to apply the right techniques to your particular percolator.
Carefully Clean Coffee Granules from the Well Tube
When cleaning the well tube (pump tube), be sure to remove those pesky little coffee granules, that often embed themselves behind the washer at the bottom of the tube. Use a small pointed knife, needle, pin, or toothpick to dislodge them. Too much buildup here can degrade the seal that the pump tube forms with the well in the bottom of the percolator. This can decrease perking efficiency, thus producing either weak or foul tasting coffee. Do the same to the holes in the fluid spreader piece (top of the basket).
No Harsh Chemicals, Please !
Not only can strong cleaners damage any plastic components (handles, knobs, Etc.), but can also dull stainless steel finishes and etch the glass on glass stove top percolators.
Avoid Perking Vinegar or Other Strong Smelling Cleaners
When small amounts of vinegar do not clean, many folks perk a full-strength load in their coffee pots. This often works better than the half-and-half solution with water. While this probably will not harm the percolator, it smells dreadful! If you must percolate undiluted vinegar, set you percolator up outside, and let it perk where the winds will carry away that strong odor.
Related Posts to How to Clean a Percolator
- How to Clean an Electric Kettle Safely
- Farberware Electric Percolator Coffee Pot FCP280 Review
- How to Clean Stainless Steel Tea Kettle
- Cleaning Tea Kettle with Vinegar, How To
- How to Clean Mold from Front Load Washer Gasket
- How to Clean Eyeglasses with Anti Reflective Coating
- Clean a Cordless Electric Kettle, How To
References for How to Clean a Percolator
Change History
- 2019-05-09: Tuned the targeting for ‘Clean a Percolator’, and added tags.
- 2019-02-06: Originally posted.