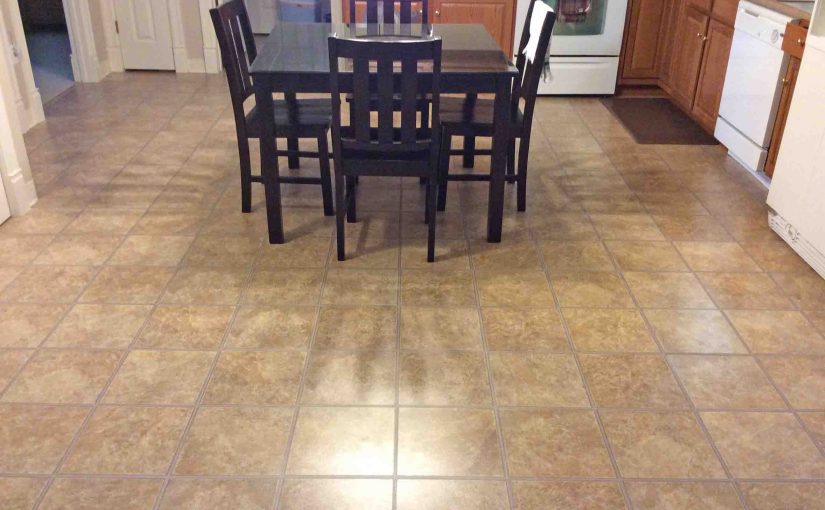
The following hints, tips advice, and instructions describe cleaning vinyl kitchen floors. Following these directions cleans spills, food, grease, and stuck on messes. They apply best to vinyl, linoleum, and ceramic floor surfaces.
If your floor is genuine wood however, these instructions still apply. But use less water to prevent warping and curling.
Tools You’ll Need for Cleaning Vinyl Kitchen Floors
- Broom
- Mop
- Bucket
- Dust Pan
- Scrub Brush or sponge with scrubbing surface. Use only brushes with plastic, flexible bristles. No metal wire brushes or metal scouring pads, as these can seriously scratch your floor.
- Kneeling Pad
- Lots of rags.
Supplies You’ll Need for Cleaning Vinyl Kitchen Floors
- Floor cleaner liquid. We clean ours with Spic ‘n’ Span or Mr. Clean floor cleaners.
- Scrubby sponge. Use one with a plastic or Nylon scouring side, and a sponge surface on the other. This absorbs excess water from the floor during spot cleaning. We avoid steel wool and metal scouring pads. Why? Because these can scratch today’s floor surfaces. Indeed they can permanently damage floor finishes. Also, avoid pads with soap pre added.
Optional Tools & Supplies for Cleaning Vinyl Kitche Floors
- Fan. Any fan that moves the air about the kitchen can dramatically speed up the floor drying time.
- Towels. Don’t have the time to wait for the floor to air dry or fan dry after cleaning? Then dry it off with several bath towels.
- Vacuum cleaner with hose and wand. Useful for getting dirt pieces out from under stoves, refrigerators, and dishwashers. Also extracts dirt from lip edges and underneath the woodwork, where the floor meets the wall.
Cautions and Warnings
Put on Safe Footwear
Be sure to wear non-skid shoes or slippers. The smooth, shiny surfaces of many floor styles these days, can become quite slippery when wet. We recommend rubber-soled shoes with small treads, for maximum surface area contact with the floor, and thus, minimum slippage potential.
Test Abrasive and High-Strength Cleaners First
You can remove tough stains, like tar, paint, and scuff marks. But this may require a high power cleaners like Goo Gone or Soft Scrub. In that case, be sure to test these cleaners first, an less visible floor areas. Some cleaners may mar the floor’s glossy finish or discolor it. Test in a closet or other, not readily seen area first. This keeps your product of choice from damaging much seen areas.
Avoid Walking on Wet Floors
Once you apply the water and cleaner solution, try to avoid walking on the wet area anymore than necessary. This reduces the likelihood that you’ll slip and hurt yourself.
Change Bucket Water Often
When the water becomes cloudy or dark in color, dump it, refill, and add cleaner to a fresh bucket full. Larger kitchen floors or those heavily soiled may require as many as six water changes for complete and thorough cleaning.
Rinse Floor Well
The cleaner we use, the Spic and Span multi-surface floor cleaner, claims to require no rinsing if diluted. But we still mop treated floors with fresh, clean water. This lowers chances of cleaner buildup and loss of floor shine.
Avoid Too Much Water
Wet the floor for best loosening action of the cleaners. But do not FLOOD the place. A well wetted mop saturates a 3 Ft. X 3 Ft. square area.
Mildly Dirty Floors May Not Need Soap
If your kitchen floor is simply dusty with no sticky spots, then a mop soaked in plain water works well. We like to avoid using any chemicals if dirt is light.
Cleaning Vinyl Kitchen Floors Instructions
1. Remove All Clutter
It’s easiest to clean a floor that is free of furniture. Move away tables and chairs, rubbish, silverware, and old food boxes. Pick up anything that you can from the floor. Saves you much time and effort later on. This way, you won’t have to mop around things sitting there or move them out of the way while sweeping.
2. Sweep the Floor
This step removes any loose dirt and dust. It also helps keep your bucket of soapy water (used later) cleaner, longer. You won’t need to dump and refill it as often if you sweep or vacuum the floor first. We find that the broom works best in this step. Use the vacuum cleaner and wand to suck up dirt and dry food bits. Go around corners and where the floor meets the wall.
3. Remove Tough Stains
Get hard stains out using the procedure below.
4. Mop the Floor, First Pass, when Cleaning Vinyl Kitchen Floors
Thoroughly submerge the mop in the bucket, soaking it completely. Then, with the mop dripping wet, spread the water over the floor in 3 Ft. X 3 Ft. squares. Rewet the mop before moving to the next square.
5. Pause for Several Minutes
Pausing allows the water to loosen any stubborn dirt.
6. Mop the Floor, Second Pass
This time, ring out the mop before using. You want to have it as dry as possible. That way, it soaks up the wash water from the last pass. Mop around the entire floor space, absorbing any water puddles. This step is done when the floor is left damp; not wet.
7. Rinse Mop the Floor, Third Pass
Repeat step 4 above, but use fresh, clean water instead of the detergent solution on the mop.
8. Dry the Floor
If you’re in no hurry, allow the floor to air dry on its own. This can take up to several hours. In this time, keep traffic low while it dries. This avoids injury from slipping on the wet spots. If though, you need faster drying, set up an oscillating fan that fires across the entire floor area. The fan can really reduce floor drying times by half.
But we find that the fastest way to dry the floor is to wipe it with large bath towels. Use retired towels bath towels. We lay the towel down on the floor. Then step on top of it. Finally, we slide around the room like you would on a snow slide.
Treating Stubborn Spots when Cleaning Vinyl Kitchen Floors
Find Problem Stain and Sticky Areas
These could be…
- Spilled sauces and syrups.
- Crushed berries that someone stepped on and ground into the floor crevices,
- Dried gravy or cranberry sauce,
- and so on.
Typically, these would not come off just by damp mopping. Look for these nasty stains near stoves, refrigerators, and sinks.
Cover Stains with Warm Water
Go around the kitchen with a bucket of warm to hot, clean water. Completely soaking any stains, grime, or dried-on foods you find. This re hydrates them, and eases wiping away after ten minutes or so.
Cover Stain with Hot, Wet Rag
For those dug-in stains and messes, you may have to…
- Soak a clean rag.
- Lay it over top of the stain.
- Then let it sit for several hours.
The warm, moist air from the evaporating water in the rag, often unlocks stuck on grime.
Wait Ten to Twenty Minutes
Allow the water to work its way into these sticky or dirty areas. Most plant based food stains respond well to this treatment.
Scrub the Stubborn Spot when Cleaning Vinyl Kitchen Floors
This step may require a bit of elbow grease, and that you get down on your hands and knees; thus, a kneeling pad comes in handy here. Scrub with the sponge, then try the brush if the sponge does not completely lift the grime. Repeat operating with a grease-cutting dish soap and water solution as needed. Or, for paint spots, try a shot of Goo Gone citrus cleaner. Be sure to spot test any cleaners you plan to try. Test them in non visible areas of the floor. Do not apply those to the “production floor” that cause discoloration or dulling of the finish.. Spare swatches of the same flooring are handy. So where possible, obtain some for your floor if you did not do so when the floor was installed.
Related Posts to Cleaning Vinyl Kitchen Floors
References for Cleaning Vinyl Kitchen Floors
Revision History
-
- 2019-03-23: Added tags, key phrase targeting, and subheadings.
- 2017-03-14: Revised the tags list.
- 2015-12-22: Added more appropriate tags.
- 2015-10-05: Added tags.
- 2015-09-07: Fixed some typos and added tags.
- 2015-04-30: Originally published.