You may get WiFi connection errors when booting your Google Home speaker. Or, you may notice that your speaker device does not show as connected in the Google Home app. Both problems occur when the speaker is no longer linked to your WiFi network, unless it is online (i.e. connected successfully to your network with internet access). These situations can occur if you’ve changed your WiFi network name (SSID) or the network password, but have not yet updated your Google Home device accordingly. This post details how to change Google Home WiFi, to account for these new router additions or replacements.
With your iOS or Android based tablet and the Google Home app, connecting your smart speaker to a different Wi-Fi network is a breeze, as follows.
We assume here that the Google Home App has previously been linked to your Google account.
The screenshots below were taken from an Apple iPad Air. However, a similar Google Home app for Android is also available from the Google Play store.
Now, to the procedure.
How to Change Google Home WiFi, Step by Step
1. Connect your Google Home to Power
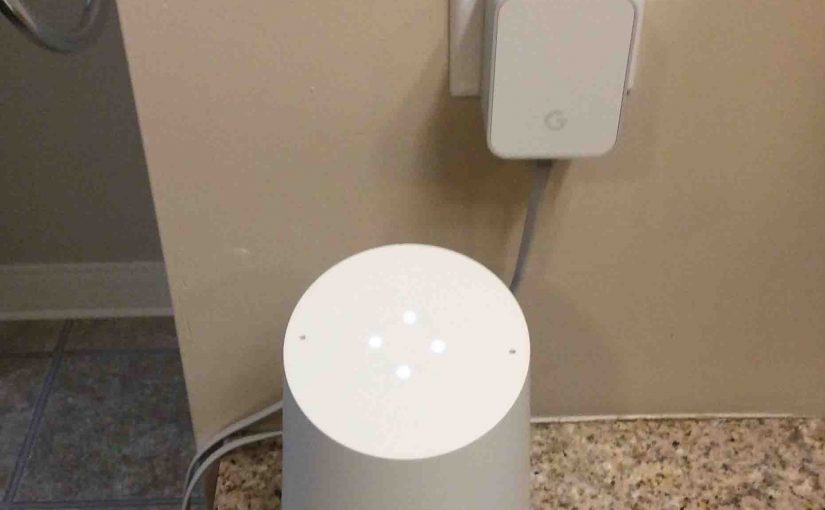
If not already operating, plug your speaker into a power source, as you’ll need to access the network parameters stored in its memory, as described below. You won’t be able to change these settings without AC power. The next picture shows the Google Home speaker connected to AC power via the included AC adapter.
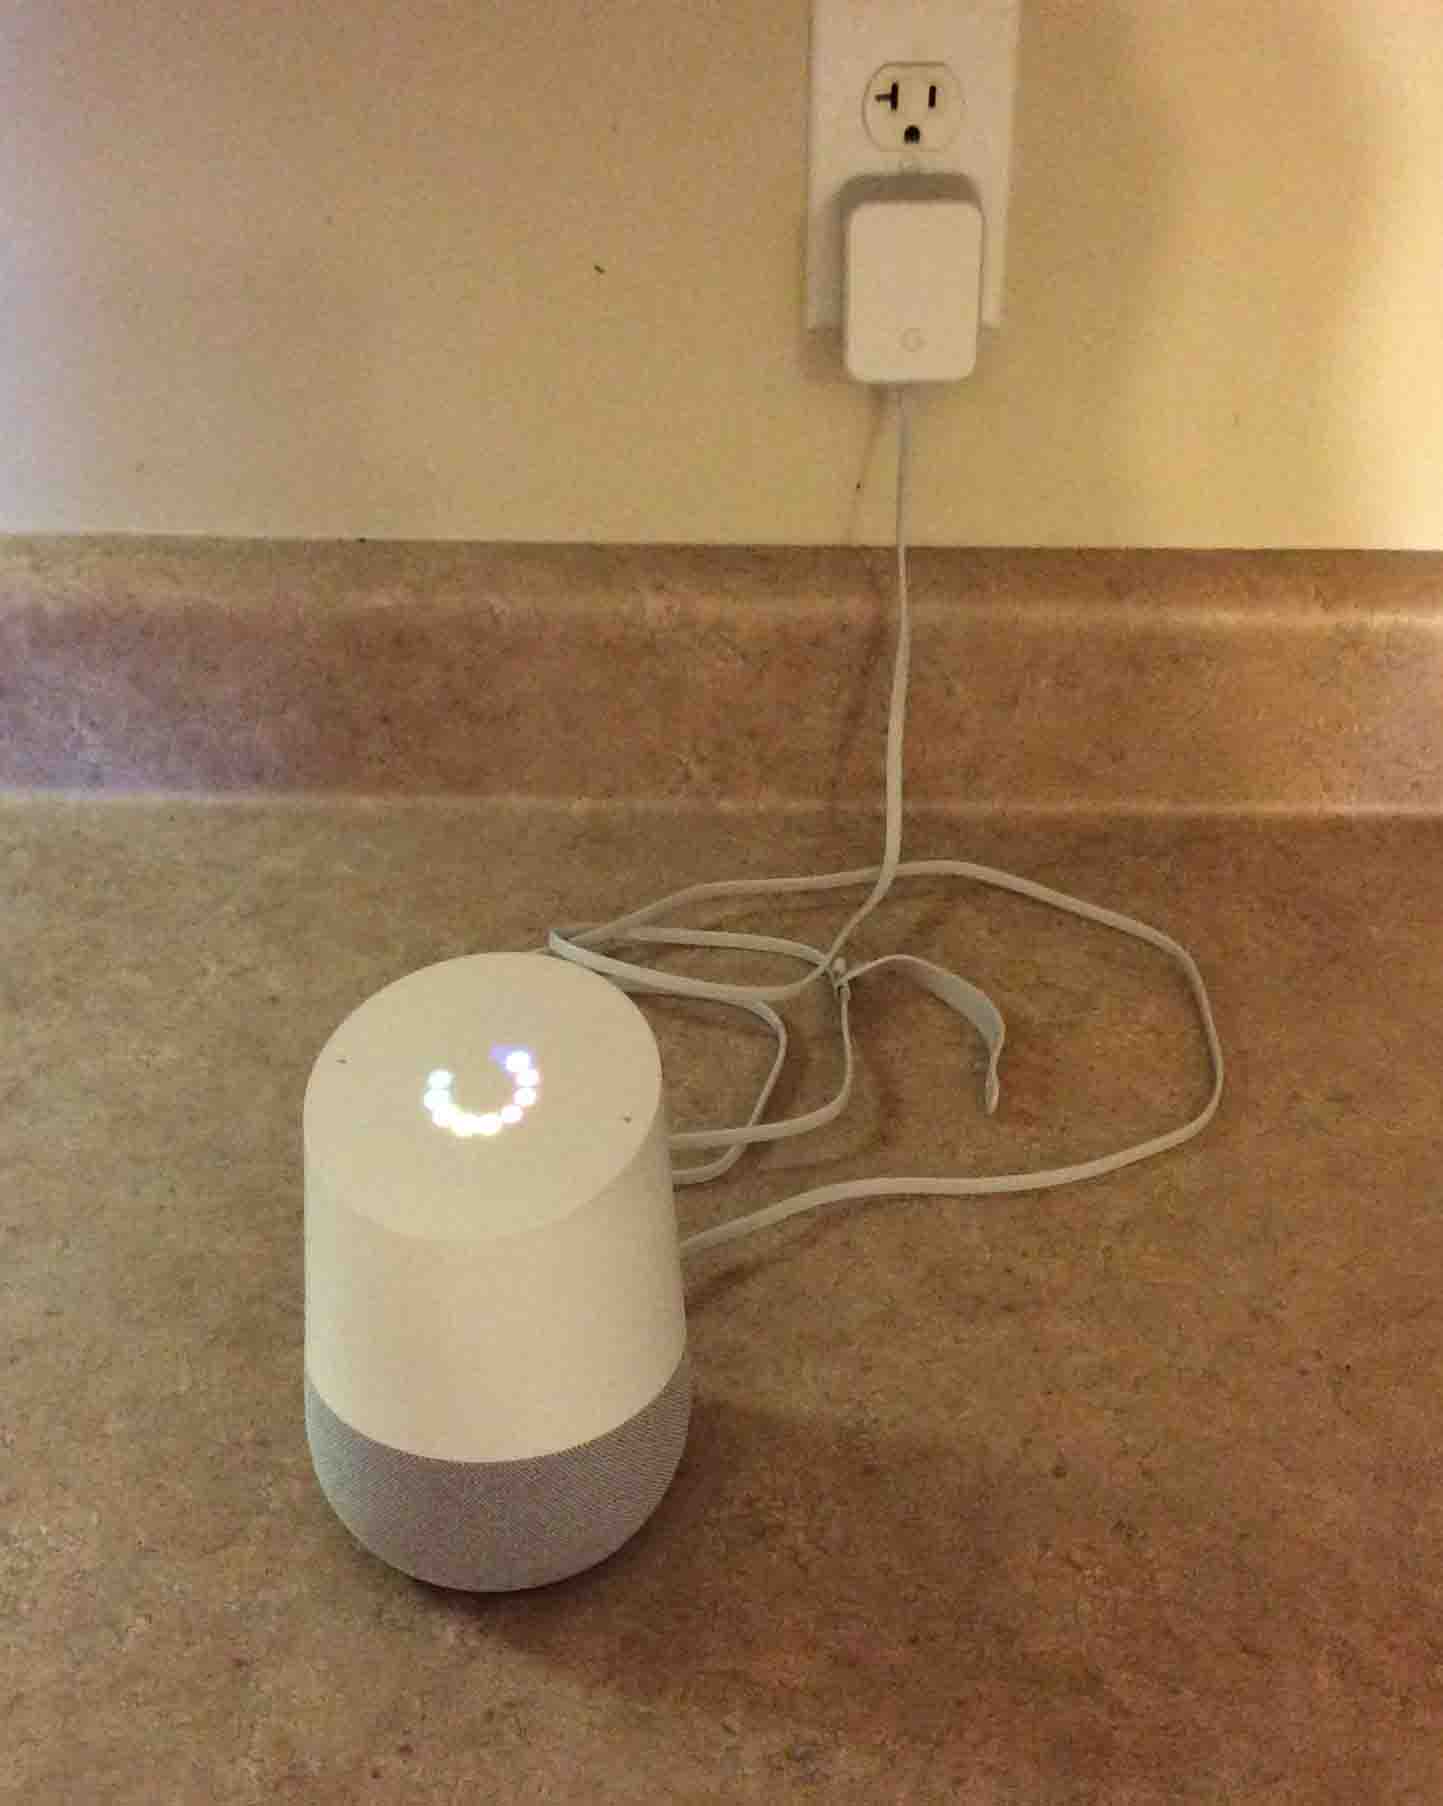
Wait until the Home finishes booting before proceeding to the next step.
2. Move your Mobile Device Close to the Speaker
Avoid being further than fifteen to twenty feet away, for fastest setup speed and fewest errors.
3. Start up the Google Home App
Run this app on your phone or tablet. This app gives you access to your current Google devices and settings, and allows you to change them as needed.
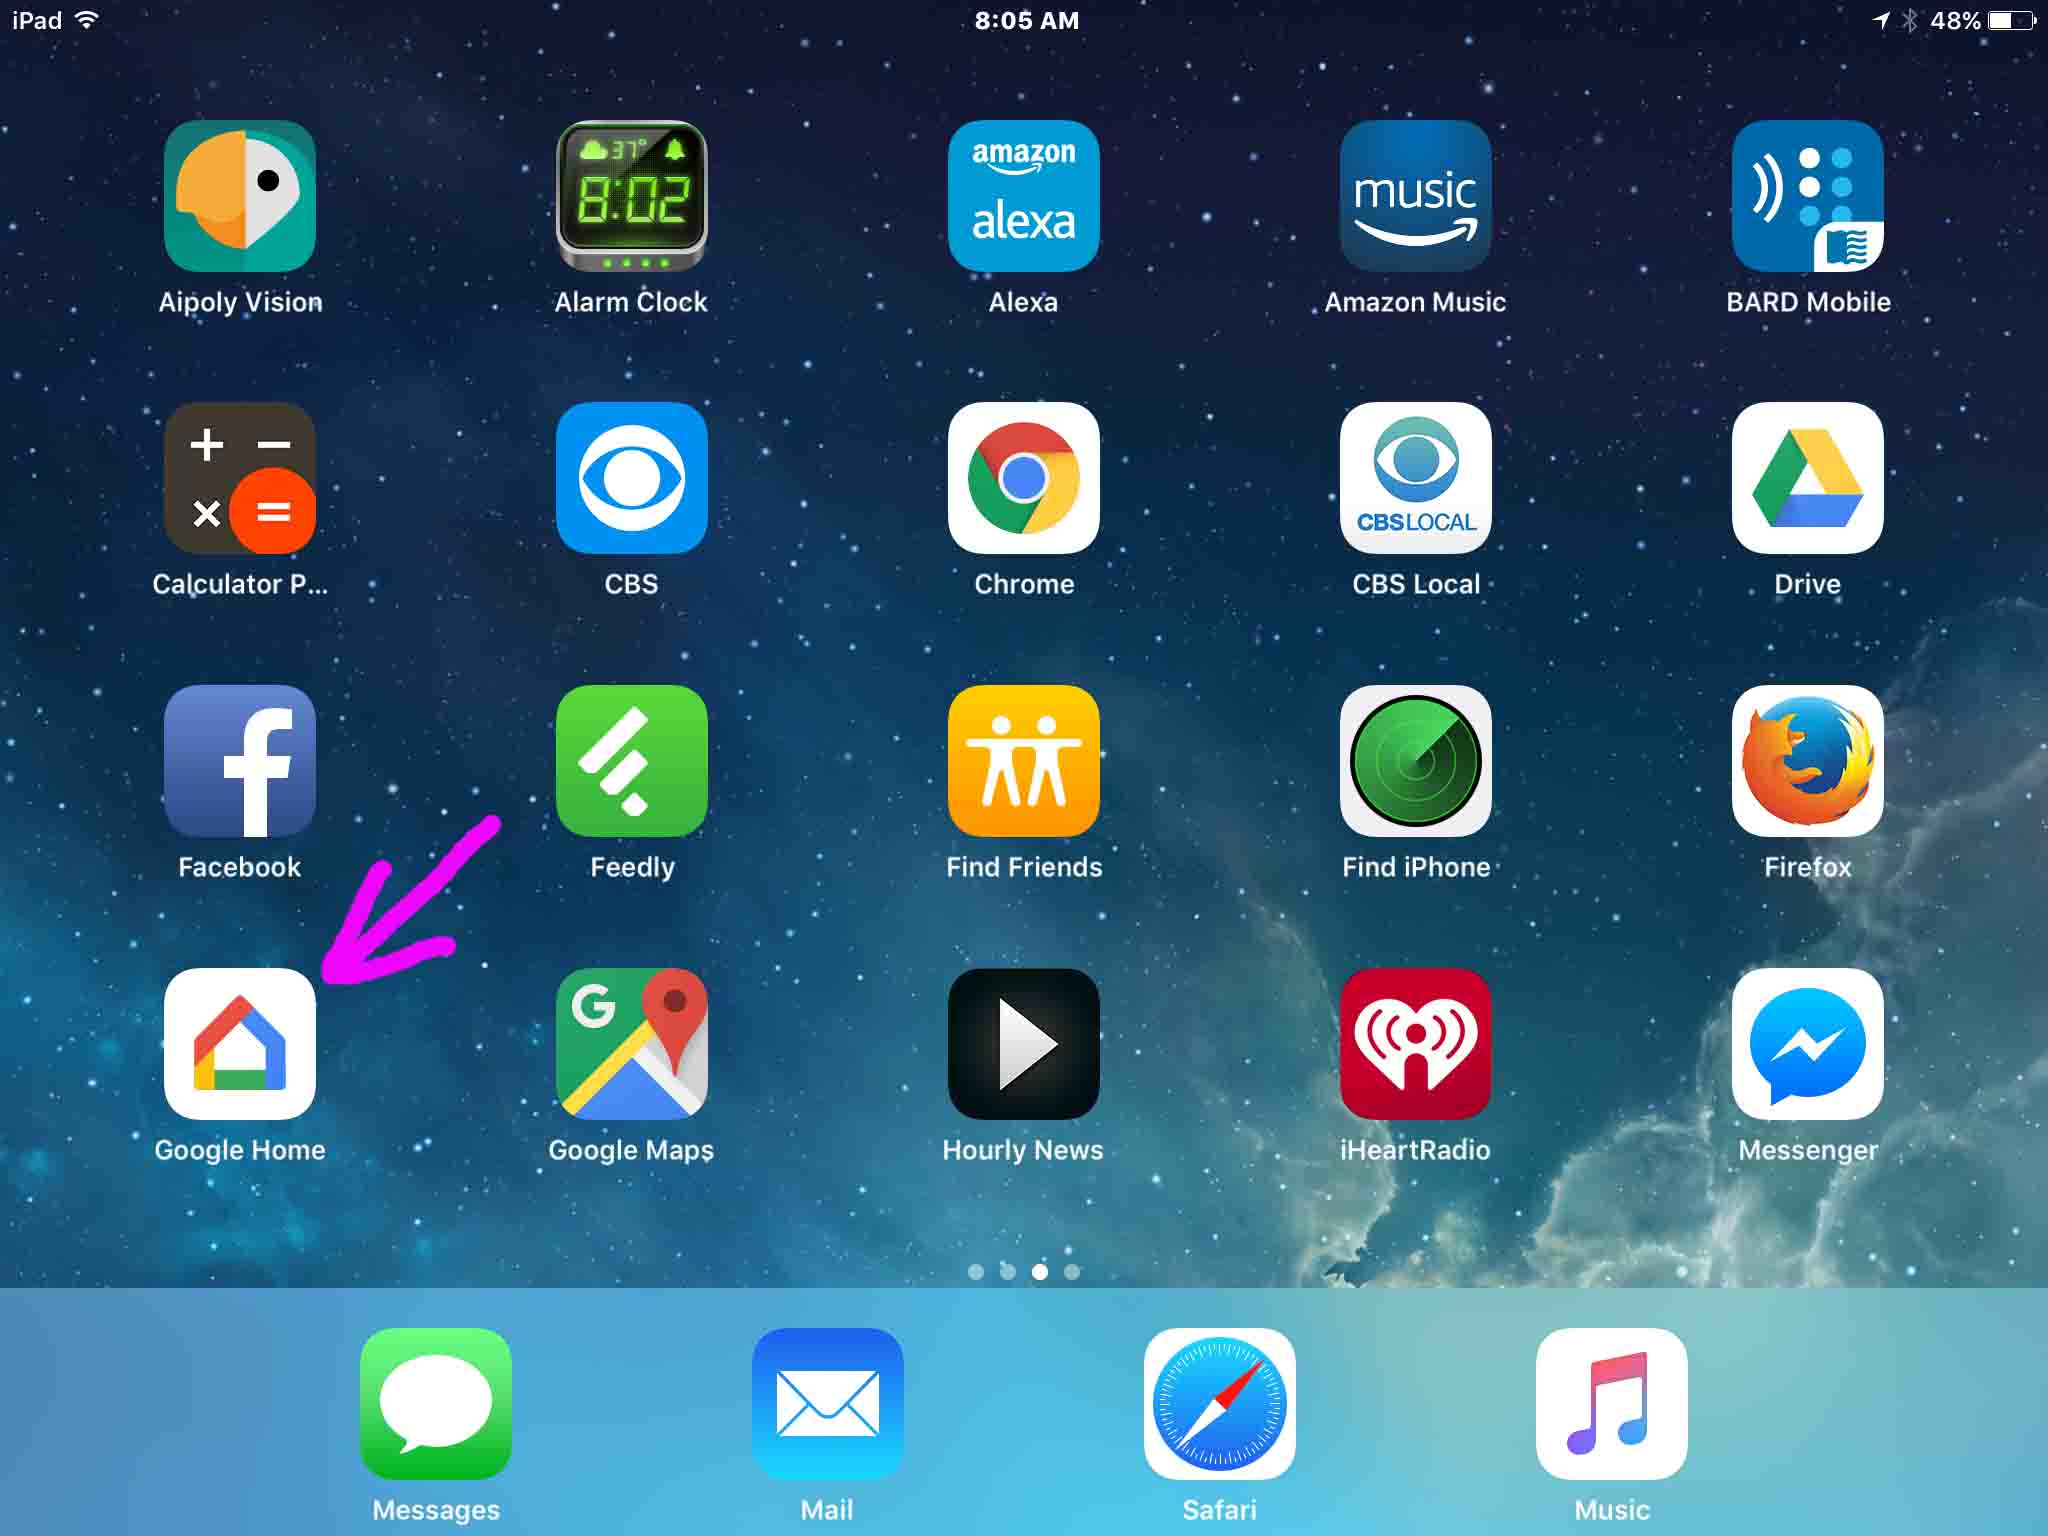
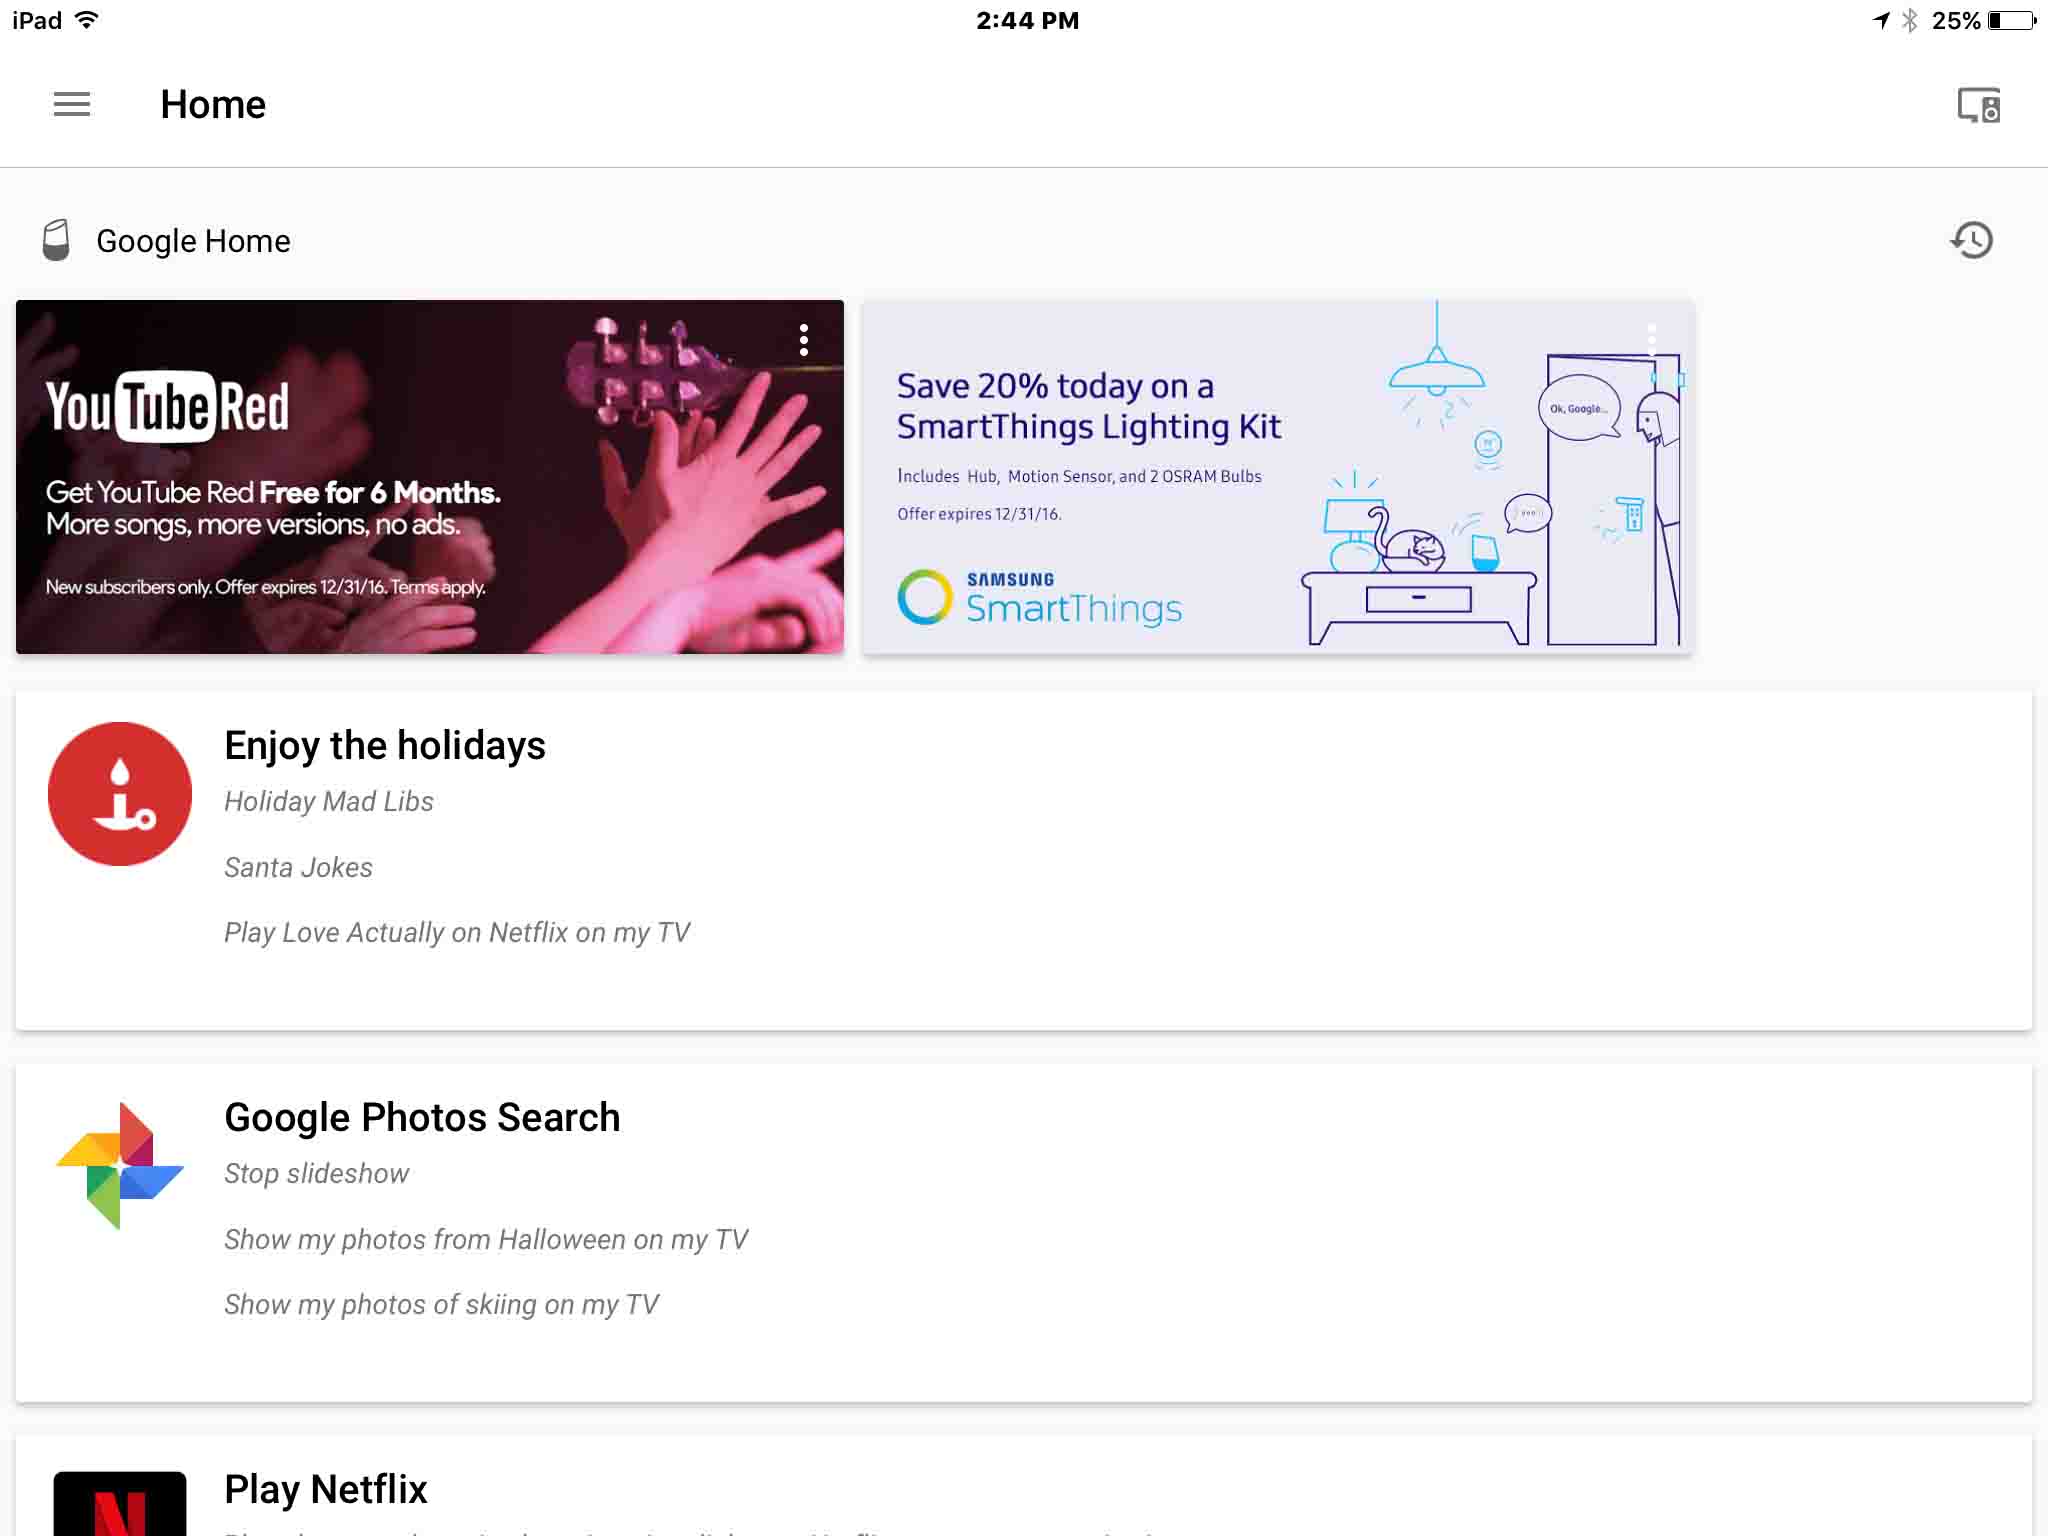
Find the app somewhere on the home screen pages, depending on where you might have moved it. On our iPad Air, it’s on home page three, as shown next, as pointed at by the purple arrow.
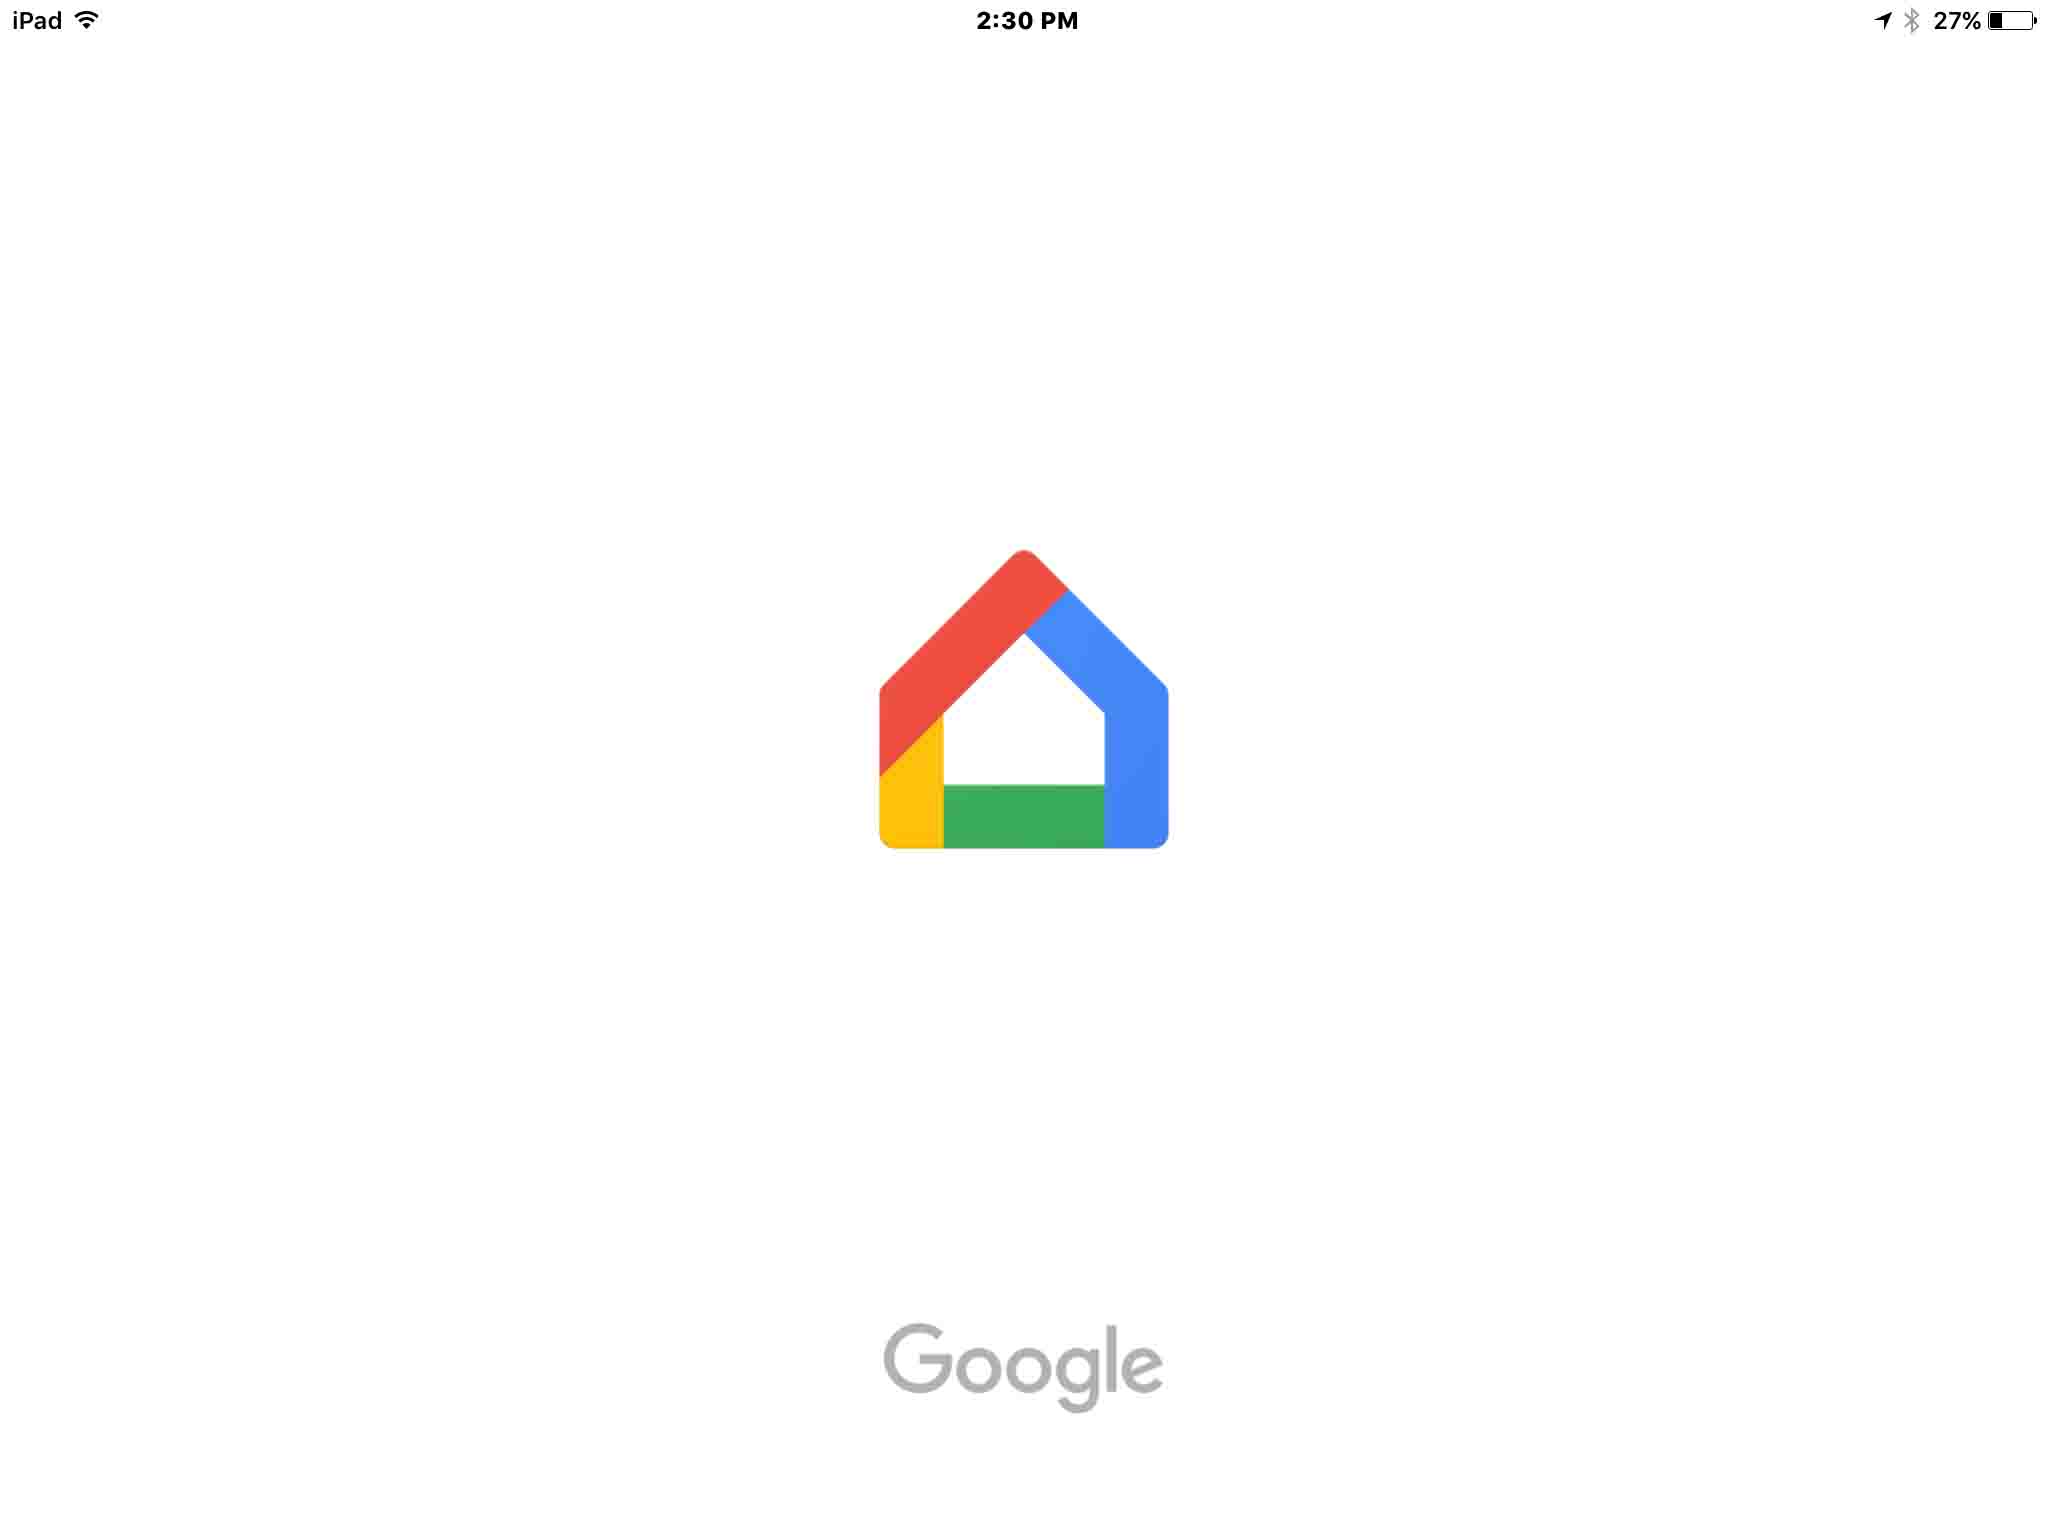
We got the following screen at Google Home App startup.
After a short period, you’re taken to the home screen. Ours displayed as follows.

4. Tap the Hamburger Menu to Continue with How to Change Google Home WiFi
This item (the three horizontal stacked lines) is located at top left corner of the Home screen, as displayed in the previous picture. The app’s main menu then displays as shown in the next picture.
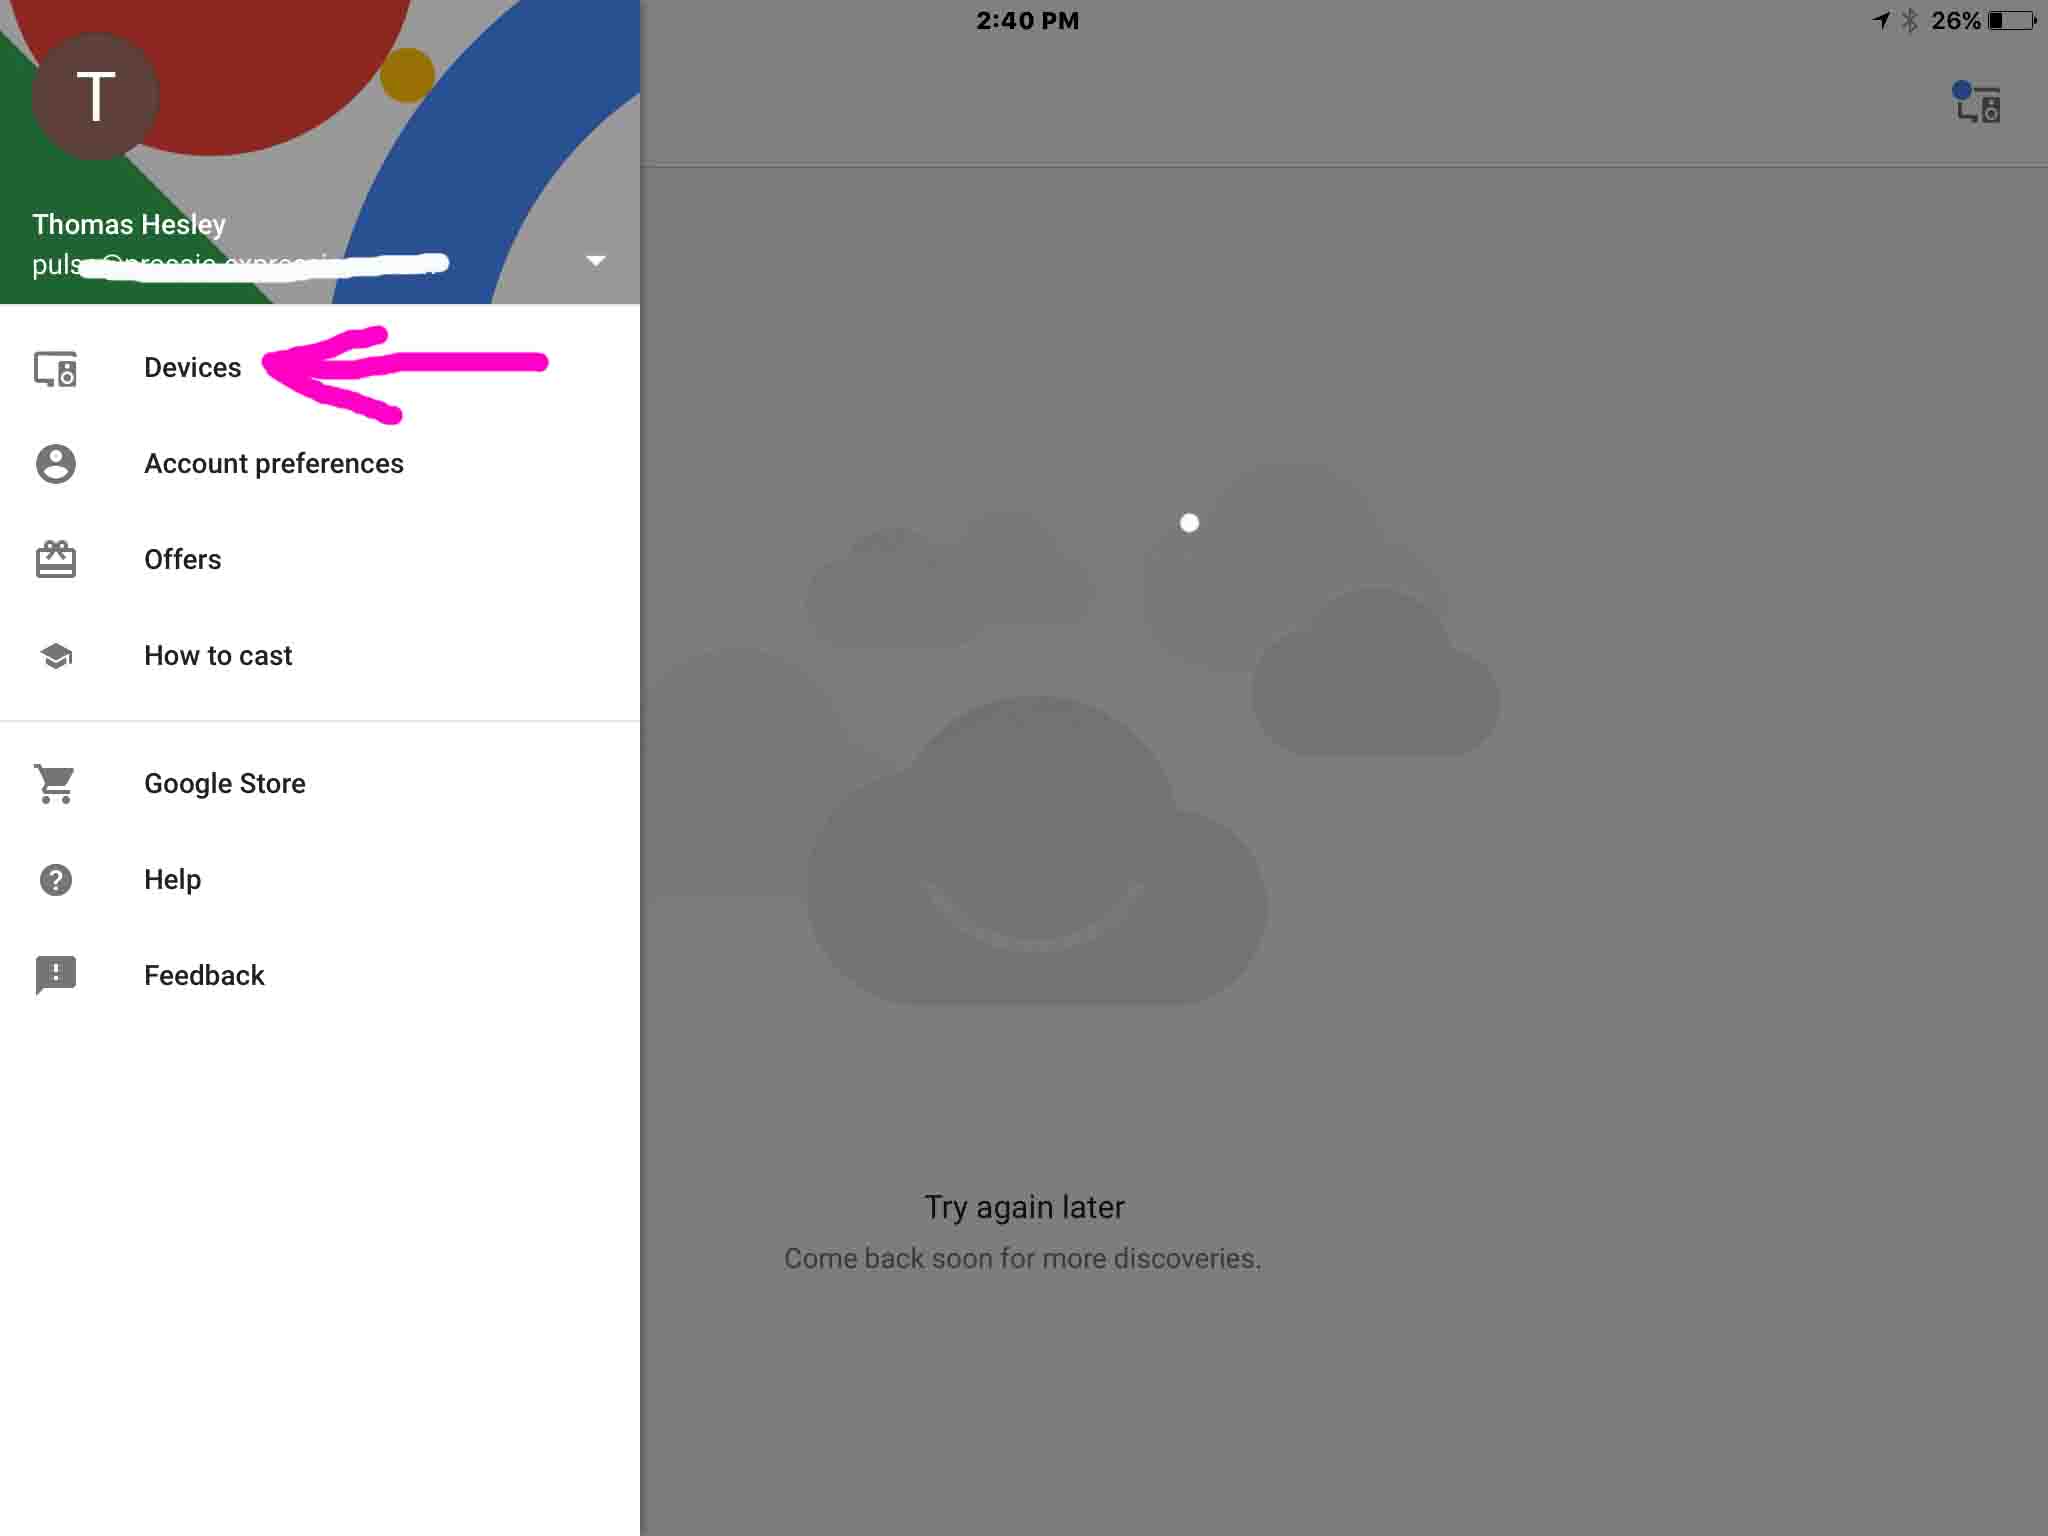
5. Tap the Devices Menu Item
In the main (hamburger) menu, find the Devices item, as pointed at by the purple arrow in the previous screenshot. You may have to swipe up in the menu area in order to scroll the Devices item into view.
Depending on whether or not your speaker is connected currently to a WiFi network, different screens will appear at this point.
If your speaker is currently connected and wirking correctly, you’ll then see a screen like one in step 6. Go there for further instructions in this case.
If your speaker is powered up but not connected to any WiFi, then you’ll see a screen like the one pictured at the top of step 7. Go there to continue.
6. Speaker Online or Connected
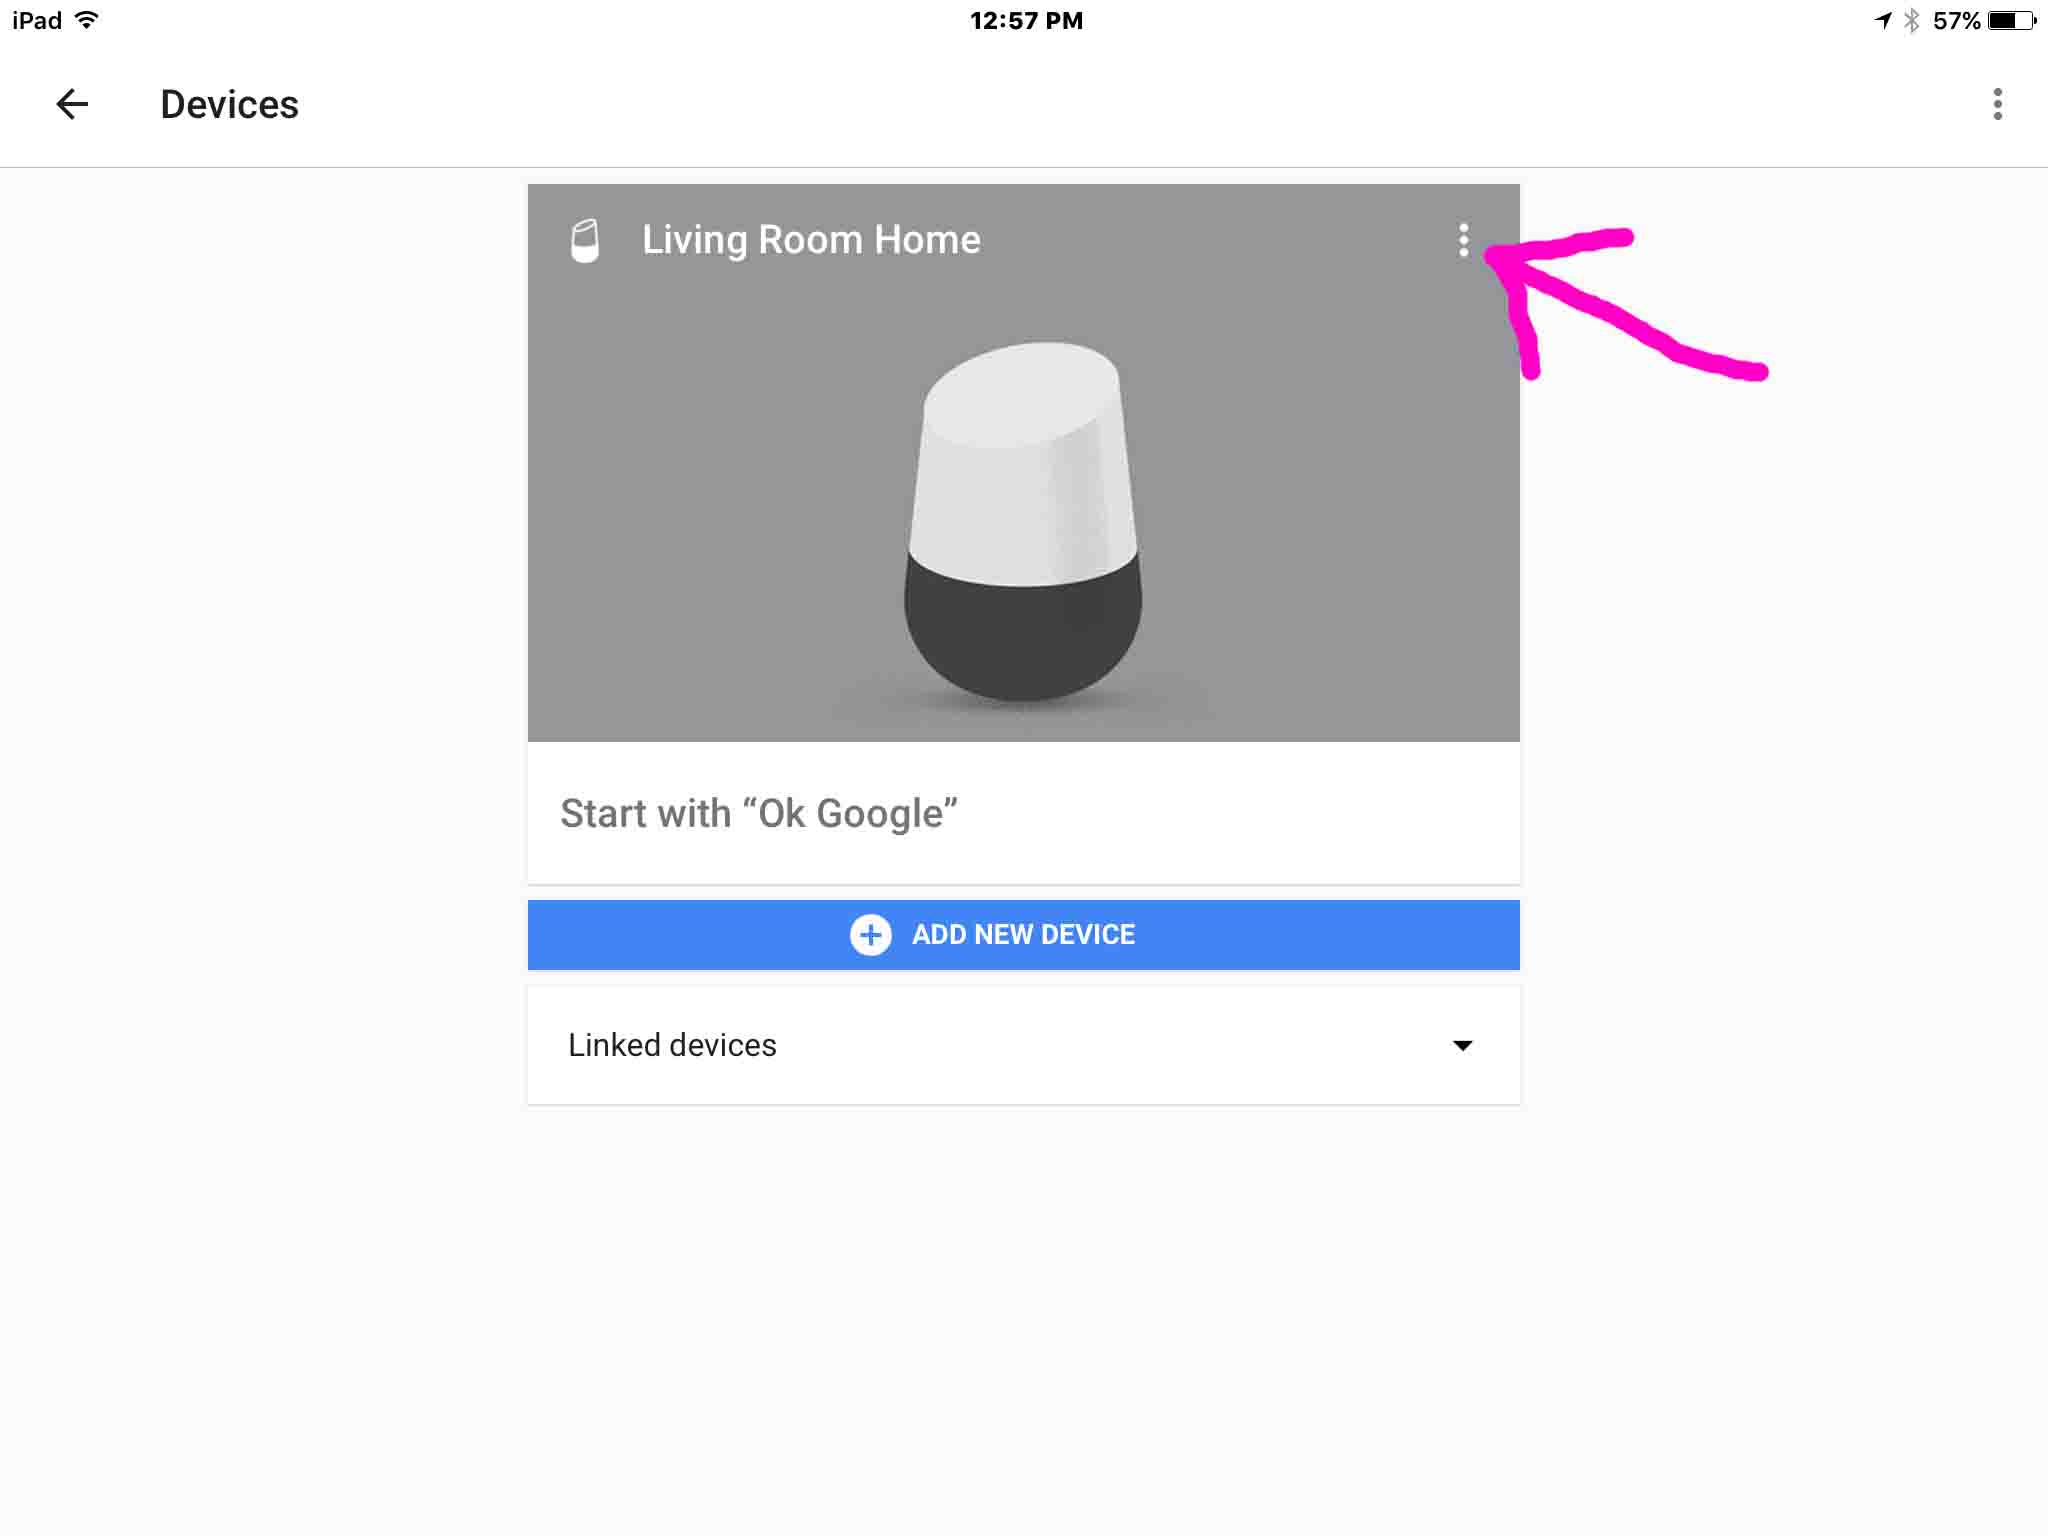
This shows that your speaker is online and can accept voice commands and questions. This would be the case if you have multiple Wi-Fi networks in your home, and you wish to disconnect your speaker from one of them that is working, and connect it to another of them. Maybe you moved the speaker from the first to the second floor, and would like to connect it to the second floor access point if you have one, because its Wi-Fi signal is stronger and more reliable up there. In short, you’re moving your speaker from one working Wi-Fi network to another.
6a. Tap the Device’s Hamburger Menu
Find this pointed to by the purple arrow in the next picture.
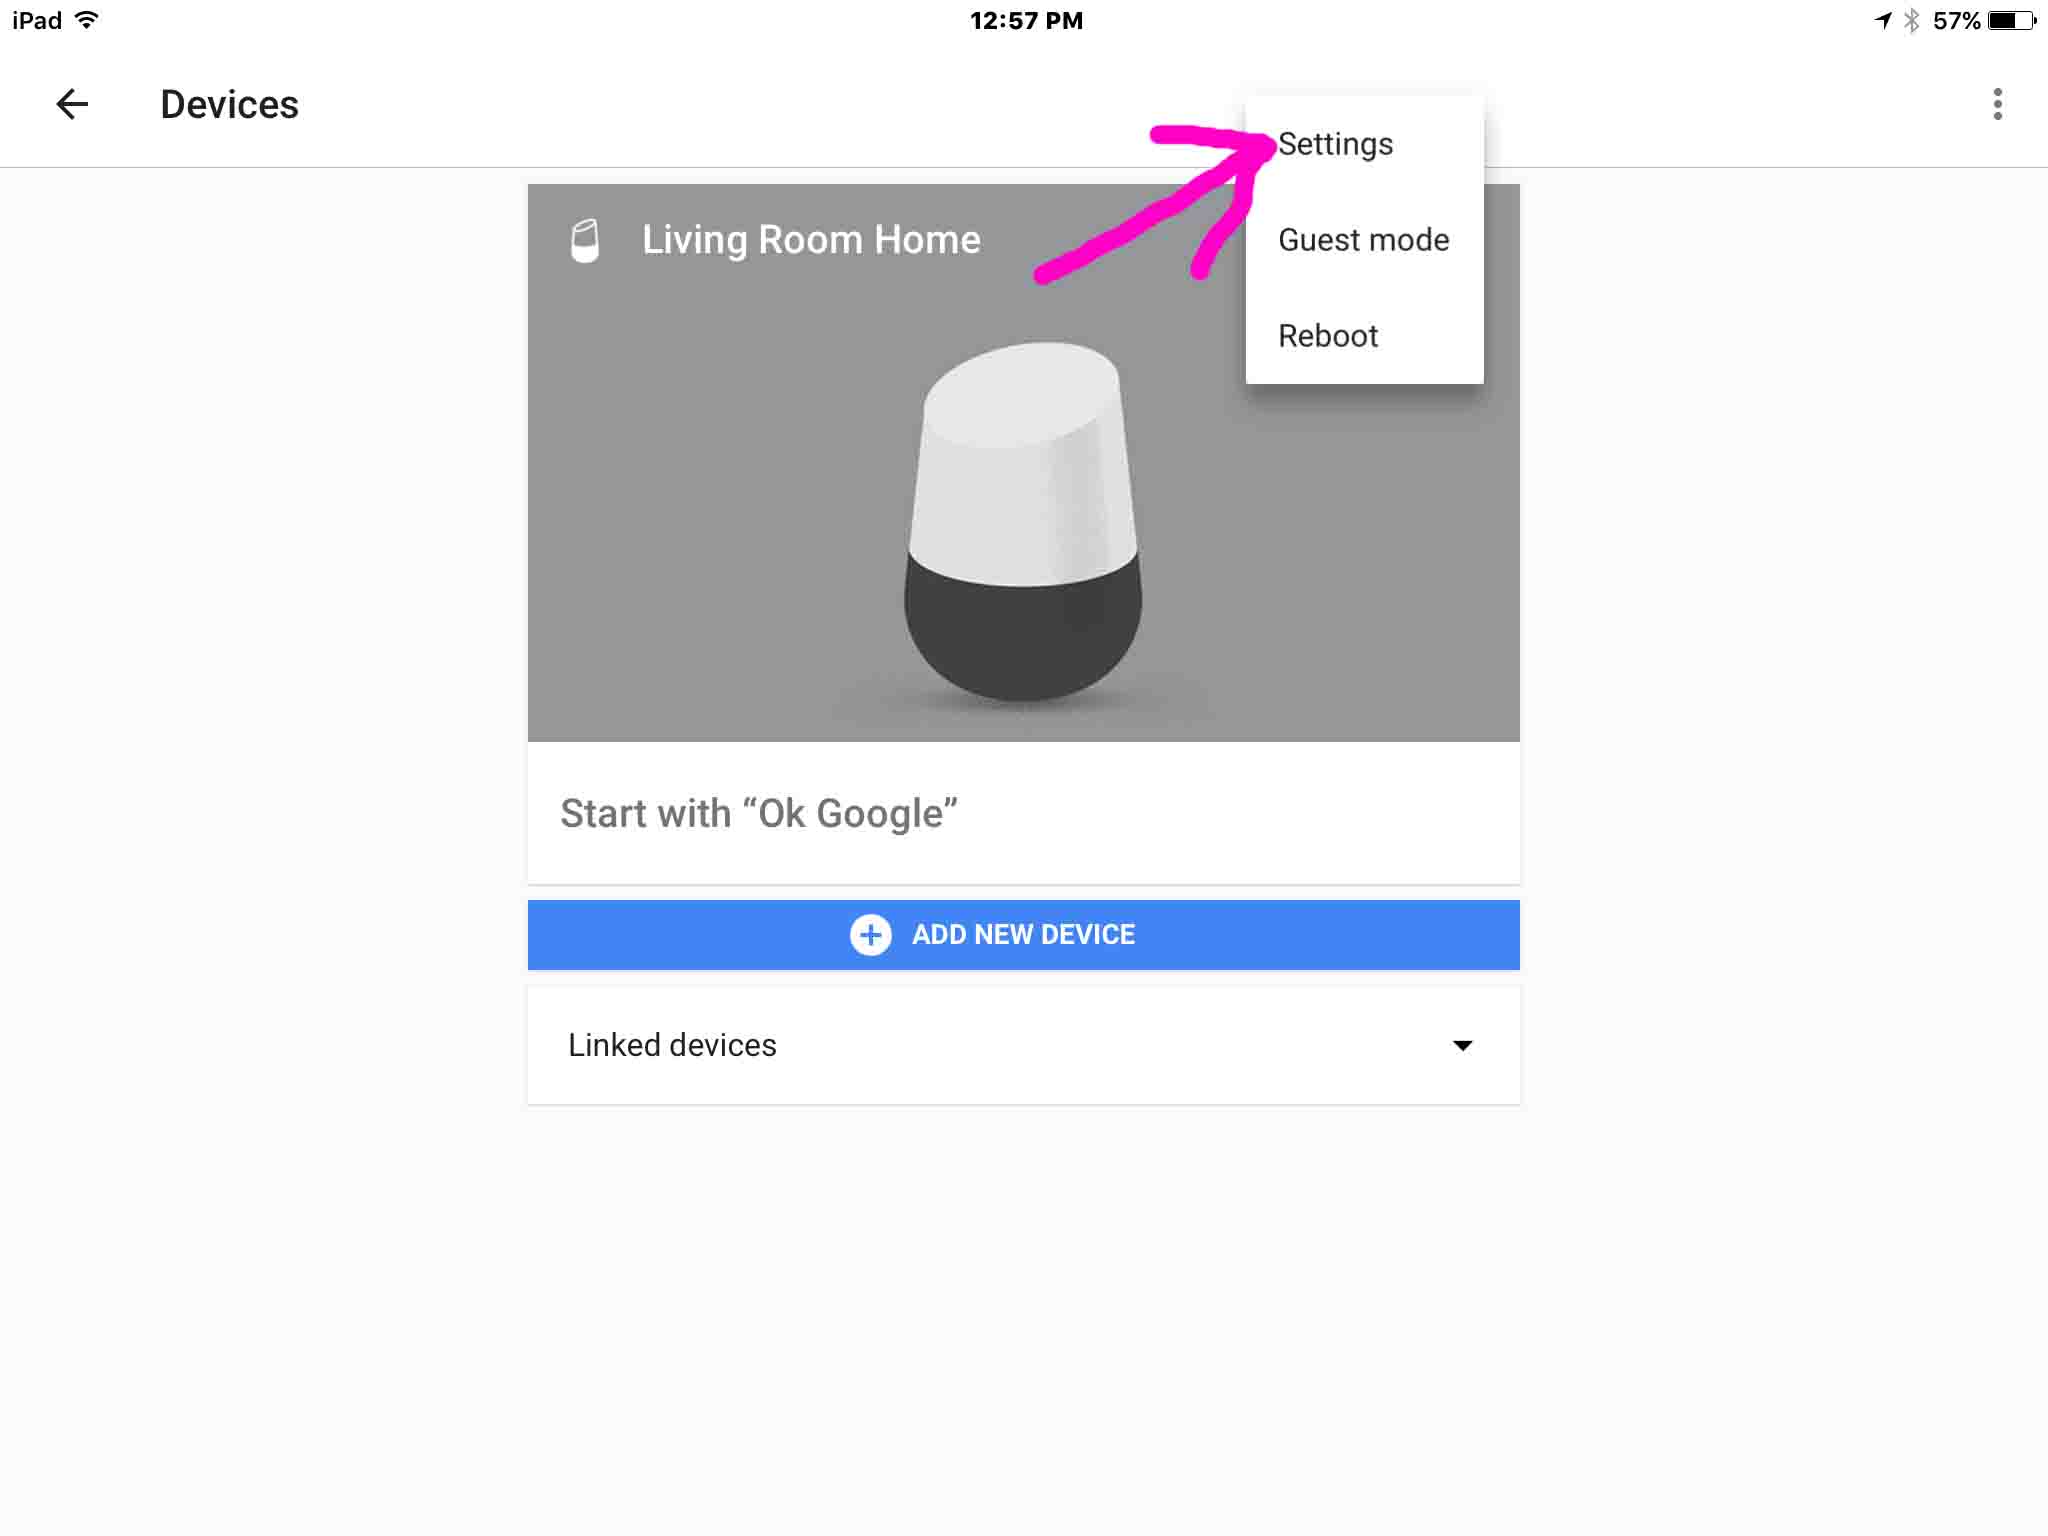
Your speaker’s Settings screen then appears, as shown next.
6b. Tap the Wi-Fi setting on the Device Settings Screen
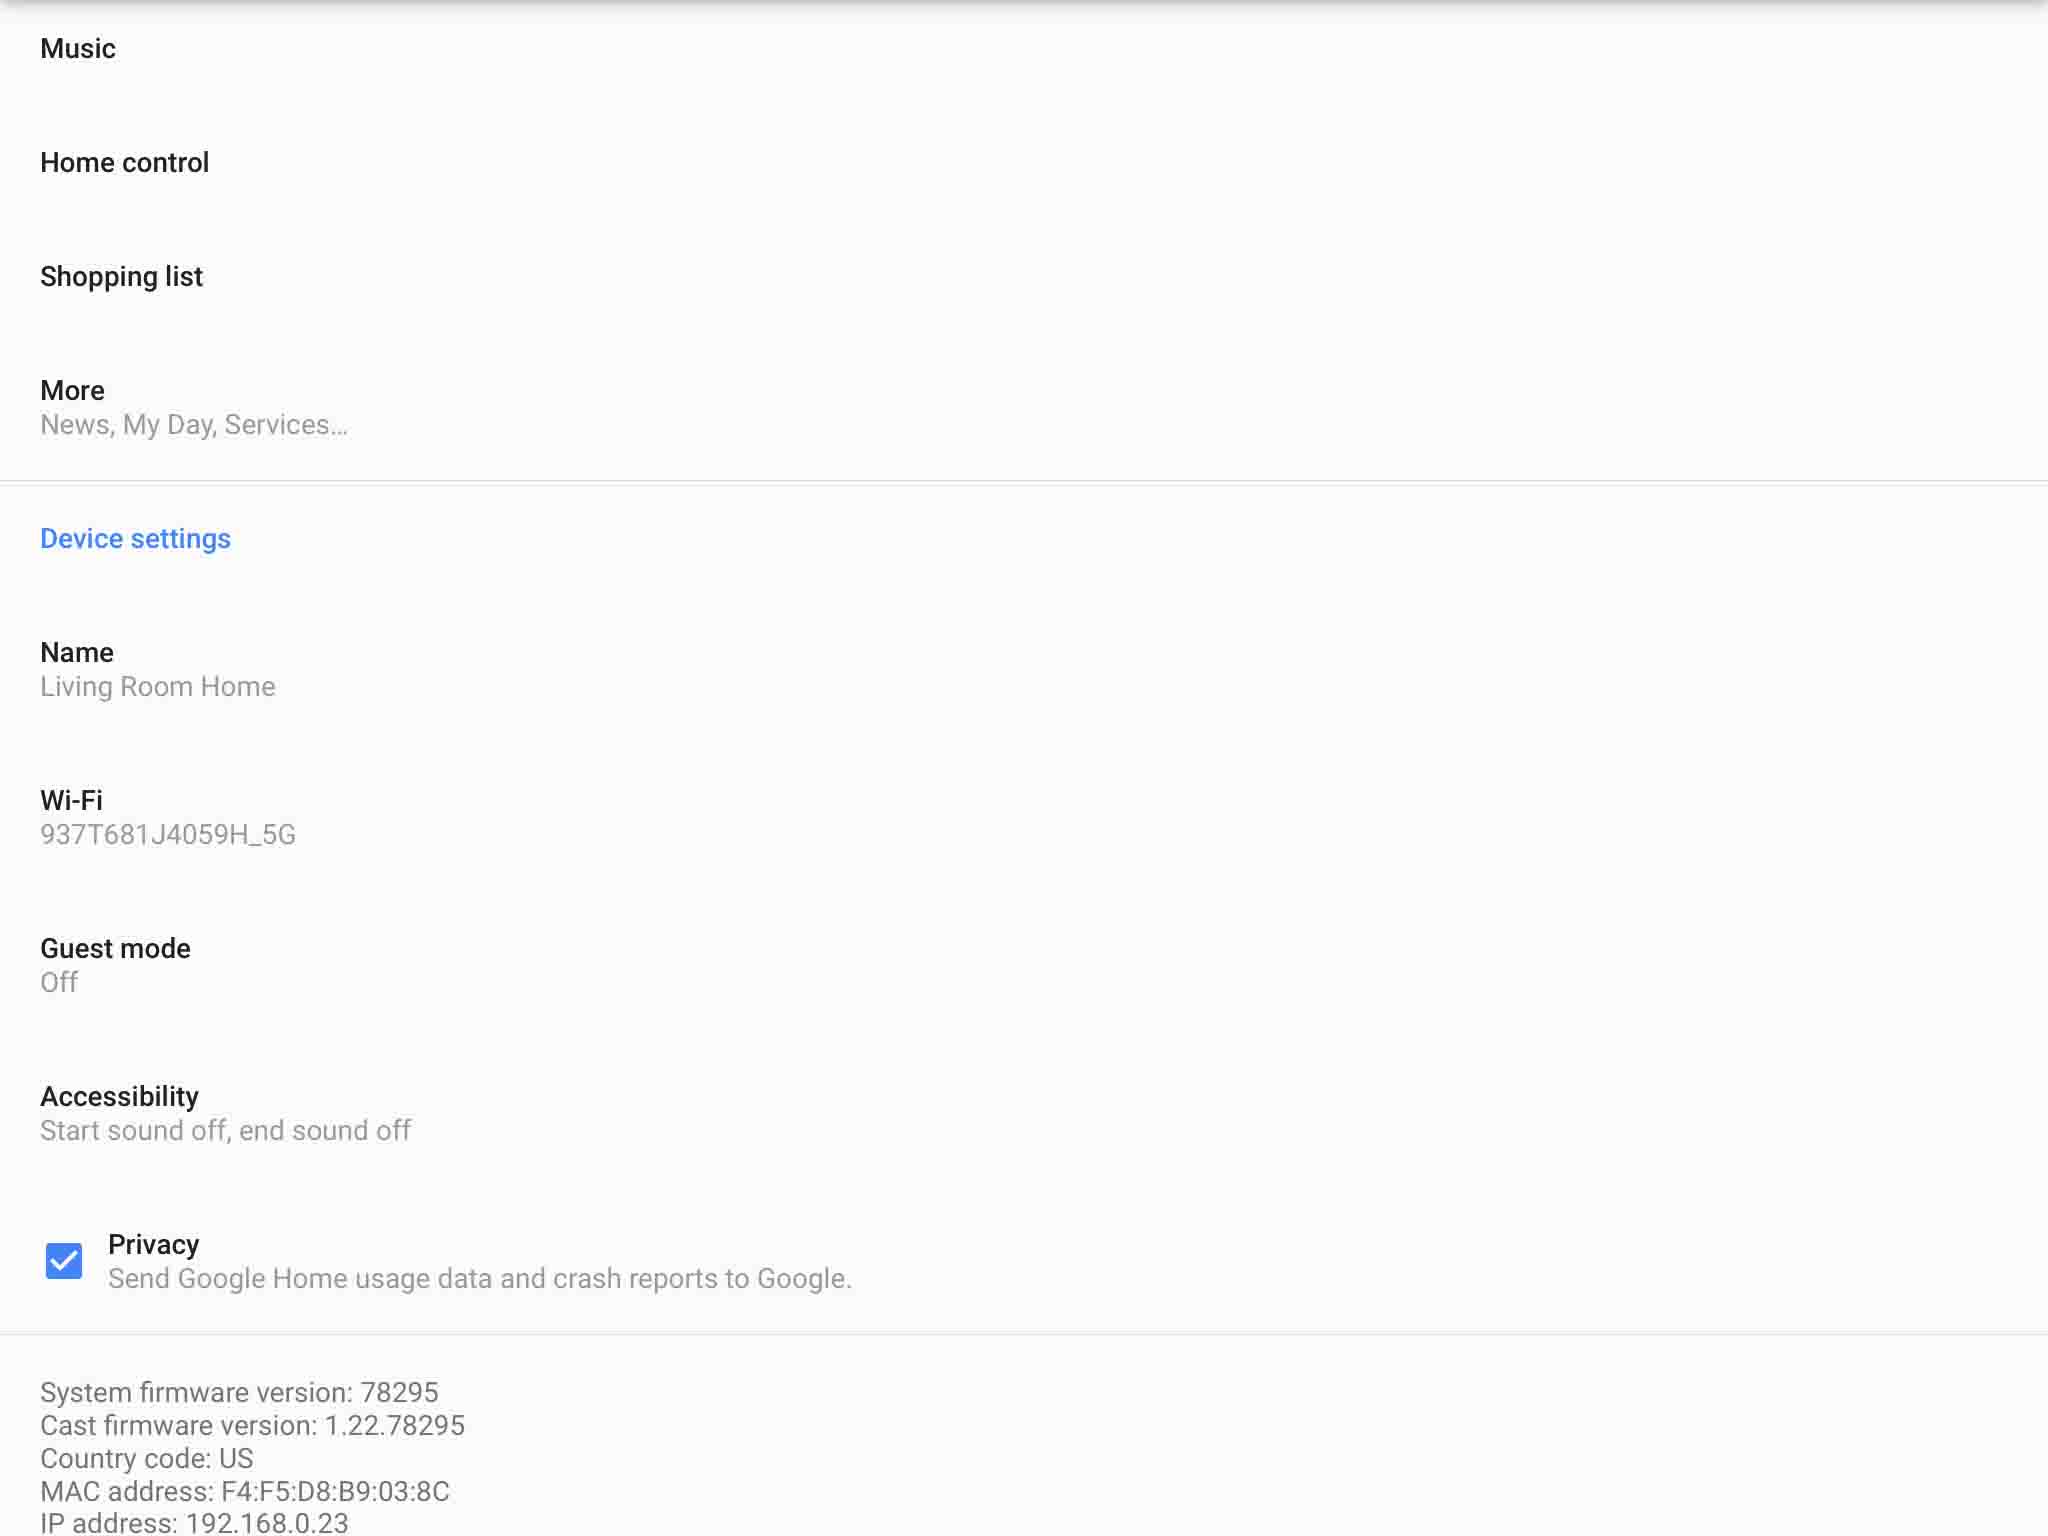
See this in the last picture. This setting displays the WiFi network to which the speaker currently connects, as displayed in the next screenshot in step 6c.
In this demo, we wish to disconnect from the 937T681J4059H_5G network, and connect to the 937T681J4059H_2G network. Both are in range and available to the Google speaker.
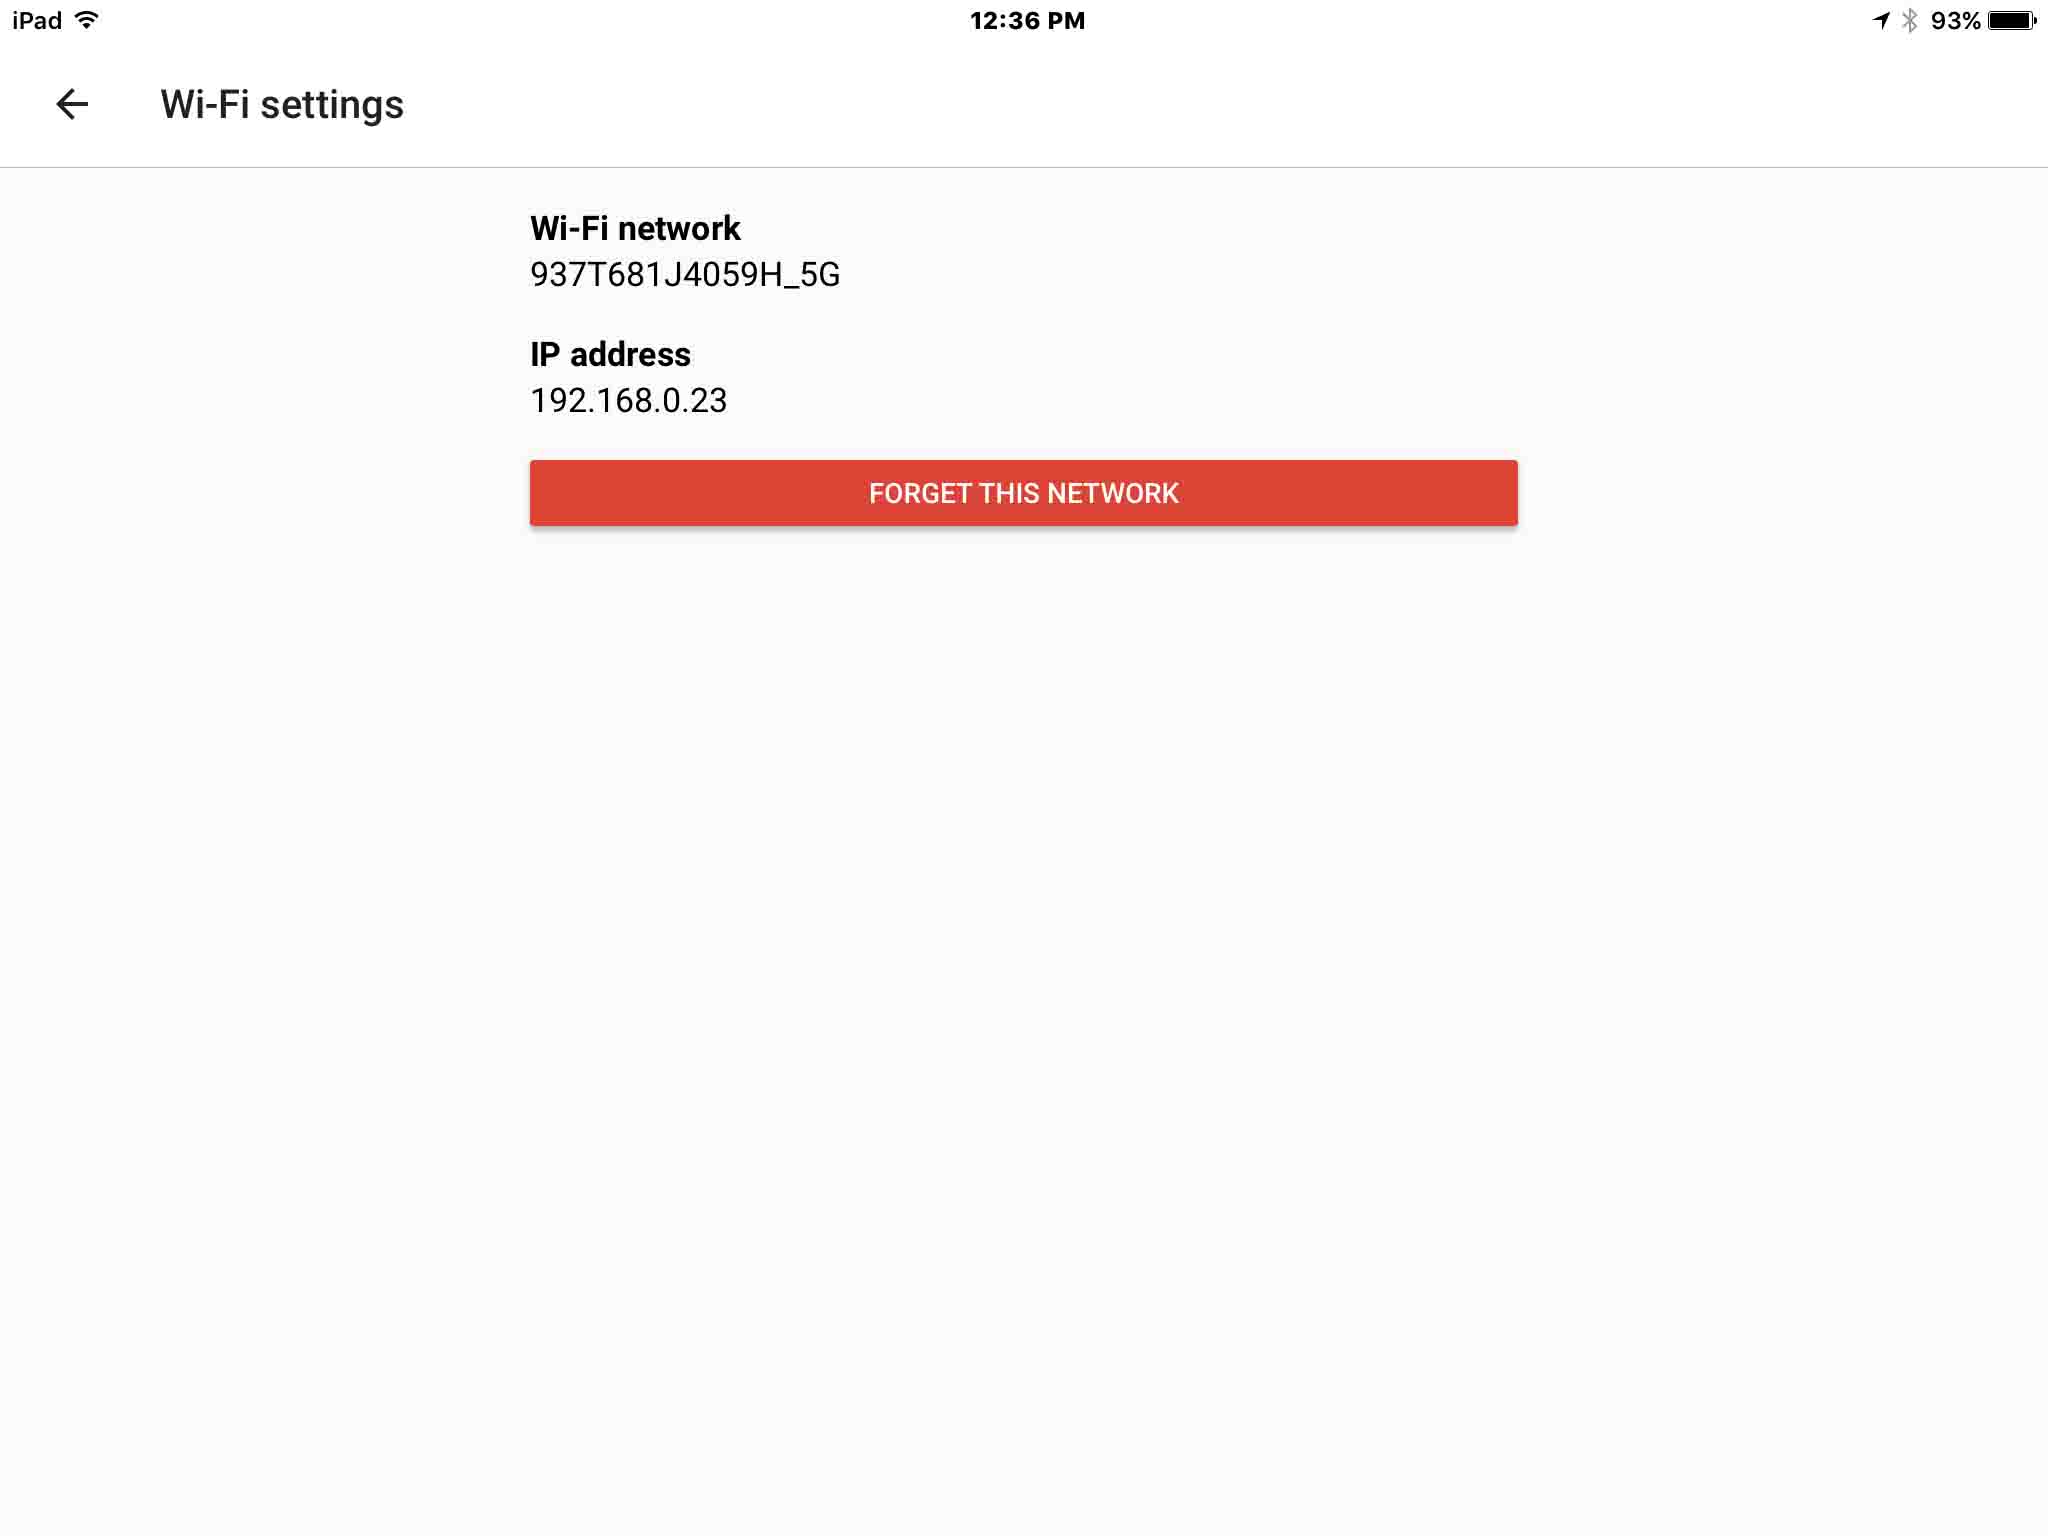
6c. Tap the Forget This Network Bar to Continue with How to Change Google Home WiFi
As shown next, our speaker is currently connected to the 937T681J4059H_5G network. We want to forget that network. So we do so by tapping the red bar. Doing this step disconnects your speaker from its current WiFi, as well as forces it to forget the settings for that network (SSID, security type, and password et al).
6d. Confirm Current WiFi Network Forgetting
The Forget Network Confirmation screen then appears, as shown next.
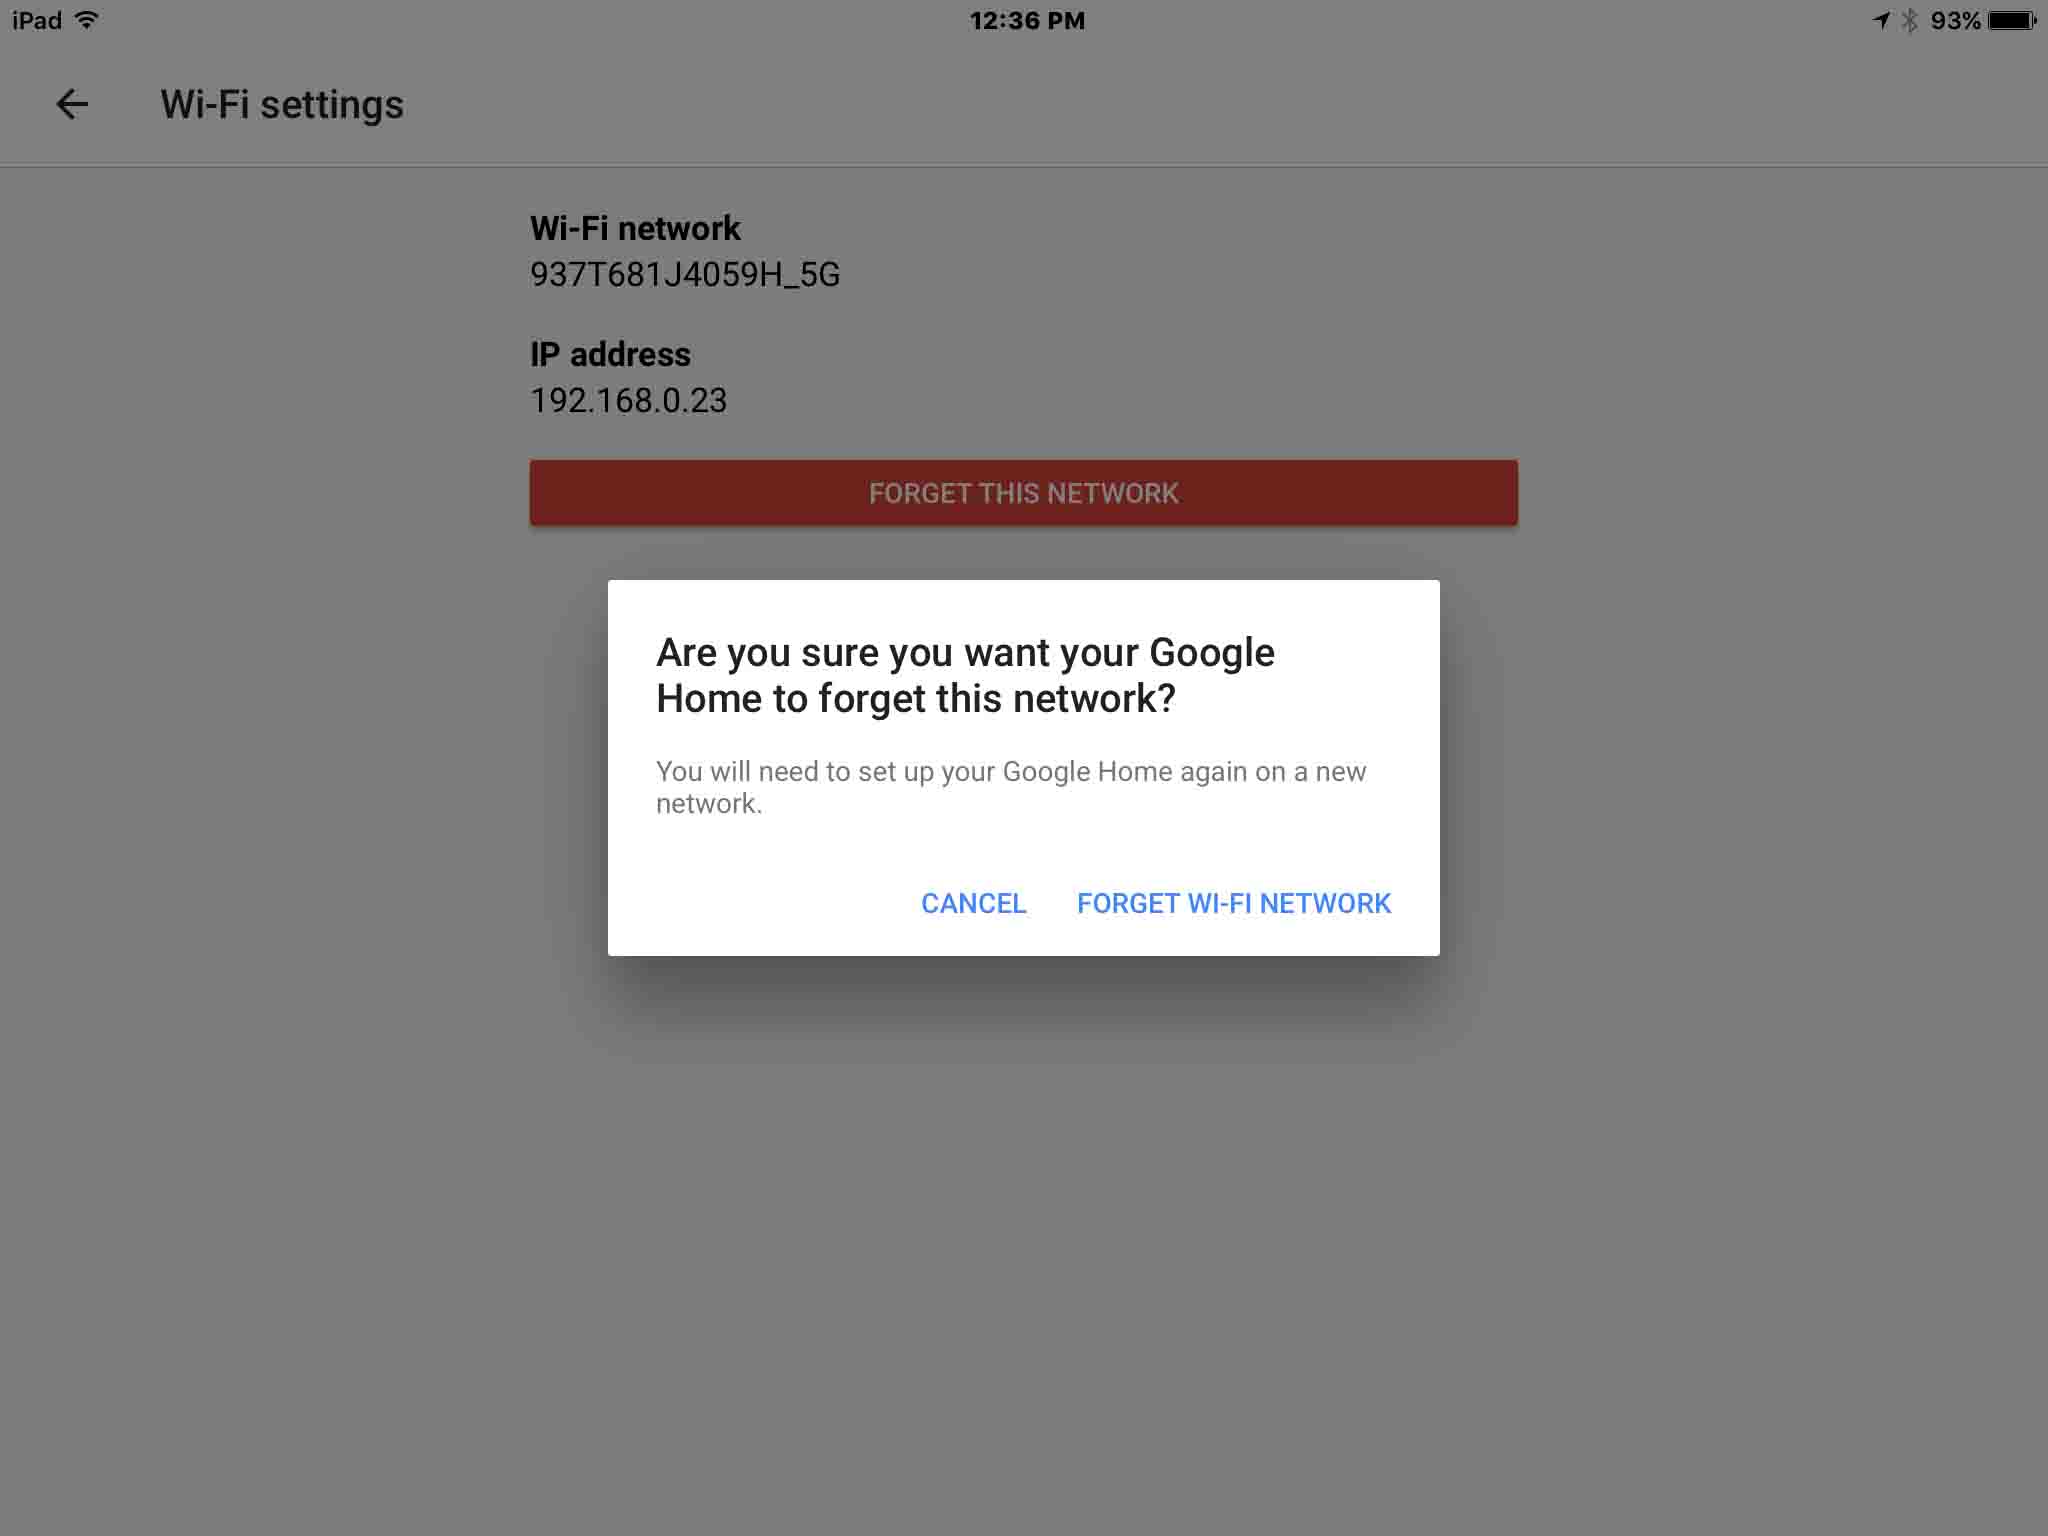
Then, tap the Forget This Wi-Fi Network link.
The app then displays the Forgetting Wi-Fi network screen, as shown next.
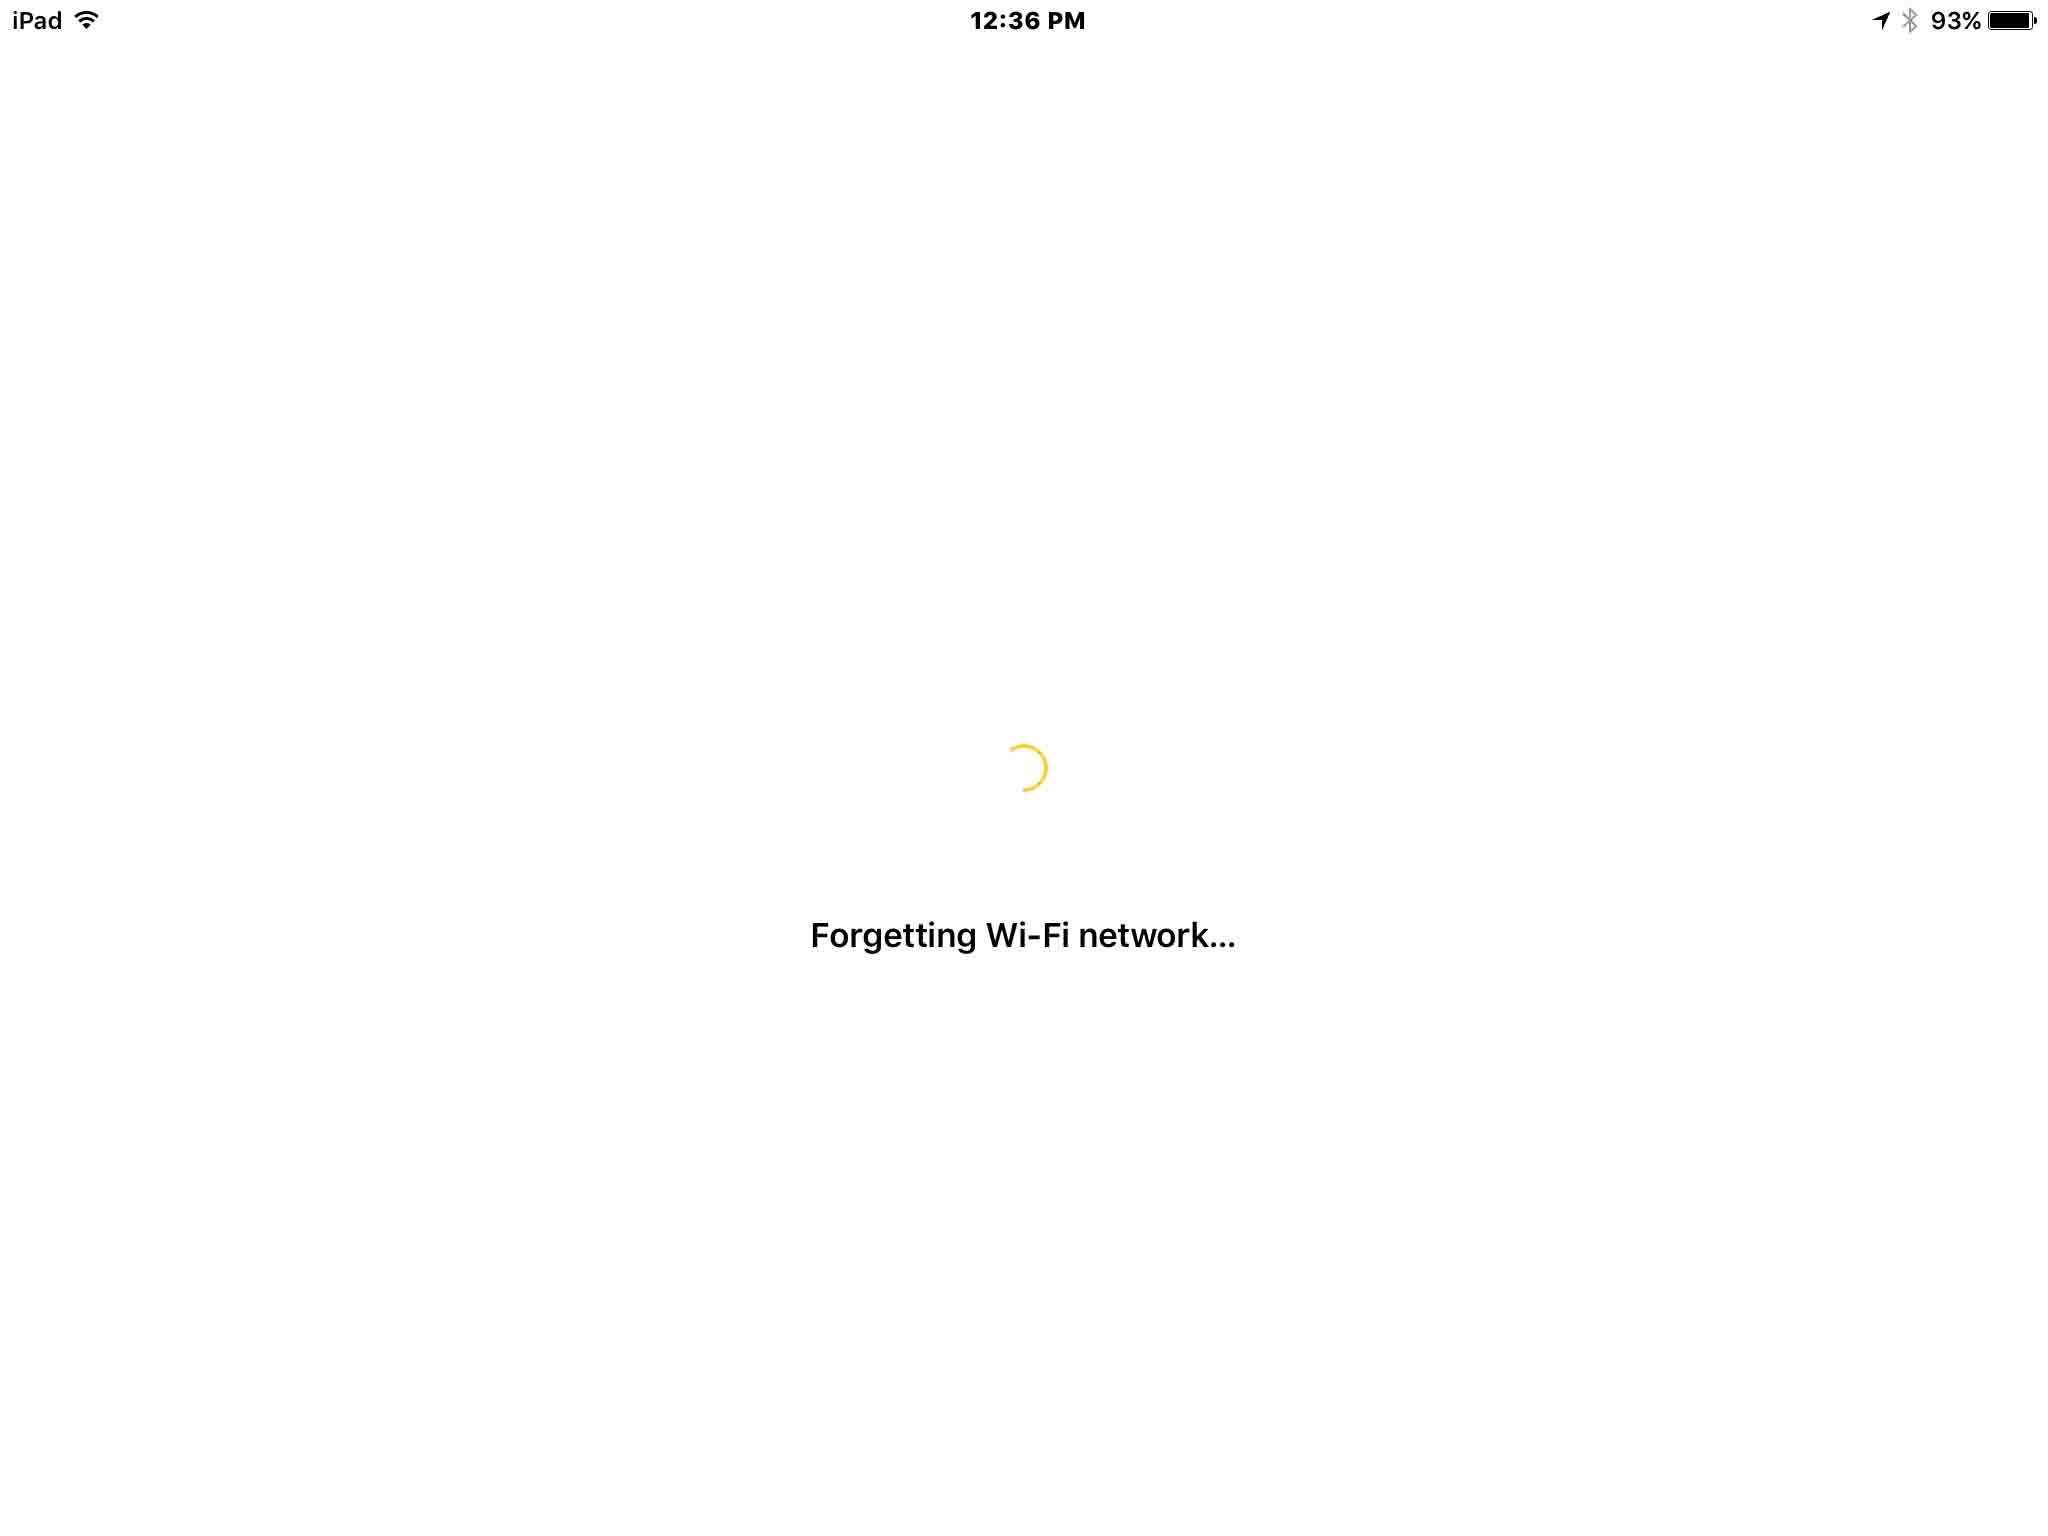
After a short pause, the app returns you to its Home screen, as shown next.
6e. Again, Tap the Hamburger Menu
Find this in the top left corner of the app’s Home page.
The main menu then displays as shown in the next picture.
6f. Tap the Devices Item
In the main (hamburger) menu, find the Devices item, as pointed at by the purple arrow in the previous screenshot.
You’ll now get the same screenshot as covered in step 7, next.
7. Speaker Offline or Disconnected from WiFi
If your speaker is offline (i.e. not able to connect to any in-range Wi-Fi networks), or if you previously disconnected it from WiFi as described in step 6, then you’ll see something like the next screen.
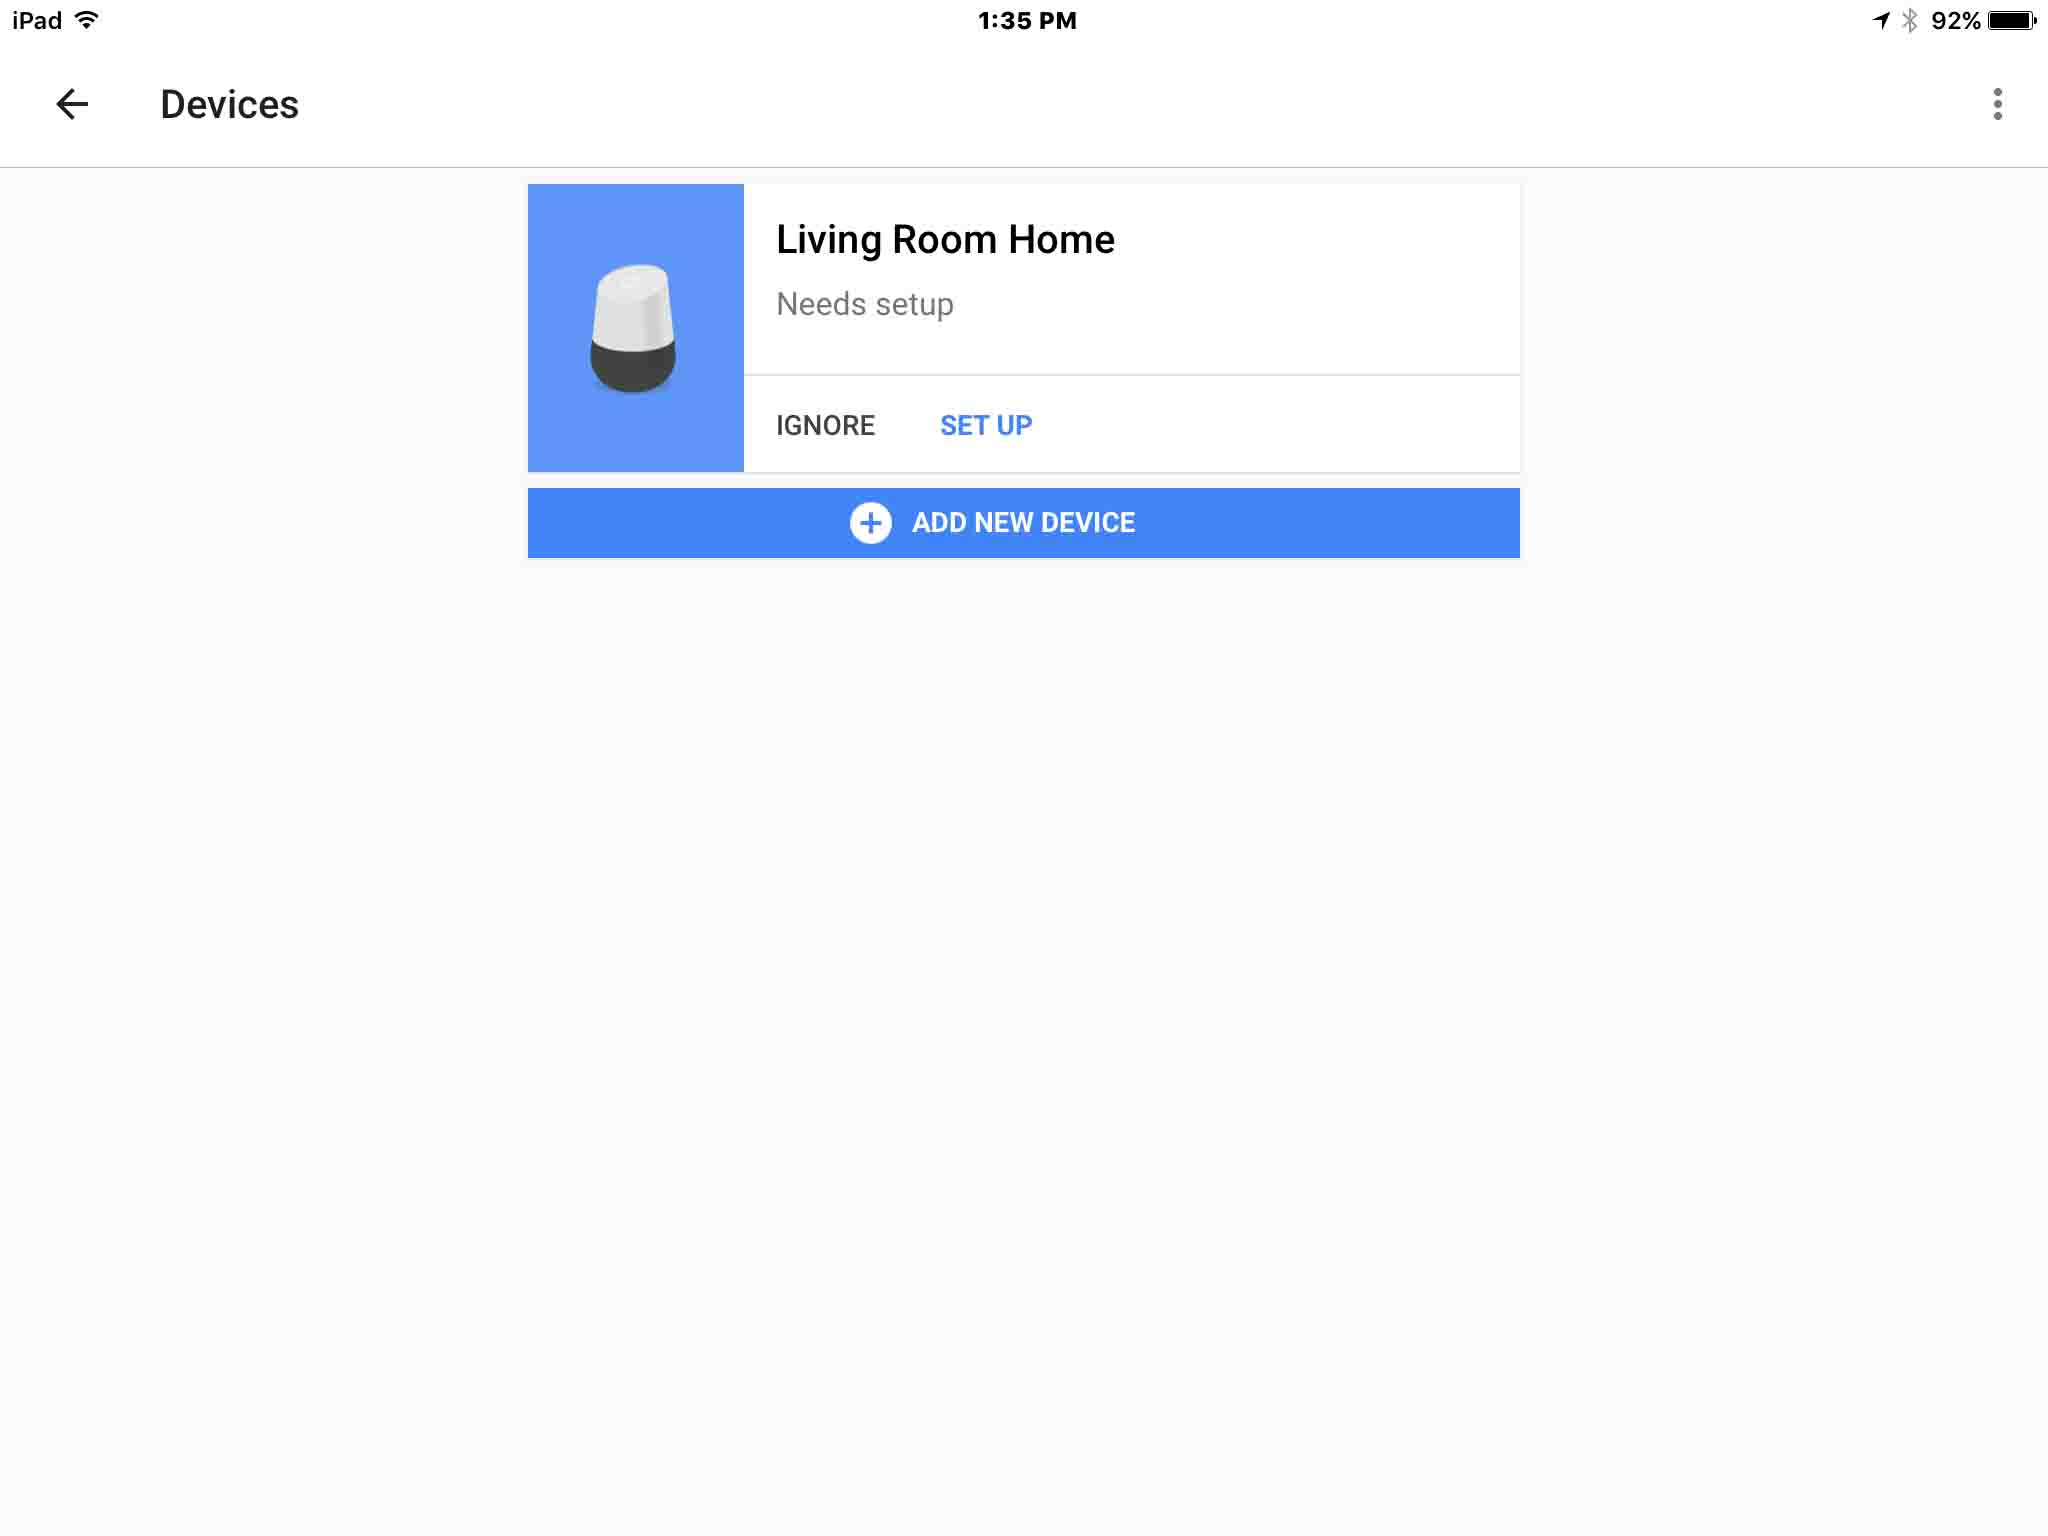
Your speaker may not be able to connect to a wireless network for example, if you have just replaced the Wi-Fi router / access point that your speaker had been connecting to previously, but you used a different network name (SSID). In that case, the old Wi-Fi network is no longer “on the air.” But the Google speaker cannot yet connect to the new one, as it does not yet have valid network SSID and password for it.
The screen above indicates no Wi-Fi connectivity by flagging your speaker as needing setup.
Further, with the speaker not connected to any internet network, Google Home will be unable to respond to any questions / commands directed at your speaker, except to say, “I can’t find your Wi-Fi network. You can reconnect to Wi-Fi from your Google Home app, under Devices, then Setup.” This audio message from the speaker is a sure sign that it is not connected to any WiFi networks currently.
8. Press the SET UP Link on Devices Screen to Continue with How to Change Google Home WiFi
Reminder: Be sure your tablet is within several feet of the speaker. If it is not, then setup may fail.
But if all goes well, the app then searches for your speaker, and finds it, as shown in the next screen.
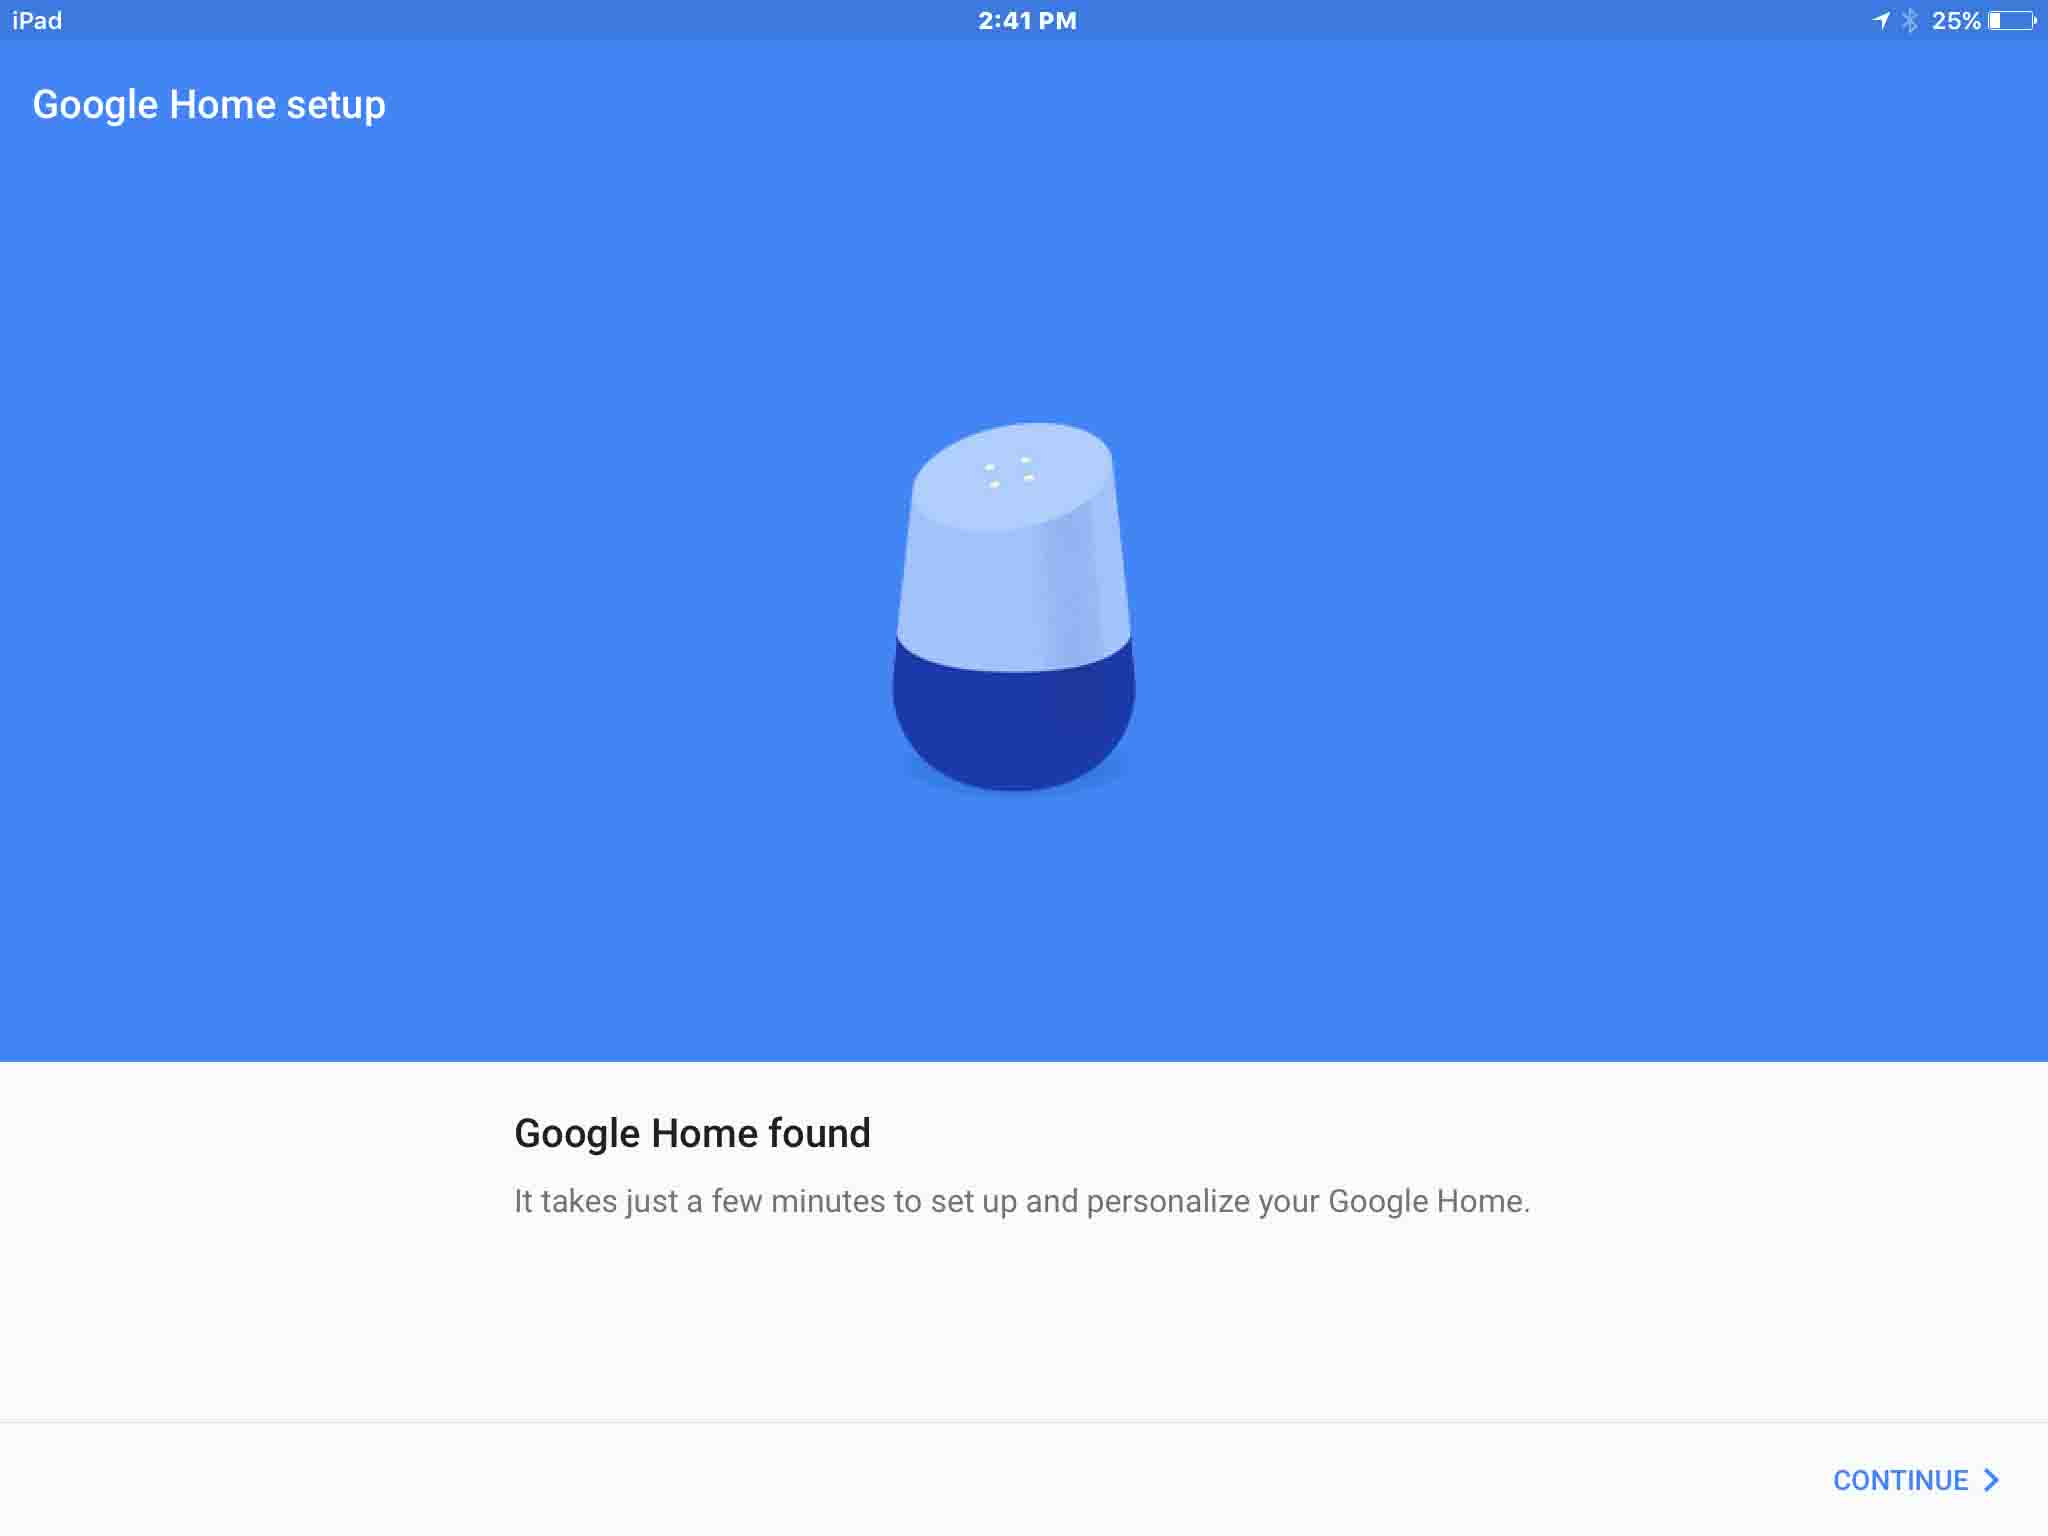
9. Tap the CONTINUE > Link
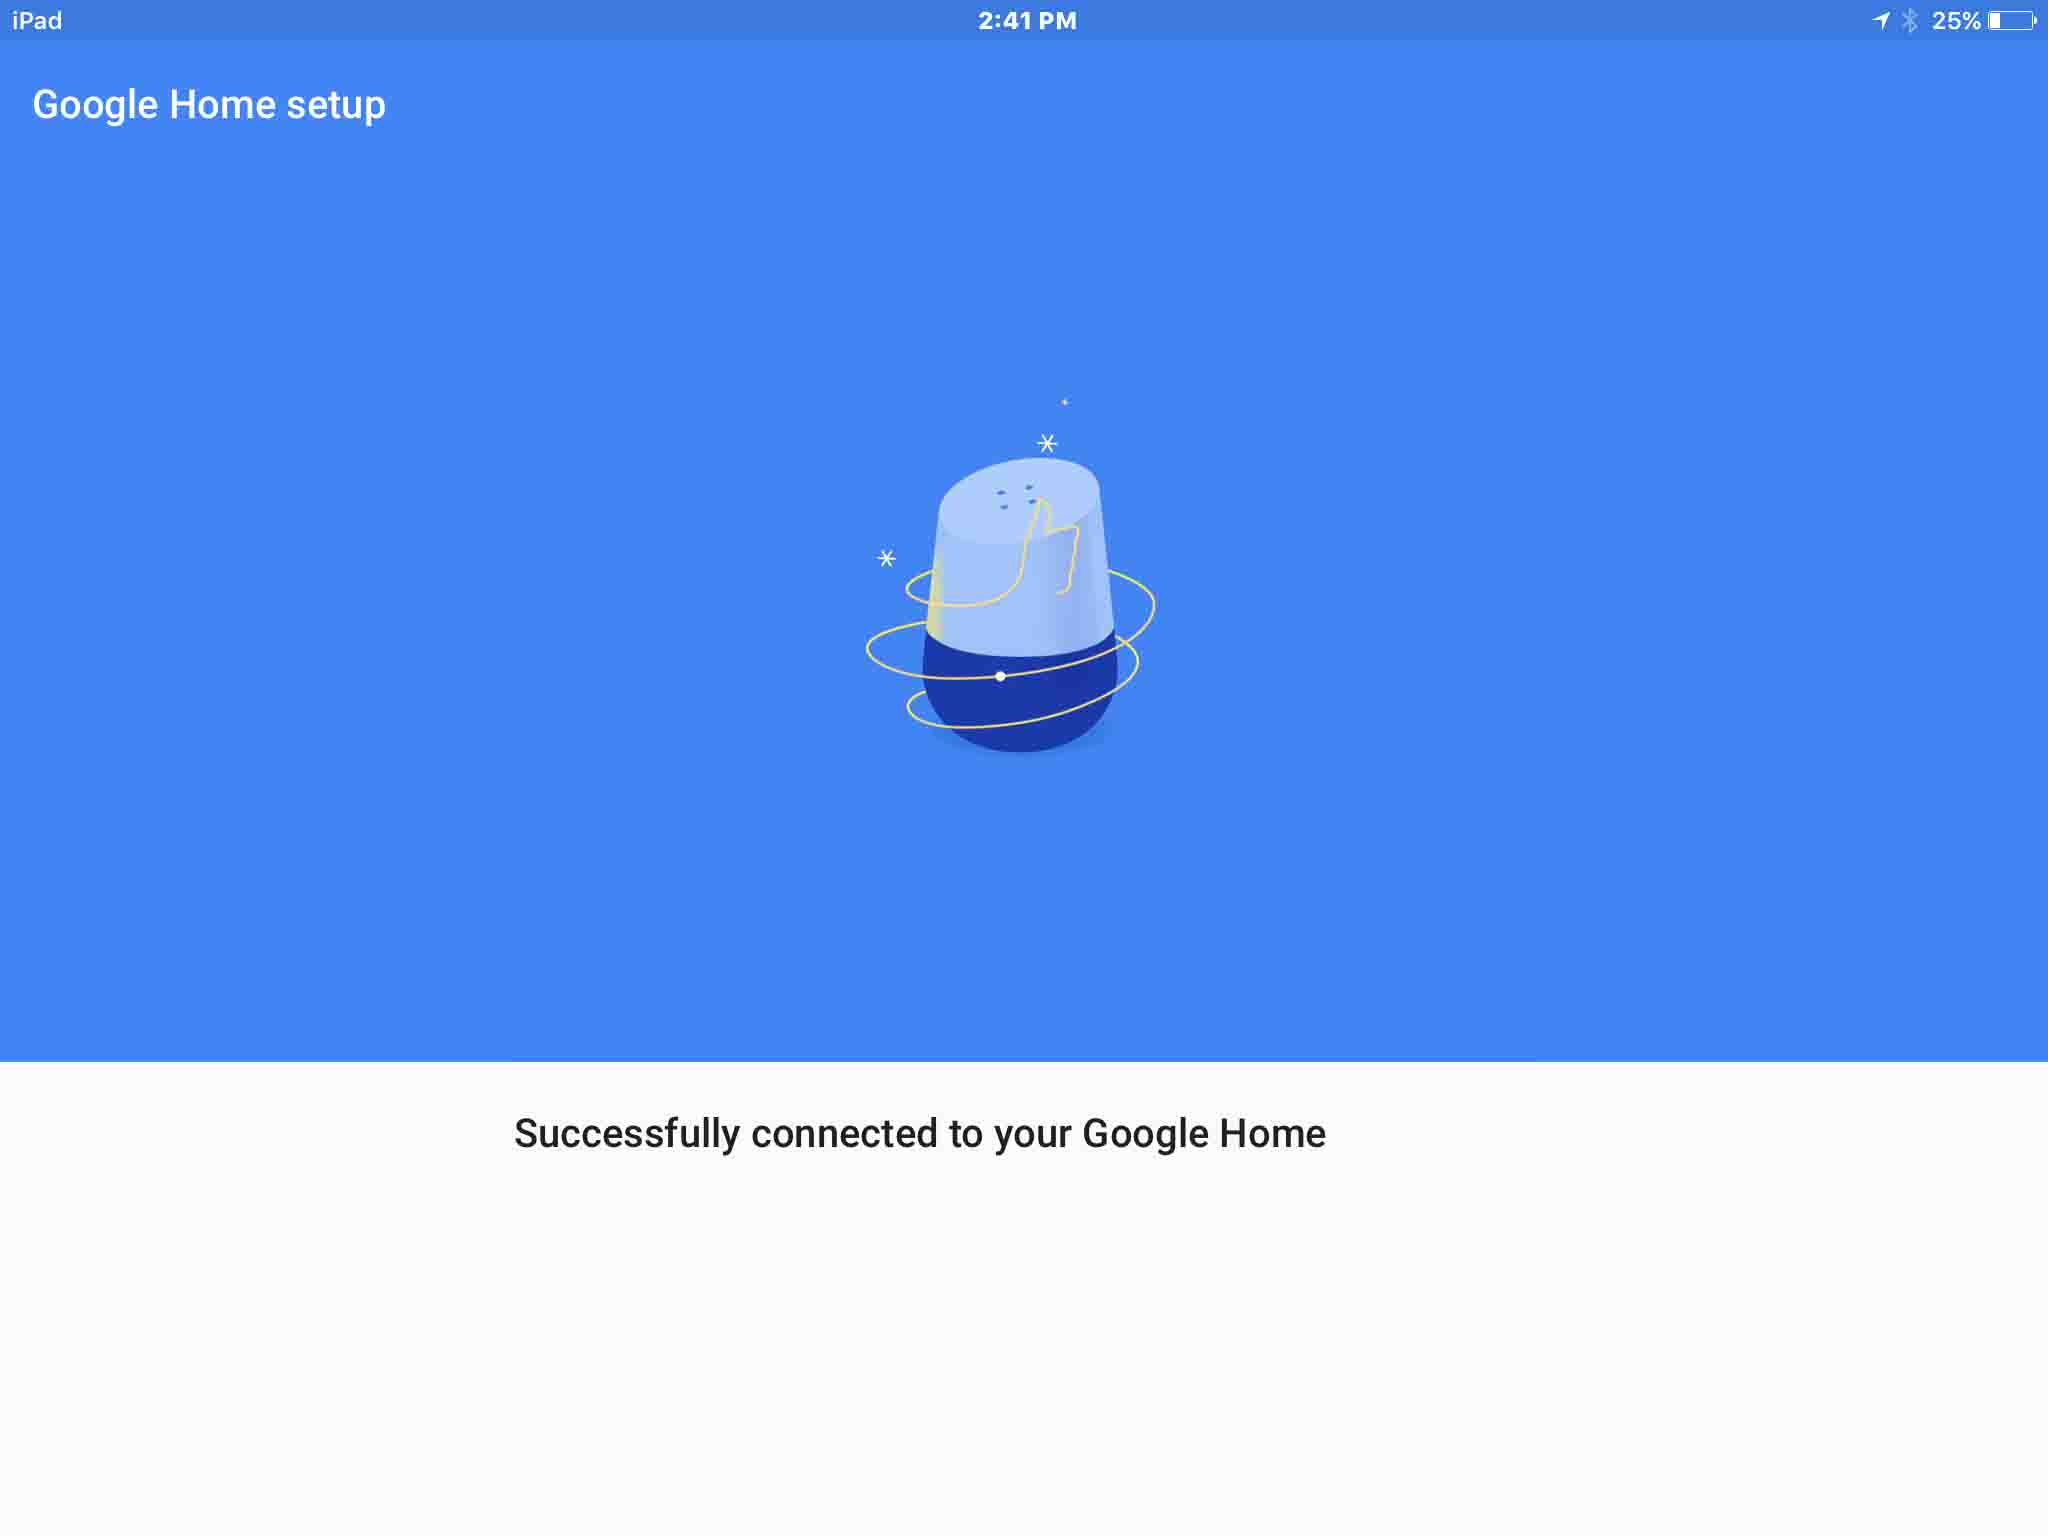
The app then tries to connect to your speaker.
When it succeeds, it puts up the following screen.
Then after a few seconds, it prompts you for permission to play a test sound on the speaker,
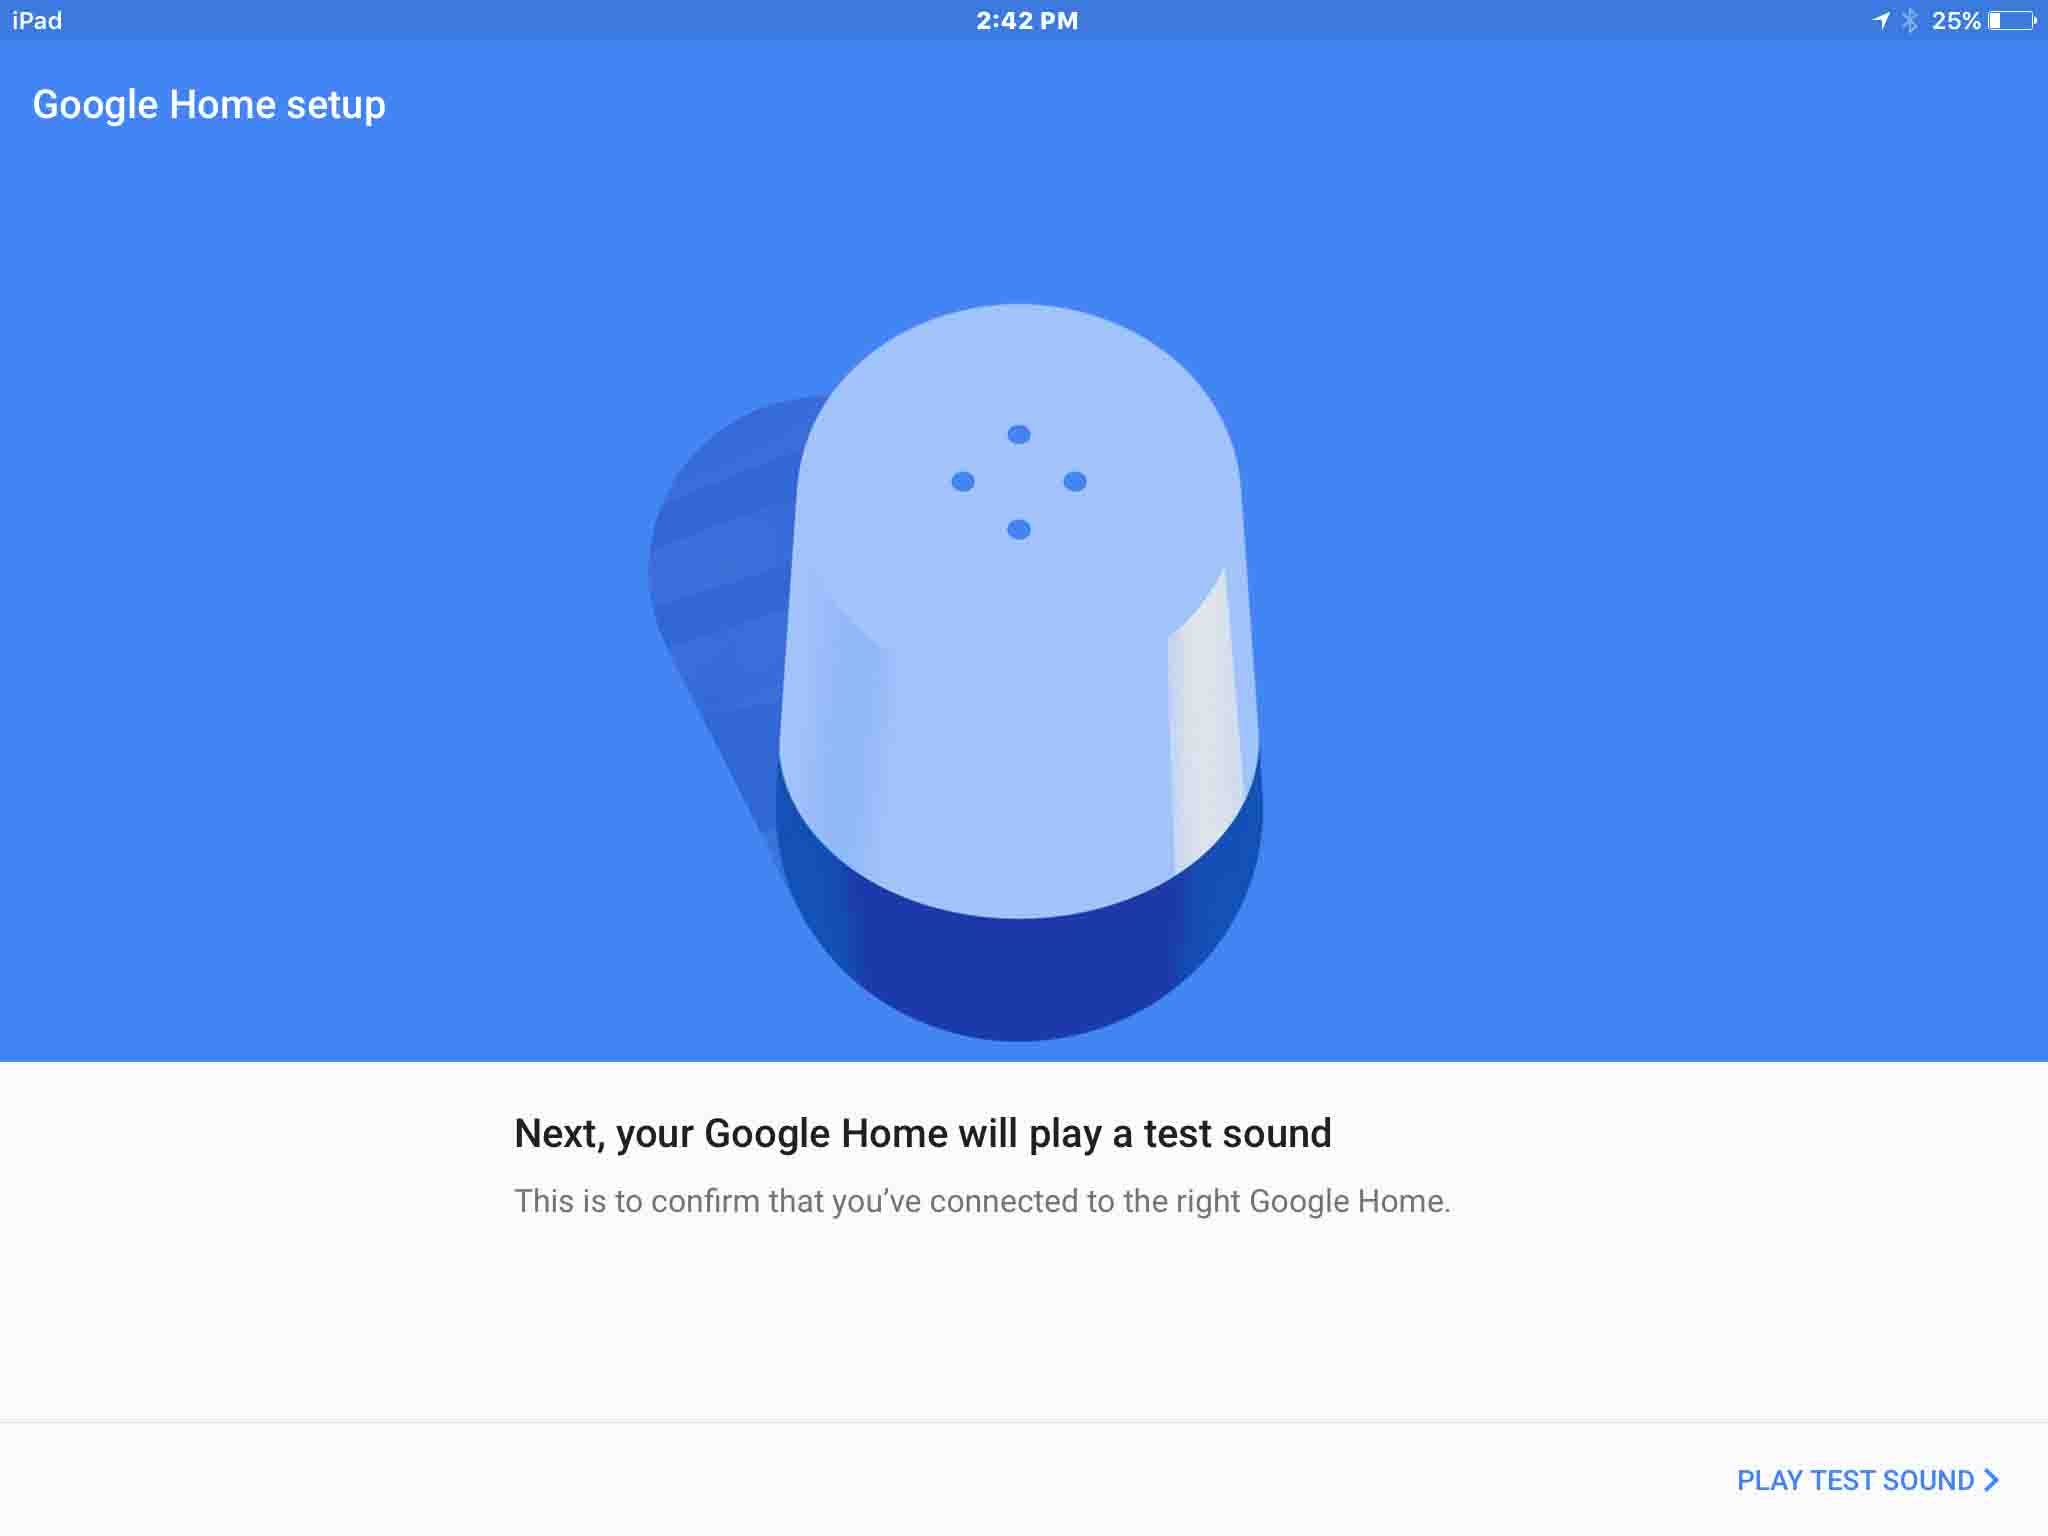
10. Tap the PLAY TEST SOUND Link
When you tap this link, your speaker should play a short chord sequence, further indicating that the app connected to the right speaker.
Then, the following screen appears on the tablet, asking if you heard the test sound from your speaker. If you did indeed hear the test sound, then go on to the next step, and confirm that.
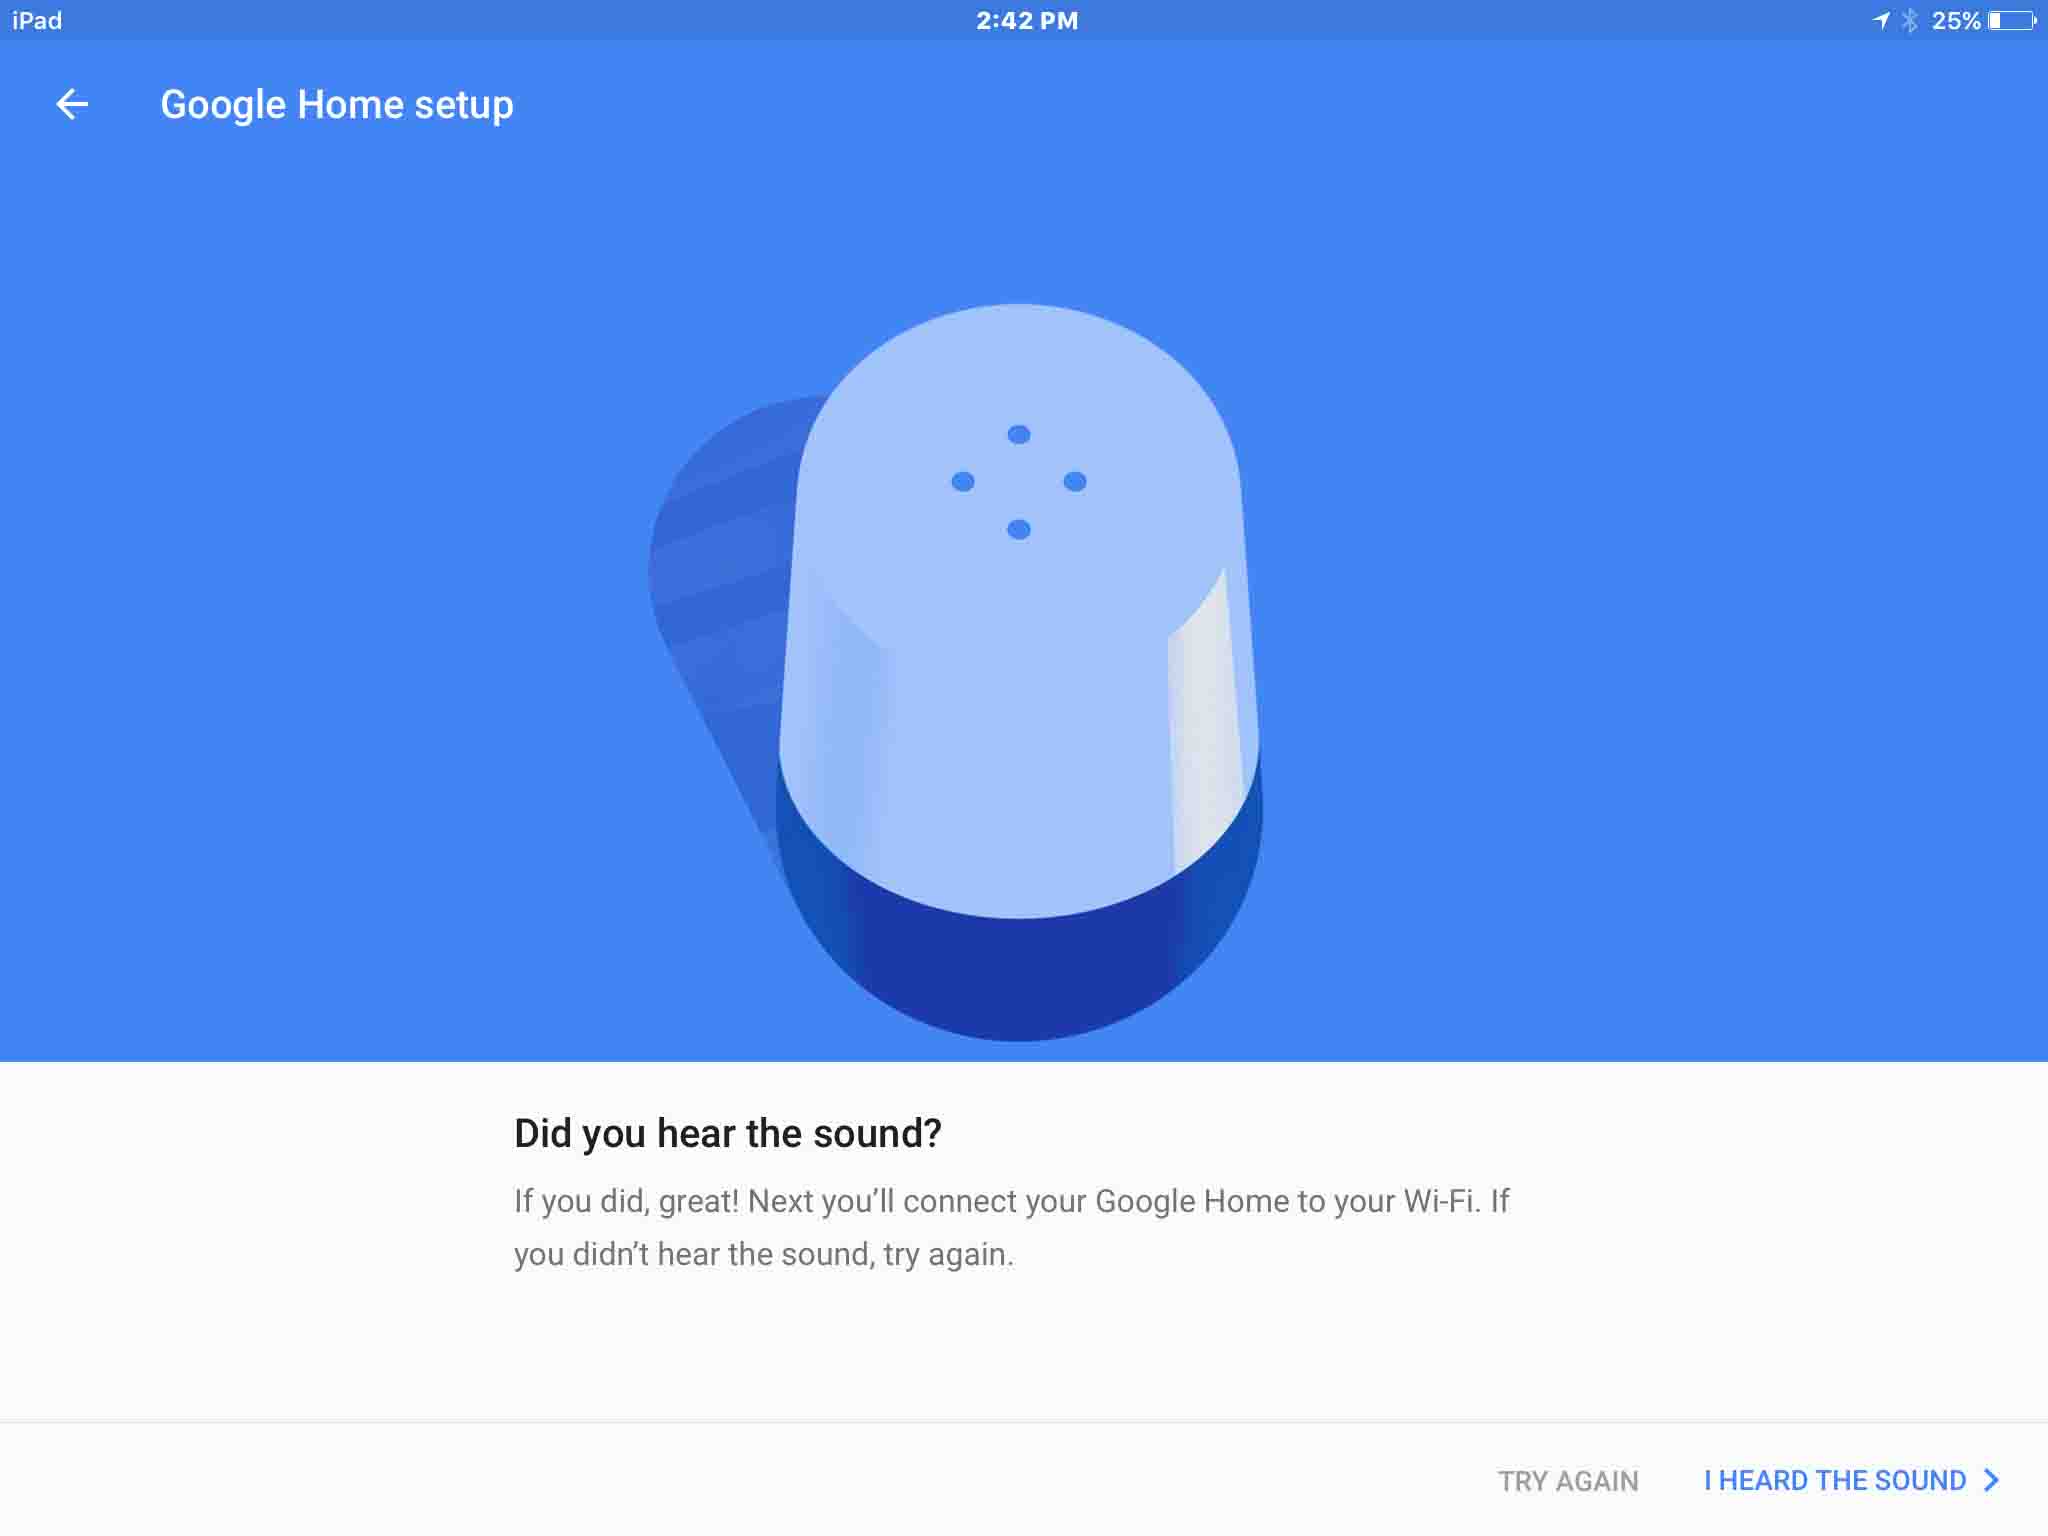
11. Tap the I HEARD THE SOUND Link
Then, the app asks you to choose a room name for your speaker, as shown in the next screenshot.
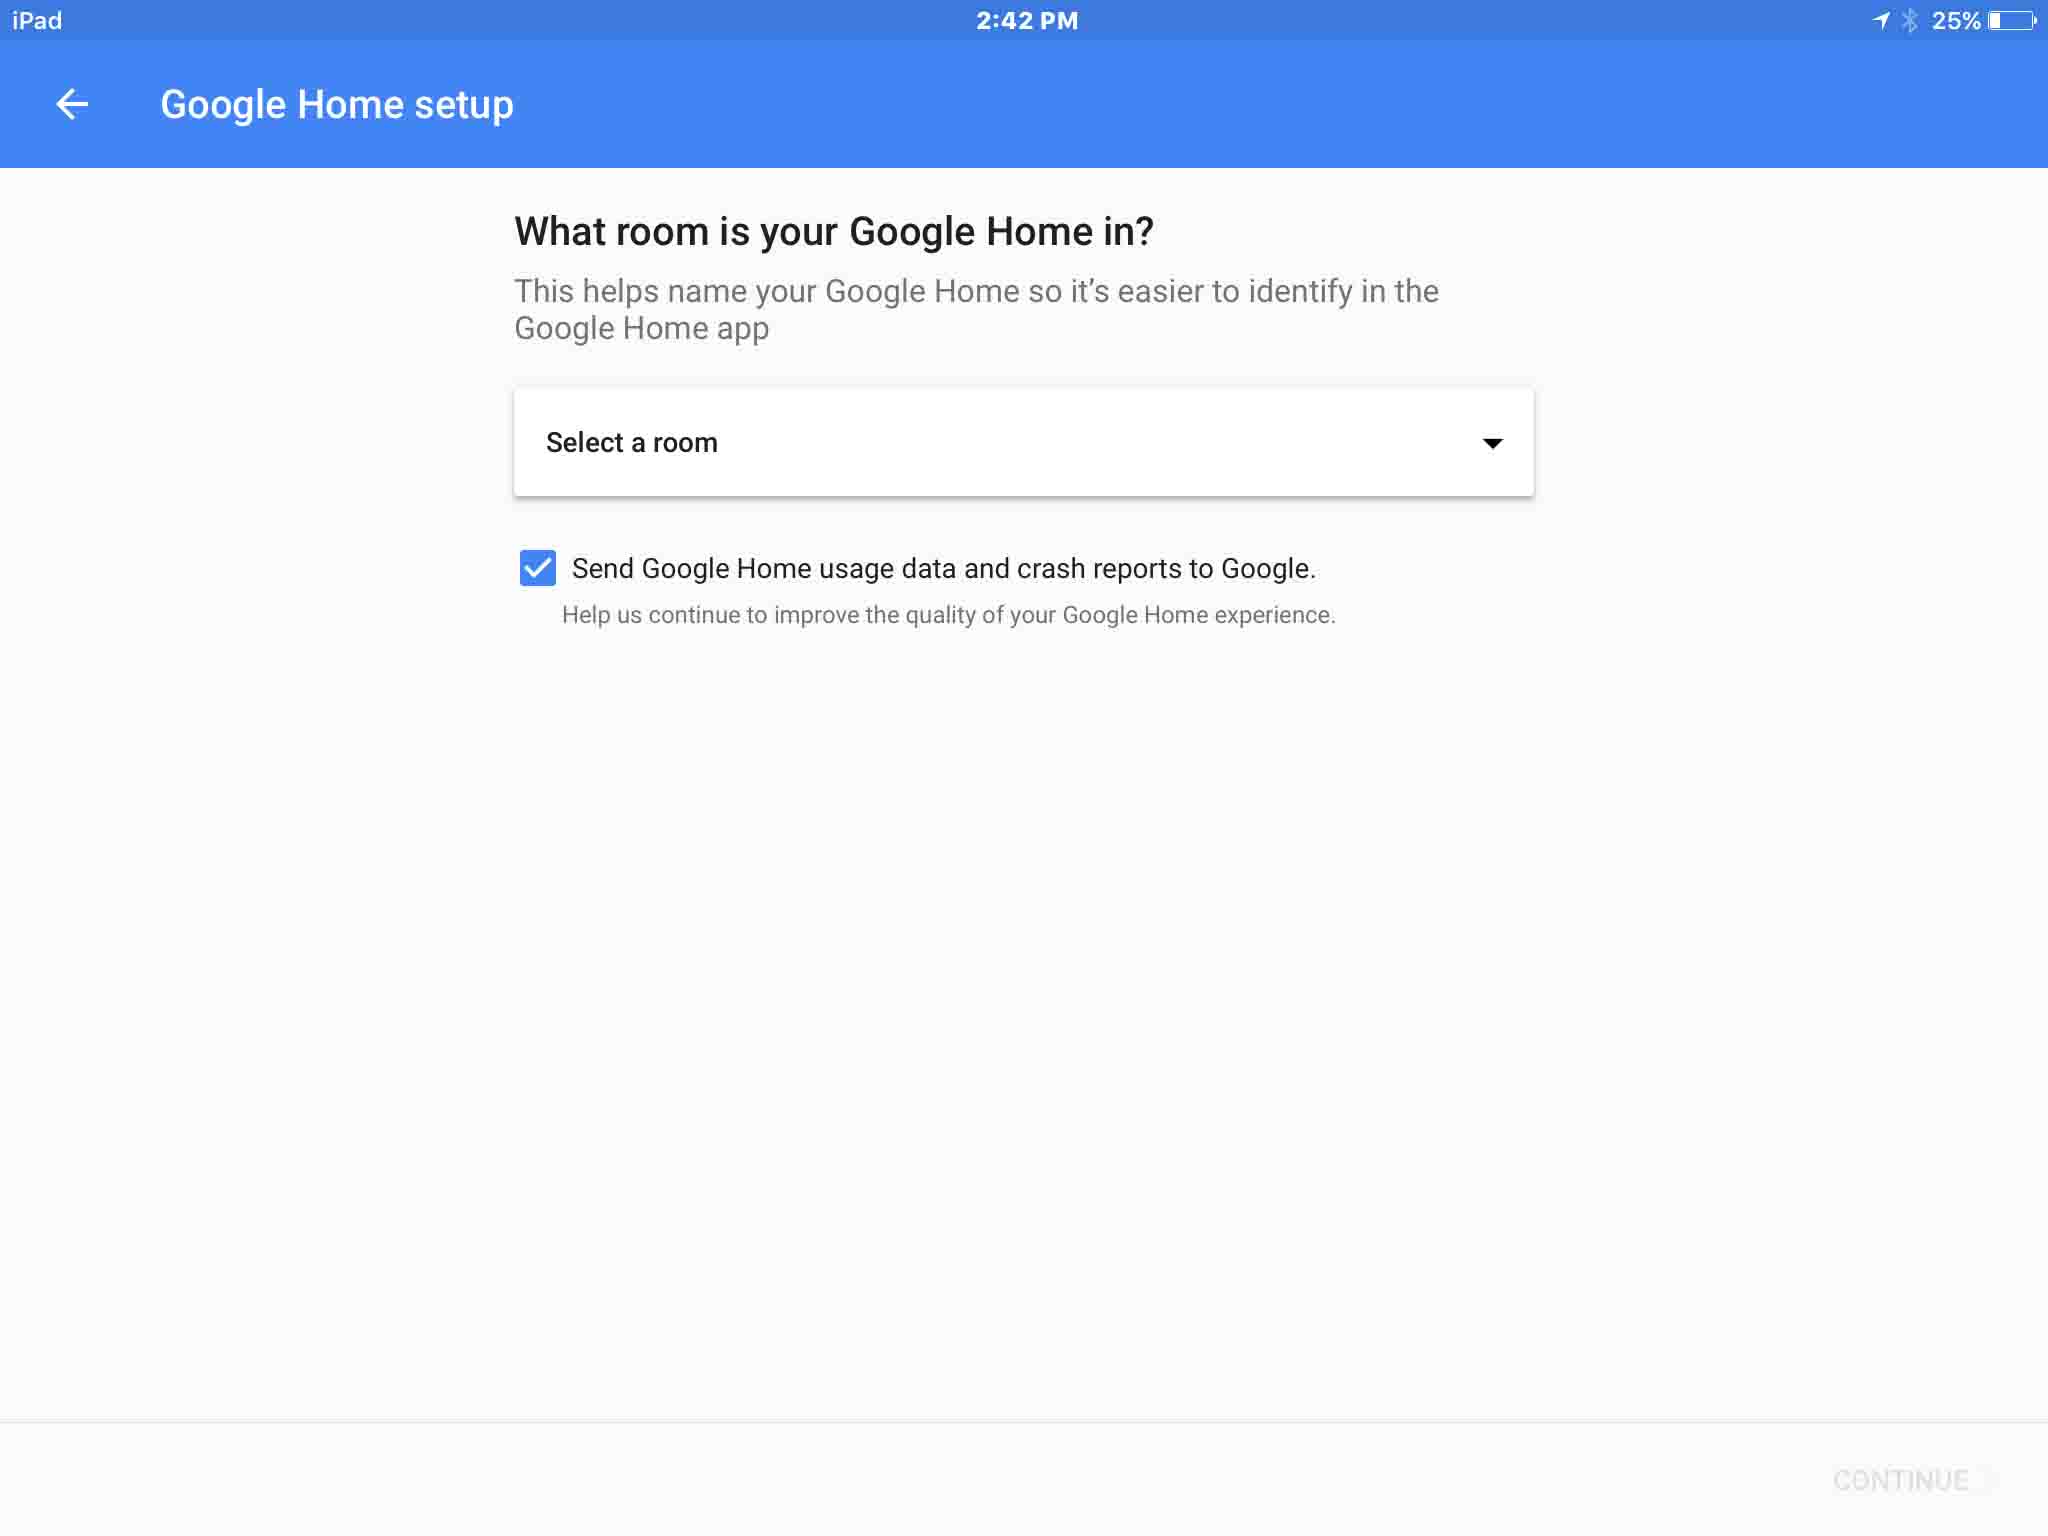
12. Pick a Room Name for your Speaker to Continue with How to Change Google Home WiFi
from the pull-down list box on the previous screen. The screen then changes to the following, showing our room choice (Living Room), as shown next.
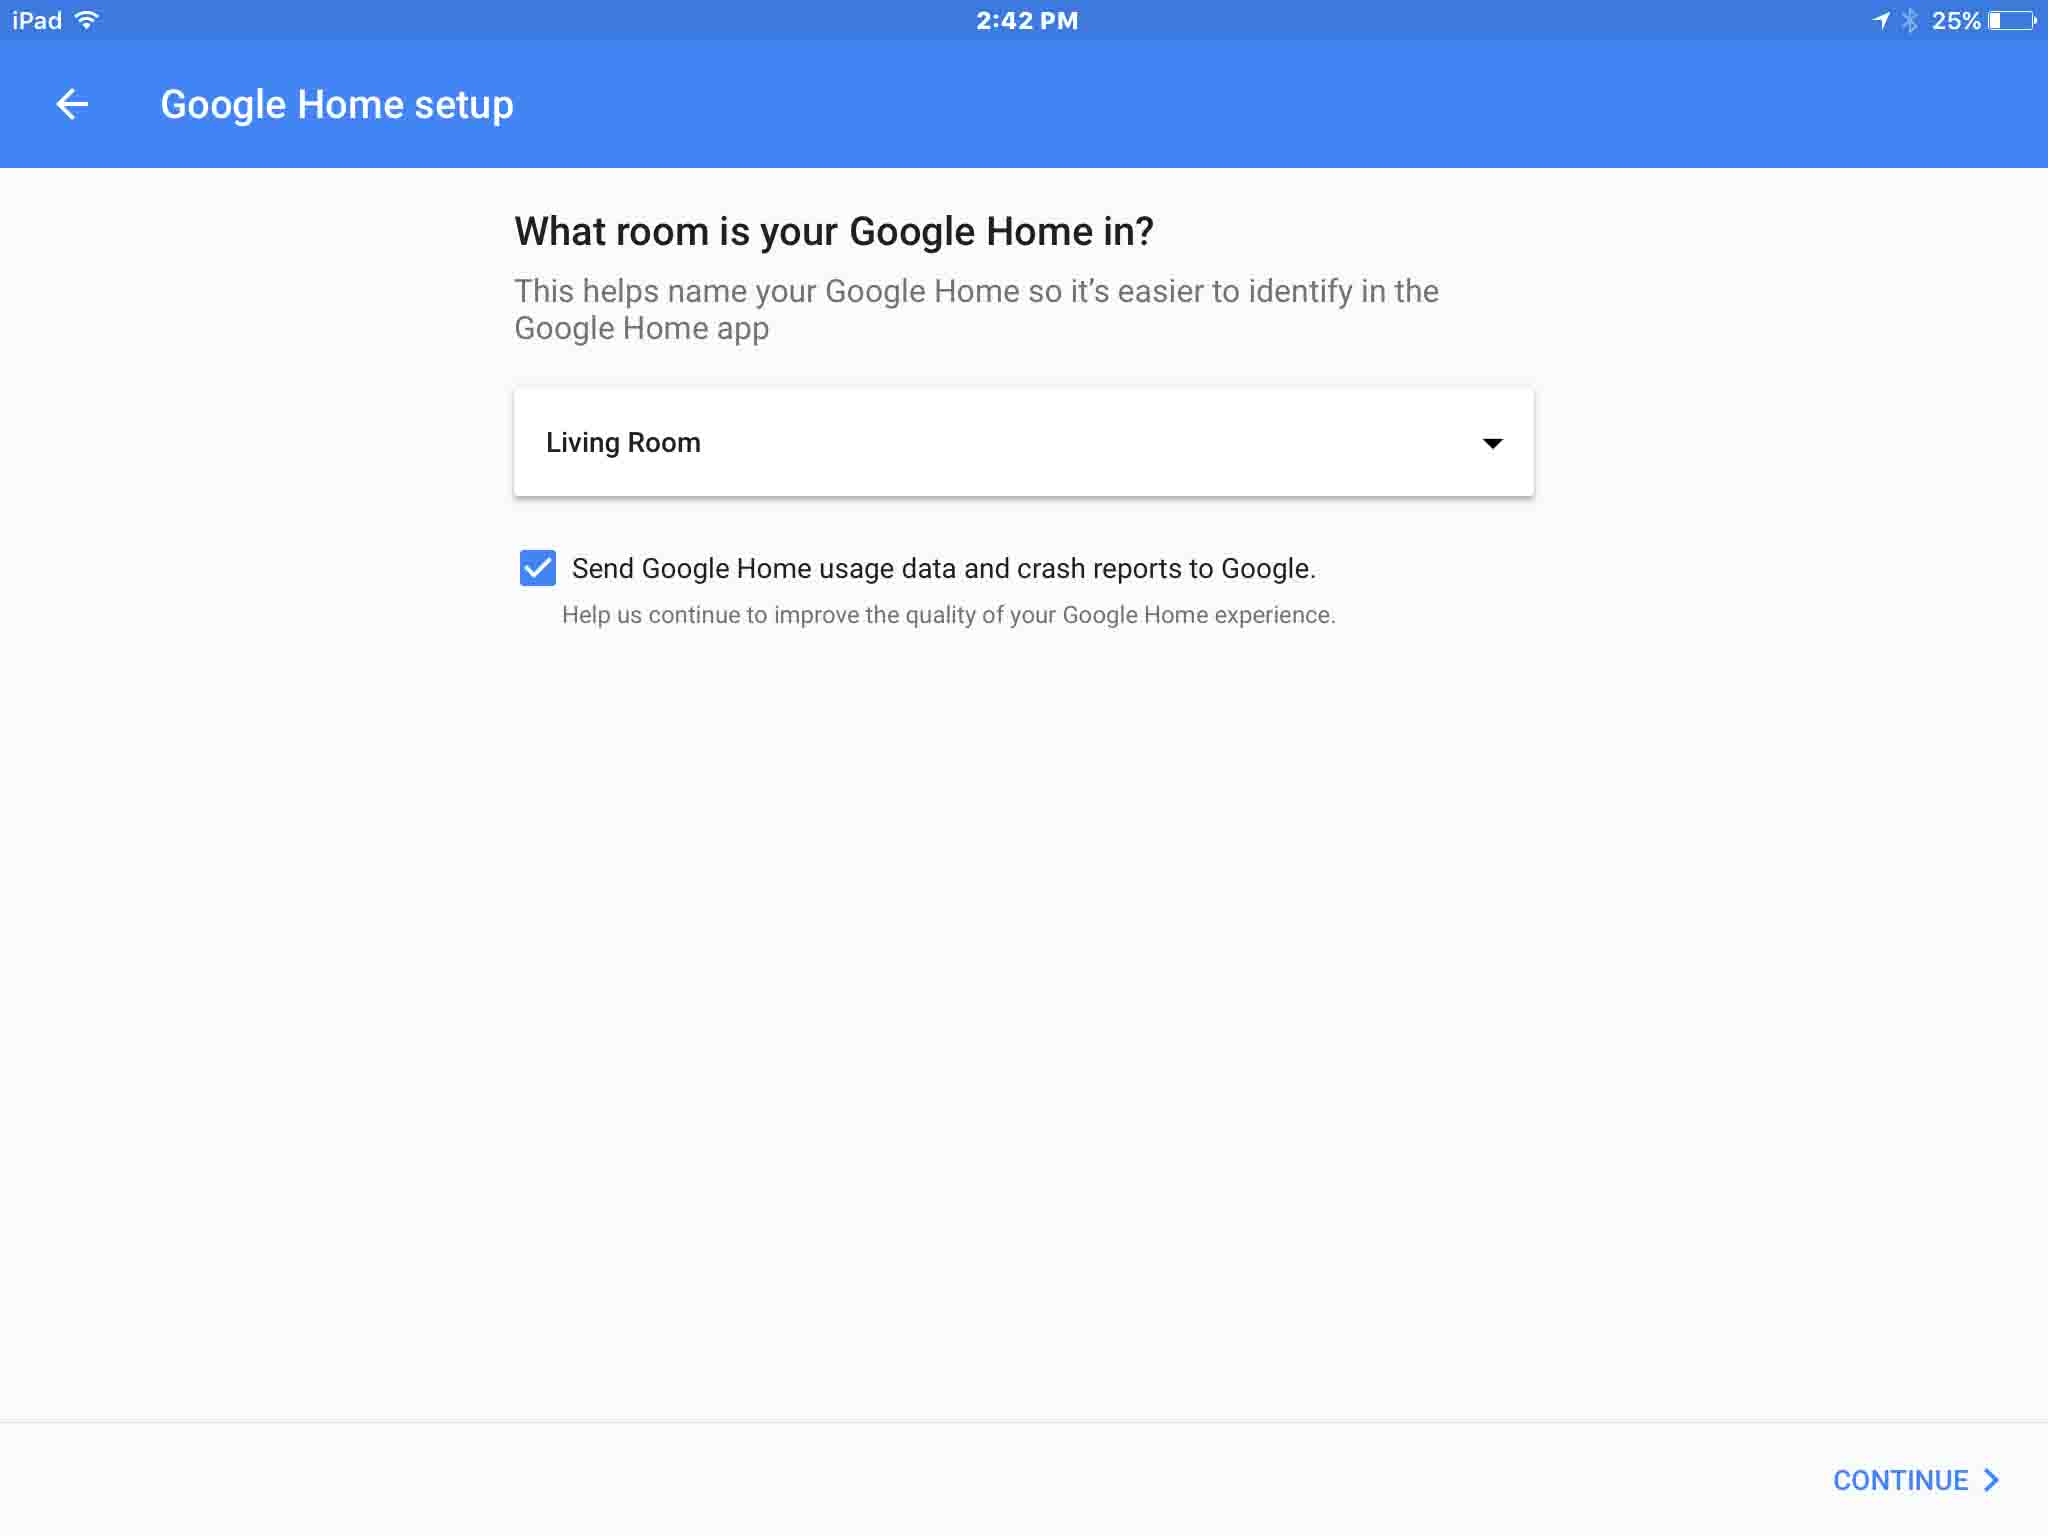
13. Tap the CONTINUE > Link
The Select a Wi-Fi network prompt then appears as follows.
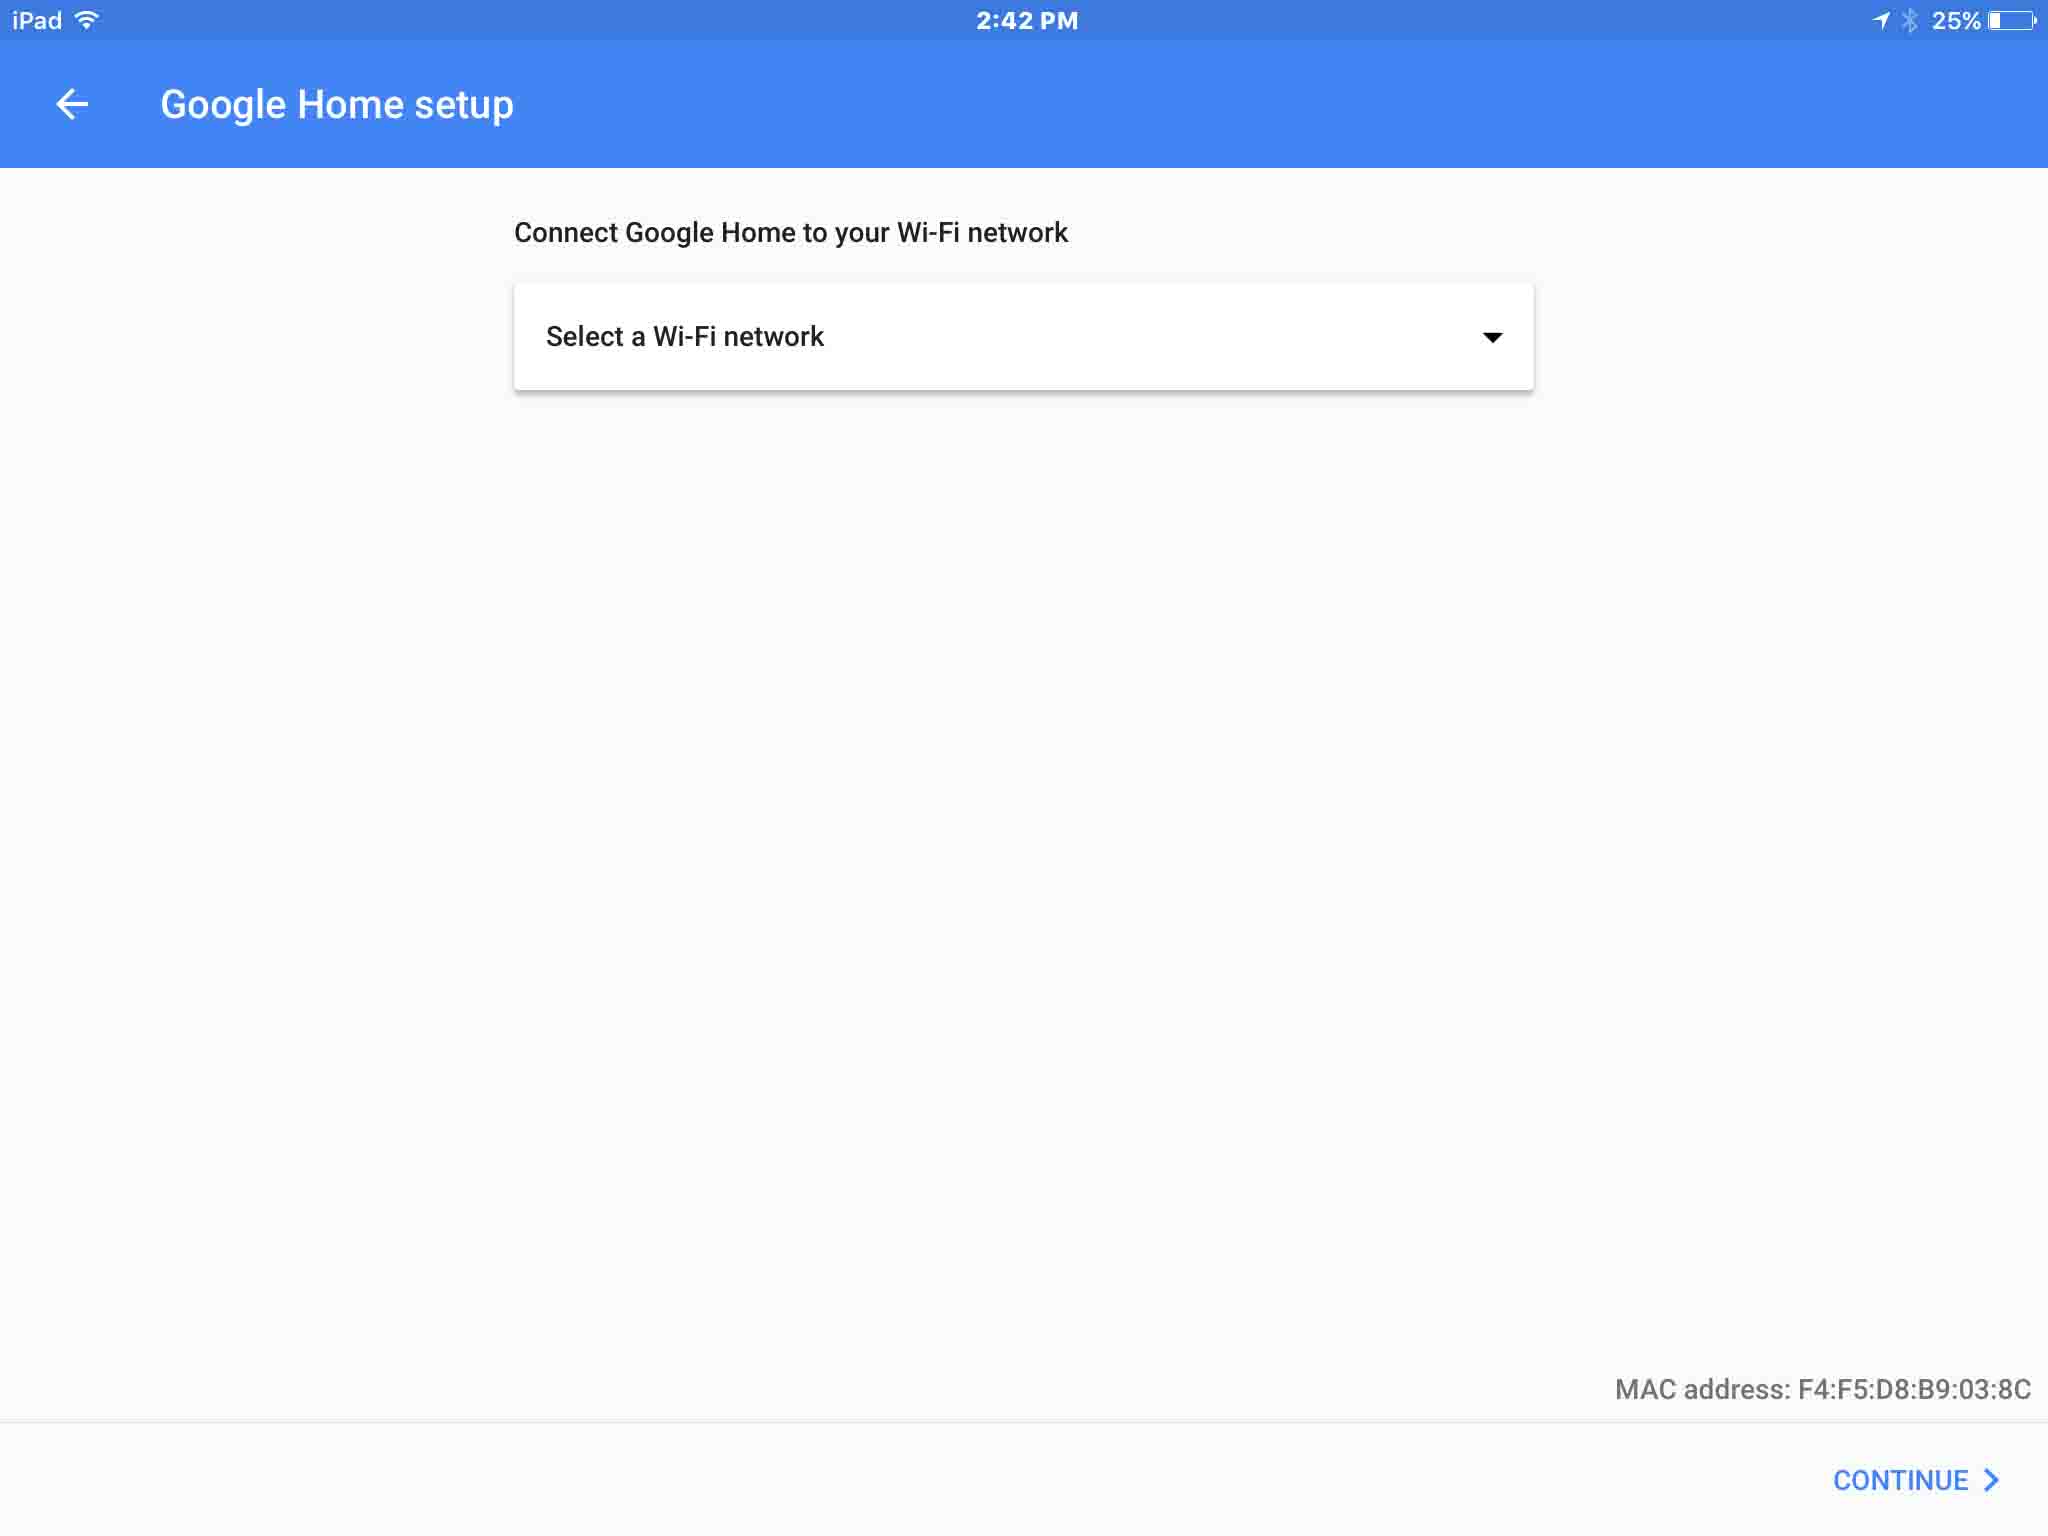
14. Tap the Arrow in Pull-Down List Box
A list of available networks appears as shown next.
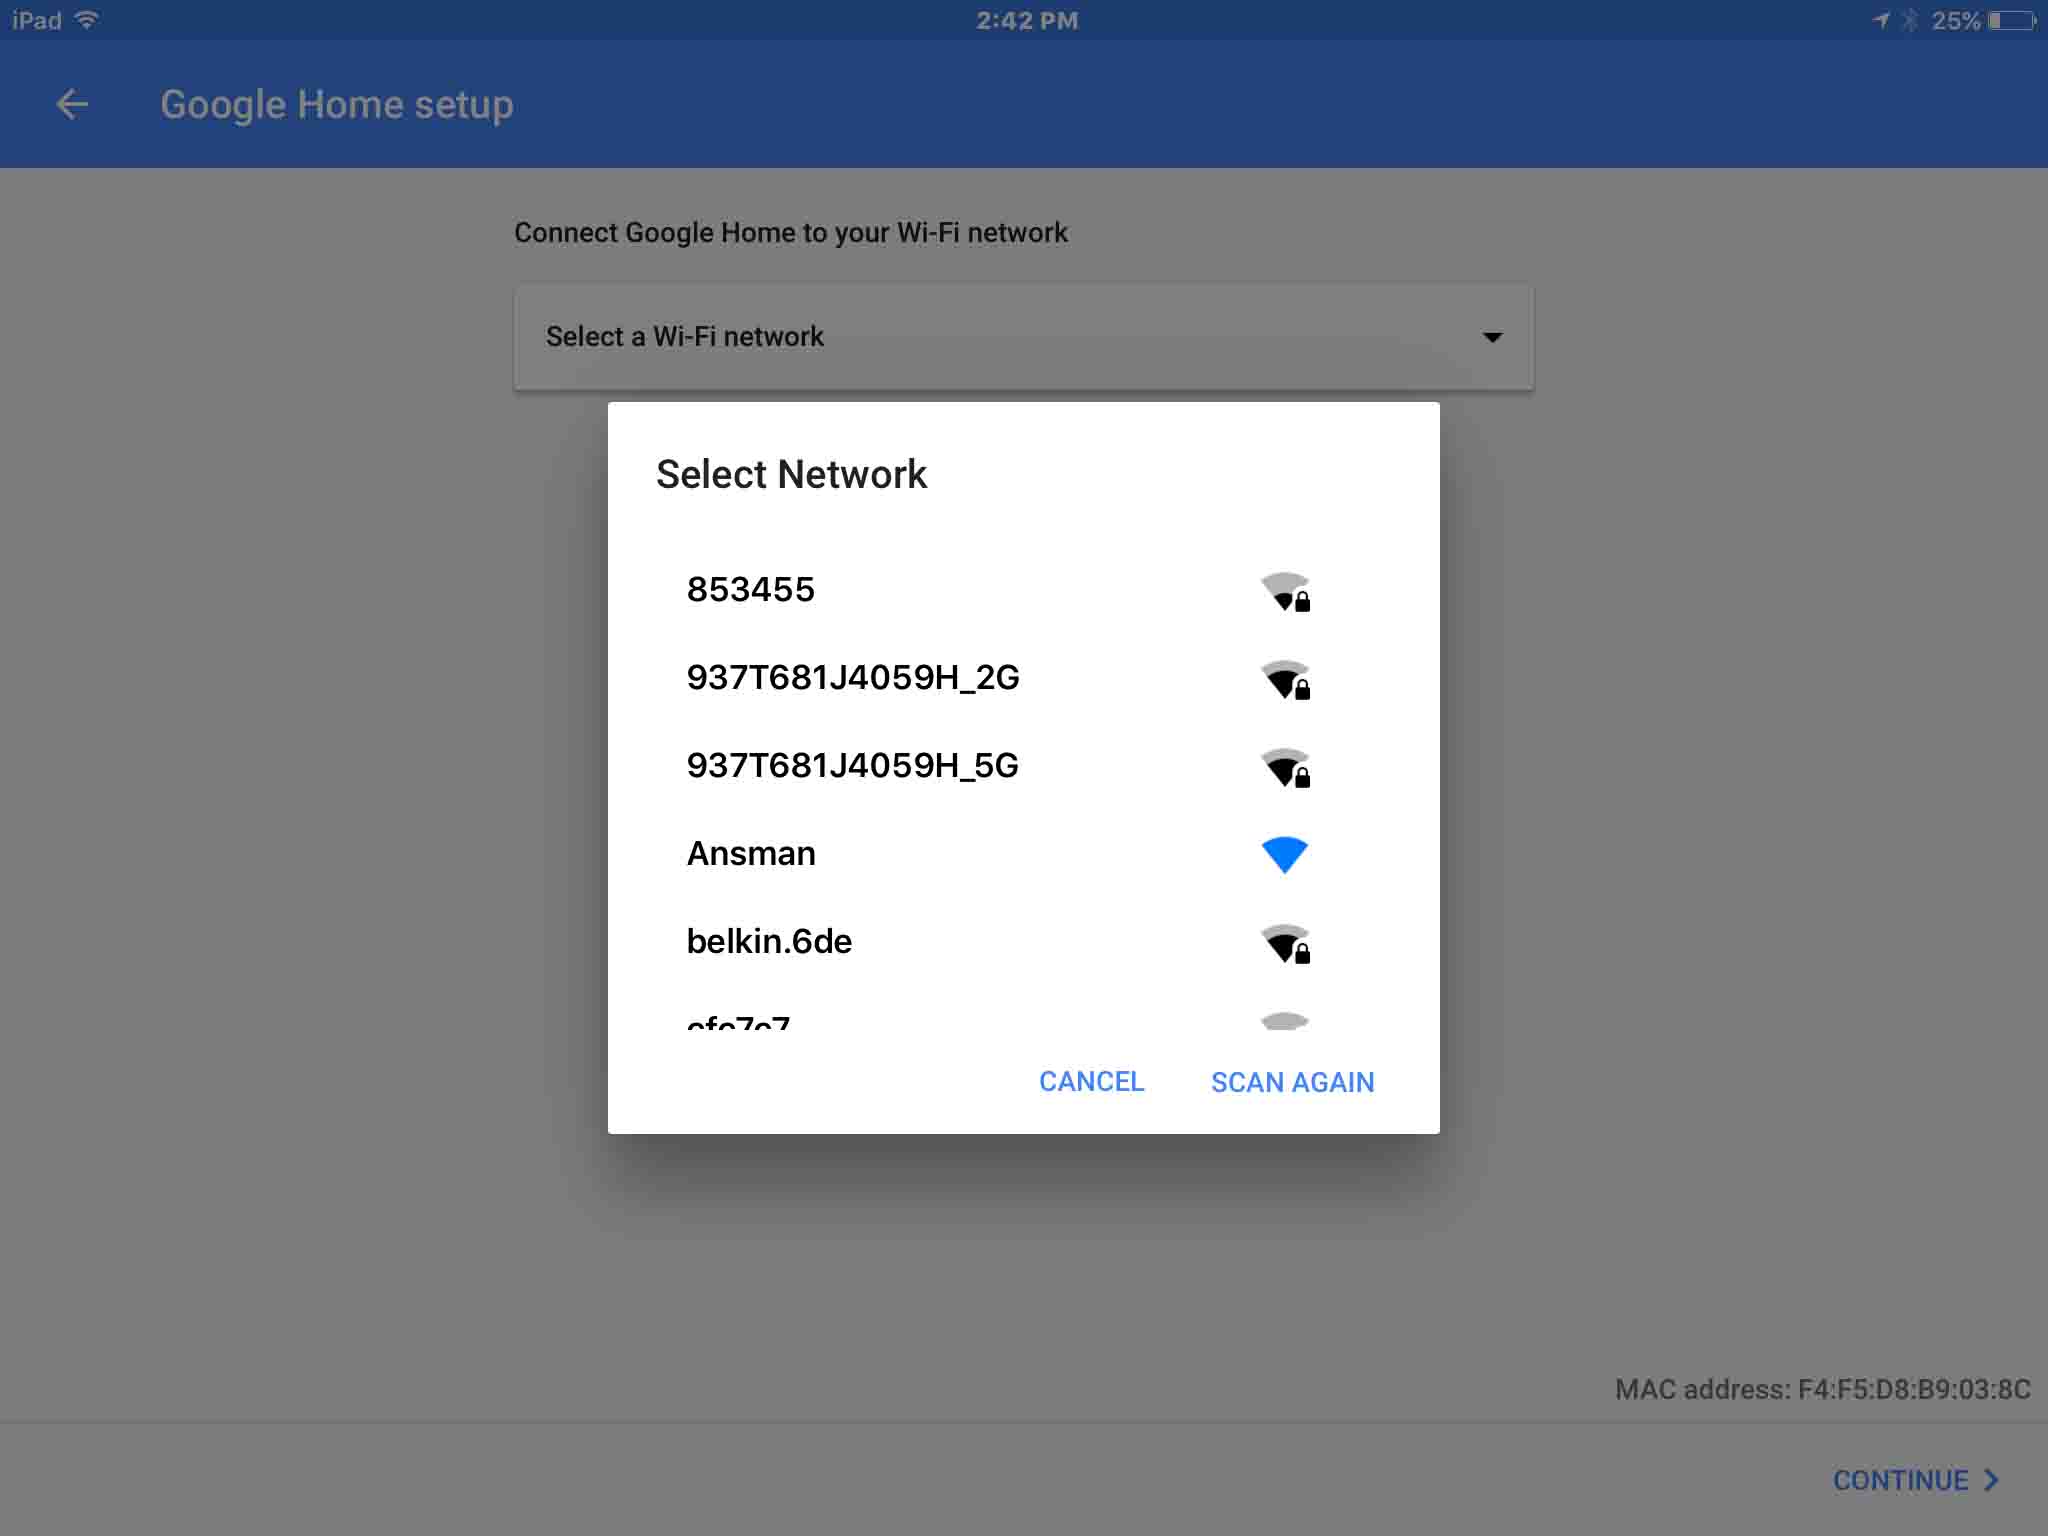
15. Tap the WiFi Network Name you Want to Continue with How to Change Google Home WiFi
In our case, we wish our speaker to change to the 937T681J4059H_2G Wi-Fi network. So that’s the one we selected. Note that the network list window disappears, revealing once again the Wi-Fi network select screen. But this time however, our chosen network is filled in, in the network name field.
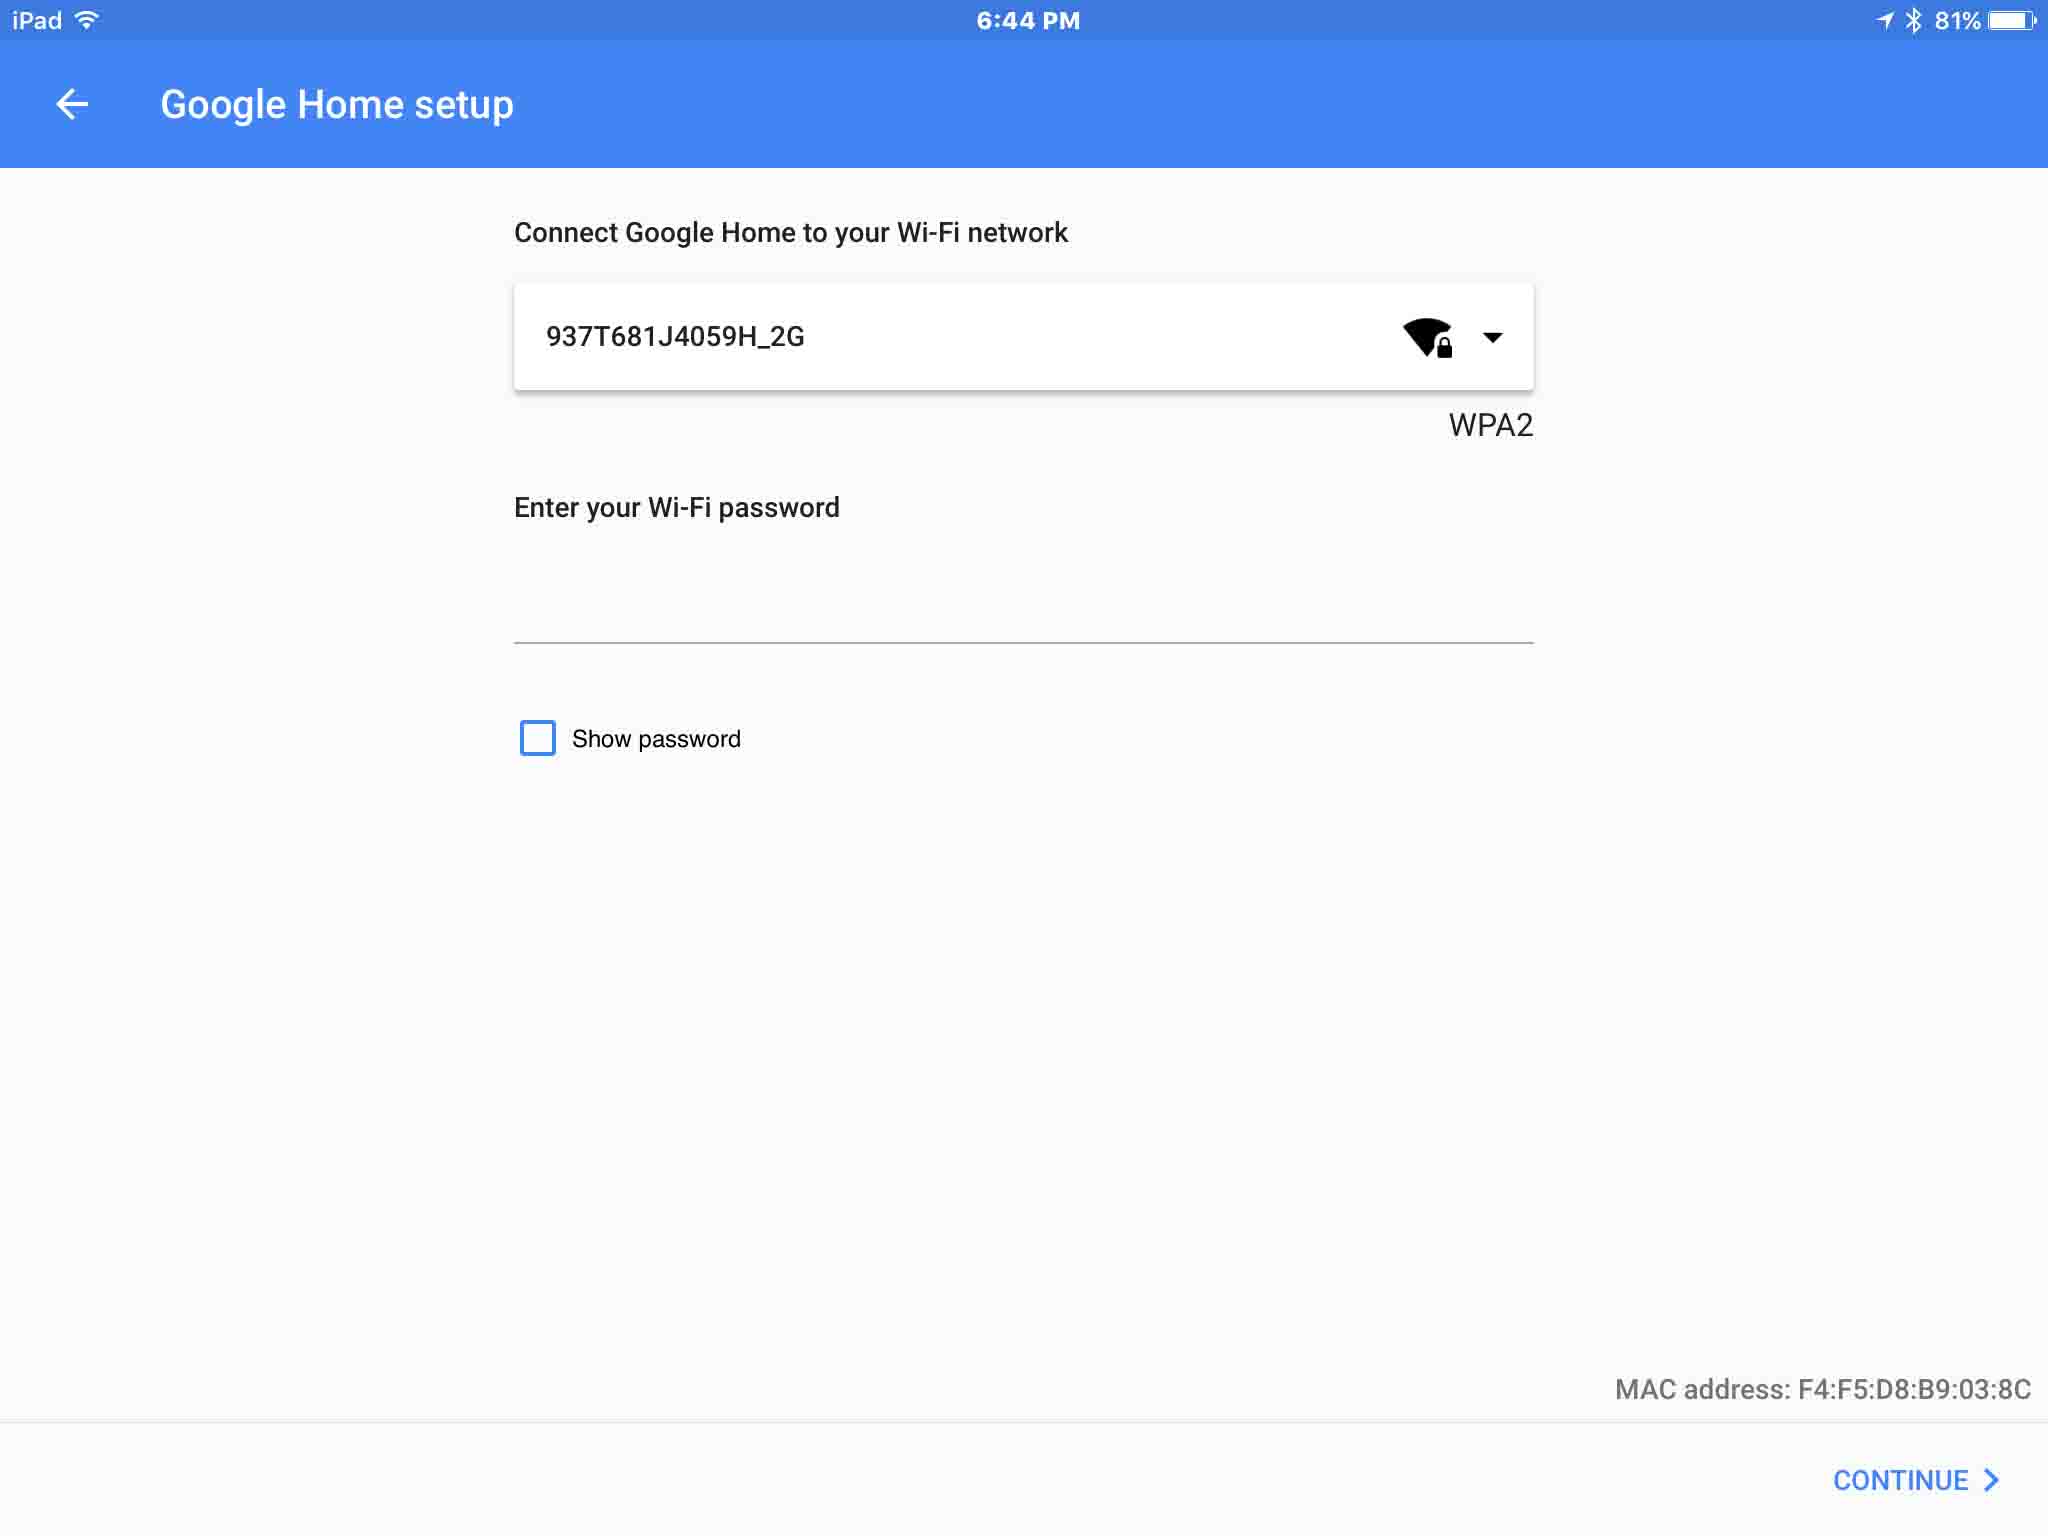
16. Enter Password of the New WiFi
Tap the Enter your Wi-Fi password field, see the virtual keyboard appear, and then type in the password. Your screen should look similarly to the next screen shot.
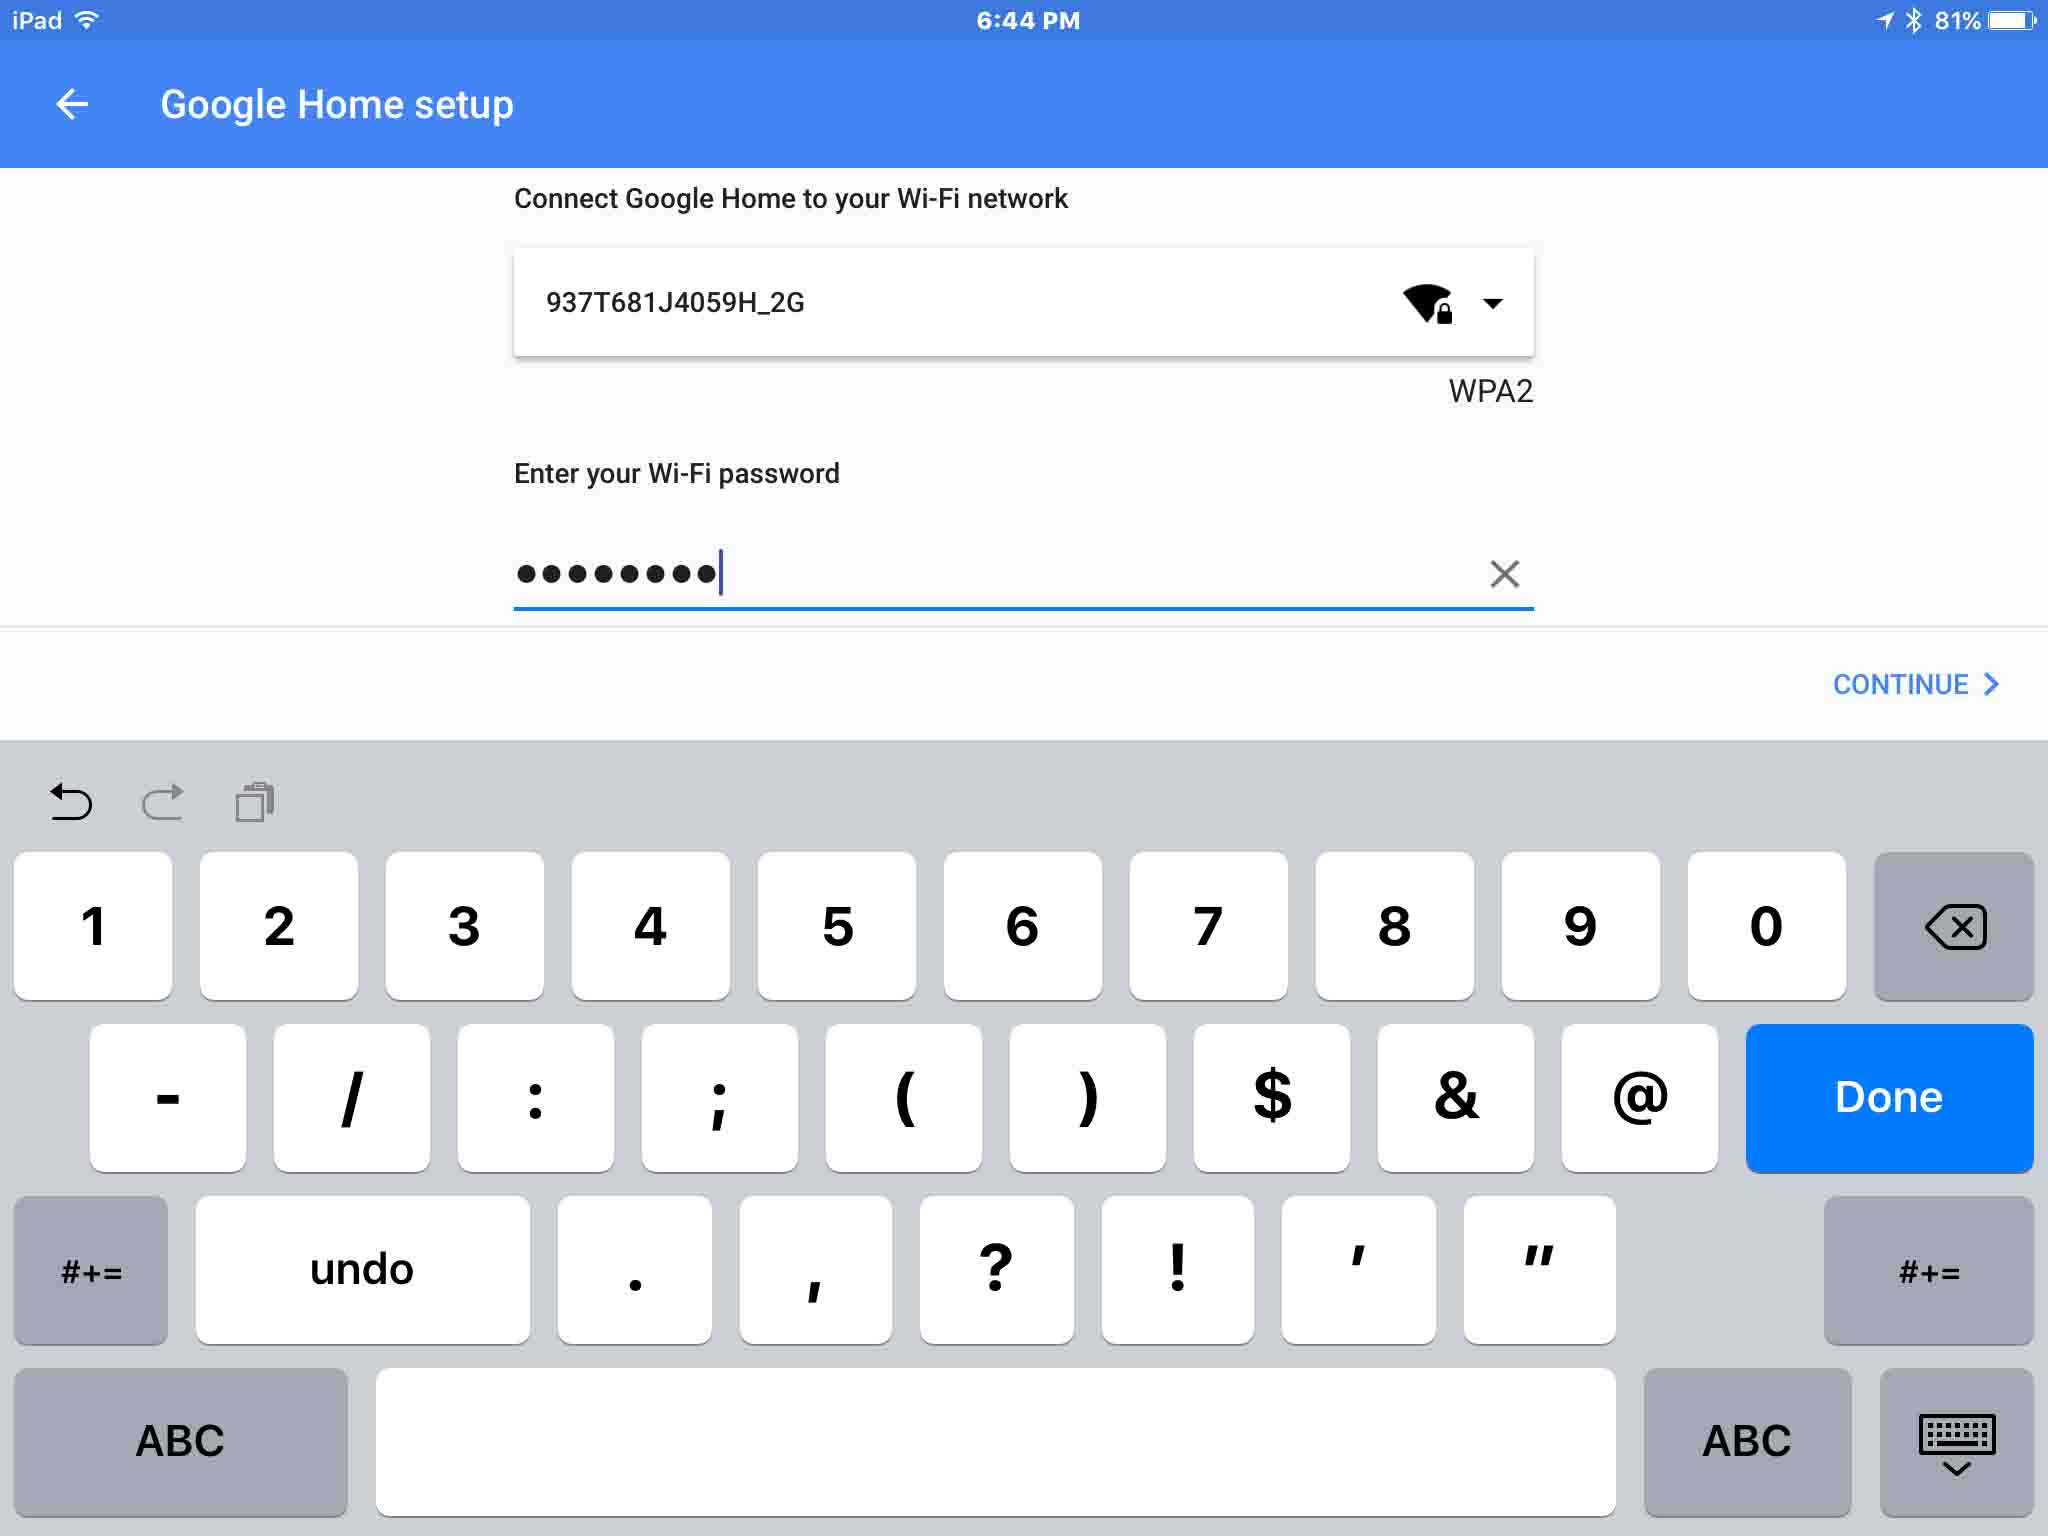
17. Tap the CONTINUE > Link
Touch CONTINUE> once you’ve typed in the password. Your speaker then connects to your Wi-Fi network of choice. If it encounters no trouble, the Wi-Fi Connection Successful screen appears, as shown next.
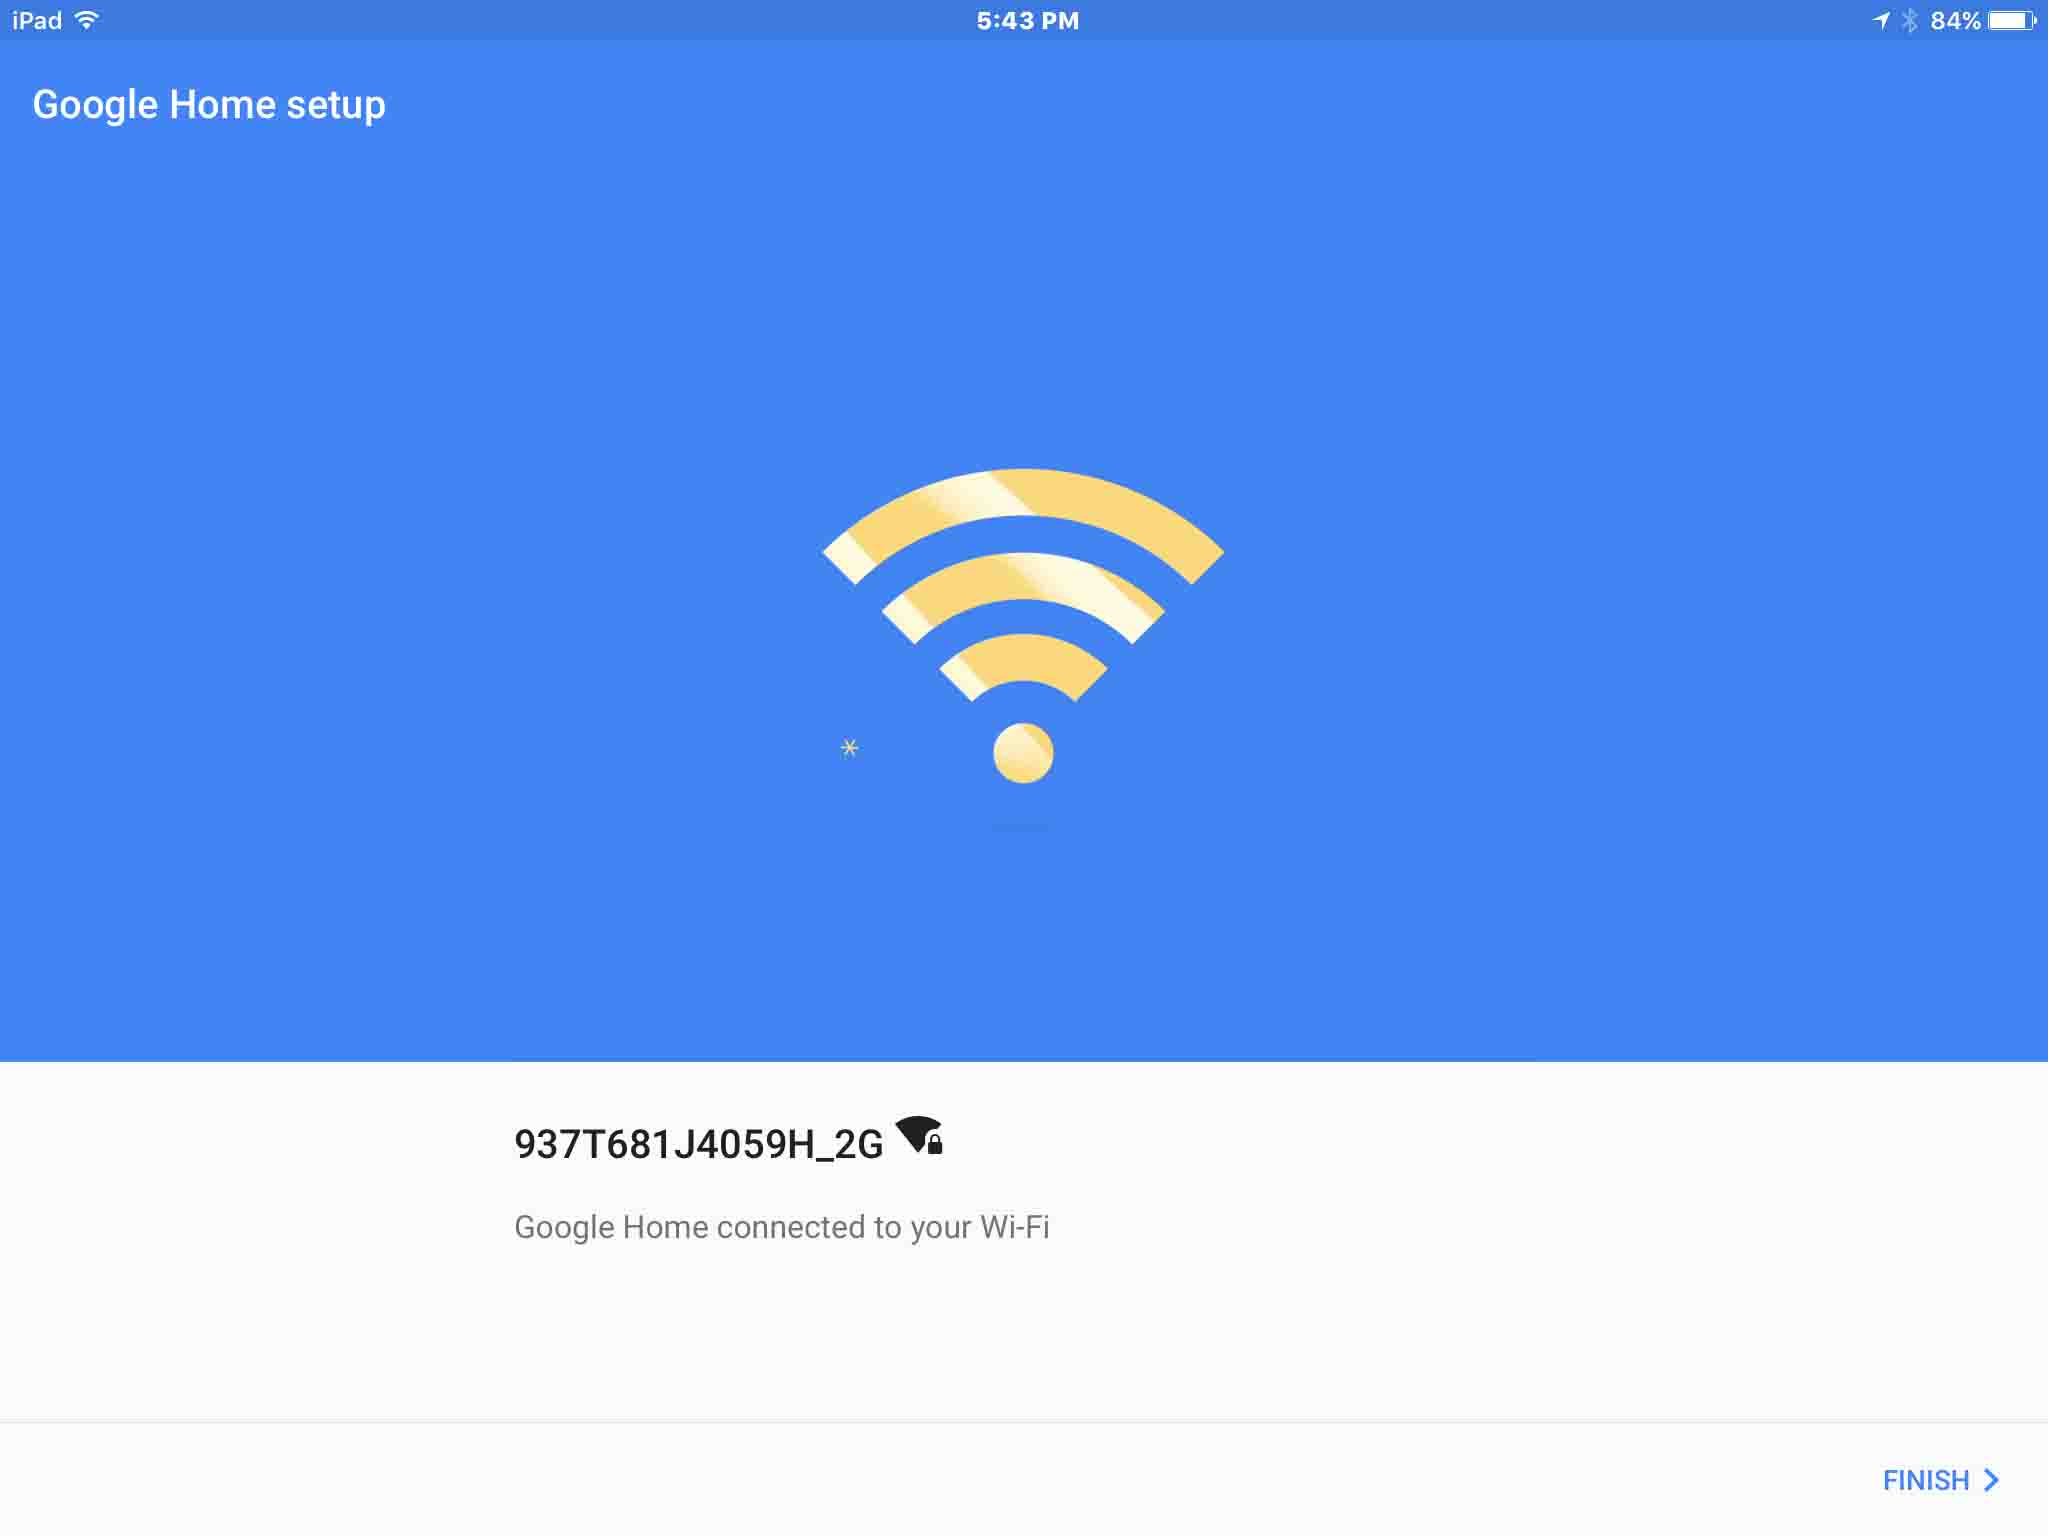
18. Tap the FINISH > link, to Continue with How to Change Google Home WiFi
Touching FINISH> takes you back to the Google Home app Home screen, as shown next.
19. Done with How to Change Google Home WiFi !
Your speaker is now connected to the new WiFi network. Ask it the time, and you’ll know the connection is good if the speaker responds with the correct answer.
Other Posts About the Google Home Smart Speaker
Related Posts to How to Change Google Home WiFi
References for How to Change Google Home WiFi
Revision History
-
- 2021-08-20: Shortened the internal links and tags lists.
- 2020-07-18: First published.