This piece covers how to charge the JBL Go Bluetooth speaker. Do this simply through the USB power in port, on the right side panel of the unit. Note that you can still play your Go 1 while it charges.
First, pick a strong enough USB power adapter, as no charger comes with the Go speaker.
Next, connect a micro USB charge cable between the speaker and that adapter. Then, plug the charger into a working wall receptacle.
Then after a few hours, the Go finishes charging. So it’s ready to play once more for up to five hours before it needs another recharge.
How to Charge JBL Go: Step by Step
1. Choose Correct Size AC or Car Adapter
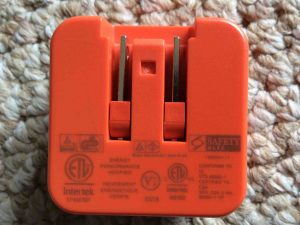
In this exercise, we’re charging our test Go with the charger that comes with other JBL speakers. This is because no charger comes with this one. But just about any USB adapter, big or small, would work. Why? Because this speaker’s power requirements are minimal. So just about any size USB charger meets them.
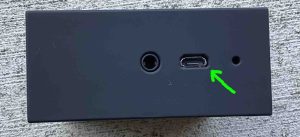
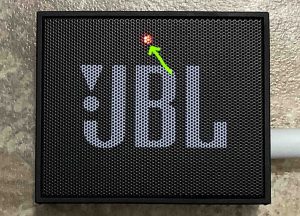
2. Find the USB Input Port on the Speaker
This DC input port is on the right side panel, as we show in the next picture.
3. Power Off the Speaker (Optional)
Note that the Go still charges while playing. But depending on how much above-and-beyond recharging capacity your charger delivers, the speaker might charge faster while turned OFF.
4. Plug in the Micro USB Cord to the Speaker to Continue with How to Charge JBL Go
Then, connect the small end of your micro USB charge cable into the matching micro USB port.

5. Plug the Other End of the USB Cable into your Charger Adapter
Next, connect the A end of the cable to the adapter. In this demo, as said earlier, we’re using a JBL USB AC adapter, along with a 1-foot USB cord.
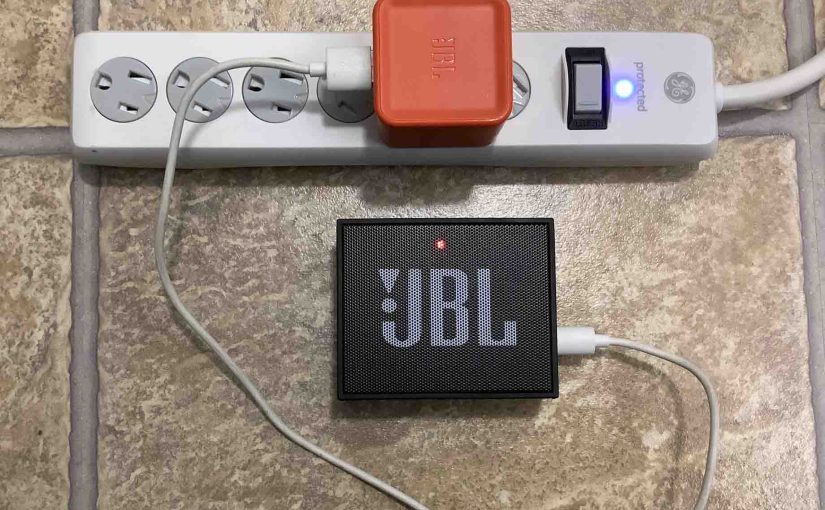
6. Plug the USB Adapter into a Working Wall Receptacle
Then plug the adapter into a working AC outlet. We connected ours to a surge protecting power strip.
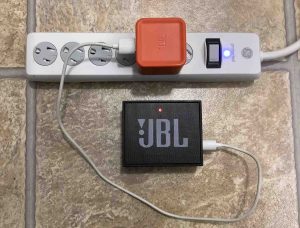
The status lamp lights up solid red on the Go. And while no battery status gauge shows percentage of charge, the red lamp means that charging is occurring.
Note that when you have the speaker running while charging it, the status lamp appears purple. This is because both a red light and a blue light inside combine to make a purplish glow.
7. Let the Go Charge Until the Red Light Goes Out
Full battery charging is complete when the solid red status lamp turns off.

8. Unplug the USB Charge Cable from the Speaker to Continue with How to Charge JBL Go 2
9. Done with How to Charge the JBL Go !
So we have now fully charged this speaker.
Finally, repeat this charging every four to five hours of play. This keeps the battery in top working condition for many years to come.