In this post, we show how to erase iPod Nano 3rd generation player, and restore it to default settings.
How to Erase iPod Nano 3rd Generation Player
1. Bring up the iPod’s Home Screen
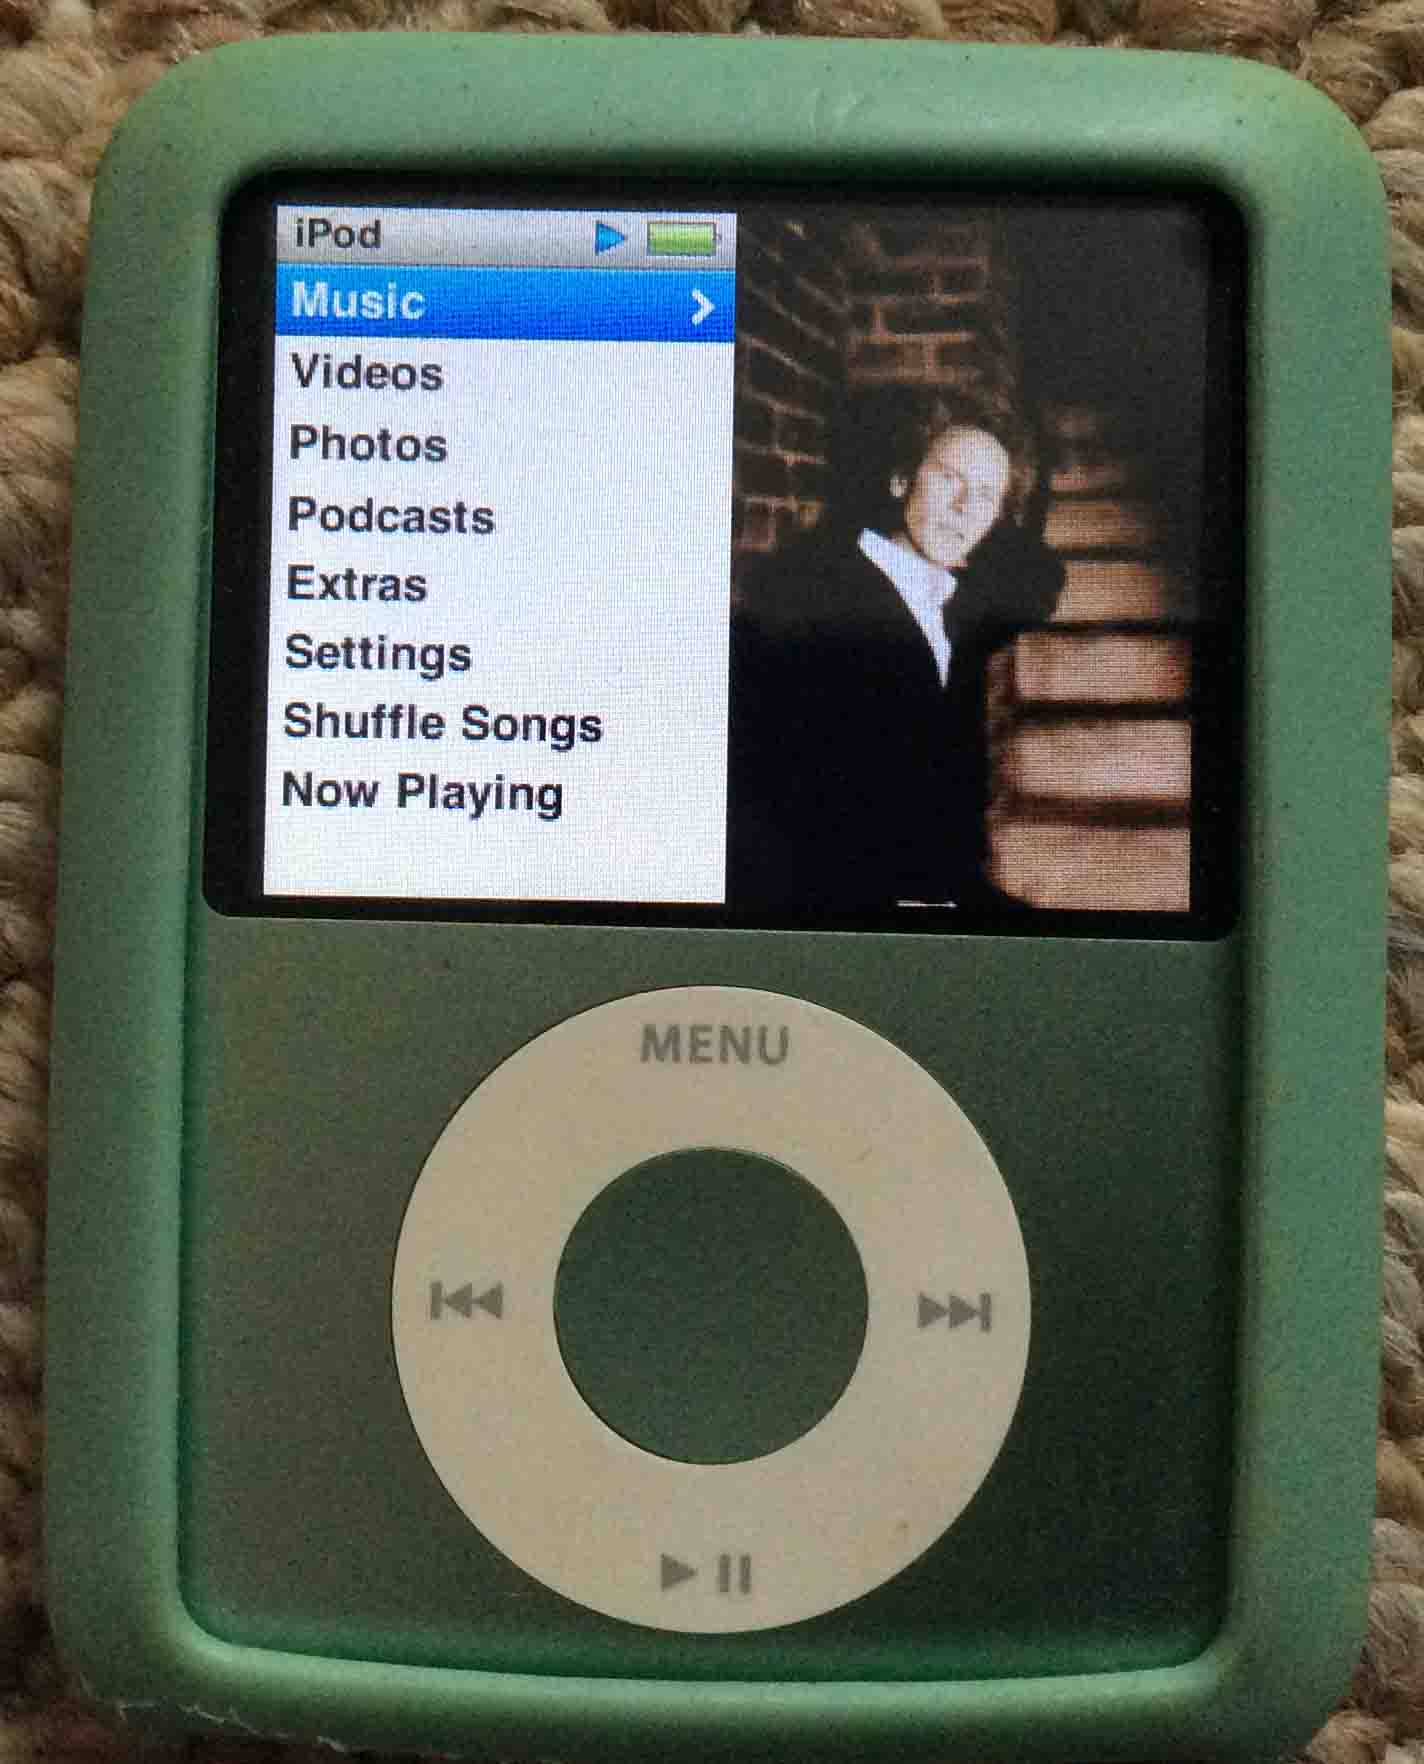
First, press the top of the touch ring, the Menu labeled area until you see the main menu show up. You may have to press the ring a few times to get back to the main menu.
The Nano’s main menu shows in the next pic.
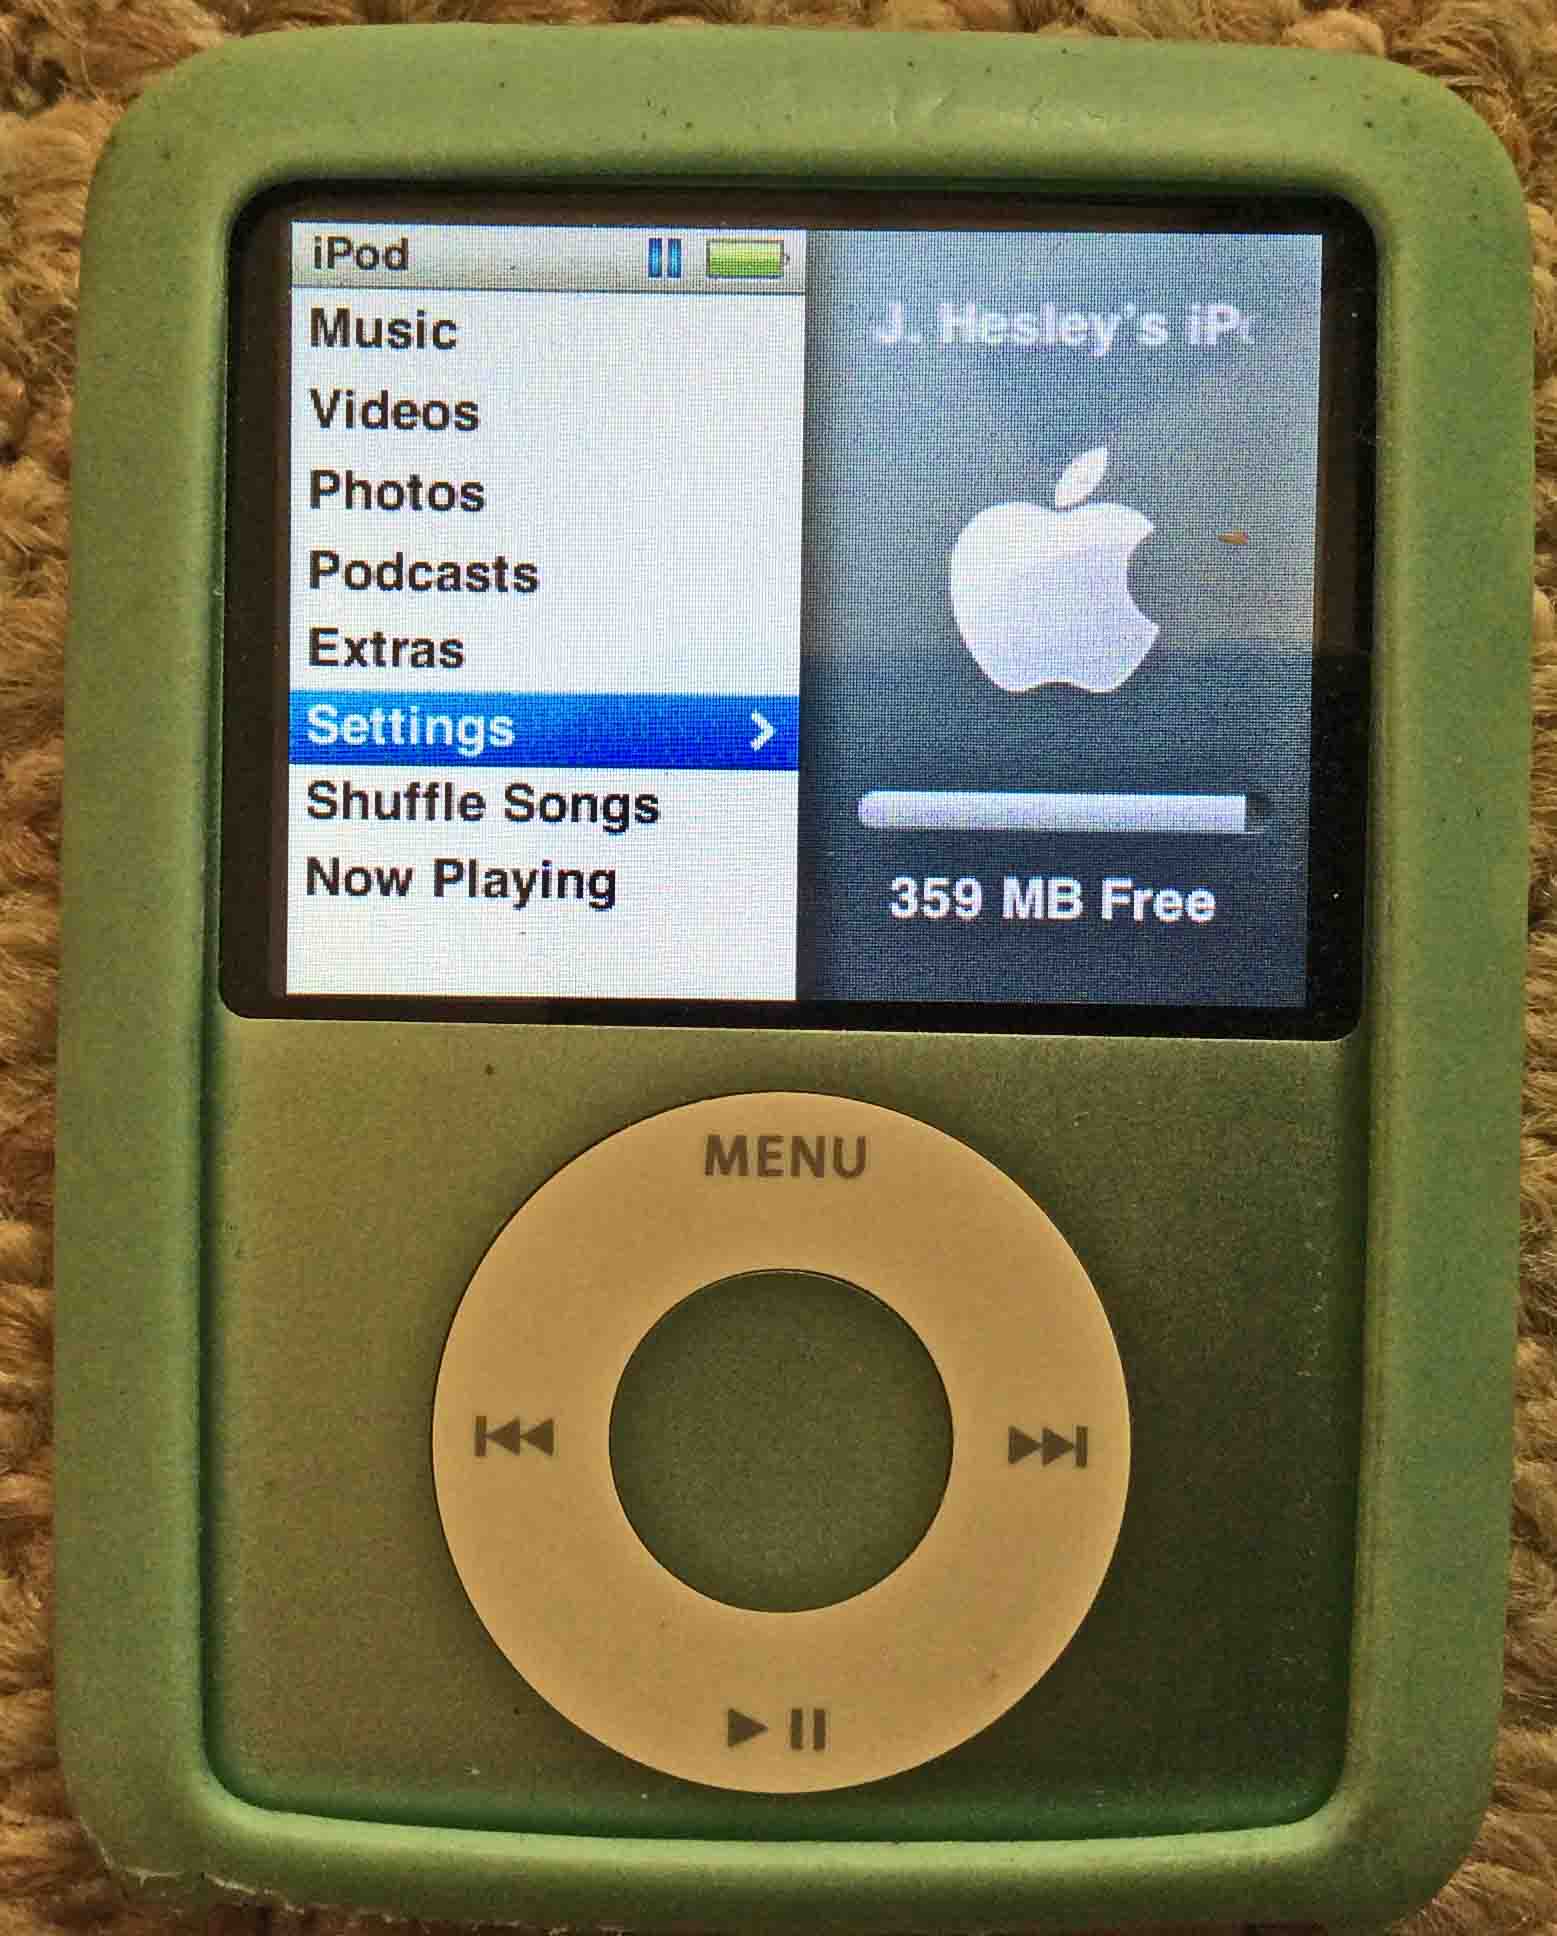
2. Find the Settings Menu Item
Next, move your finger clockwise around the touch wheel. Stop when you highlight the Settings menu item with the blue bar, as shown next.
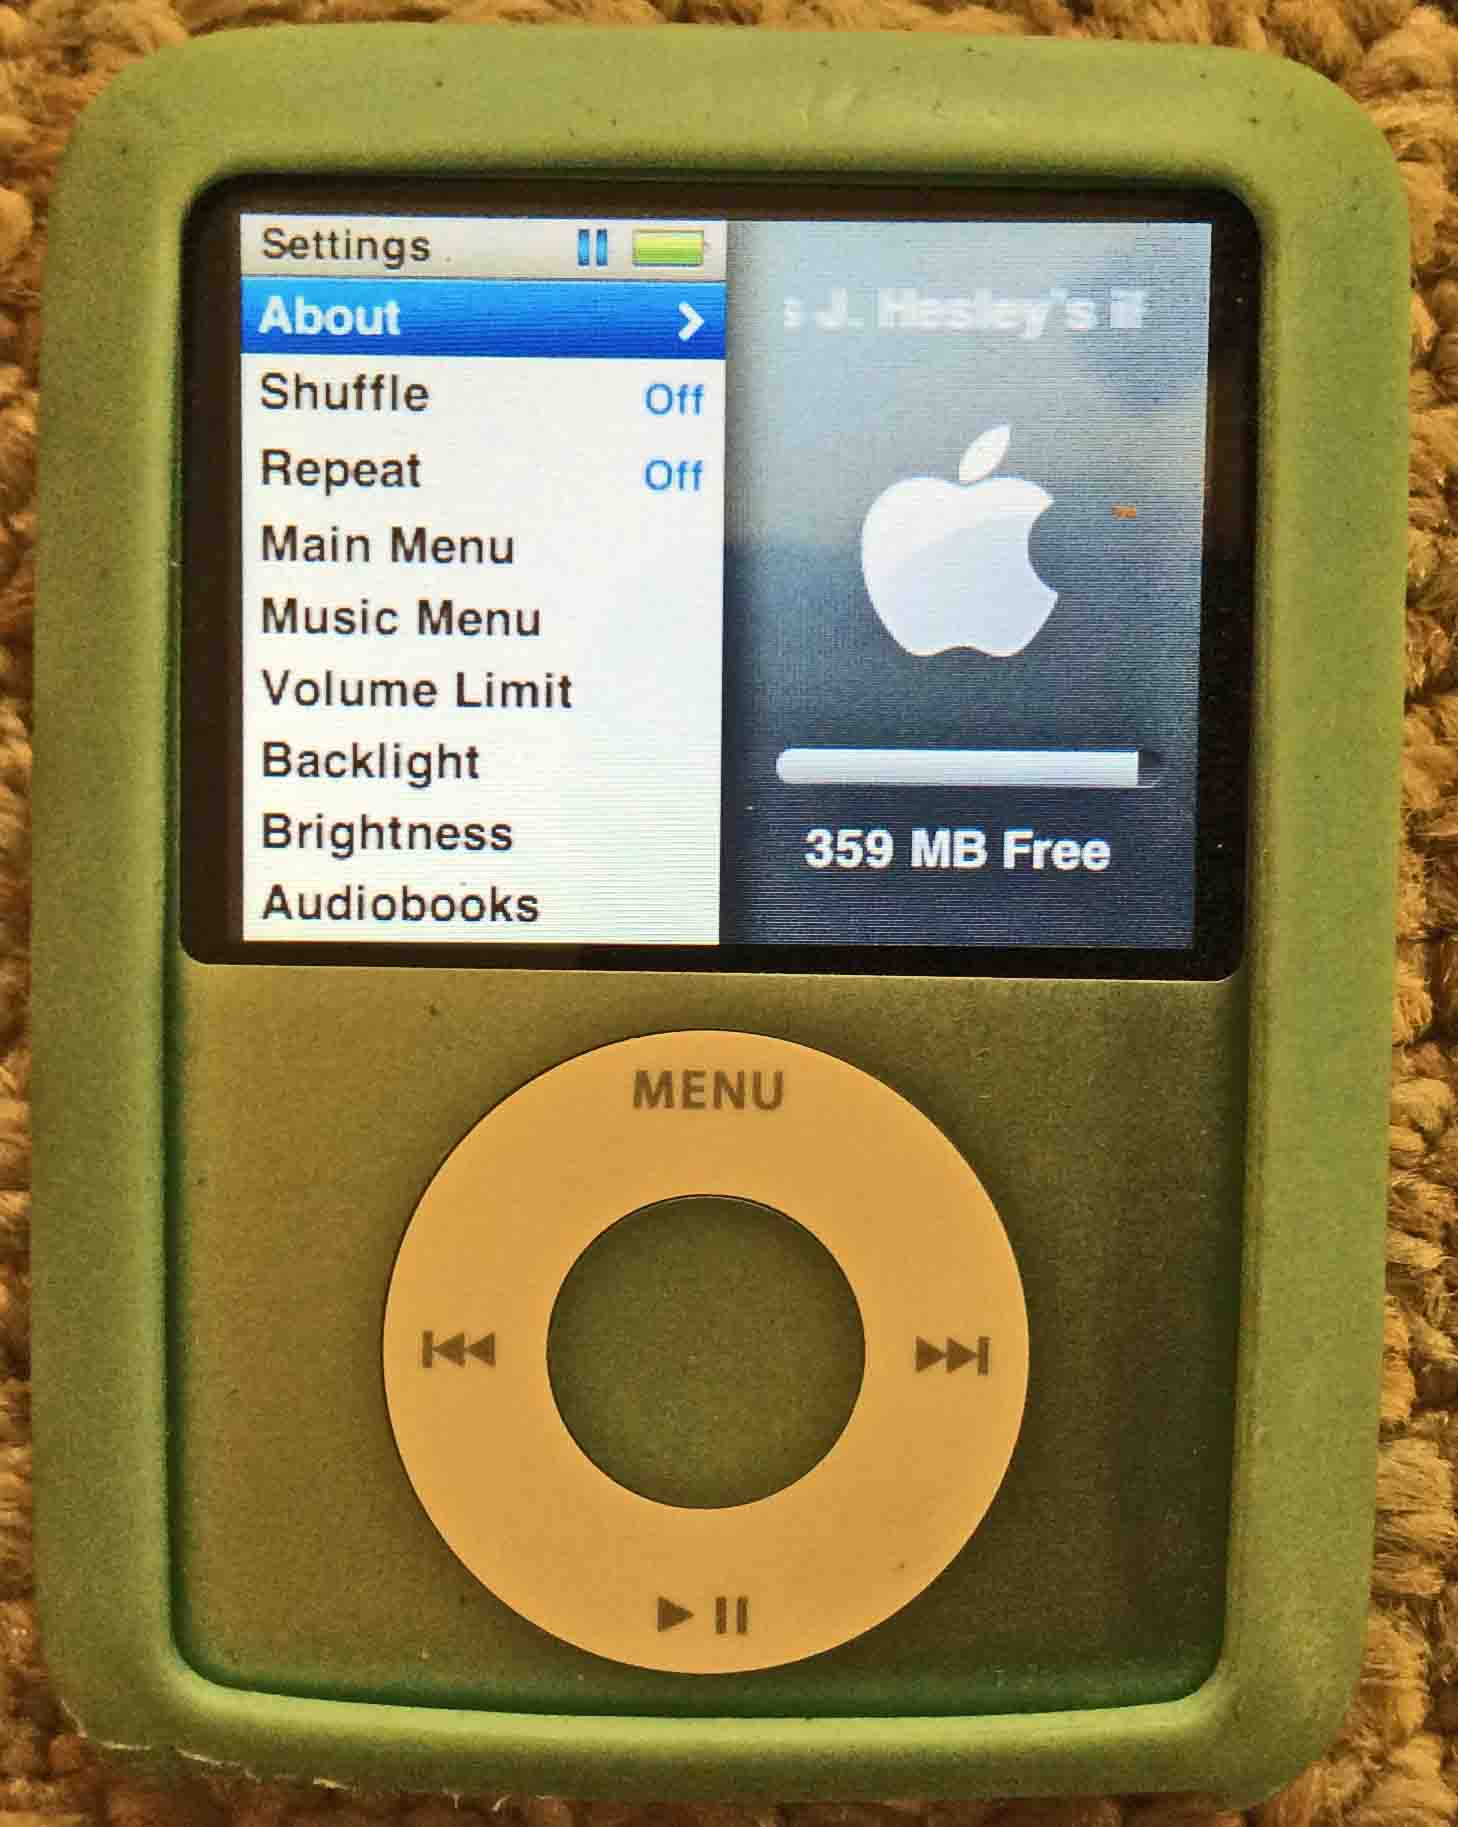
3. Go to the Settings Screen to Continue with How to Erase iPod Nano 3rd Generation Player
Then, press and release the Enter button at the center of the touch ring. The Settings menu then displays, as shown next.
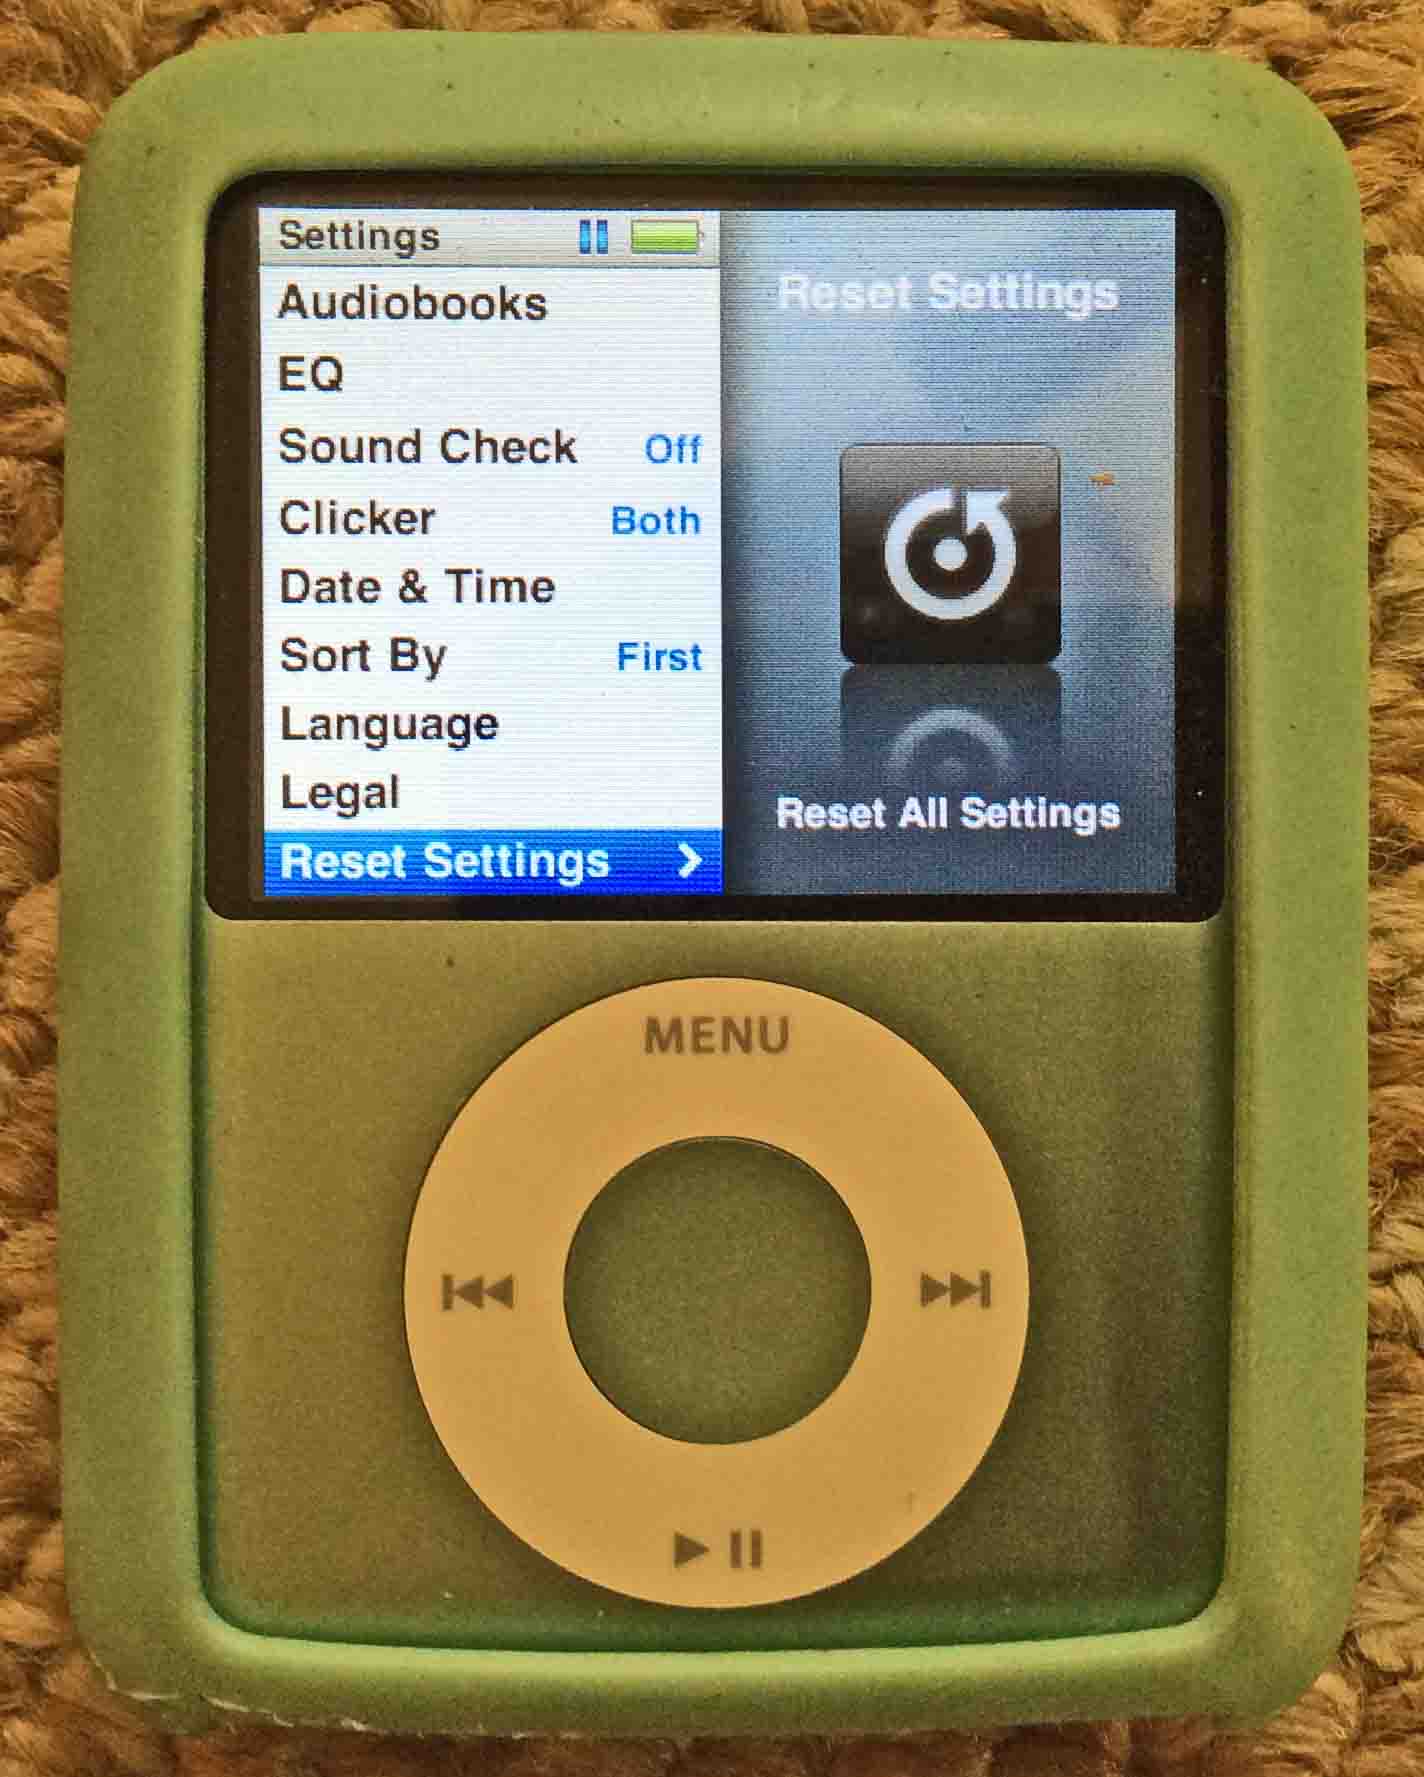
4. Find the Reset Settings Menu Item
Then, move your finger clockwise around the touch ring. Stop when the blue bar highlights the Reset Settings menu item, as shown next.
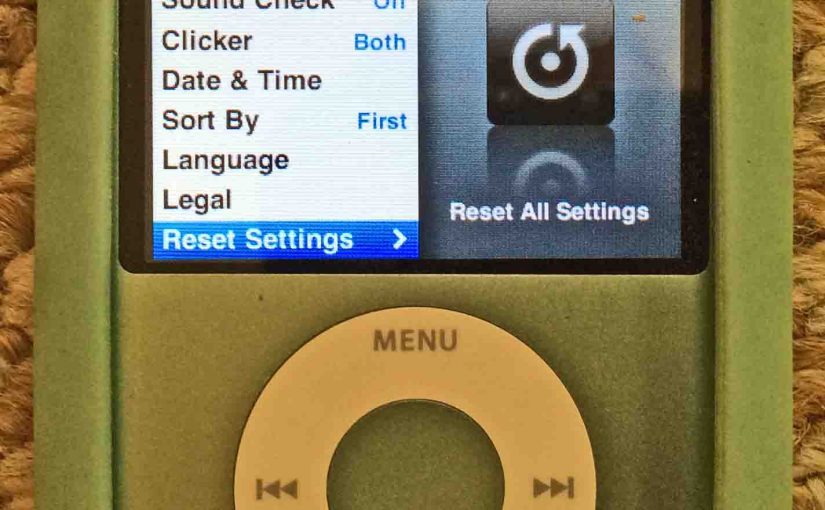
5. Bring up the Reset Settings Confirmation Screen
Then, press and release the Enter button again. The Reset Settings confirm screen then comes up, as pictured next.
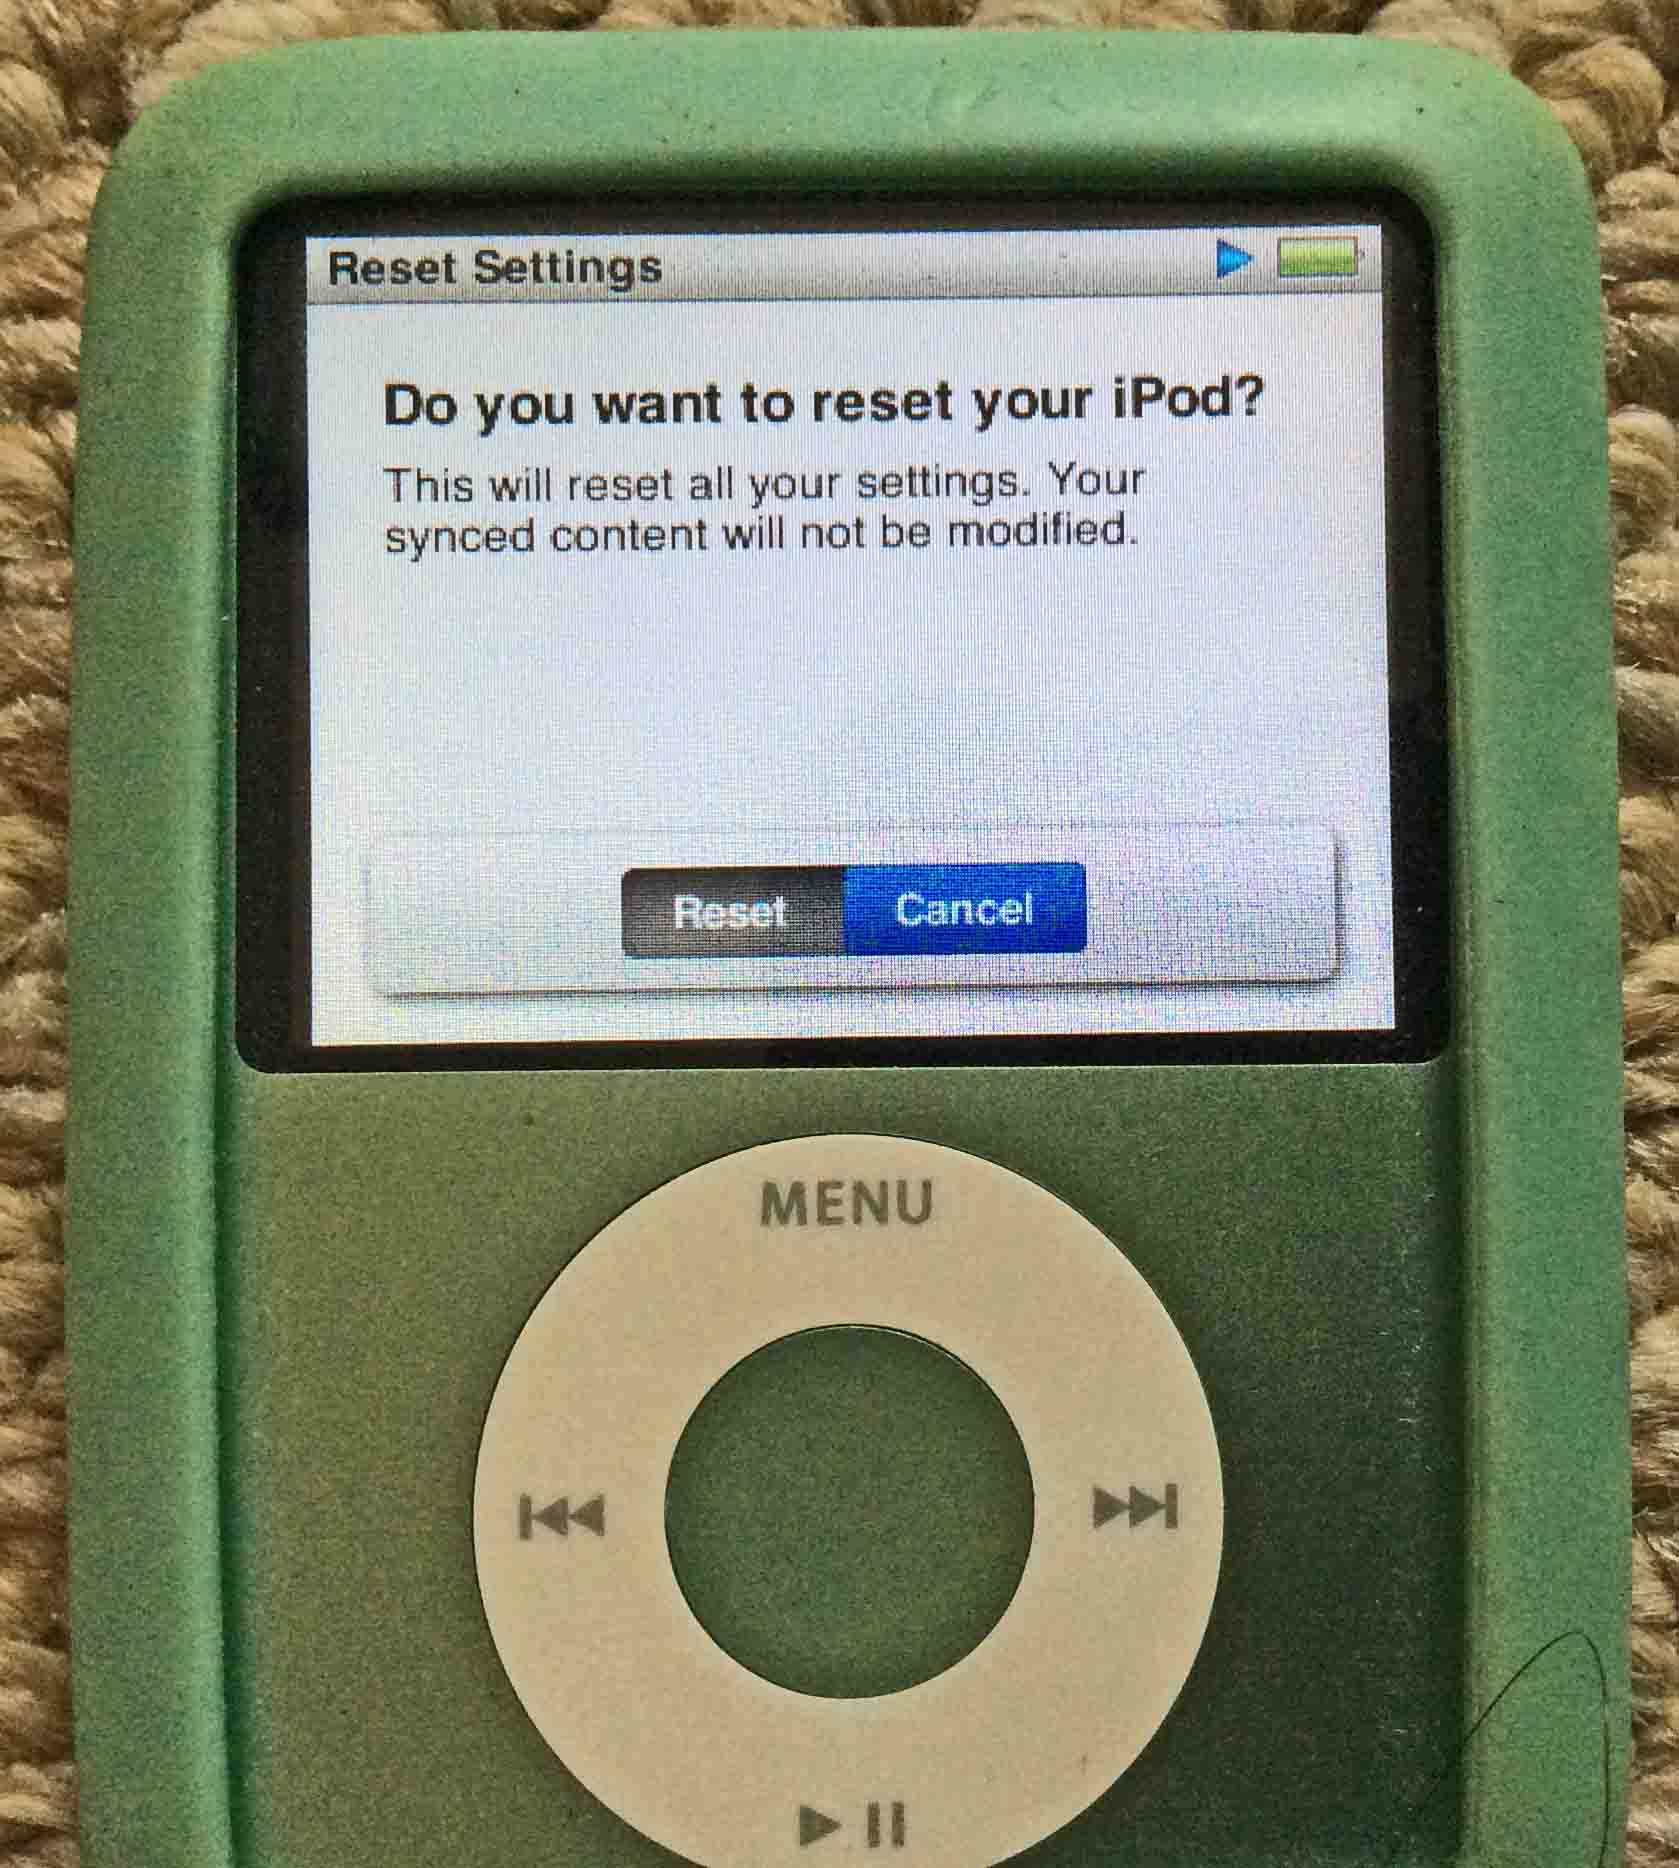
6. Select the Reset Button to Continue with How to Erase iPod Nano 3rd Generation Player
Once again, move your finger around the touch ring until the blue color highlights the Reset button.
Then, press and release the Enter button. This starts the reset. This can take some seconds to finish. Once done, the Language screen shows, as seen next.
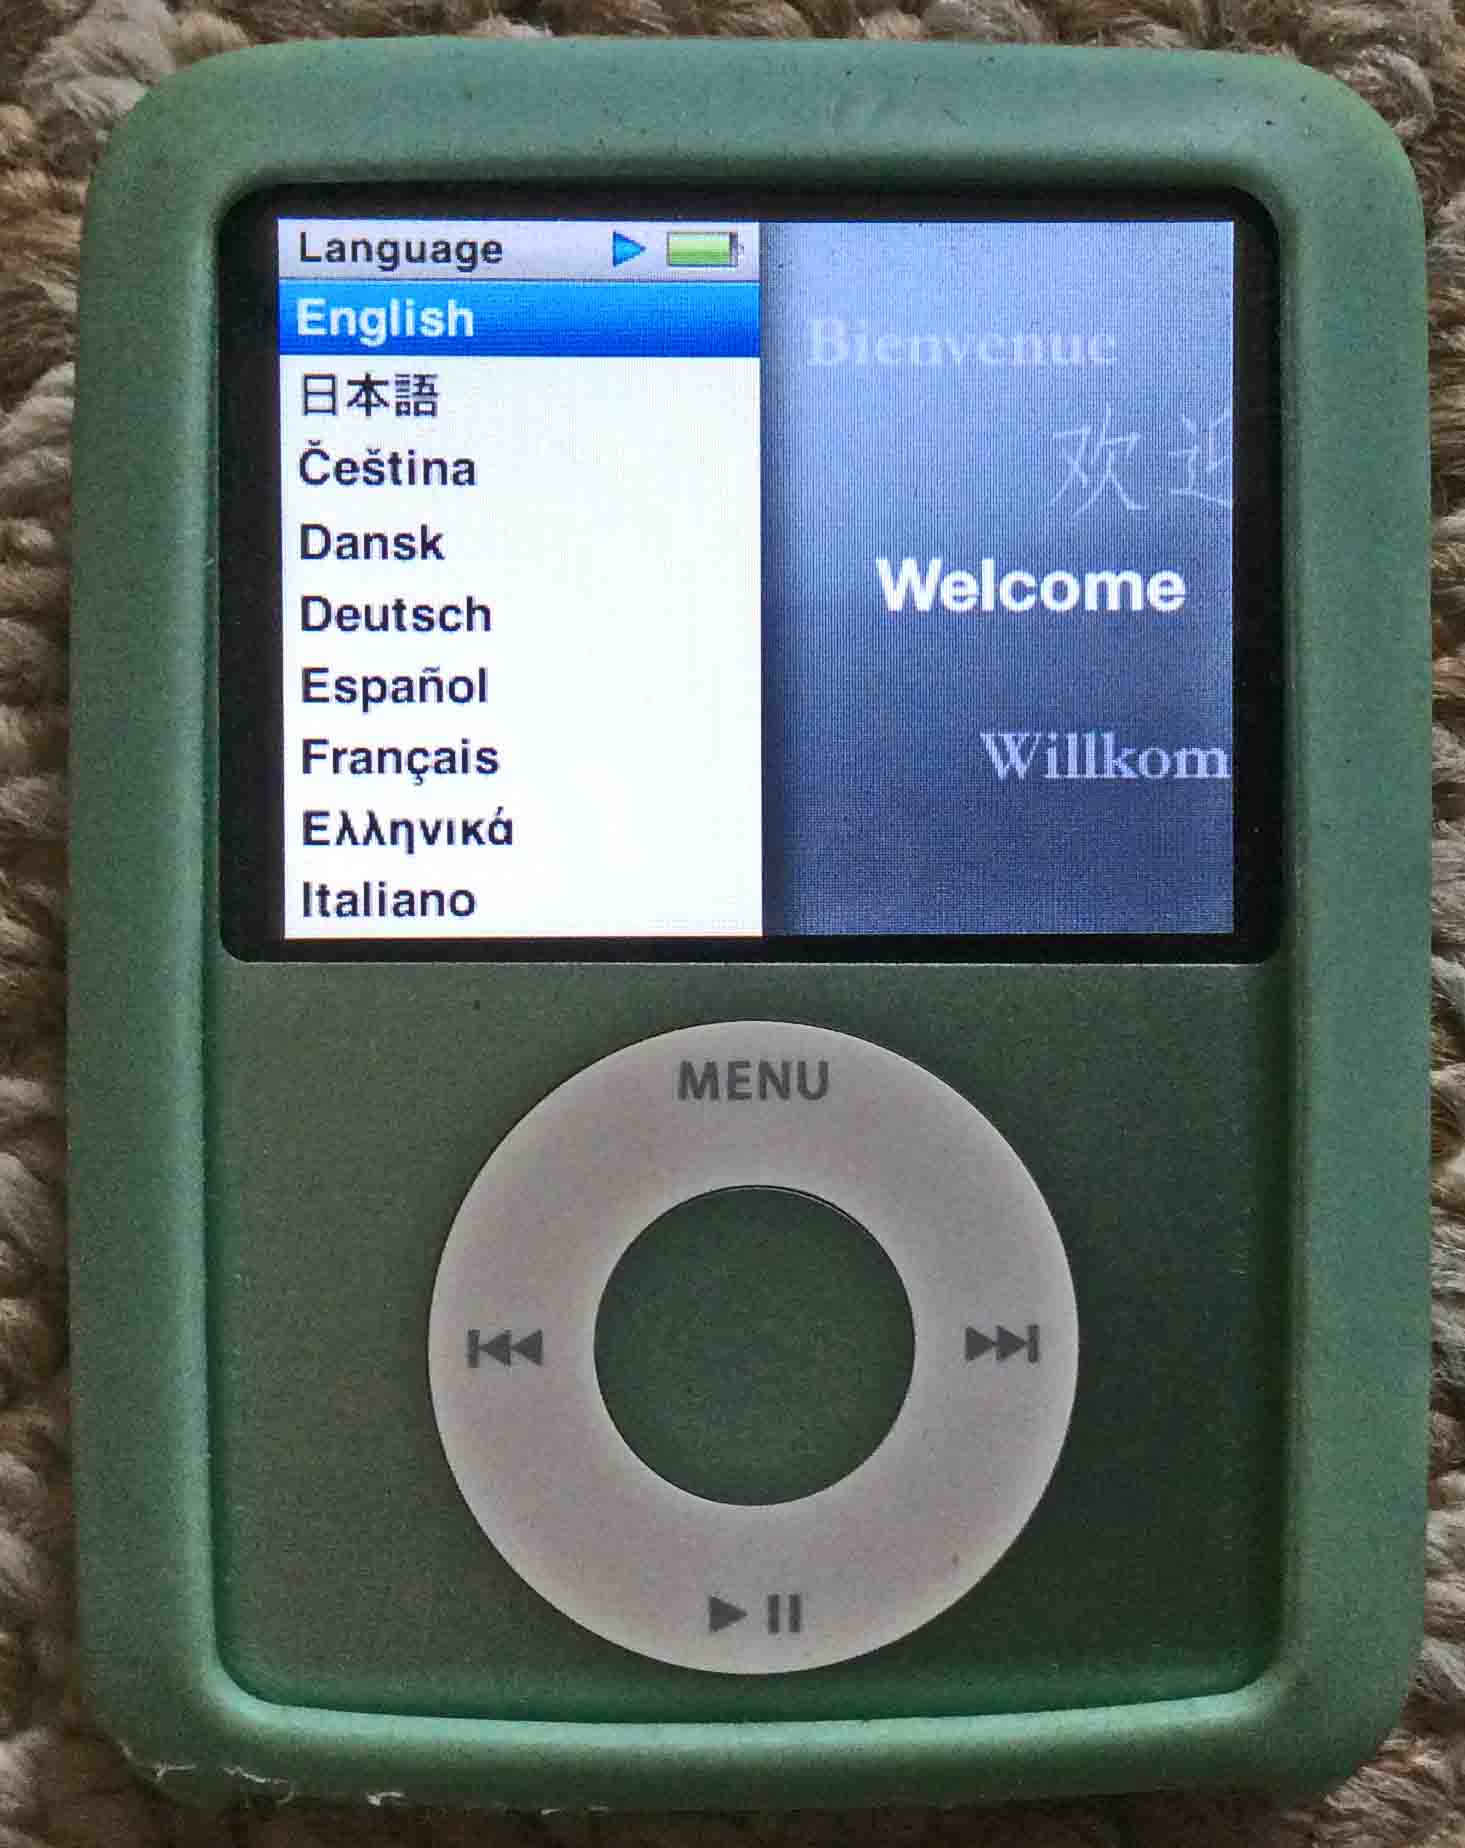
7. After Reset Finishes, Choose Language
Then, move your finger clockwise around the touch wheel until the blue bar highlights your preferred language.
Then, press the Enter button. This puts into effect your chosen language, such that all menus appear in that language. We chose English on our iPod Nano.
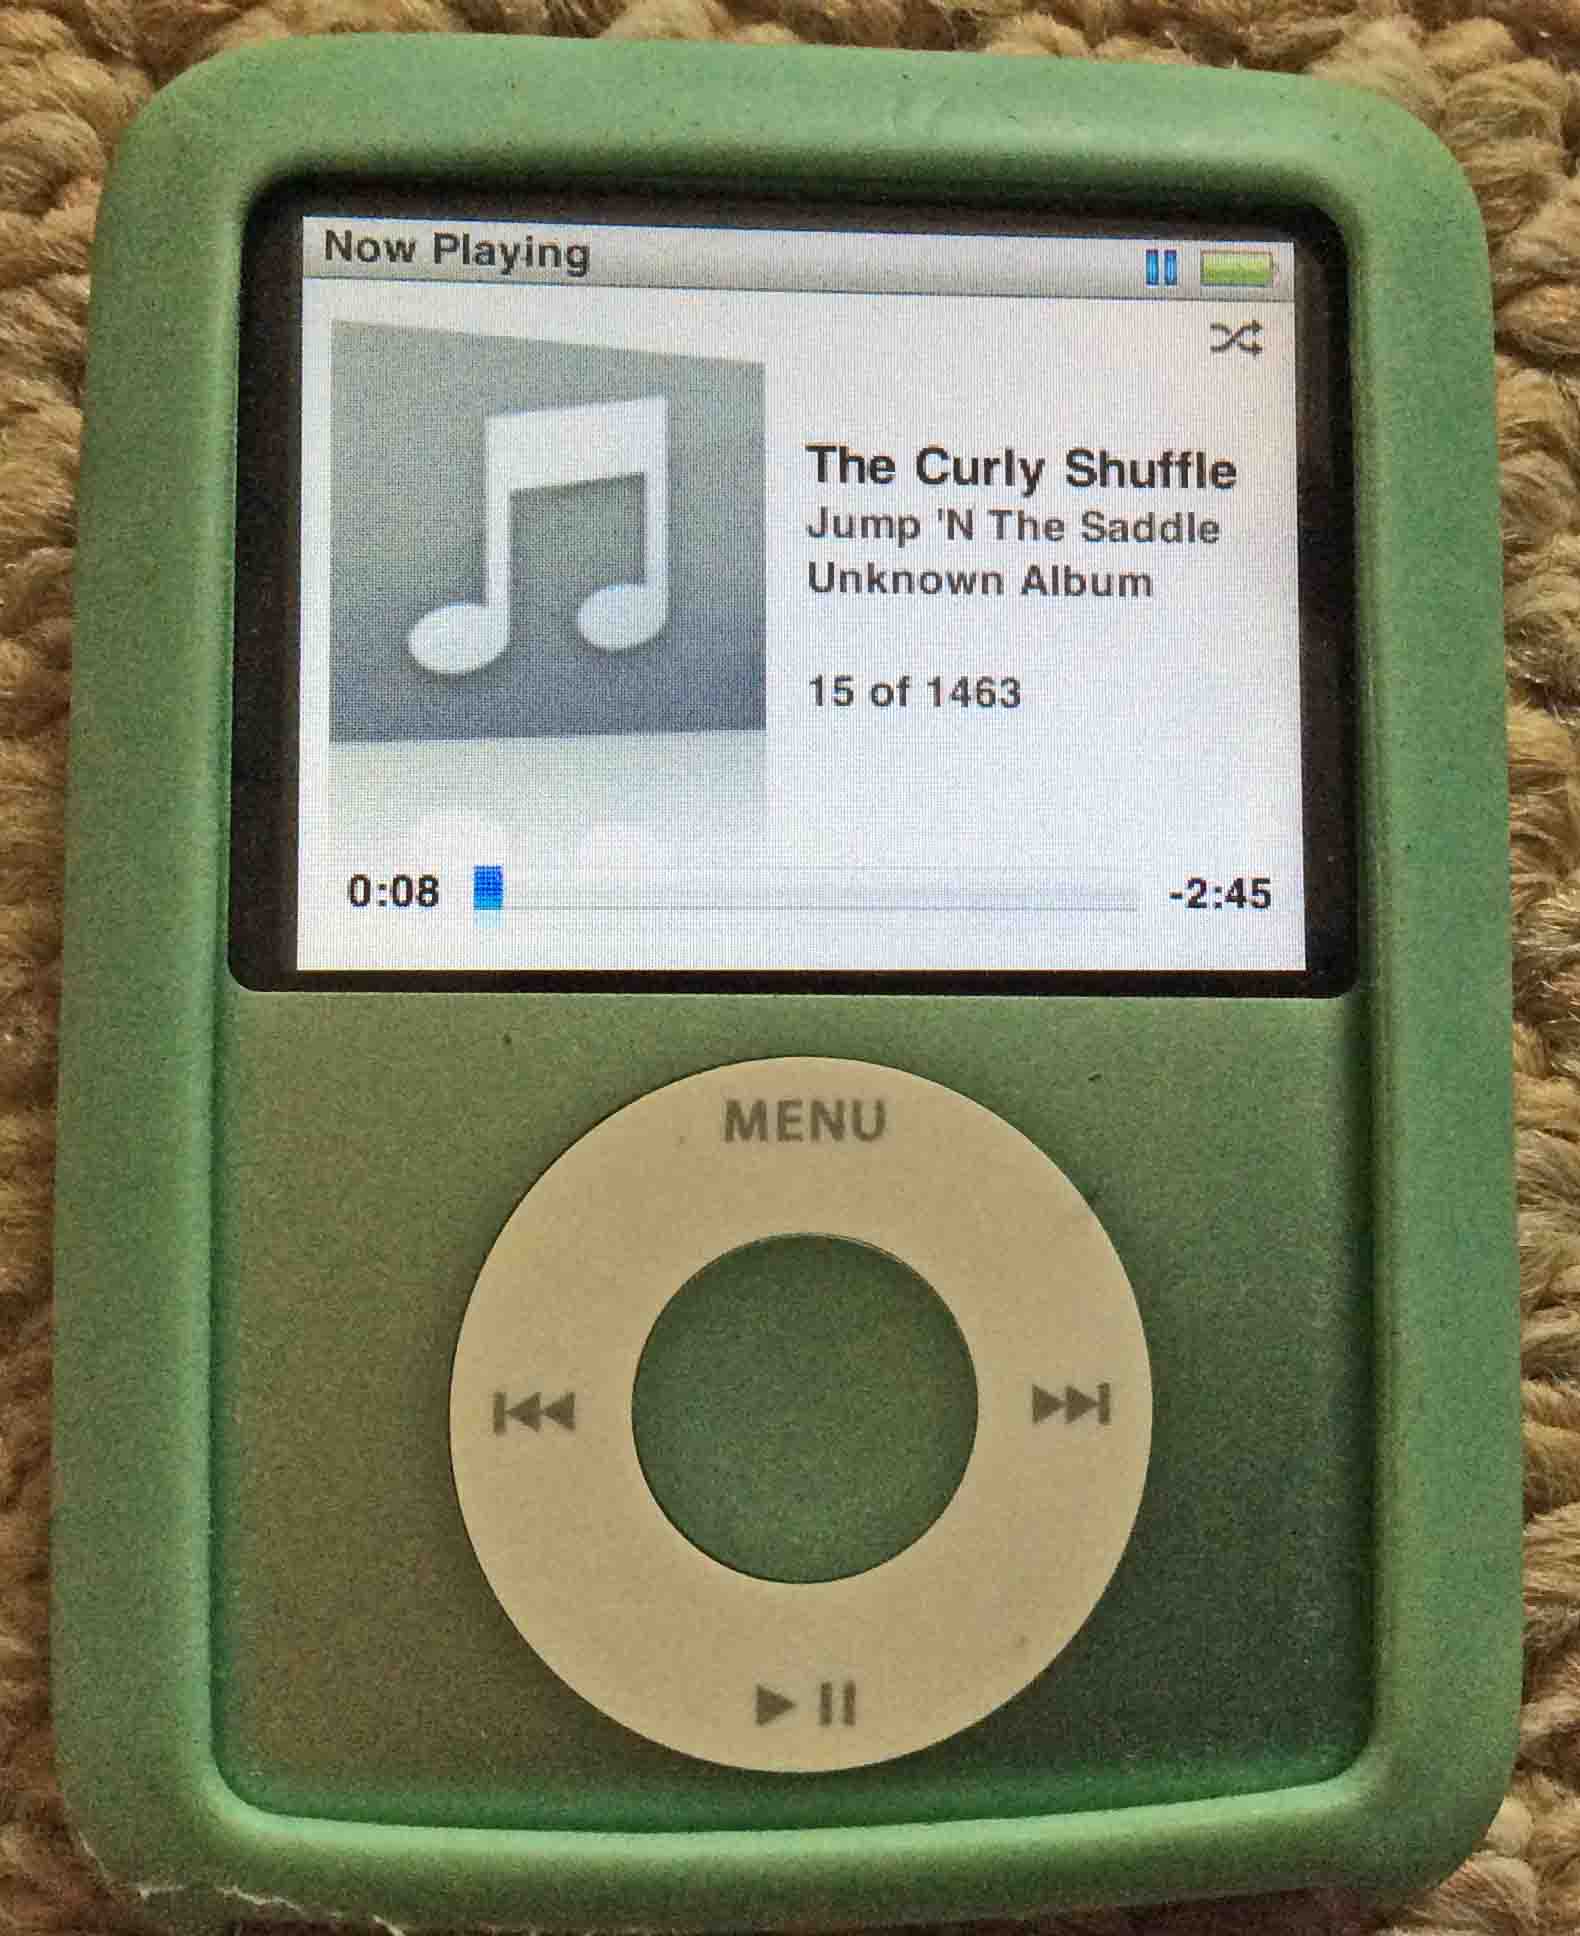
The main menu once again appears. Note that our music files still reside on the iPod. How do we know that? Because an artist pictures still shows on the right side of the screen. But the music stays on the iPod only until you connect it to a computer running iTunes. Then, all media files on the Nano will disappear.

8. iPod Nano 3rd Generation Player Erase Now Done
You have now successfully reset all the settings in your 3rd gen iPod Nano to default values. Resetting restores the tone settings to flat, sound check, repeat, main menu item display, and so on, to default values. It also sets all the files on the iPod to delete the next time it connects to iTunes.
You can completely erase your Nano by connecting it to a computer running iTunes. Then, follow iTunes menus for removing the media files altogether. You can also reset iPod settings that the routine we just did does not reset. These include the iPod Nano’s name.
How to Erase an iPod Nano 3rd Generation Player Without iTunes
We found that the music on the iPod does not erase until plugged into a computer with iTunes. Our iPod erased fully at that time, but not before. There indeed may be ways to erase an iPod Nano 3rd gen without iTunes. But we think these are awkward. Plus, they may brick the iPod Nano, making it unbootable. So, we suggest that you use the method of wiping an iPod above. But then, plug the iPod into an iTunes computer to finish the erasure.
Firmware Version Tested
-
- The method above works with iPod Nano firmware version 1.1.3.
Other Posts About iPod Players
Related Posts to How to Erase iPod Nano 3rd Generation
References for How to Erase iPod Nano 3rd Generation
Revision History
-
- 2019-04-24: Trimmed post URL and added tags.
- 2018-04-16: Originally published.