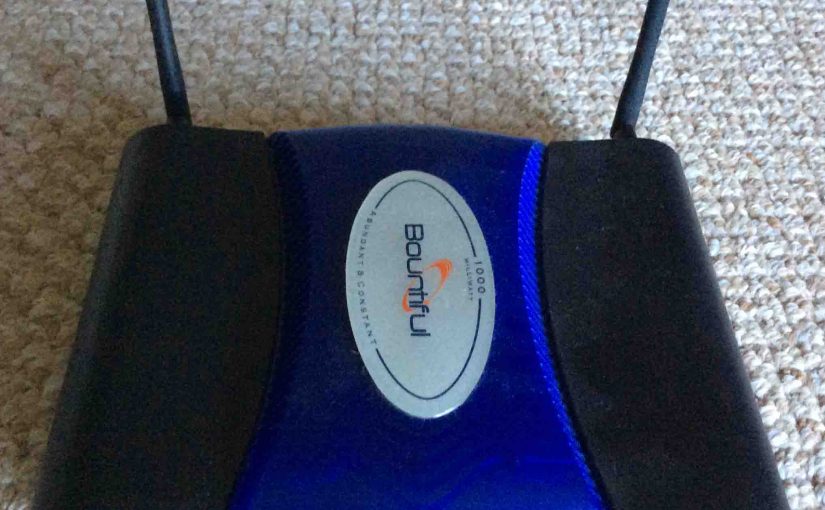
Here, we list tips, advice, and routine for how to install a new WiFi wireless router. This would replace a router that no longer gives enough speed for users on your home WiFi network.
Now perhaps you wish to retire your current router. Why? Because maybe you want to install a state-of-the-art system. So you wonder whether you should. For guidance, read our Time to Replace Your Wifi Router When… piece. This details the symptoms, and bad behaviors that you may see in your network. If you see any of these, then this could mean that it is time for a new WiFi router.
So you may decide after reading the above post that you need a new router. If so, then go out and buy one. Read on here for instructions on how to plug the new router into your network.
Cautions and Warnings for How to Install a New WiFi Wireless Router
Take care when replacing your router. Follow the tips below. Why? Because recklessly moving ahead could confuse you at best about how to connect the new router. At worst, you could break your network. How? Not only might carelessness break your WiFi, but the LAN (wired) side might stop working too. Proceeding in a careful way makes this job so much easier. Finally, taking care all but assures success.
Take Pictures of Current Router Connections
Don’t unplug the old router without writing down the LAN, WAN, power, and USB cord placements (if any).
Replace the Old router’s power Adapter
Be sure you replace the old router’s power supply with the one that comes with the new router. Failing to do this could cause poor performance or damage to the new router. A malfunctioning supply could be the reason for the original router malfunction, was its power supply. So don’t use that old supply on the new router.
Use Antennas that Came with New Router
The same goes for any router-specific antennas. Newer routers often rely on beam forming technology for improved signal range and imperviousness to interference. The antennas from the older router may not work with this new tech. So, when taking your old router out of service, be sure to remove its antennas from service too. Use the new router’s antennas with that new router.
Replace the Modem Cable when Installing a New WiFi Router
If the WAN port on the old router ran at gigabit speeds well, then skip this step.
When you replace an older router with a slower WAN port, check and replace your old modem cable as well.
How to Install a New WiFi Wireless Router, Step by Step
1. Unplug any Attached Devices before Installing
Do this by powering down all devices on your old wireless router. For wireless devices, just sign them out of your old router’s WiFi network.
2. Power OFF Old Router and Modem
Order is not crucial in this step, so long as both devices are not running (OFF) before you proceed.
3. Note the Cables for the LAN and WAN Ports to Continue with How to Install a New WiFi Wireless Router
AS mentioned above, it’s best to take pictures of the cables on the old router. Why? Because a photo quickly records all cable colors and the ports they go into. Normally, you don’t need to worry about which LAN cable goes into which port. But in special scenarios, you might. E.g. You may have set up one port for DMZ or QoS streaming. In those cases, you must plug the devices that need these services into the right ports.
4. Unplug All Cables from Old Router
Unplug all local and WAN Ethernet cables, USB cords (if any), and the power cable. Once done, set the retired router aside.
5. Replace Any Damaged Cables
With everything shut down, now is a great time to upgrade any LAN or USB cables in your network. Replace all from 10-Base-T and 100-Base-T cords with 1000-Base-T (Ethernet). Also, swap any USB 1.1 and USB 2.0 cords with USB 3.0. Detail: Upgrade all LAN cables to CAT-7, CAT-6, or at the very least, CAT 5e.
6. Connect the New Router to Continue with How to Install a New WiFi Wireless Router
Plug the (upgraded) Ethernet cables on LAN side of the old router, to the same ports on the new. If you used the DMZ LAN port before, plug this cable into the DMZ port on the new router. Often, routers reserve local ports 1 or 4 for DMZ (demilitarized zone). But some let you set any one of the four LAN ports as DMZ through an admin web site.
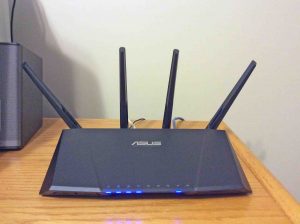
7. Power ON the ISP Modem
Be sure hat your modem has COMPLETELY powered on before proceeding to the next step. You can tell this by check its DS and US status lamps. If they glow steadily, along with the INTERNET or ONLINE lamps, then your modem is UP. This step might take a few minutes to finish.
8. Power ON the New Router
Again, this step can also take more than two minutes. Verify that the router has completely come online by looking its status lamps. Particularly the WAN and Wifi lamps should indicate nominal operational status. See your new router’s users manual for direction on how to interpret its status panel lamps.
Note
The lamp for a LAN port will not glow when nothing active is on it. I.e. A device is inactive without power, or its network hardware is OFF.
9. Reset the New Router If Needed to Continue with How to Install a New WiFi Wireless Router
If your new router is not brand new, then its default settings may not be the default values. So unless someone set up the router to match your needs, then press the reset button. A reset restore the router to its factory default settings.
Another reason to reset the router: Most manuals they write assuming these default settings. So you’ll want to assure that the router to use them as well before proceeding. That is, unless of course, you feel at ease with non default settings.
10. Turn ON your Computer
Normal boot up of a PC can take up to a minute or more. But once it’s up, check that it has connectivity to your new router. Check this by looking at the router’s status lamp for the LAN port into which you patched the computer. Then, check that you can surf the web.
11. Access New Router’s Admin Web Site
Use the local computer you just turned on to log in to your new router.
Then, get to know its admin web site. The router’s guides give the default admin URL, user Id, and password. Or, you may find them on the router itself. But don’t change anything until you feel sure about what you’re doing.
12. Set Network Settings to Match Those of Old WiFi Router If Needed
Do this to avoid having to connect all your WiFi client device by hand. Make the WiFi SSID, security type, and password (passphrase) match those on the old router. Doing this negates the need to manually reconnect your wireless devices.
13. Connect your Wireless Devices
Next, set up your new router with the same WiFi settings as the old. That way, your devices will connect to it automatically when in range.
14. Done with How to Install a New WiFi Wireless Router!
If you’ve managed to get through the above steps successfully, then you have finished installing your new router. But if not, then check out our WiFi Router Troubleshooting Tips post for tips on how to get your router going again.
Other Posts About WiFi Routers
Related Posts
References for How to Install a New WiFi Router
Revision History
-
- 2019-06-10: Added key phrase targeting for ‘Installing a New WiFi Router’, deleted ad code, and added more tags and links.
- 2016-01-13: Added more appropriate tags.
- 2015-09-27: Added tags.
- 2015-07-20: Originally published.
