Here, we run through the JBL Charge 3 firmware update instructions on this speaker. So this upgrade can take up to thirty minutes depending on the speed of your internet connection. Also, you cannot easily undo it. Thus you won’t be able to return to the previous firmware version once you do this. So, be sure that you indeed wish the upgrade, Finally, you should consider all of the ramifications before proceeding.
JBL Charge 3 Firmware Update Instructions: Prep Steps
You’ll need the following to perform this update.
-
- An internet connection.
- A Bluetooth source device.
- The JBL Connect app.
- The JBL Charge 3 speaker itself.
So, connect your mobile device to the internet. Then install the Connect app if you haven’t already.
Connect your Charge 3 to AC power. Why? Because we don’t want its battery power bank going dead during the update. This mishap could leave a corrupted version of the firmware in the speaker’s memory. Then this might brick the speaker and render it useless and not repairable.
Then, pair your mobile device with the Charge 3 Bluetooth speaker.
Thus you are now ready to begin the firmware updating process.
Charge 3 Firmware Update Instructions: Step by Step
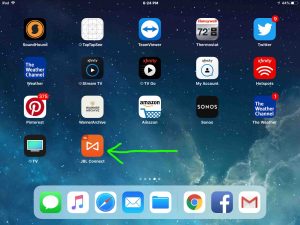
1. Find the JBL Connect+ App on your Mobile Device
We found ours on the fourth home page in our Apple iPad Air, as shown next.
2. Run the JBL Connect+ (JBL Connect Plus) App
The app takes a few seconds to show you some pretty animations when you first start it. But then it finds your paired JBL speaker and displays for you its status screen, as shown next.
Note the explanation point inside the orange circle in the top right corner of the speaker’s picture. This means that there are important messages about this speaker pending for your to read and act upon.
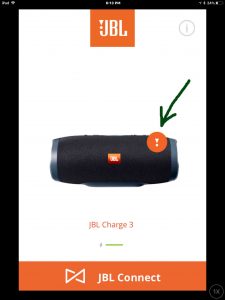
Note that if there are no unread messages, then you will see no explanation point.
3. Tap the Orange Circled Explanation Point (!)
Tapping the Important Messages (!) circle brings up the first IMPORTANT NOTICE screen about the available firmware upgrade, as shown next.
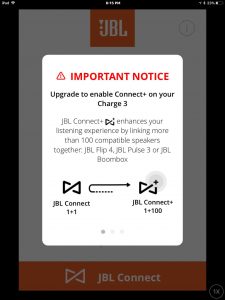
This screen gives details about the available firmware update. In our case here, we need this upgrade to get JBL Connect+. Specifically, we will be able to connect into a group of up to a hundred JBL Connect+ compatible speakers. In this group, they all stream the same content together. So you would do this to blanket a large area with music for dancing and partying.
4. Flick to the Left to See the Next IMPORTANT NOTICE Page to Continue with JBL Charge 3 Firmware Update Instructions
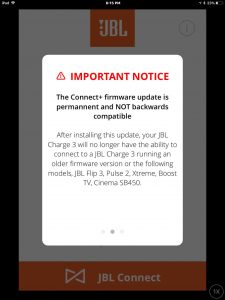
This page warns that you cannot undo the update. It says that once complete, this upgrade is permanent. Furthermore, after this upgrade, this speaker will no longer connect with other speakers running older firmware. This also means that you will also lose connectivity with older speakers. These include the JBL Flip 3, JBL Pulse 2, JBL Xtreme, JBL Boost, and Cinema 5B450.
5. Flick Once More to the Left to See the Next IMPORTANT NOTICE Page
Another left flick brings up the JBL Charge 3 firmware upgrade confirmation prompt screen, as shown next.
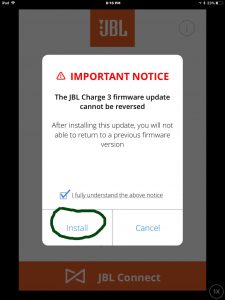
This prompt again warns us that we won’t be able to fall back to the old firmware version. It then asks whether to install the new firmware or bail. So we choose to go ahead with the update in the next step.
6. Tap the INSTALL Button
Touching the INSTALL button brings up the Upgrade Speaker screen as shown next.
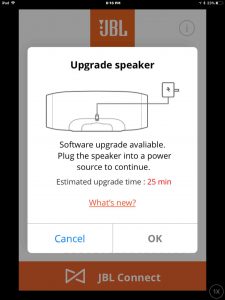
This page tells us to connect our Charge Three to AC power if we’ve not done so already. Note that you would have already done this if you followed the instructions in the preliminaries section above.
7. Connect the Charge 3 JBL to AC Power to Continue with JBL Charge 3 Firmware Update Instructions
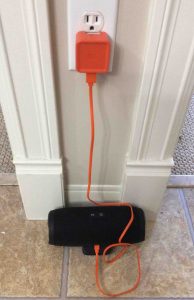
We connect our speaker to an AC outlet using the charger and cable that come with the speaker.
8. Tap the OK Button
Next, go back to the JBL Connect+ app running on your mobile device, and tap the OK button. See this button in the last pic.
The firmware update then starts. The download of the firmware update file from the internet begins. It flows first through your mobile device. Then it goes onto the speaker via the Bluetooth connection.
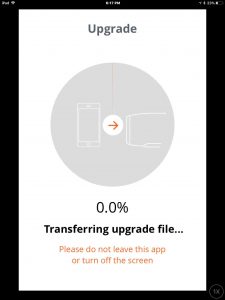
8a. JBL Charge 3 Firmware Update Begins
Copying the file from the internet to the speaker is the slowest part of the firmware upgrade process. But these screenshots show the progress pie-chart picture. The “pie” gradually fills in with more orange as the firmware file transfer proceeds.
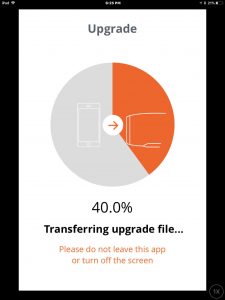
8b. Firmware Update at Forty Percent Complete
We’re probably about fifteen minutes into the firmware update at this point in the process.
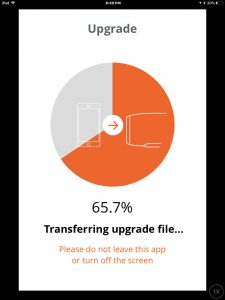
8c. Firmware Update at 65.7 Percent Done
The next screen shows that the firmware file transfer to the speaker has finished (100 percent done). The pie chart is completely orange now.
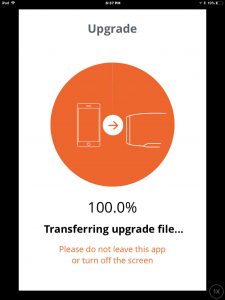
8d. The File Transfer 100 Percent Complete
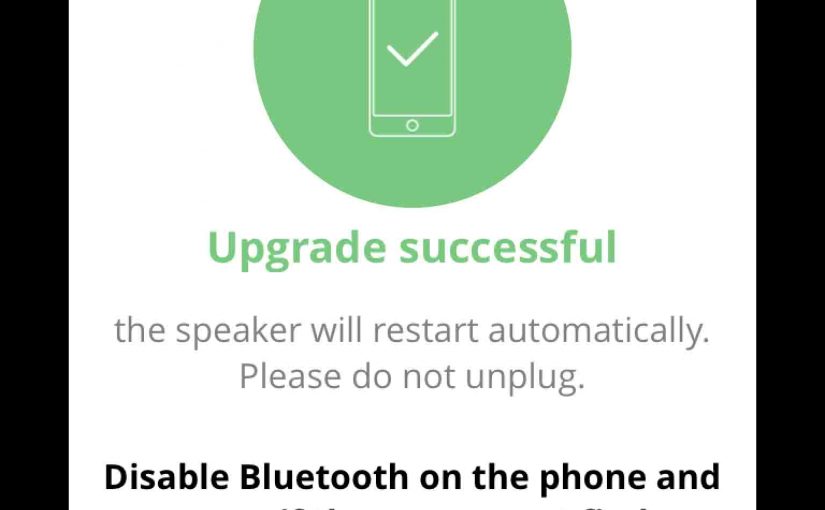
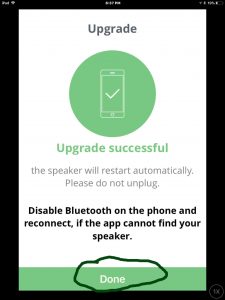
The app finishes copying the upgrade file to the JBL Charge 3. Then you get the Upgrade Successful screen.
However, note that the Charge 3 is still upgrading to the new firmware for nearly a minute. Thus, this screen warns us that our speaker will restart automatically. Further, it asks us not to unplug the 3 while it runs the update.
9. Wait for the JBL Charge 3 to Shut Off to Continue with JBL Charge 3 Firmware Update Instructions
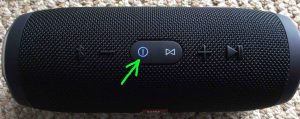
Watch the power light on the speaker, as shown next. Eventually it goes dark.

The speaker may or may not turn itself back on again. Ours did not. So yours may not. Thus if not, then go ahead with the next step (Step 10). But if yours did come back, then skip Step 10. Then pick up with Step 11.
10. Power On the BT Speaker
Press the dark Power button to turn the speaker on. It should again pair with your mobile device where you’re running the JBL Connect Plus app. The Power button turns solid blue when your speaker pairs again.
11. Press the Done Button
So your speaker now pairs to the JBL Connect app again. When it does, press the green Done button.
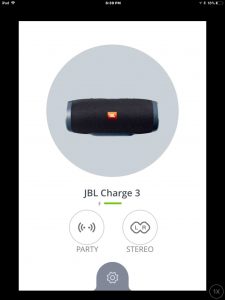
The app then displays the JBL Charge 3 status screen once again. But this time, note that there’s no longer the orange circled explanation point (!). So this means that the firmware update succeeded. Thus the speaker is now running the current software version.
12. Done with JBL Charge 3 Firmware Update Instructions !
At last, the firmware update is now complete. So the speaker now has the current firmware.
