Here’s our JBL Charge 4 firmware upgrade instructions. This routine can take up to thirty minutes to finish, depending on the speed of your WiFi connection. Plus, you can’t reverse once done. That is, you won’t be able to return to any prior firmware version once you complete this upgrade. So, be certain that you indeed want the Upgrade before going ahead with it.
JBL Charge 4 Firmware Upgrade: Preparation Steps
You’ll need and internet connection, a Bluetooth enabled mobile or desktop computer device, the JBL Connect app, and the speaker itself.
So, connect your mobile device to the internet and install the JBL Connect app if you haven’t already.
Connect your Charge 4 to household power, because we don’t want its battery going dead during the firmware Upgrade. A dying battery could corrupt the firmware in the speaker’s memory, and so, brick the speaker. This could render it useless and not repairable.
So, to be safe, plug the speaker into AC power, using the included USB-C cable, as shown in the next picture.
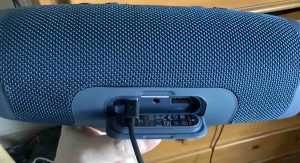
Finally, connect the other end of the USB-C cord into a strong enough AC adapter, and plug that adapter into a working AC outlet.
Then, pair your mobile device with the Charge 4.
You are now ready to begin the updating firmware process.
JBL Charge 4 Firmware Upgrade: Step by Step
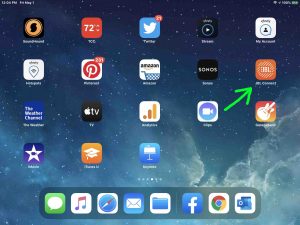
1. Find the JBL Connect App on your Mobile Device
We found ours on the fourth home page in the Apple iPad Air 2, as shown next.
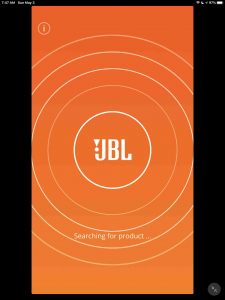
2. Run the JBL Connect App
The app takes a few seconds to show you some pretty animations when you first start it, as shown in the next picture.
But then it finds your paired JBL Charge 4 BT speaker and shows you its status screen, as pictured next.
Note the red dot on the Settings button in the bottom center of the speaker’s picture, as pointed at by the green arrow. This means that there are important actions to take pending for this speaker.
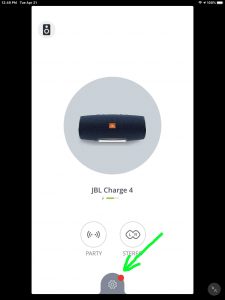
Also note that if there are no current messages or firmware Upgrades available for this particular wireless speaker, then you will see no red dot. In that case, your speaker already has the latest version of the firmware.
3. Tap the Settings Button
Touching the Settings button brings up the screen about the available firmware upgrade, as shown next.
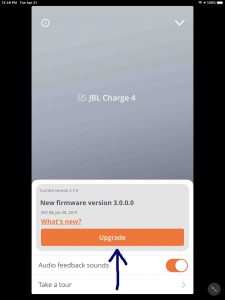
This screen gives details about the available firmware Upgrade. In our case here, it suggests the Charge 4 upgrade to firmware version 3.0.0.0. It also tells us that the current firmware version is 2.7.
4. Tap the Orange Upgrade Button
Touching the Upgrade bar brings up the Plug Speaker In screen if you haven’t connected your Charge 4 to AC power yet, as shown in the next picture. Otherwise, the firmware Upgrade process starts. Jump down to step 5 to see the screenshots of that process in action.

If this screen comes up, then go ahead and attach your speaker to power, as described at the top of this post. Then, tap the I Followed the Instructions button. This is the gray bar in the last picture, pointed at by the dark blue arrow.
5. The Firmware Upgrade Process on JBL Charge 4 Begins
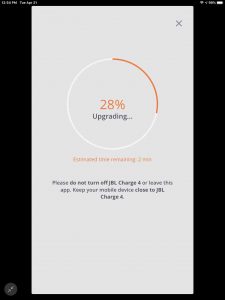
The Upgrade then starts. The Connect app displays a progress screen as shown next, to let you know how far along the upgrade is.
5a. Firmware Upgrade Progress, at Fourteen Percent Complete

5b. Firmware Upgrade Progress at Twenty-Eight Percent Complete
We’re probably about a minute into the upgrade at this point in the process.
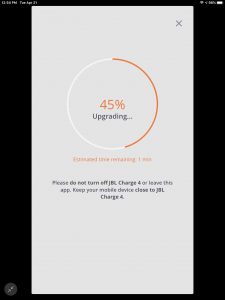
5c. Firmware Upgrade Progress at Forty-Five Percent Complete
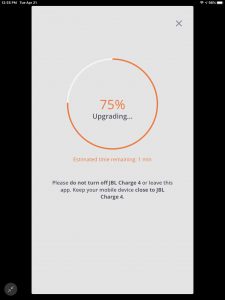
5d. Firmware Upgrade Progress, at Seventy-Five Percent Complete
8e. Firmware Upgrade File Transfer 100 Percent Complete
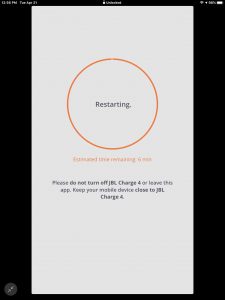
Once the app copies the upgrade file to the Charge 4, you get the Restarting screen, as shown next.
But note that the speaker is still in the process of installing the new firmware for several minutes after the Restarting screen appears. This screen warns us that our speaker will restart automatically, and it asks us not to unplug the speaker while it’s running the upgrade. Keep your speaker close to the mobile device running the app while the speaker upgrades.
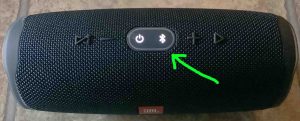
6. Wait for the Speaker to Shut Off
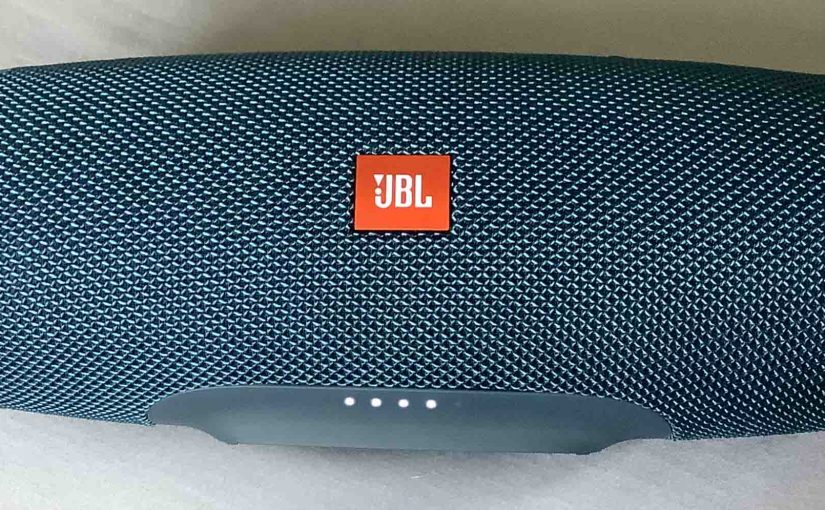
Watch the Power light on the speaker, as shown next. That lamp will soon go dark, as shown next, pointed at by the green arrow.
The speaker may or may not turn itself back on again. Ours did not. If, like ours, yours did not come back up after the firmware Upgrade, then go ahead with the next step (Step 7). But if yours did come back online though, then skip Step 7 and pick up with Step 8.
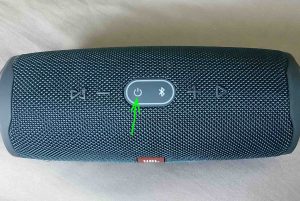
7. Power On the JBL Charge 4
Press the dark Power button to turn this wireless speaker on again. The unit should again pair with your mobile device where you’re running the JBL Connect app. The Power and Bluetooth buttons turn solid white as your speaker successfully pairs again with your tablet or phone, as shown next.
Meanwhile, back in the Connect App, the Upgrade Successful appears when the app receives confirmation from the speaker that the firmware Upgrade completed without errors, as shown next.
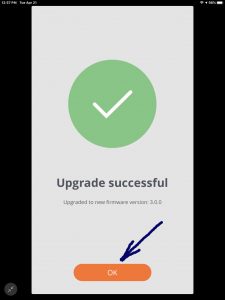
8. Press the OK Button
With your speaker successfully paired to the JBL Connect app again, press the orange OK button, as pointed at by the dark blue arrow in the last screenshot.
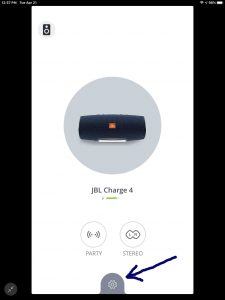
The app then displays the JBL Charge 4 status screen once again. However, this time, note that there’s no longer the red dot on the Settings button, as shown next. This means that the firmware Upgrade succeeded and that the speaker is now running the current firmware version. In this case, it’s version 3.0.0.0.
9. Done with JBL Charge 4 Firmware Upgrade !
You’re now successfully Upgraded the firmware to the current version in your JBL Charge 4 wireless speaker. Enjoy the tunes !
Other Posts About the JBL Charge 4
References for JBL Charge 4 Firmware Upgrade
Revision History
-
- 2020-09-18: First published.