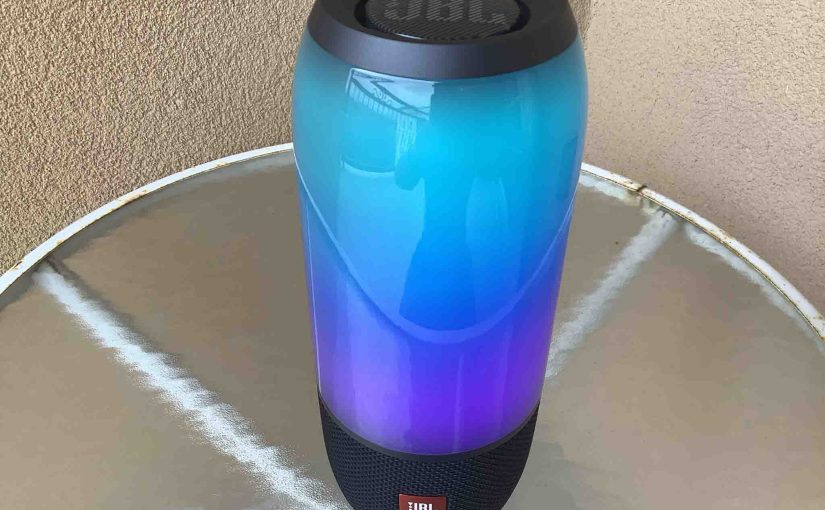
Here, we give JBL Pulse 3 firmware update instructions for this popular Bluetooth and light show speaker. The process can take around ten minutes depending on the speed of your internet connection, source device used to update the speaker, distance between speaker and that device, and so on. Plus, the update cannot be rolled back once done. That is, you’ll be unable to return to the prior firmware version after you finish this upgrade. So, be certain that you indeed want the firmware update, and have considered all ramifications before proceeding.
Prepare for JBL Pulse 3 Firmware Update
You’ll need the following items:
- Broadband internet connection,
- Bluetooth enabled mobile or desktop computer device,
- The JBL Connect app that runs on said mobile device,
- the JBL Pulse 3 speaker you’re updating.
- Compatible USB power adapters and charge cables for your speaker and mobile device.
Next, do the following preparations…
- So, get your mobile device connected to the internet, and install the JBL Connect app if you haven’t already.
- Then, connect your JBL Pulse 3 and your mobile device to AC power. Why? Because we don’t want either of their batteries dying during the update. A fading battery could leave a corrupted version of the firmware in the speaker’s memory, and brick the speaker. This would render it useless and non repairable.
- Be sure to unpair any other Bluetooth speakers from your mobile device for this process.
- Then, power up your speaker and mobile device, if not already powered ON.
- Next, pair your mobile device with the JBL Pulse 3 Bluetooth speaker.
- You are now ready to begin the firmware updating on that wireless speaker.
JBL Pulse 3 Firmware Update Instructions, Step by Step
1. Connect the JBL Pulse 3 to AC Power if Not Done Already
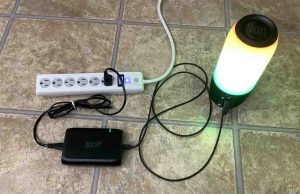
We connected ours to an AC outlet using a common USB power adapter, as well as a common micro USB to USB-A cable. E.g. See this in the next picture.
2. Find the JBL Connect App on your Mobile Device
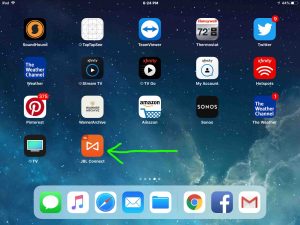
We found ours on the fourth home page in our Apple iPad Air, as shown next.
3. Run the JBL Connect App to Continue with JBL Pulse 3 Firmware Update
The app takes some seconds to find the Pulse 3. During that time, it shows you some pretty animations when you first start it.
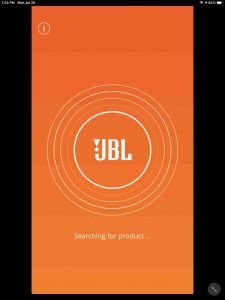
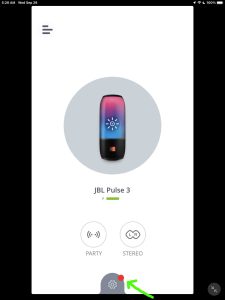
But eventually, it locates your paired JBL Pulse 3 Bluetooth speaker and displays its status screen, as pictured next.
If the speaker does not appear in the app after thirty seconds or so, move it closer to your mobile device. Next, close the Connect app, and then run it again.
Note the red dot on the Settings button, as pointed at by the green arrow in the next picture. This means that there are important messages about this speaker pending for your to read and act upon.
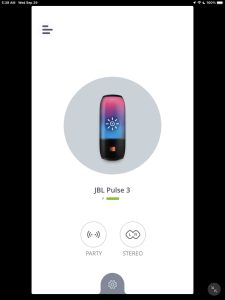
Note that if there are no current messages or firmware updates available for this speaker, then you will see no red dot, as shown next.
4. Tap the Settings Button with the Gear Shape
Tapping the Settings gear brings up the first JBL Pulse 3 Upgrade screen, as we see next.
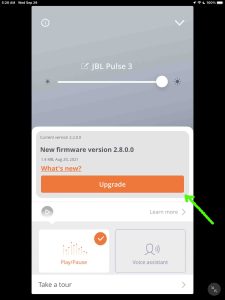
This screen offers details about the available firmware update, via the What’s New? link.
5. Tap the Upgrade Bar
Next, tap the Upgrade button. See this orange bar in the last screenshot picture, pointed at by the green arrow.
Next, if you didn’t connect your speaker to external power yet, you may get the following screen, which asks you to do so at this time.
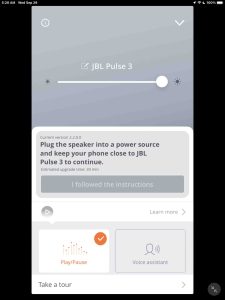
But if you did plug in your Pulse 3, you won’t see the above prompt, and the system will start updating the speaker’s onboard firmware. So in that case, skip forward to Step 8.
6. Connect the JBL Pulse 3 to Power
If you didn’t before, you must plug in the speaker now, to continue with the update.
7. Touch the I Followed the Instructions Bar
Then, once you connect the speaker, the I Followed the Instructions bar should become available, turning orange, as seen next.
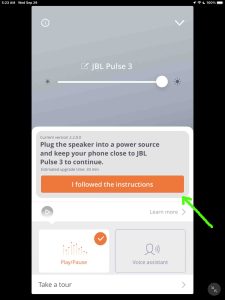
Tap that orange bar, and the update will then start.
8. The JBL Pulse 3 Firmware Update Begins
The firmware update then begins, as we see in the following screenshots.
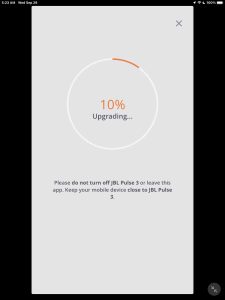
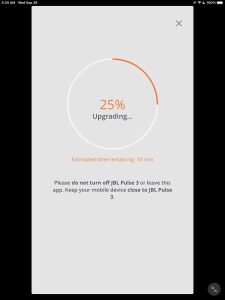
8a. Firmware Update Continues, at Twenty Five Percent Done
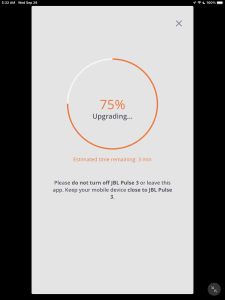
Now as shown in these screenshots, the JBL Connect app displays a round progress bar, that gradually gets more orange as the firmware update proceeds.
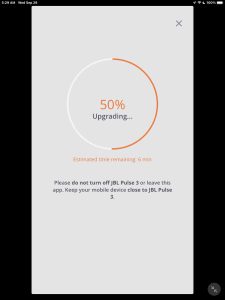
8b. JBL Pulse 3 Firmware Update at Fifty Percent Complete
We’re probably about five minutes into the update now.
8c. JBL Pulse 3 Firmware Update at Seventy-Five Percent Complete
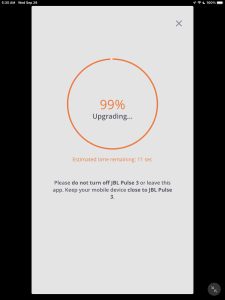
8d. JBL Pulse 3 Firmware Update at Ninety-Nine Percent Done
The next screen shows that the firmware file transfer and update to the speaker have almost finished (99 percent done). E.g. The progress bar is practically all orange now.
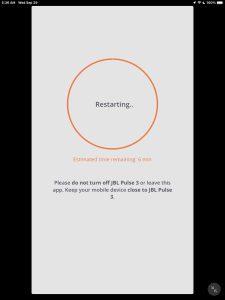
9. Wait for the JBL Pulse 3 to Restart
Once the app copies the update to the speaker, you get the Restarting screen, as shown next. This is when the Pulse 3 installs the firmware package. Thus, this screen warns that our speaker will restart automatically. Plus, it also asks us not to unplug the speaker and to keep it close to our mobile device as it runs the update.
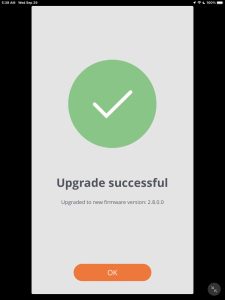
10. The App Finishes the Update
After the speaker restarts, the app displays the Upgrade Successful page, as we see next.
11. Power On the JBL Pulse 3 If it Shut Off
Press the Power button on the back of the unit, just above and between the Pairing and Volume UP buttons, to turn this Bluetooth speaker on again, as pictured next.
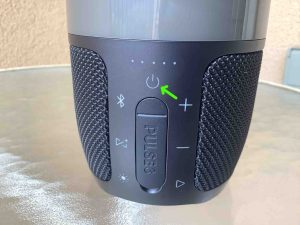
The Pulse 3 should again pair with your mobile device where you’re running the JBL Connect app. The Power button turns solid white and the Pairing button also glows steadily white once the speaker has again linked to your mobile device.
12. Press the OK Button in the Connect App
With your speaker successfully paired to the JBL Connect app again, press the orange OK button, as shown in the last screenshot.
The app then displays the JBL Pulse 3 home screen once again. But this time, note that there’s no longer the red notification dot, as shown next. This means that the firmware update succeeded and that the speaker is now running the current firmware version.

13. Done with JBL Pulse 3 Firmware Update Instructions !
You’re now successfully updated the firmware to the current version in your JBL Pulse 3 Bluetooth speaker. Enjoy the new features.
Other Posts About the JBL Pulse 3
Related Posts to JBL Pulse 3 Firmware Update
References for JBL Pulse 3 Firmware Update
Revision History
-
- 2021-10-06: First published.
