These Netgear EX3700 setup instructions for this Netgear® AC750 WiFi range extender model EX3700, show easy itself. Very true when you have screen shots from actual setup sessions, like we have here. We snapped these pics here, while connecting our EX3700 to our existing wireless networks.
Netgear EX3700 Setup Instructions: Intro
The Netgear® firmware automates much of setup in the Genie wizard web site at the Netgear extender setup website. Thus, nearly all you need do is answer a few questions. Most of these they supply with default answers.
Then, you find your networks to extend in a list they also provide. For each one, enter its password. Then this wireless extender takes it from there. It connects to your chosen networks and repeats them; extending their range.
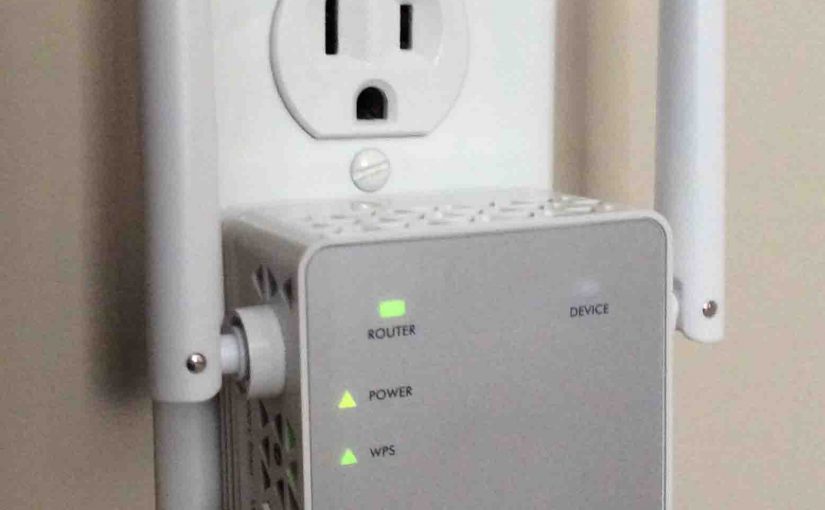
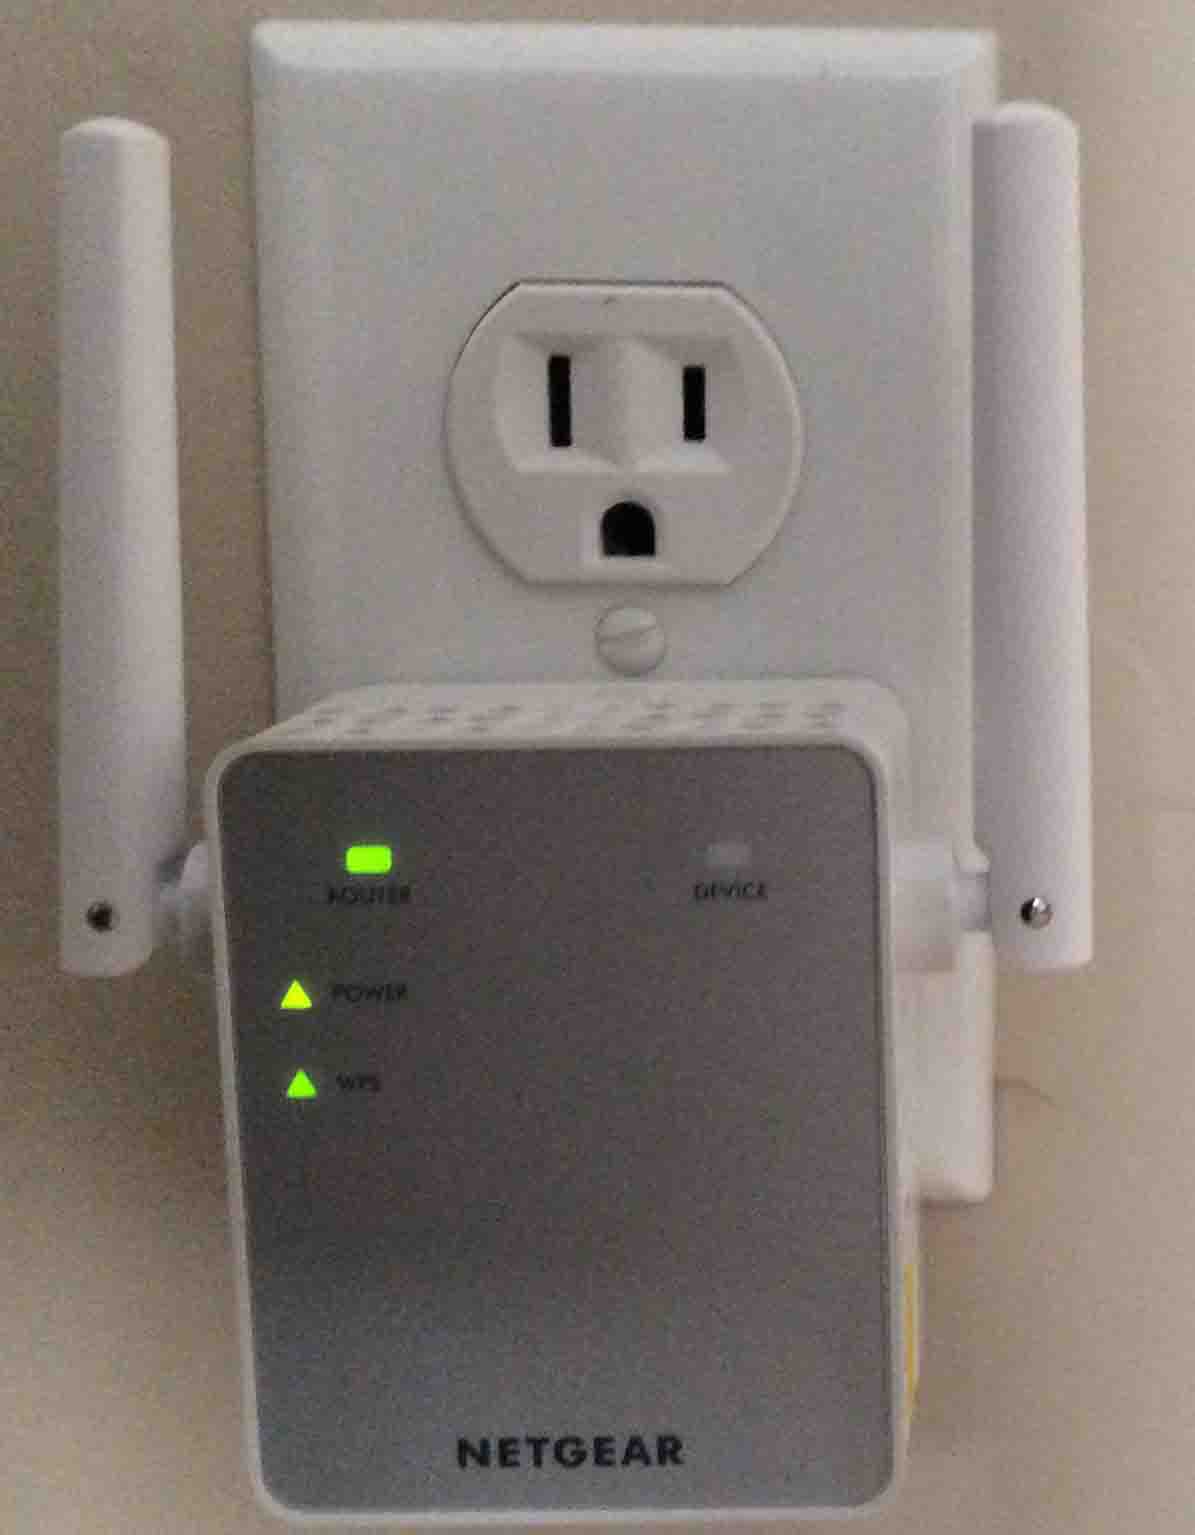
The picture above shows the Wi-Fi range extender after Netgear EX3700 setup. It connects to and extends both our 2.4 Ghz. and 5 Ghz. networks. Furthermore, the router lamp on the top left corner, glows a solid green. This means that the extender is getting good signal from the primary network(s). So it is repeating them as it should. The power LED means that the unit is running. Also, a steady green glow means that the extender is operating normally.
The WPS lamp also glows. This means that Wi-Fi protected setup is available. Further, this light flashes when a WPS authentication is in progress).
Finally, the device lamp starts glowing when you connect to one of the extension networks.
Now in this procedure, we wipe the Netgear EX3700 clean of any user-programmed settings. Then we show you how to set it up to extend the networks in your space.
Netgear EX3700 Setup Instructions: Step by Step
1. Connect the Netgear EX3700 to Power
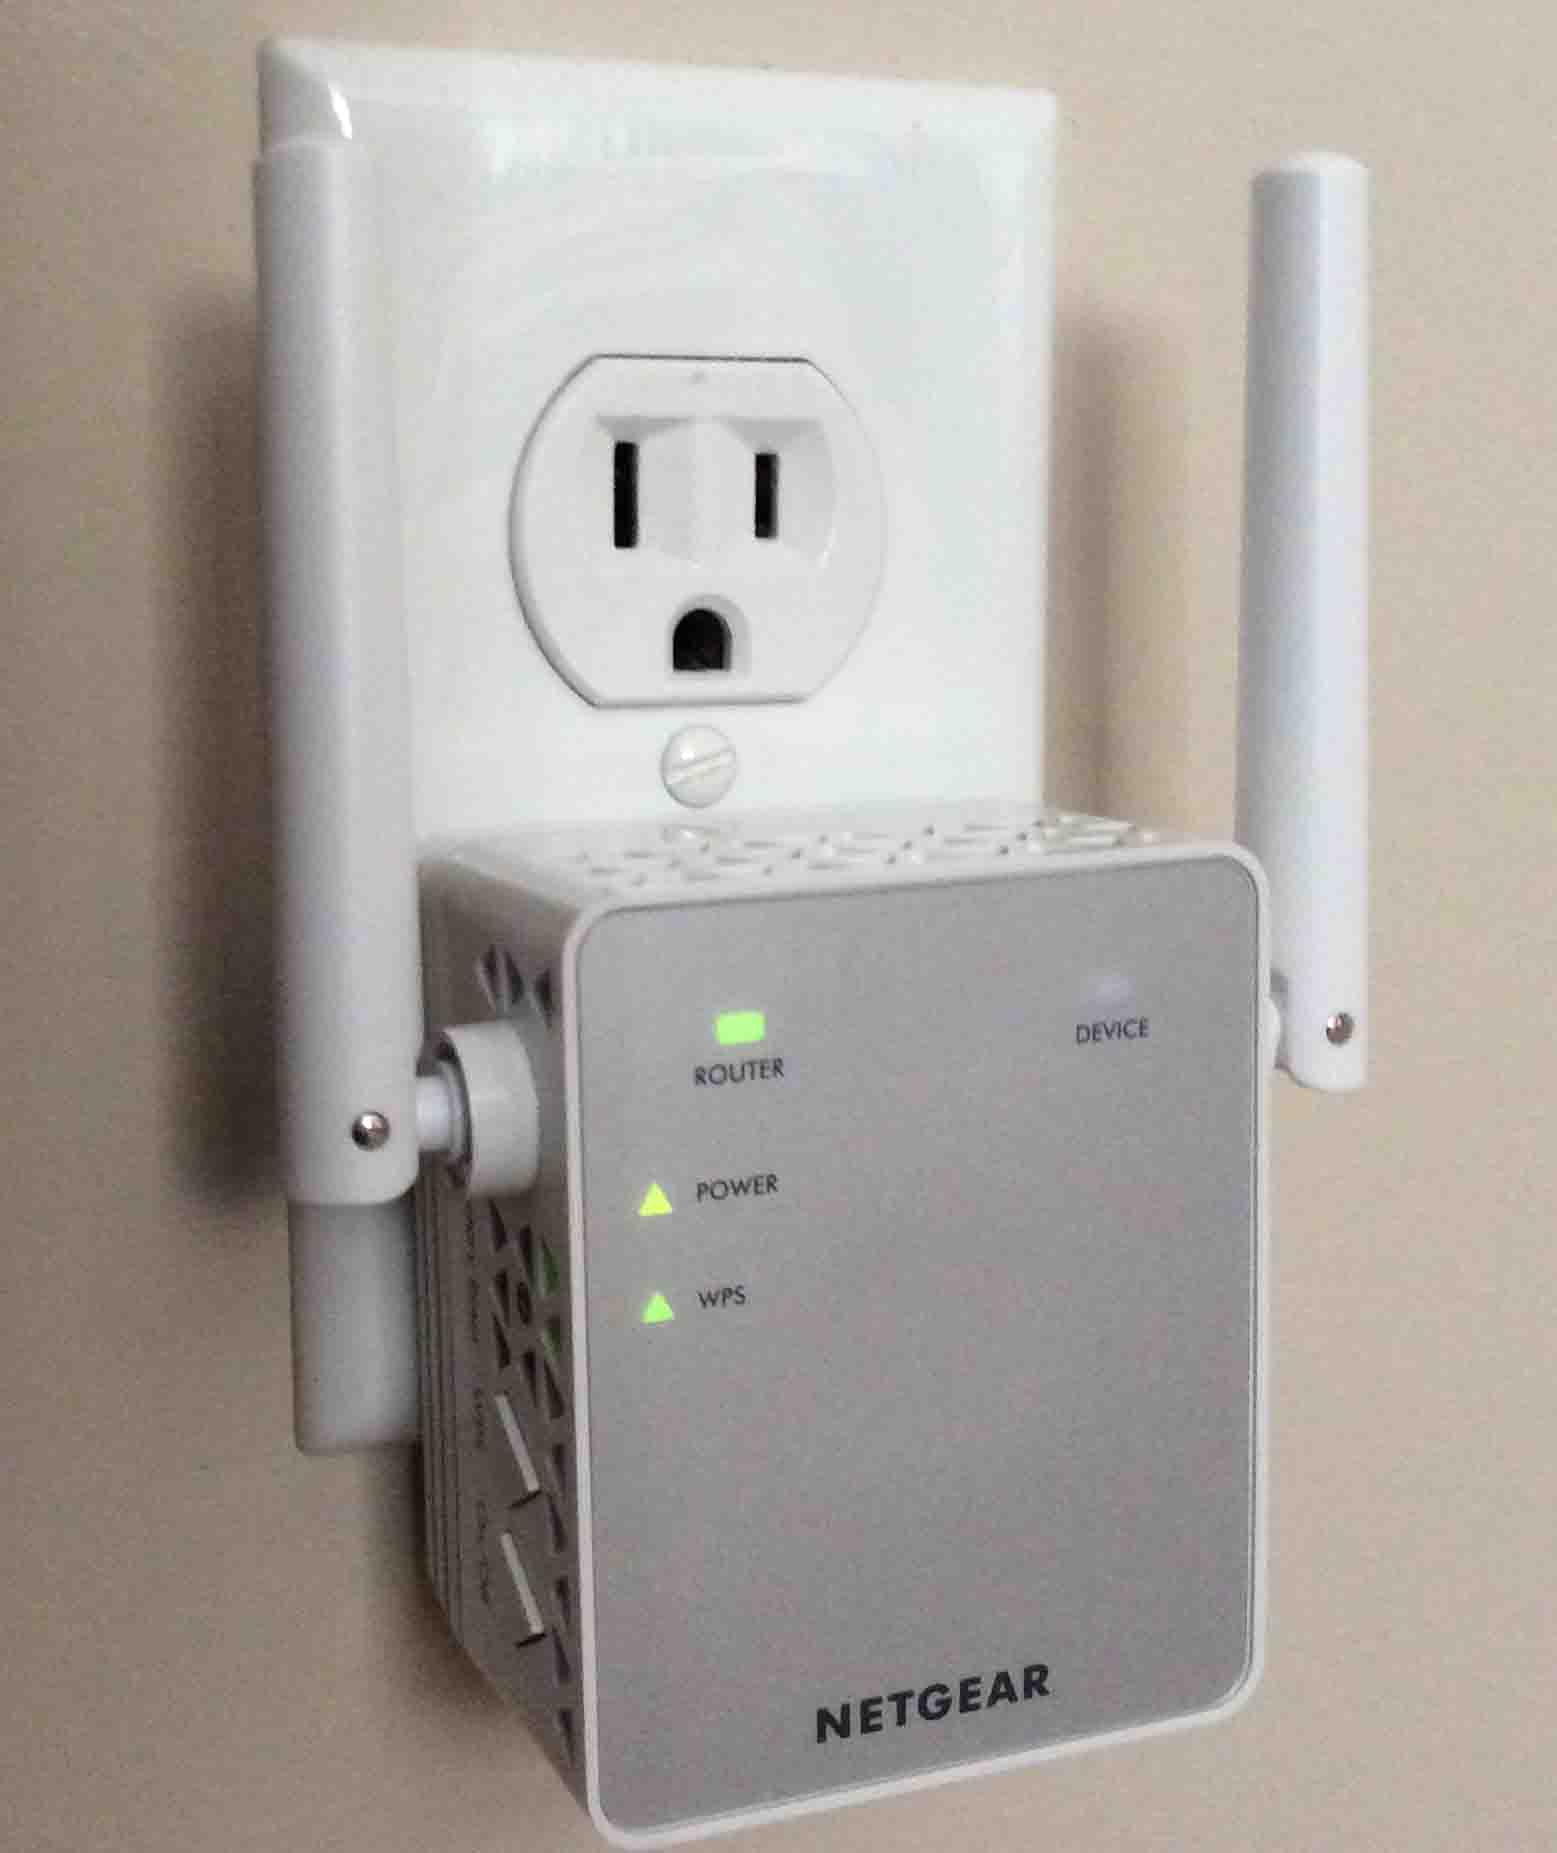
As shown above, you just plug it into a standard wall outlet. Do this in the same room as your primary router. While doing Netgear EX3700 setup, this extender needs to be close to your primary Wi-Fi networks.
But once you complete setup, you can then move the EX3700 to anywhere within range of your primary wireless network. Move it where you need better signal strength for your WiFi devices.
2. Reset the Netgear EX3700 to Default Factory Settings
Jump ahead to step 3 if you purchased this extender brand new.
But you’ll want to RESET this device if you bought a used one. Do this just in case the seller did not clear out their settings. To do that, press the RESET button for ten seconds. Find the reset button on the left side of the unit. The power light will blink yellow a few times. This means that a reset-then-reboot is in progress.
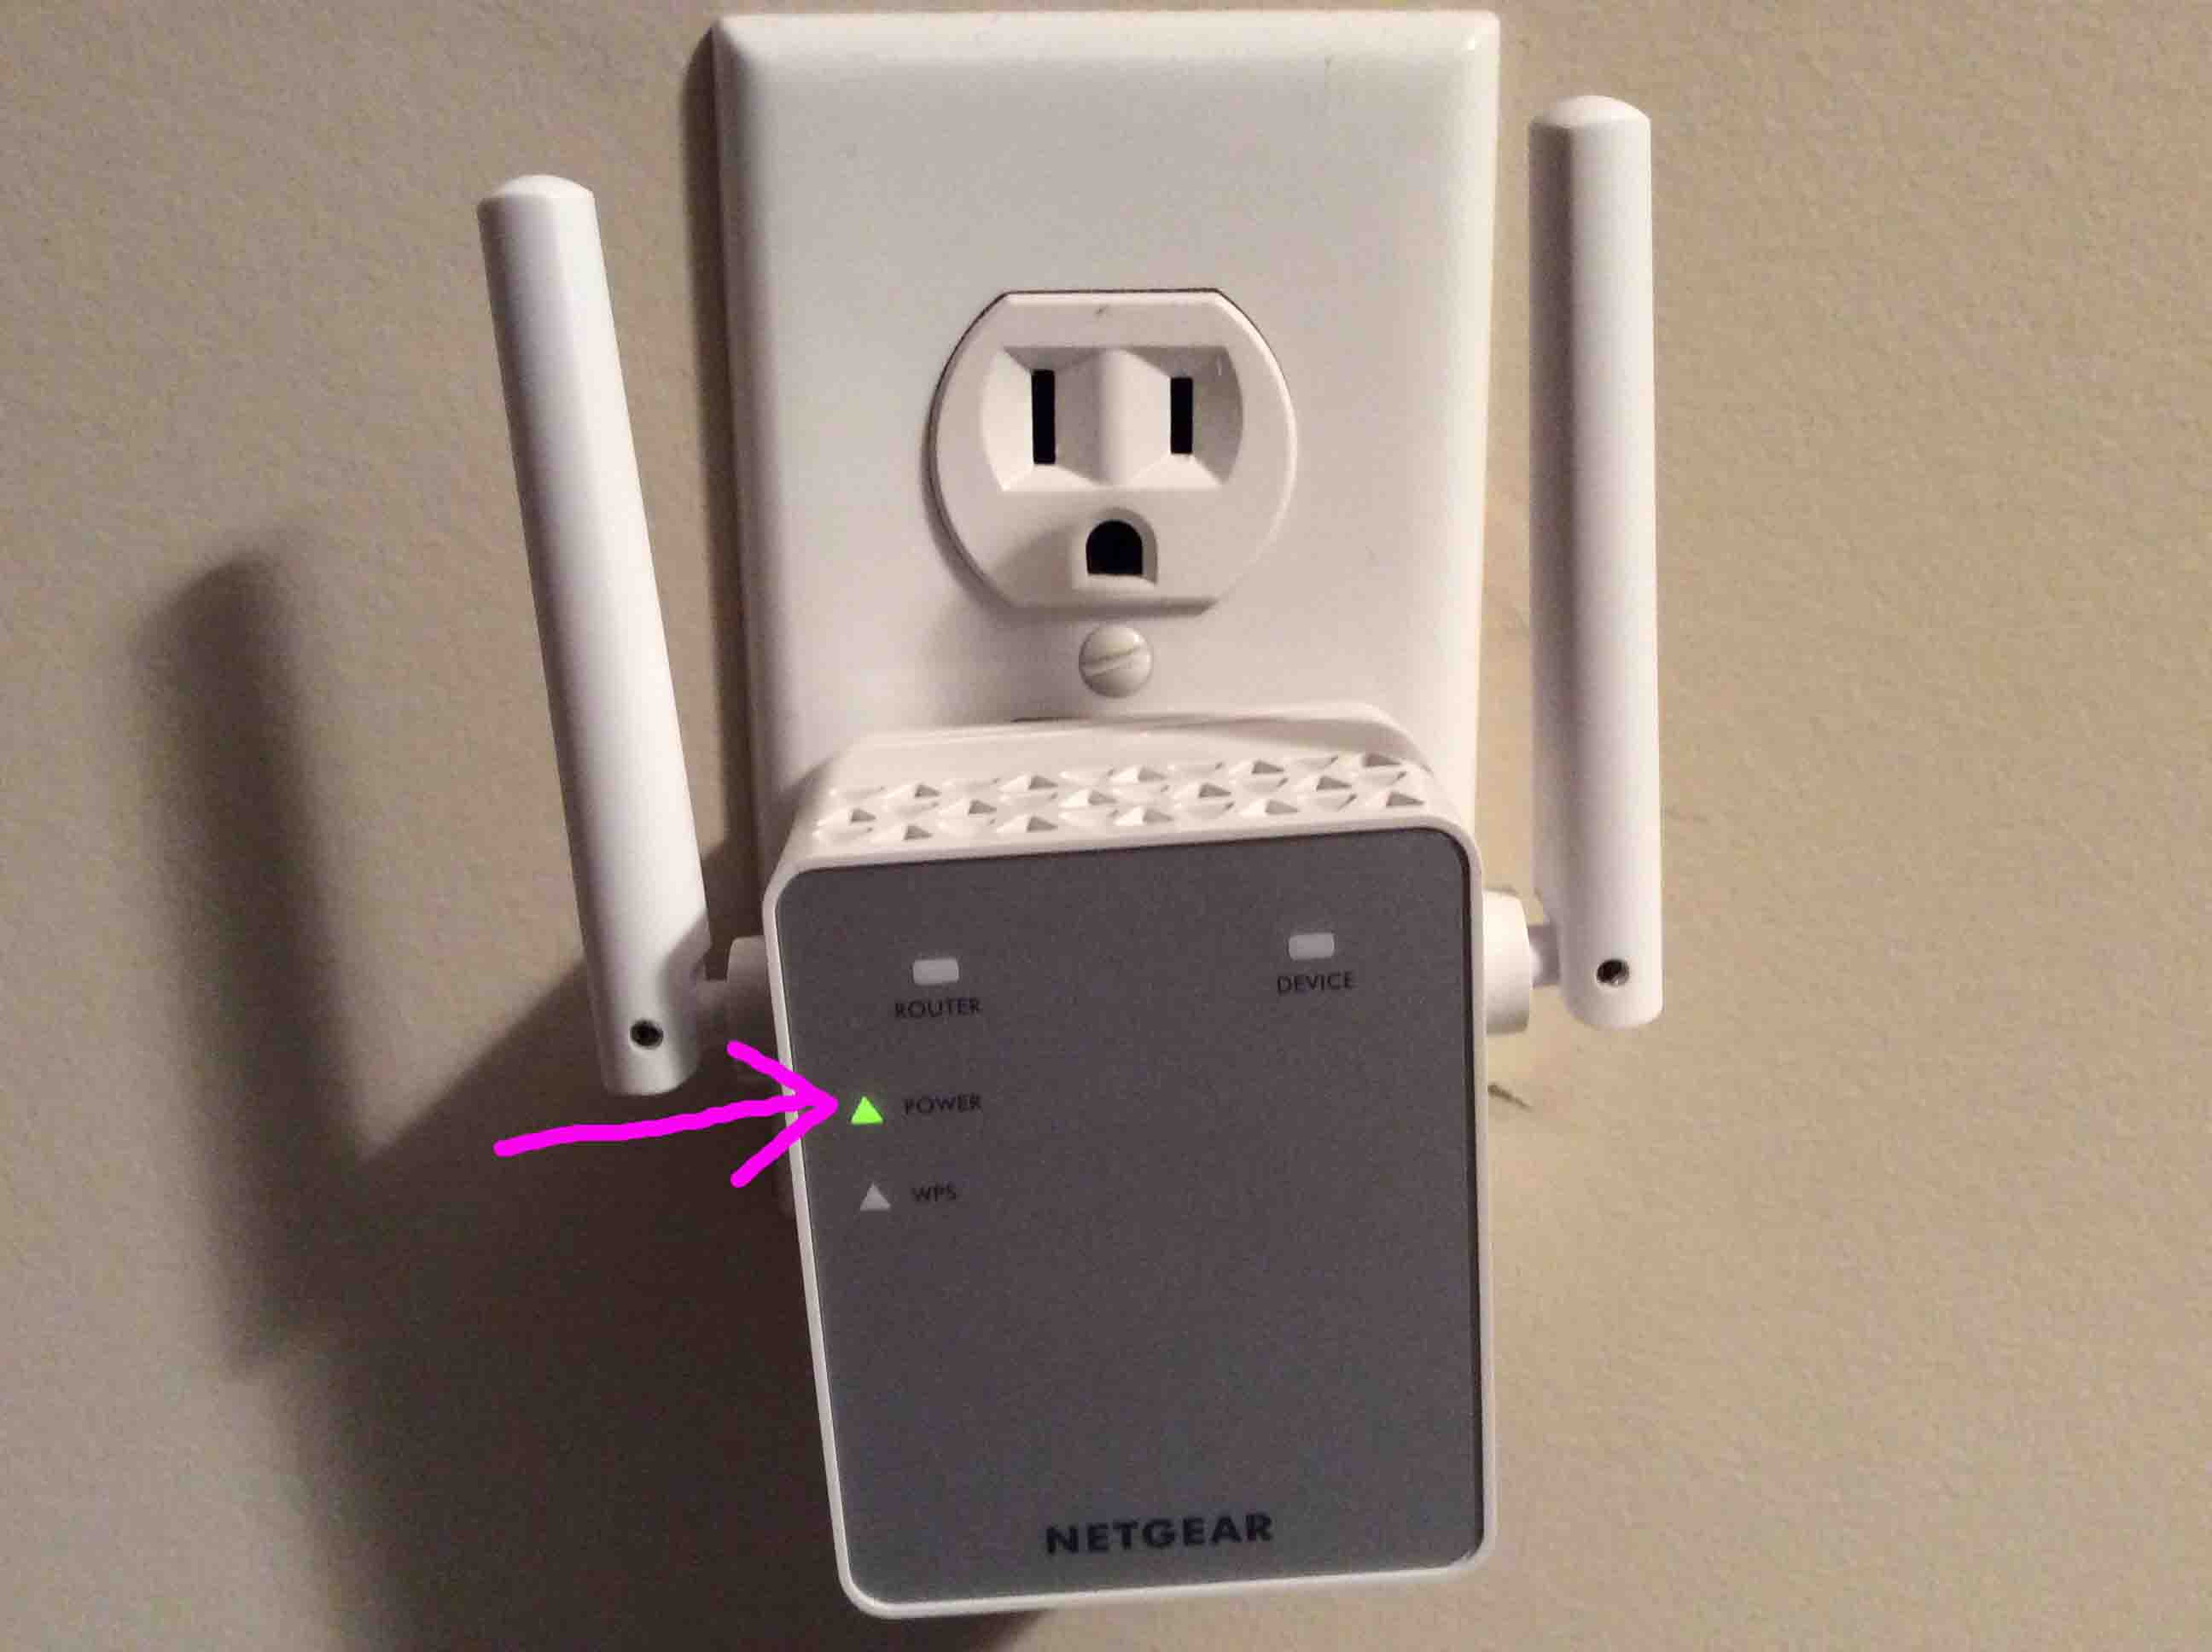
The reset has completed successfully when the power light glows that steady green, as shown next. Note that after a reset, neither the router nor device lamps should be glowing, as the Netgear EX3700 has not yet connected to any routers or client devices.
3. Log into the Netgear Extender Setup Website to Configure the EX3700
Then, go to your computer or mobile device and scan for the “NETGEAR_EXT” wireless network. We found it on our iPad Air, as pictured next. This access point is only active during Netgear EX3700 setup, and will go away once you’ve finished setup.
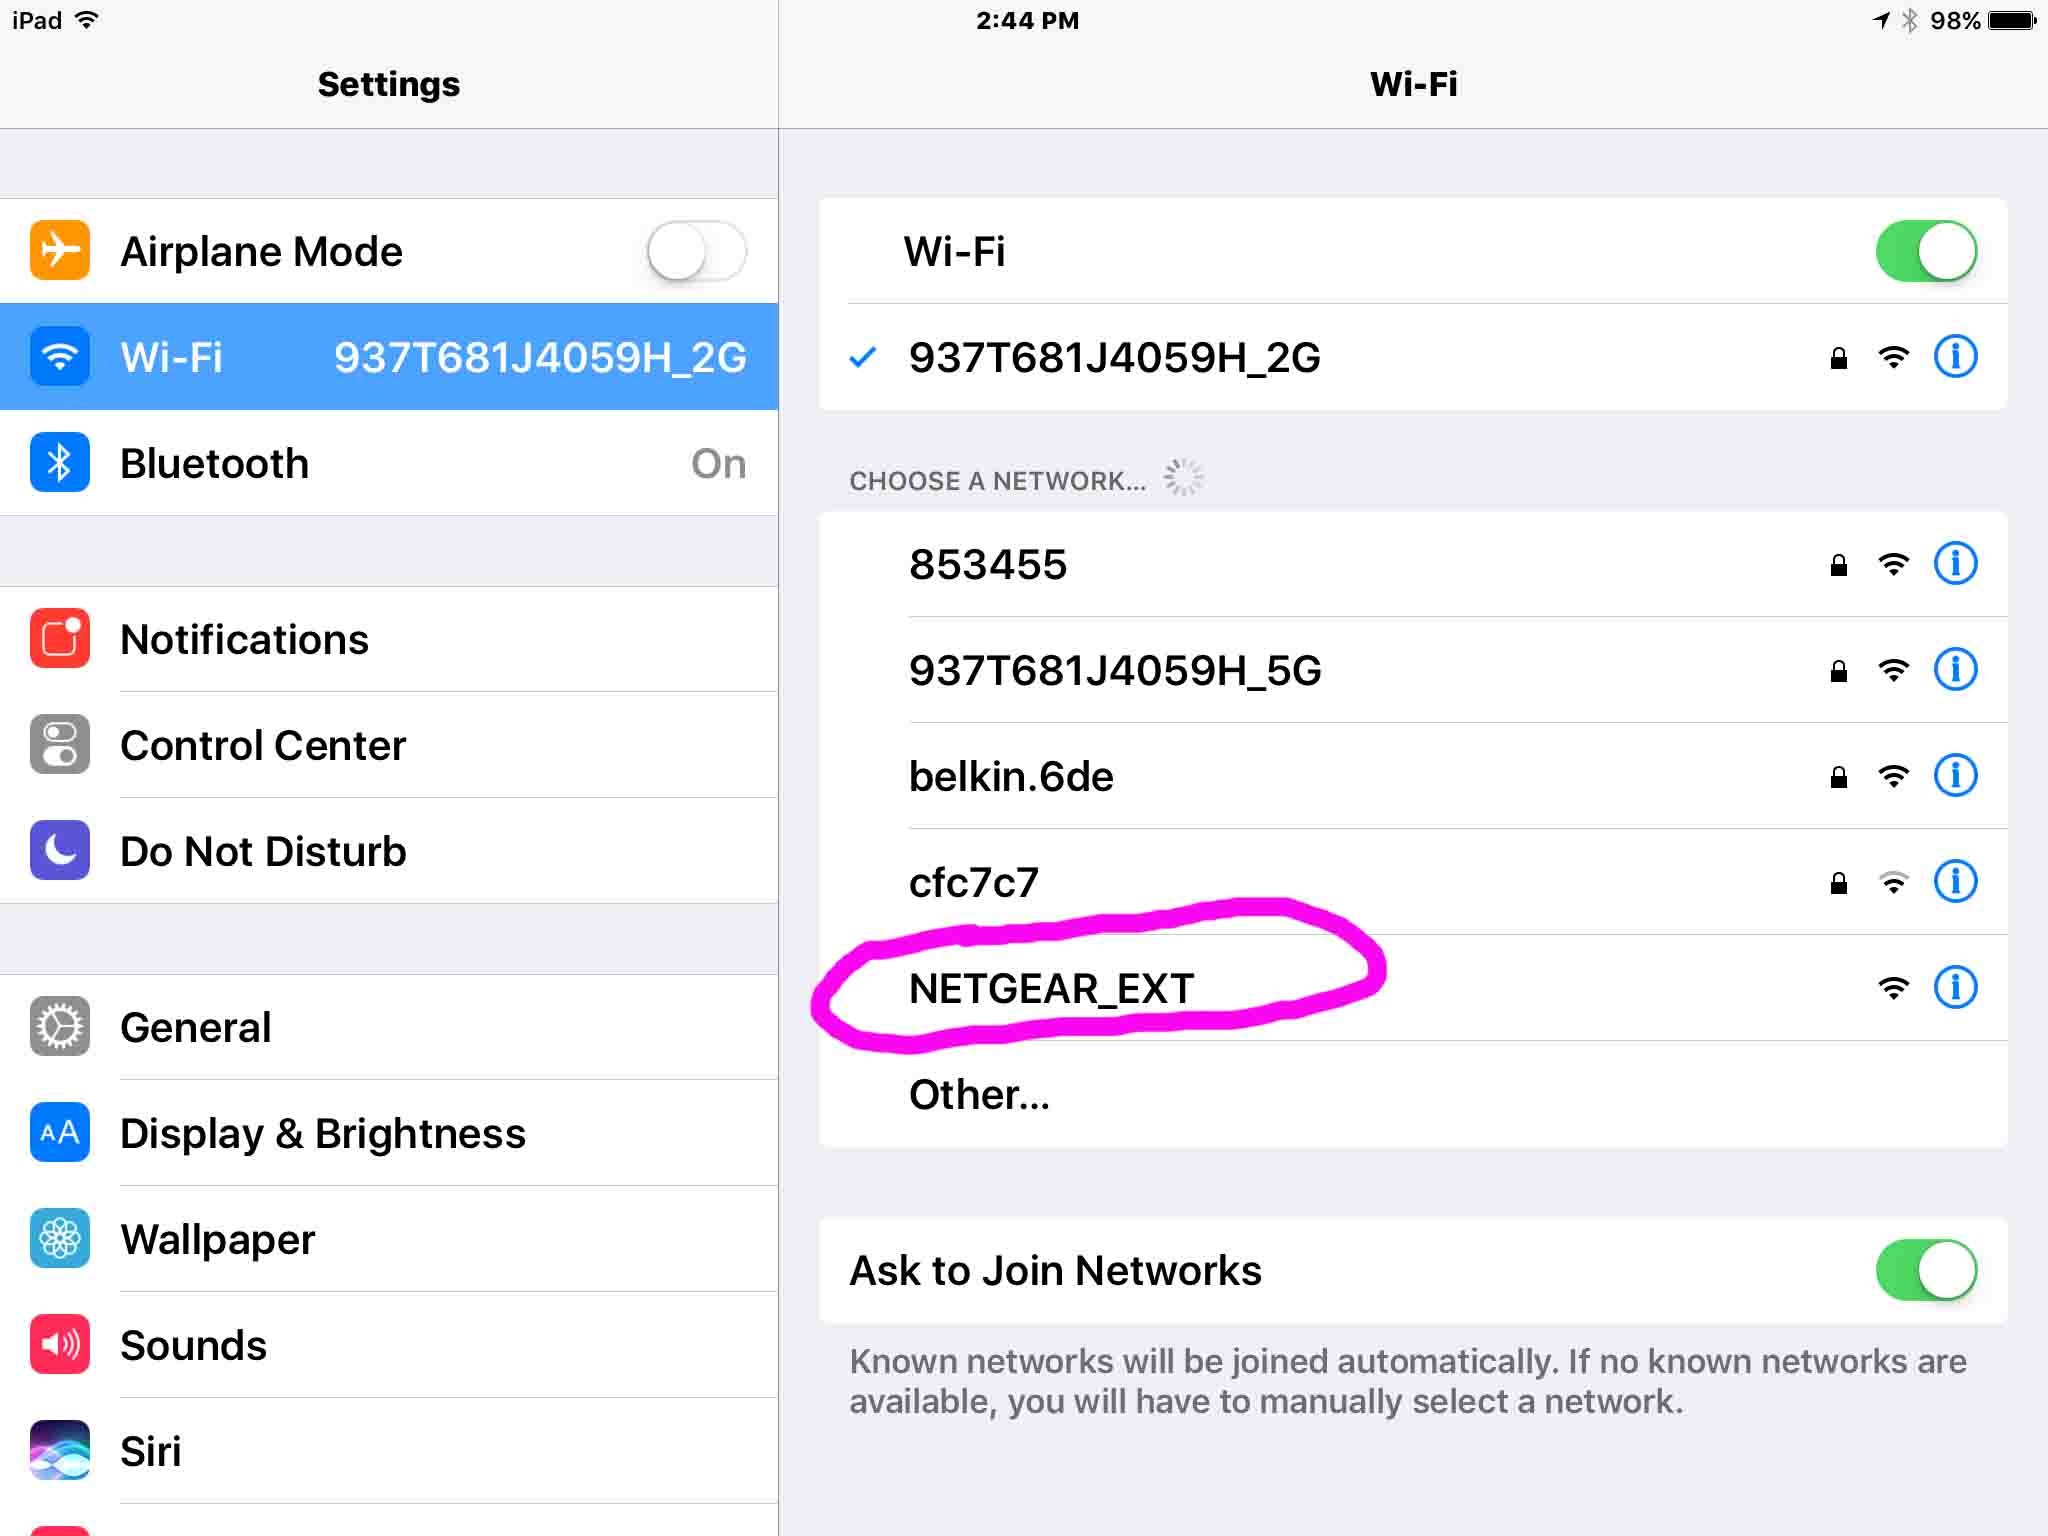
Next, join the NETGEAR_EXT network. Since it is OPEN, you will not get a prompt for a password. For example, on our iPad Air, we join it simply by single-tapping it. Upon connection, our tablet got the IP address 192.168.1.129.
Once connected, the Netgear extender setup website (Netgear Genie Setup) front page comes up automatically, as shown next. Now the startup page may not appear within a few seconds of connecting. If so, then head to your favorite browser the visit the site http://mywifiext.net/ .
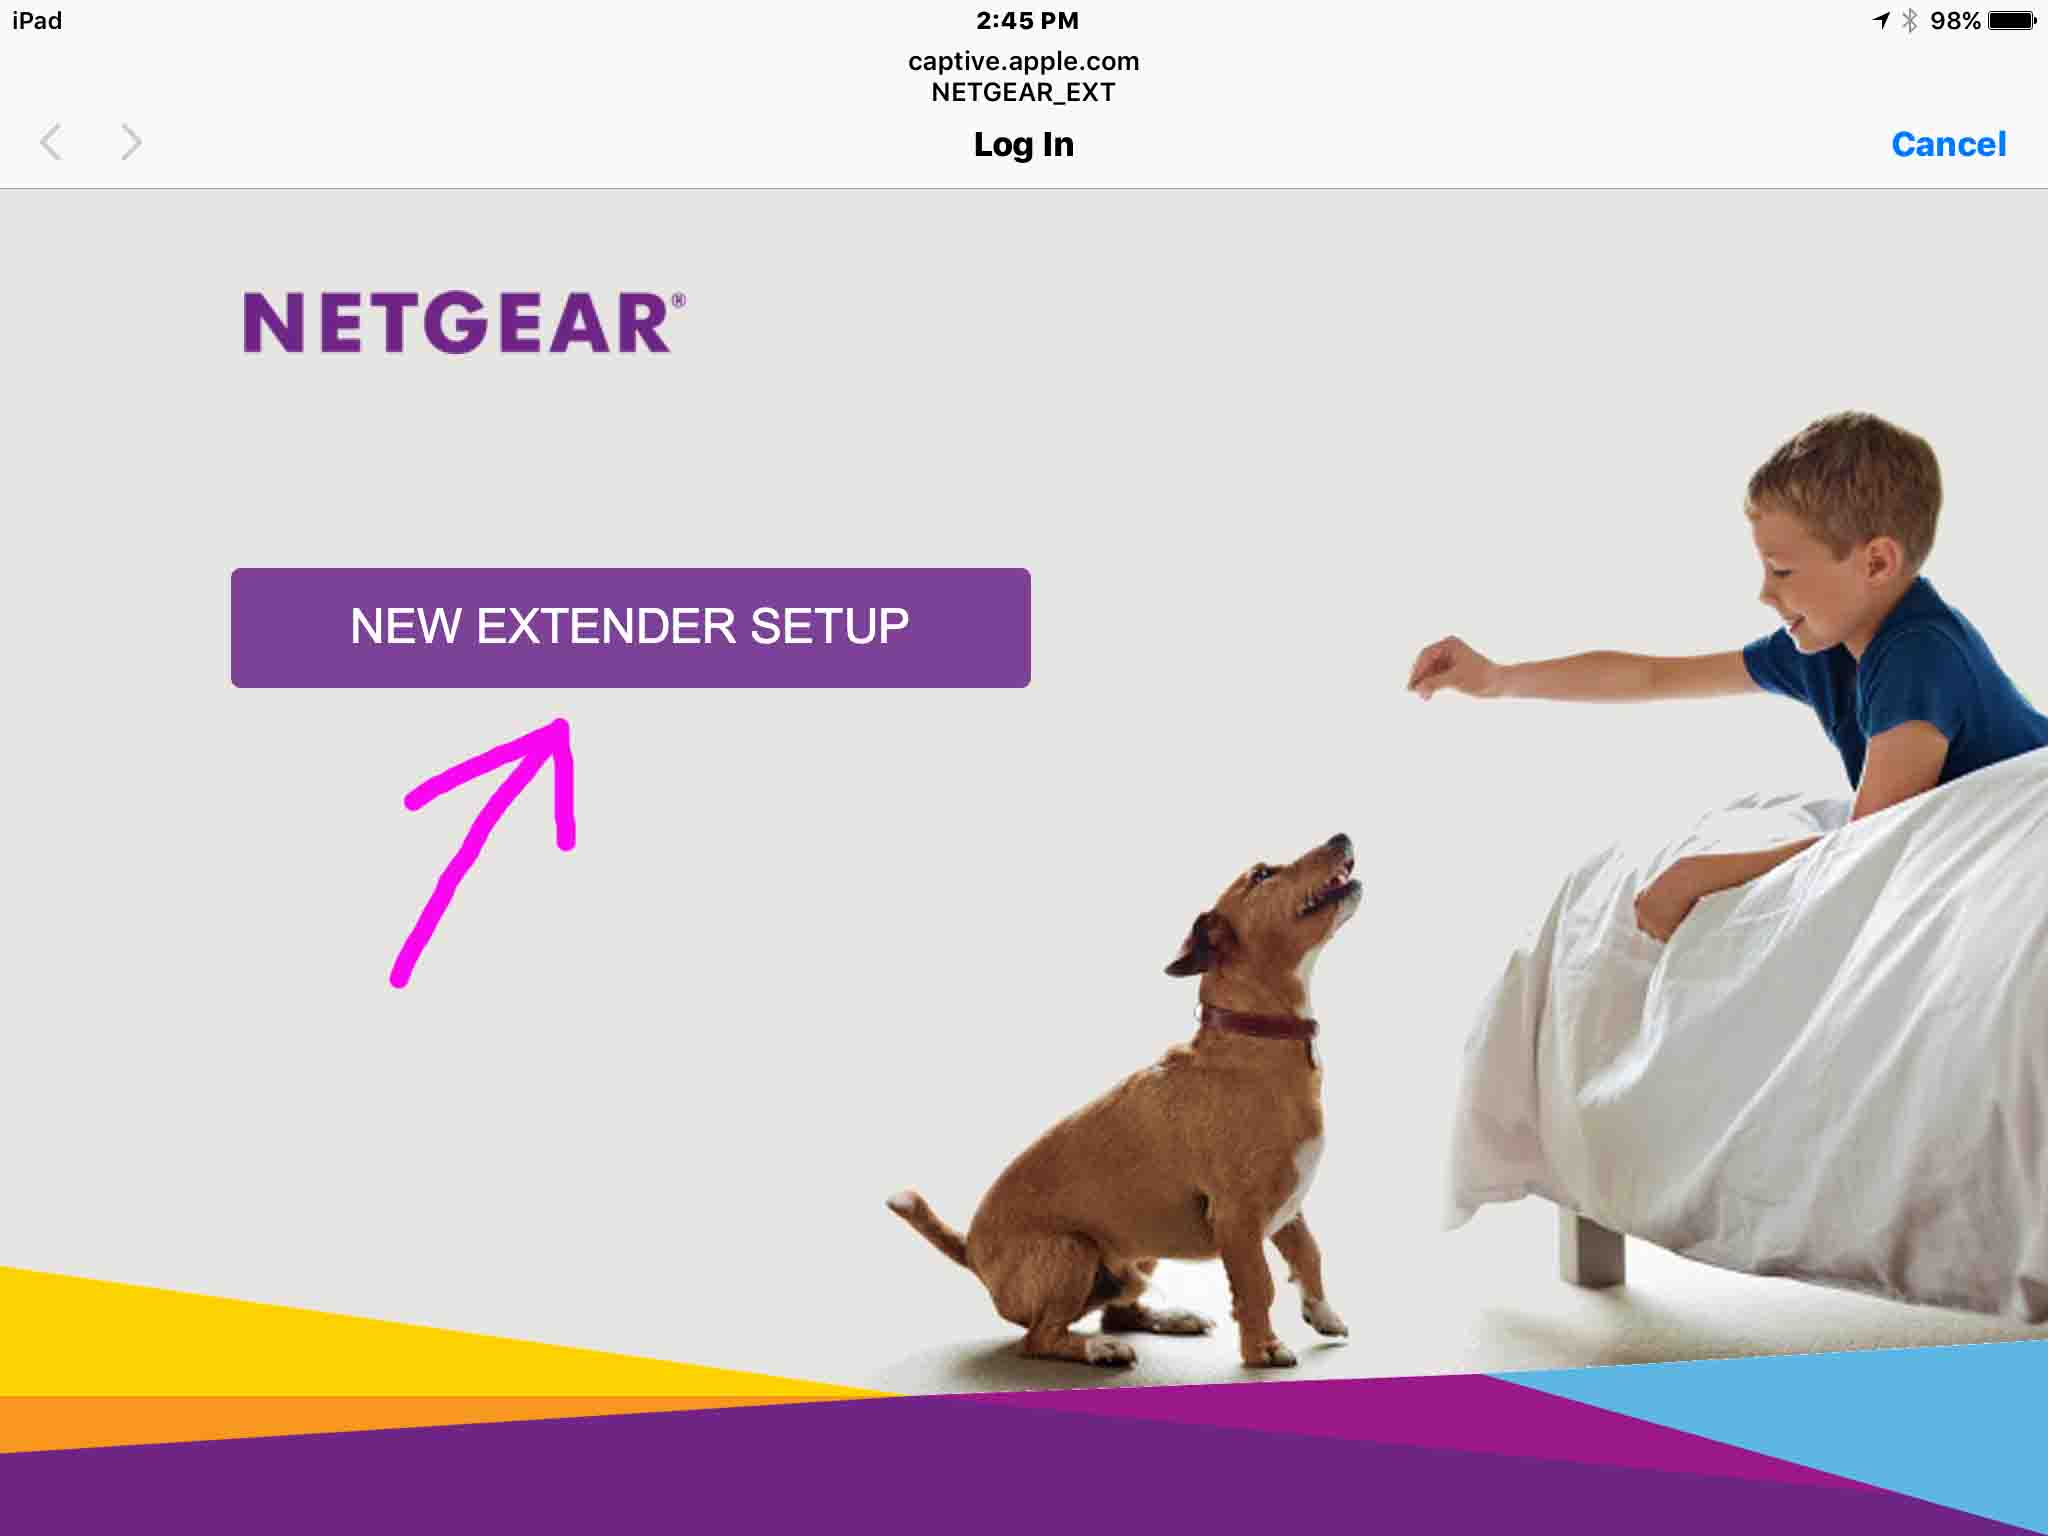
4. Tap the New Extender Setup Button to Continue with Netgear EX3700 Setup Instructions
This brings up the new account creations screen as follows.
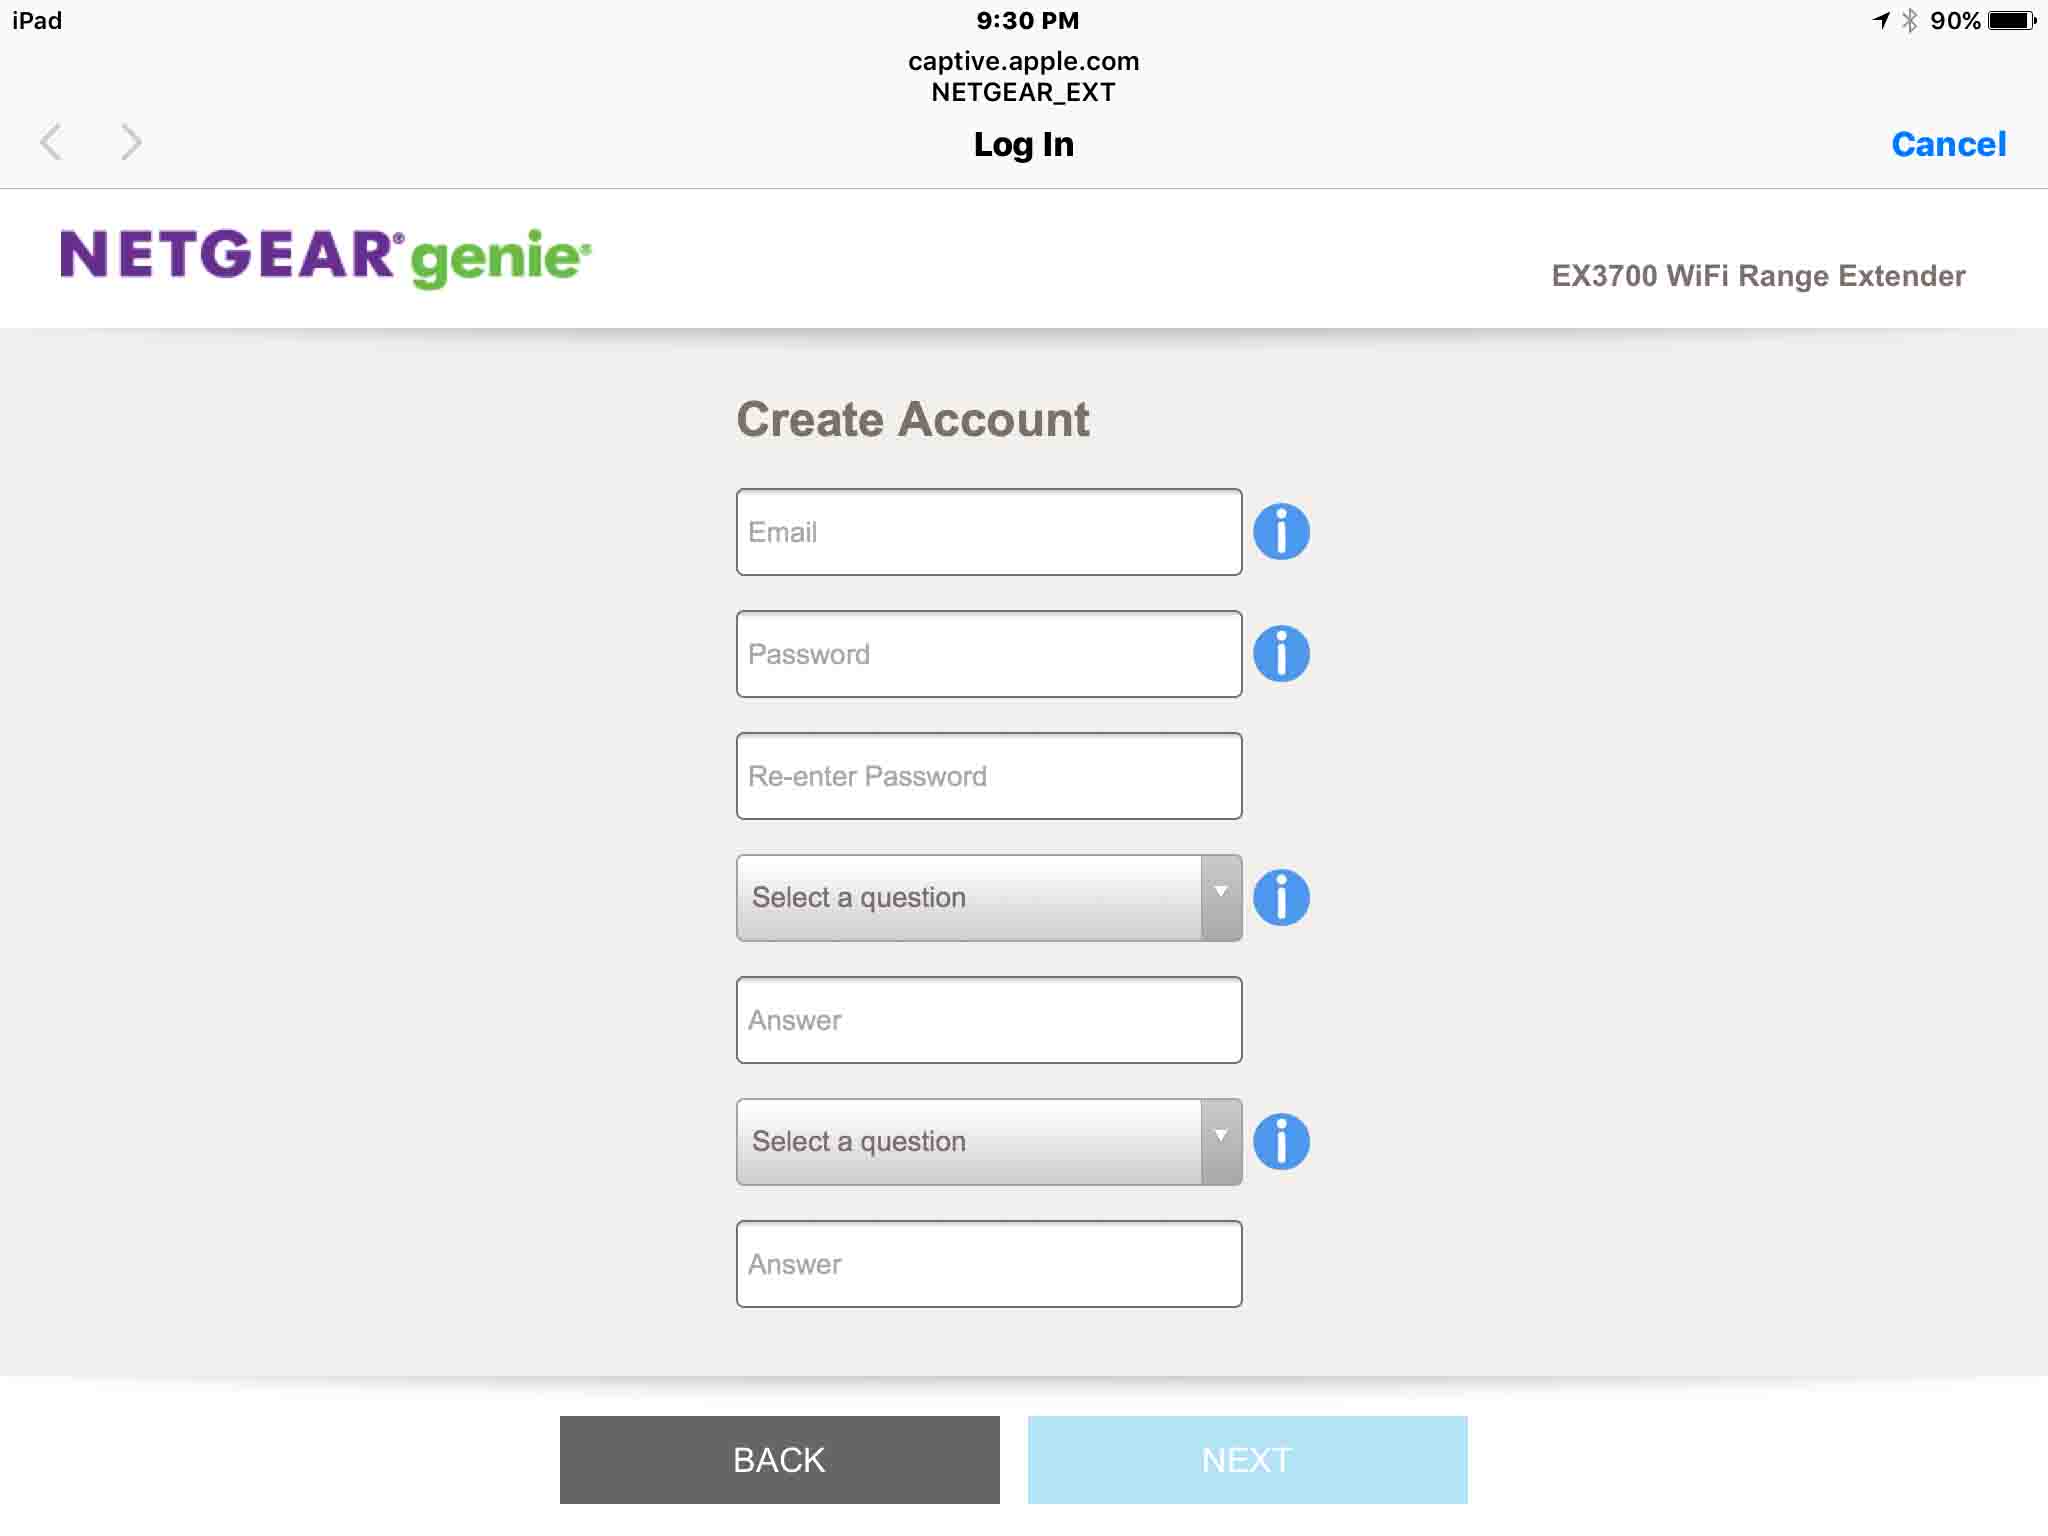
5. Enter New Account Information
The Netgear extender setup wizard then prompts you for an email address. It also asks for a new account password and confirmation, and two security questions. You can choose what each question is from the supplied lists. Then enter the answer for each.
6. Tap the blue Next Button
This brings up a screen that asks you how you wish to utilize your EX3700. Note that you can use this device as an extender, or as a wireless access point. We’re not going to cover the WAP option here though.
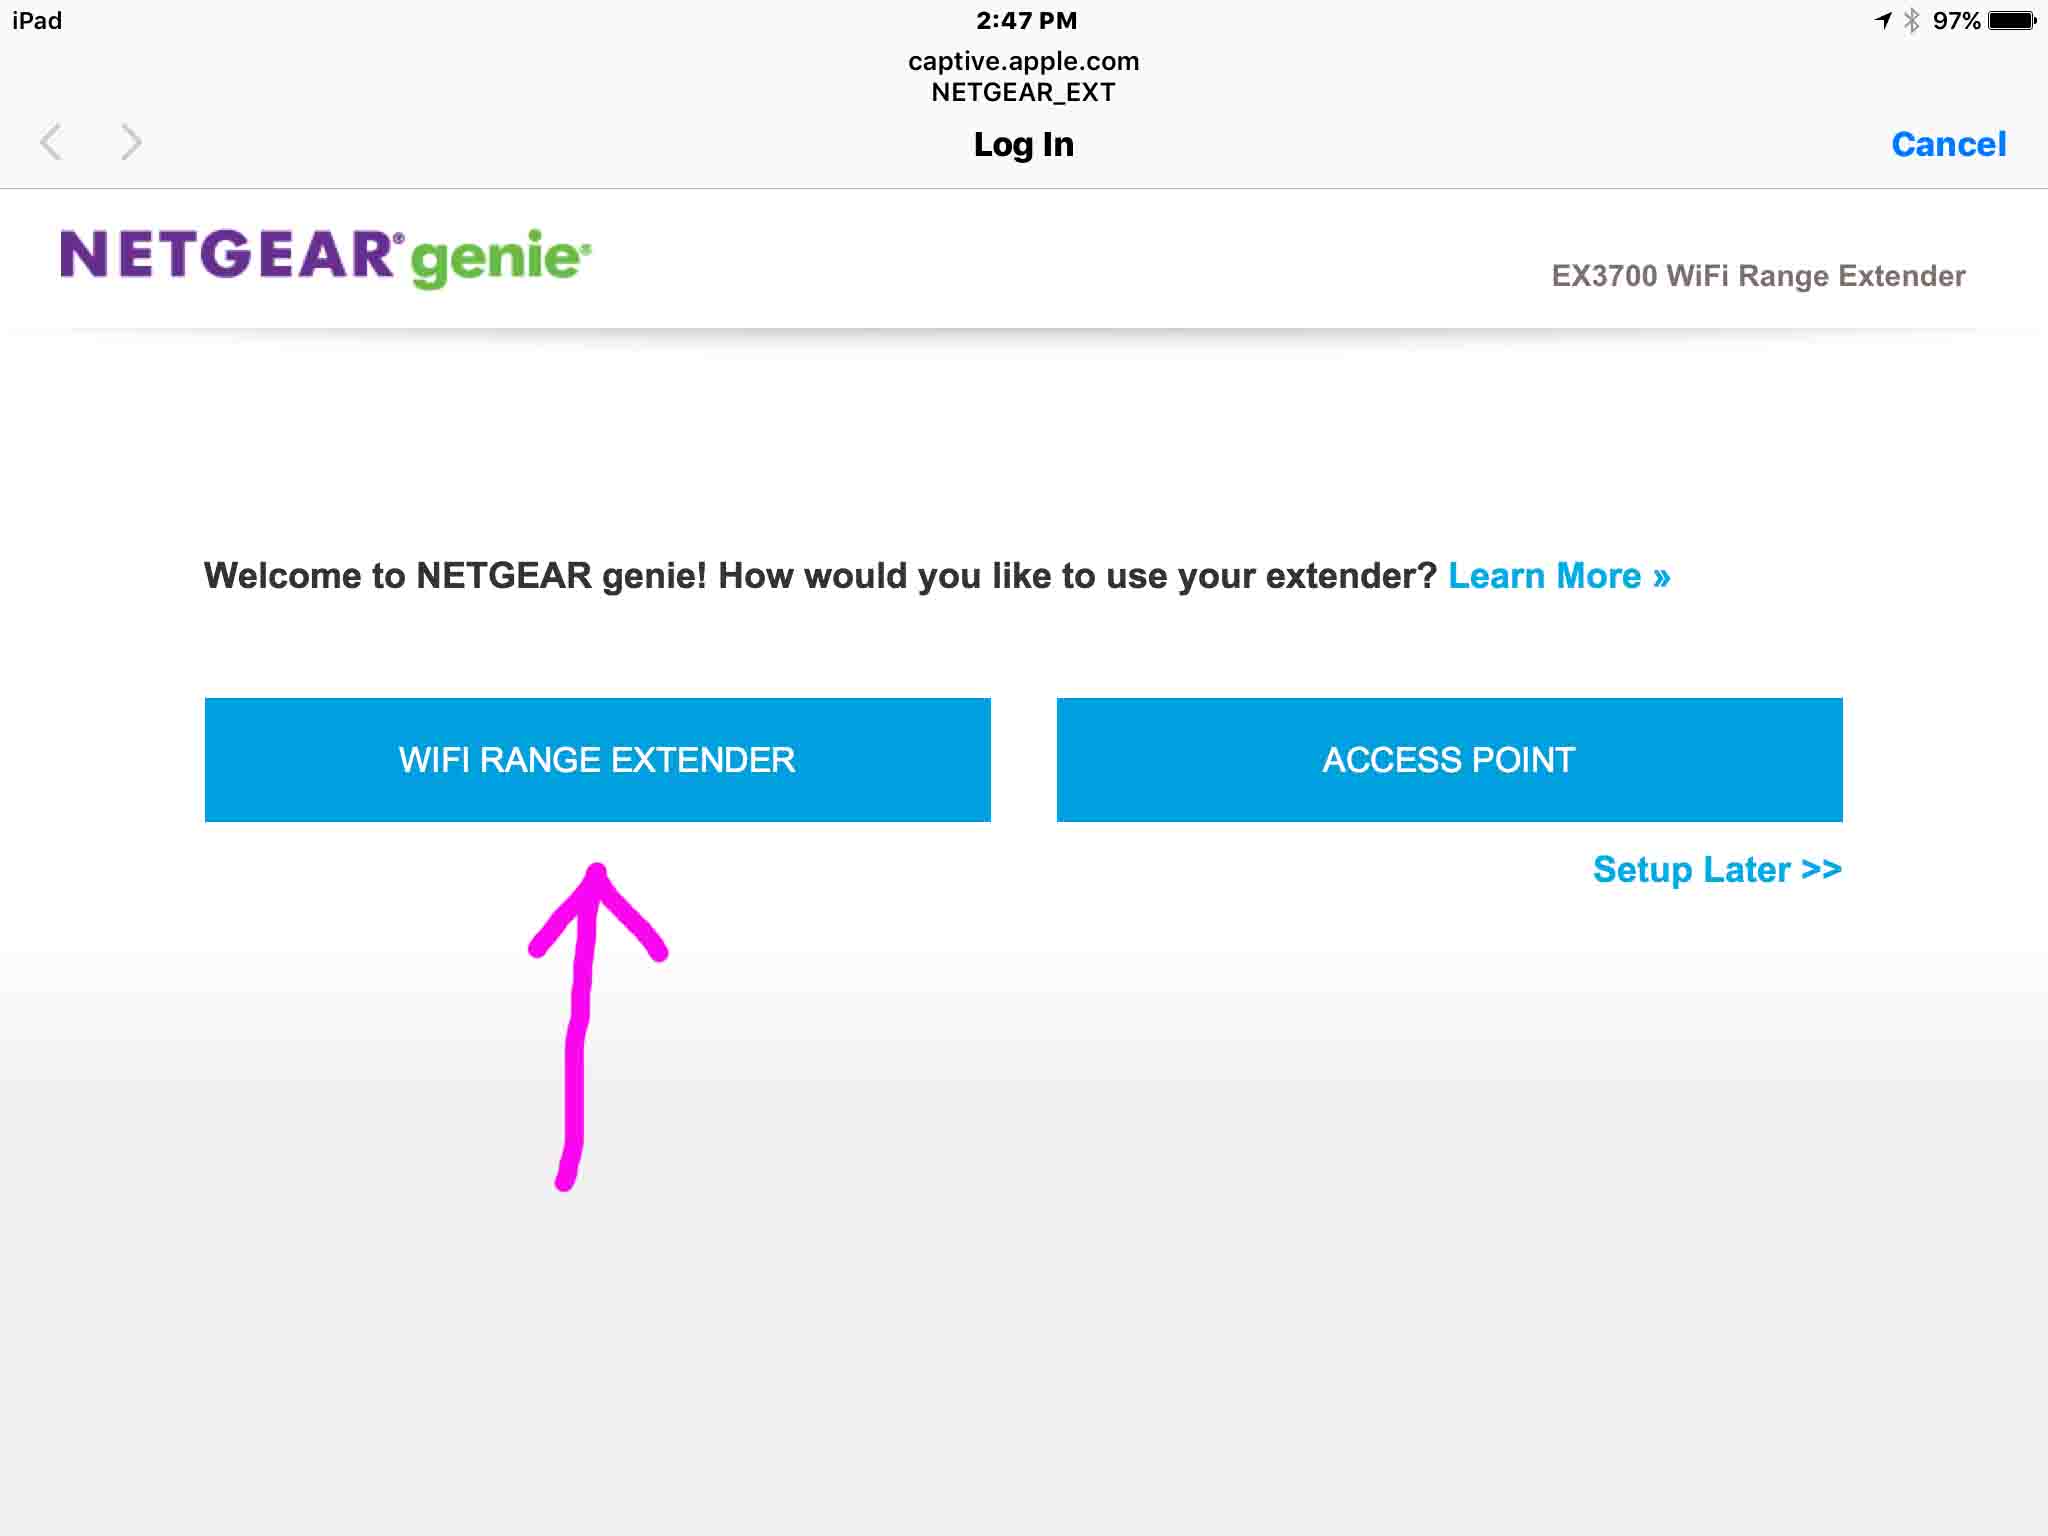
7. Tap the Wi-Fi Range Extender Button
Find the WiFi range extender button, pointed at by the pink arrow in the previous picture. This tells the EX3700 to scan both the 2.4 and 5 Ghz. bands for networks to extend.
Next, after a short pause, the setup wizard shows the “Choose the wireless network you’d like to extend” screen. See this in the next step.
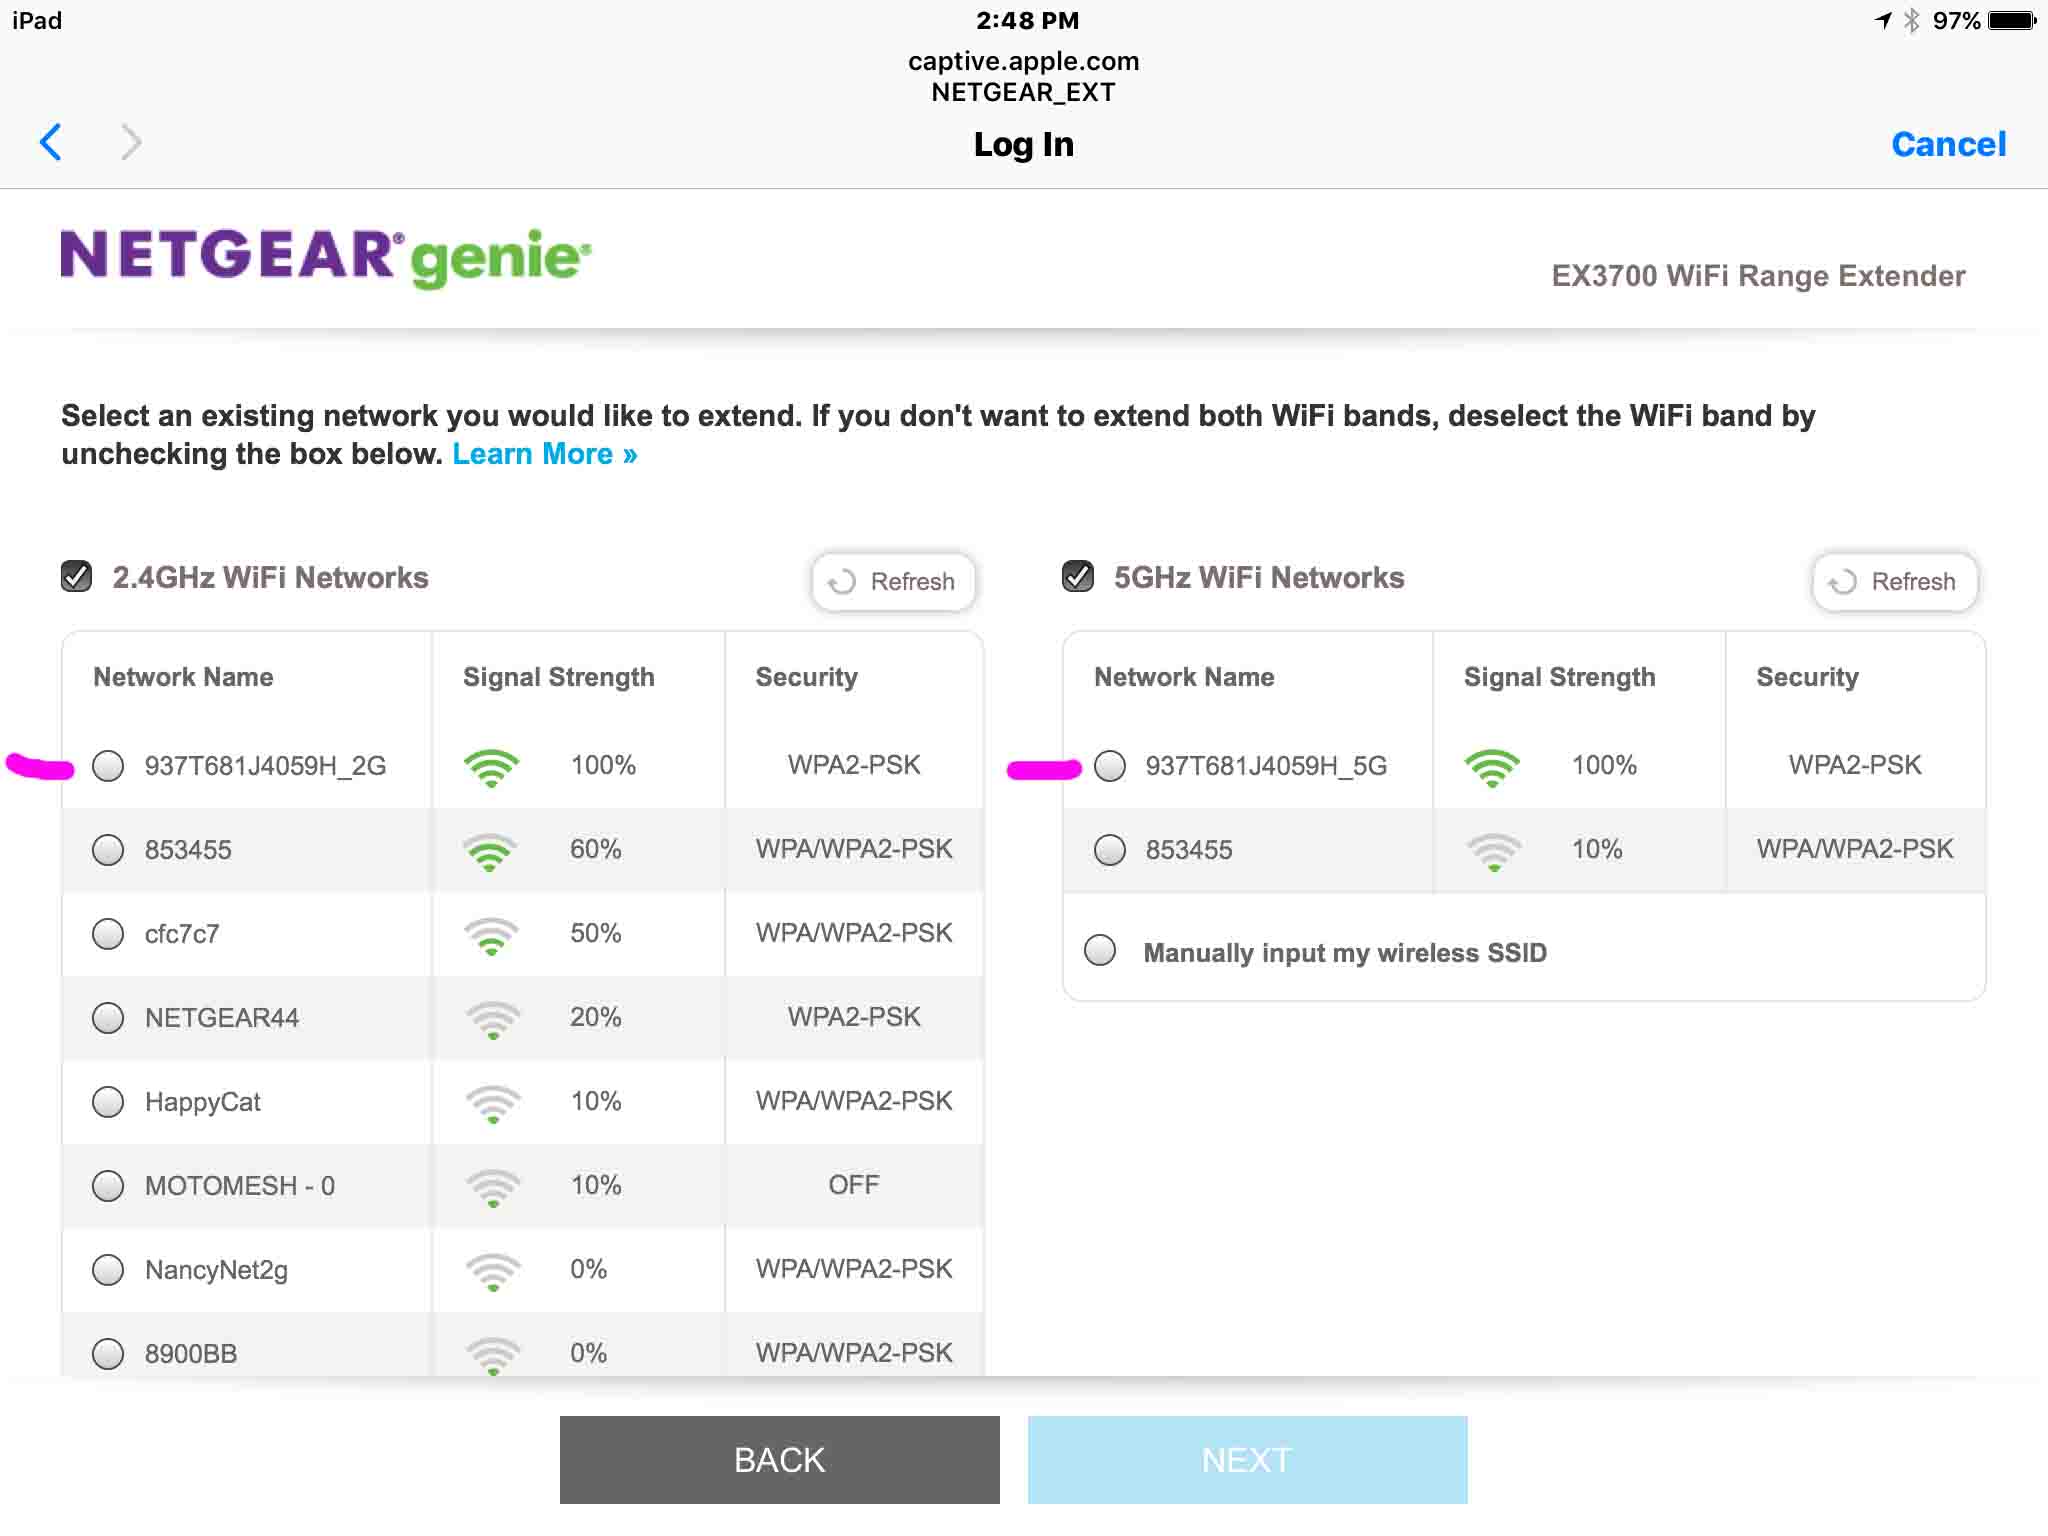
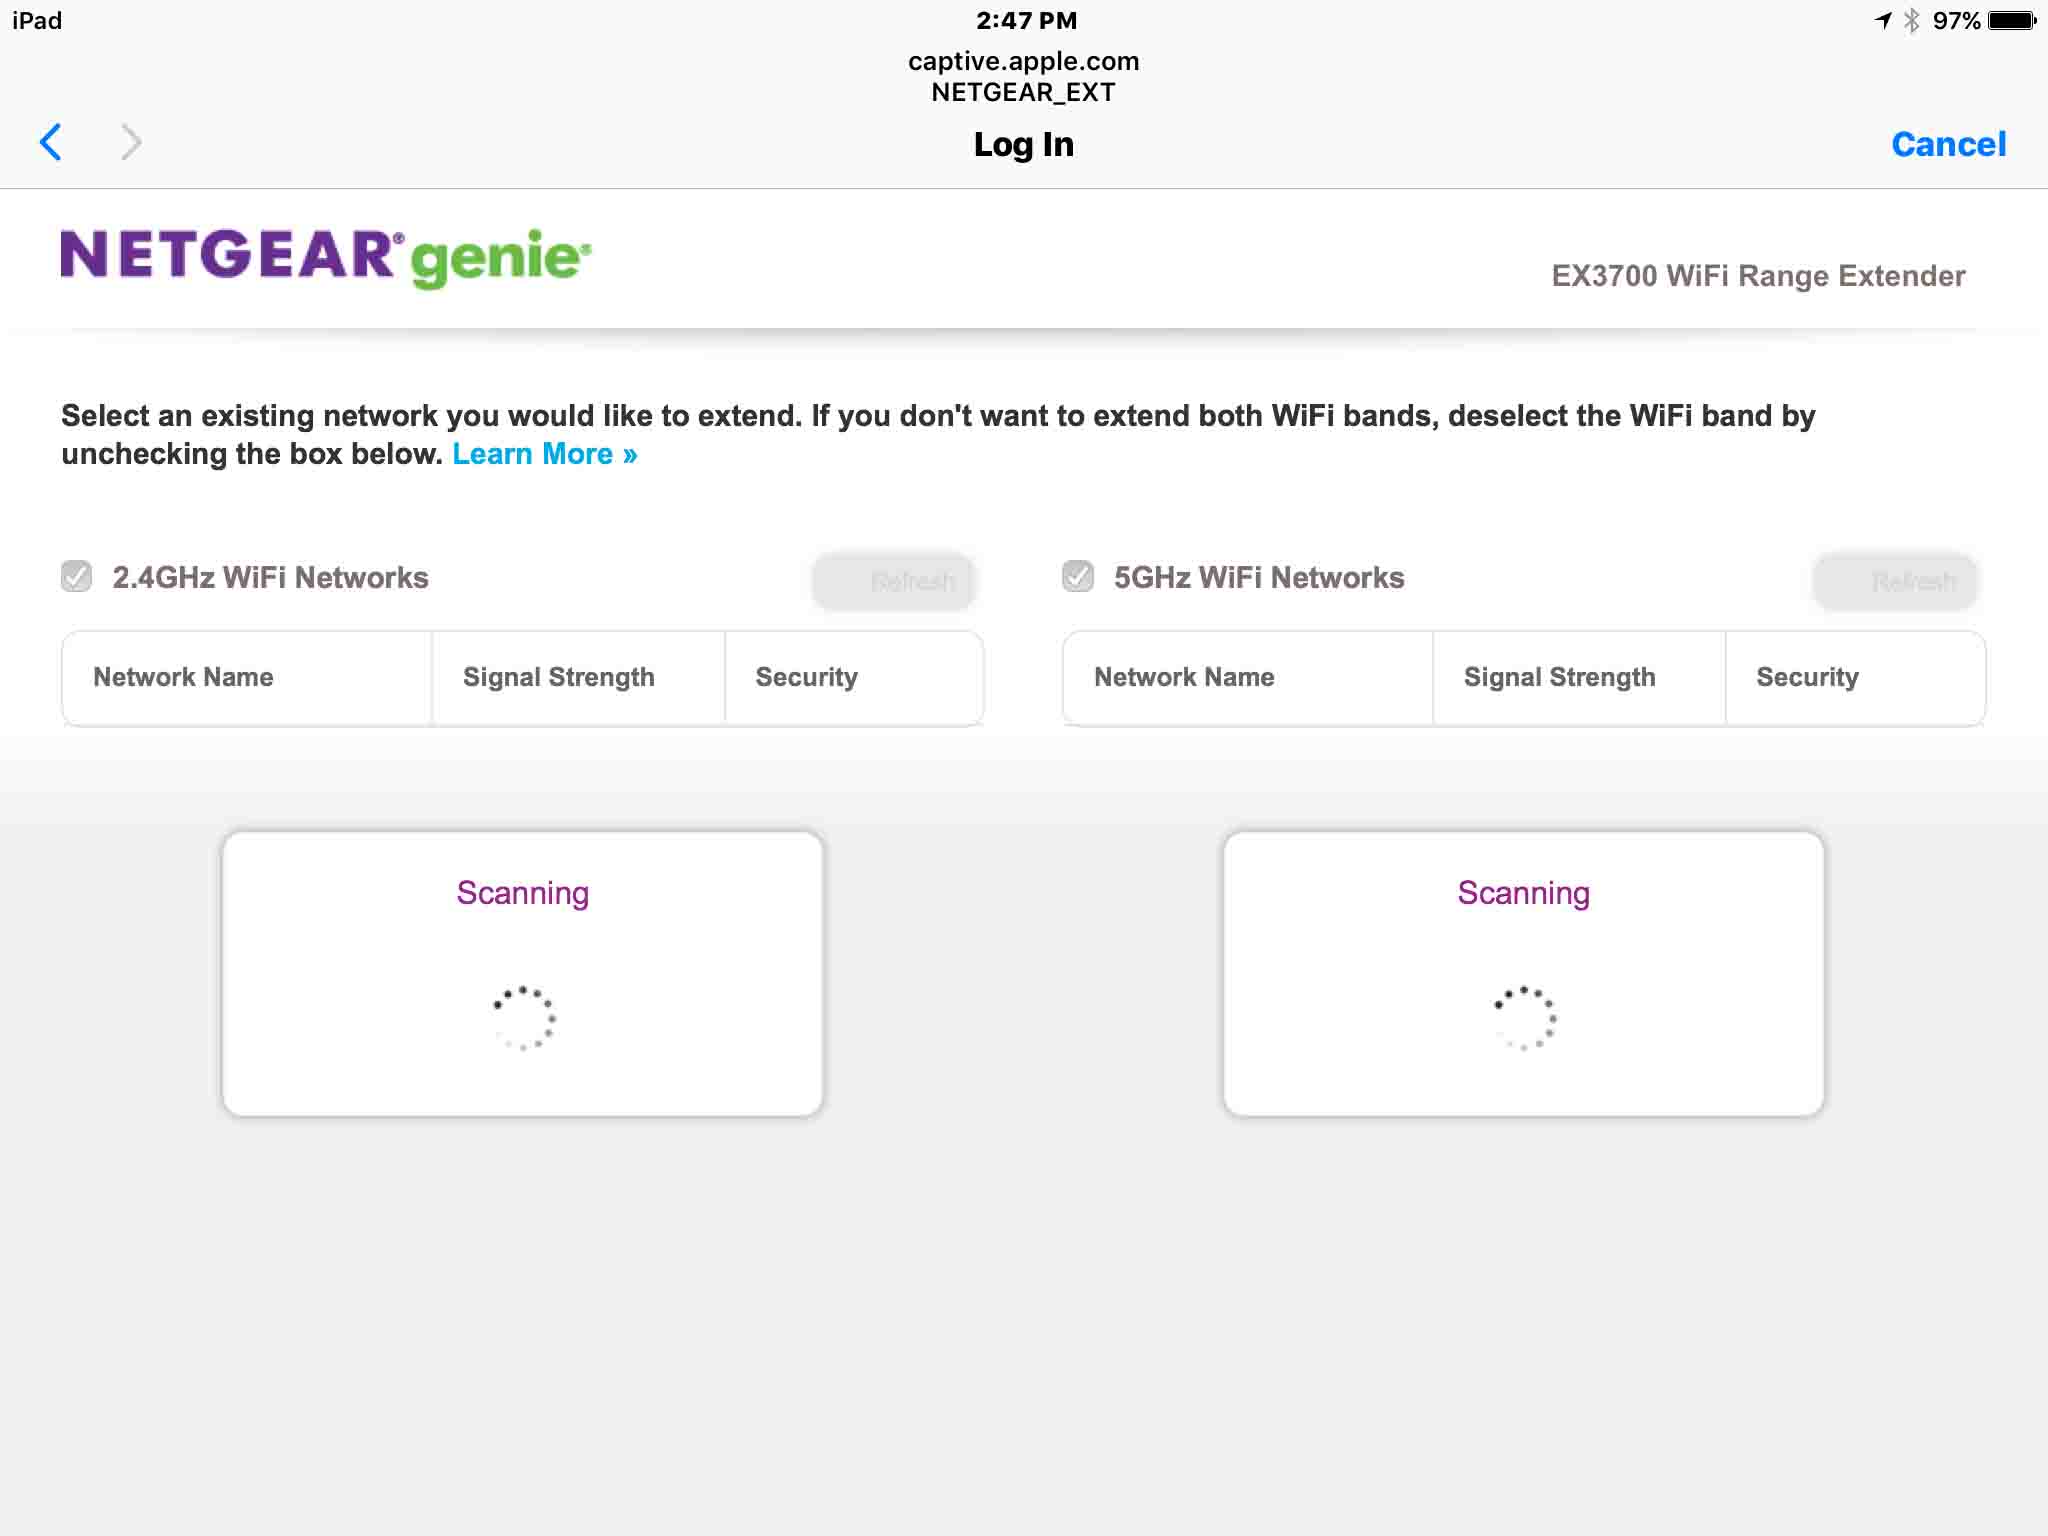
8. Pick the Wi-Fi Networks you Wish to Extend to Continue with Netgear EX3700 Setup Instructions
Notice in the last picture. See the radio buttons to the left of each wireless network, found when the extender scanned for them.
In this example, the EX3700 found Wi-Fi networks in both the 2.4 Ghz. and 5 Ghz. bands. So, check either or both of these, depending on which band you want to extend.
If you wish to extend a 2.4 Ghz network, but not a 5 Ghz. one, then check the 2.4 Ghz. Wi-Fi Networks checkbox, and uncheck the 5 Ghz. Wi-Fi Networks checkbox. Or, if you want to extend a 5 Ghz. network, but not a 2.4 Ghz. one, then check the reverse. That is, tap the 5 Ghz. Wi-Fi Networks checkbox, and uncheck the 2.4 Ghz. Wi-Fi Networks checkbox.
Or, finally, to extend both 2.4 and 5 Ghz. networks, check both boxes. In our scenario here, we’re extending both network types. So we ticked both check boxes, as shown in the last picture.
Then, for each network band, tap the Wi-Fi network in that band you want to extend. In our case, we’re extending the 937T681J4059H_2G network. Plus, in the 5 Ghz. list, we’re extending the 937T681J4059H_5G network. As shown by the pink lines in the last picture, we’ve chosen those networks, as shown in the next picture.
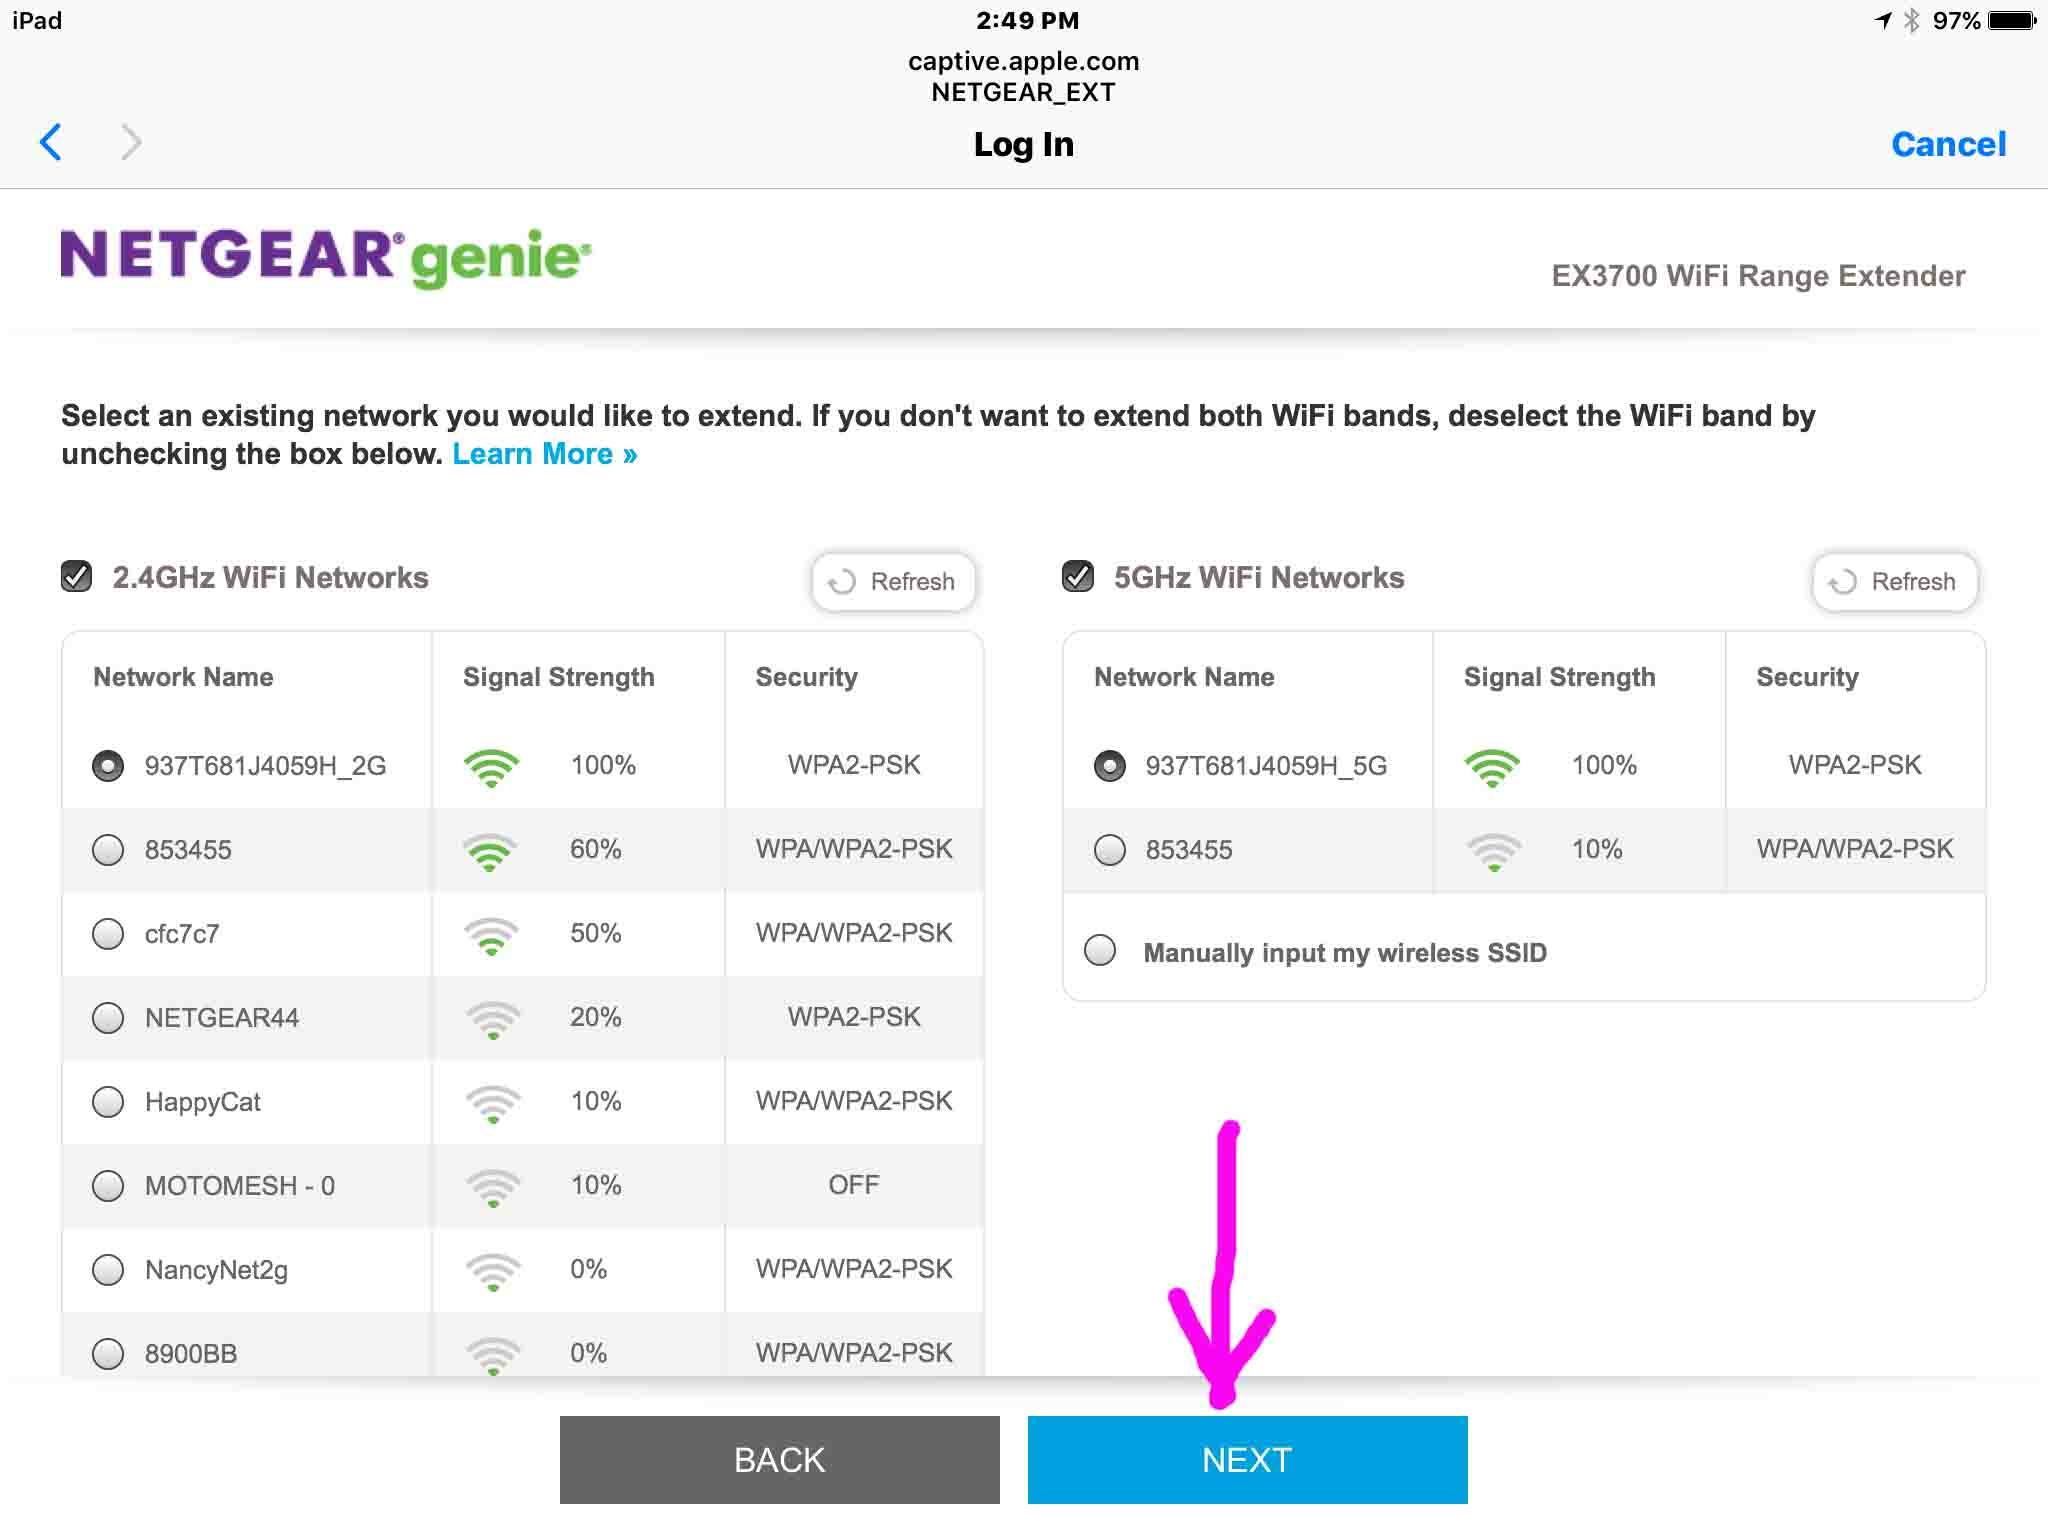
9. Tap the blue Next Button
This then prompts you for the 2.4 Ghz. and 5 Ghz. wireless network passwords, as shown next.
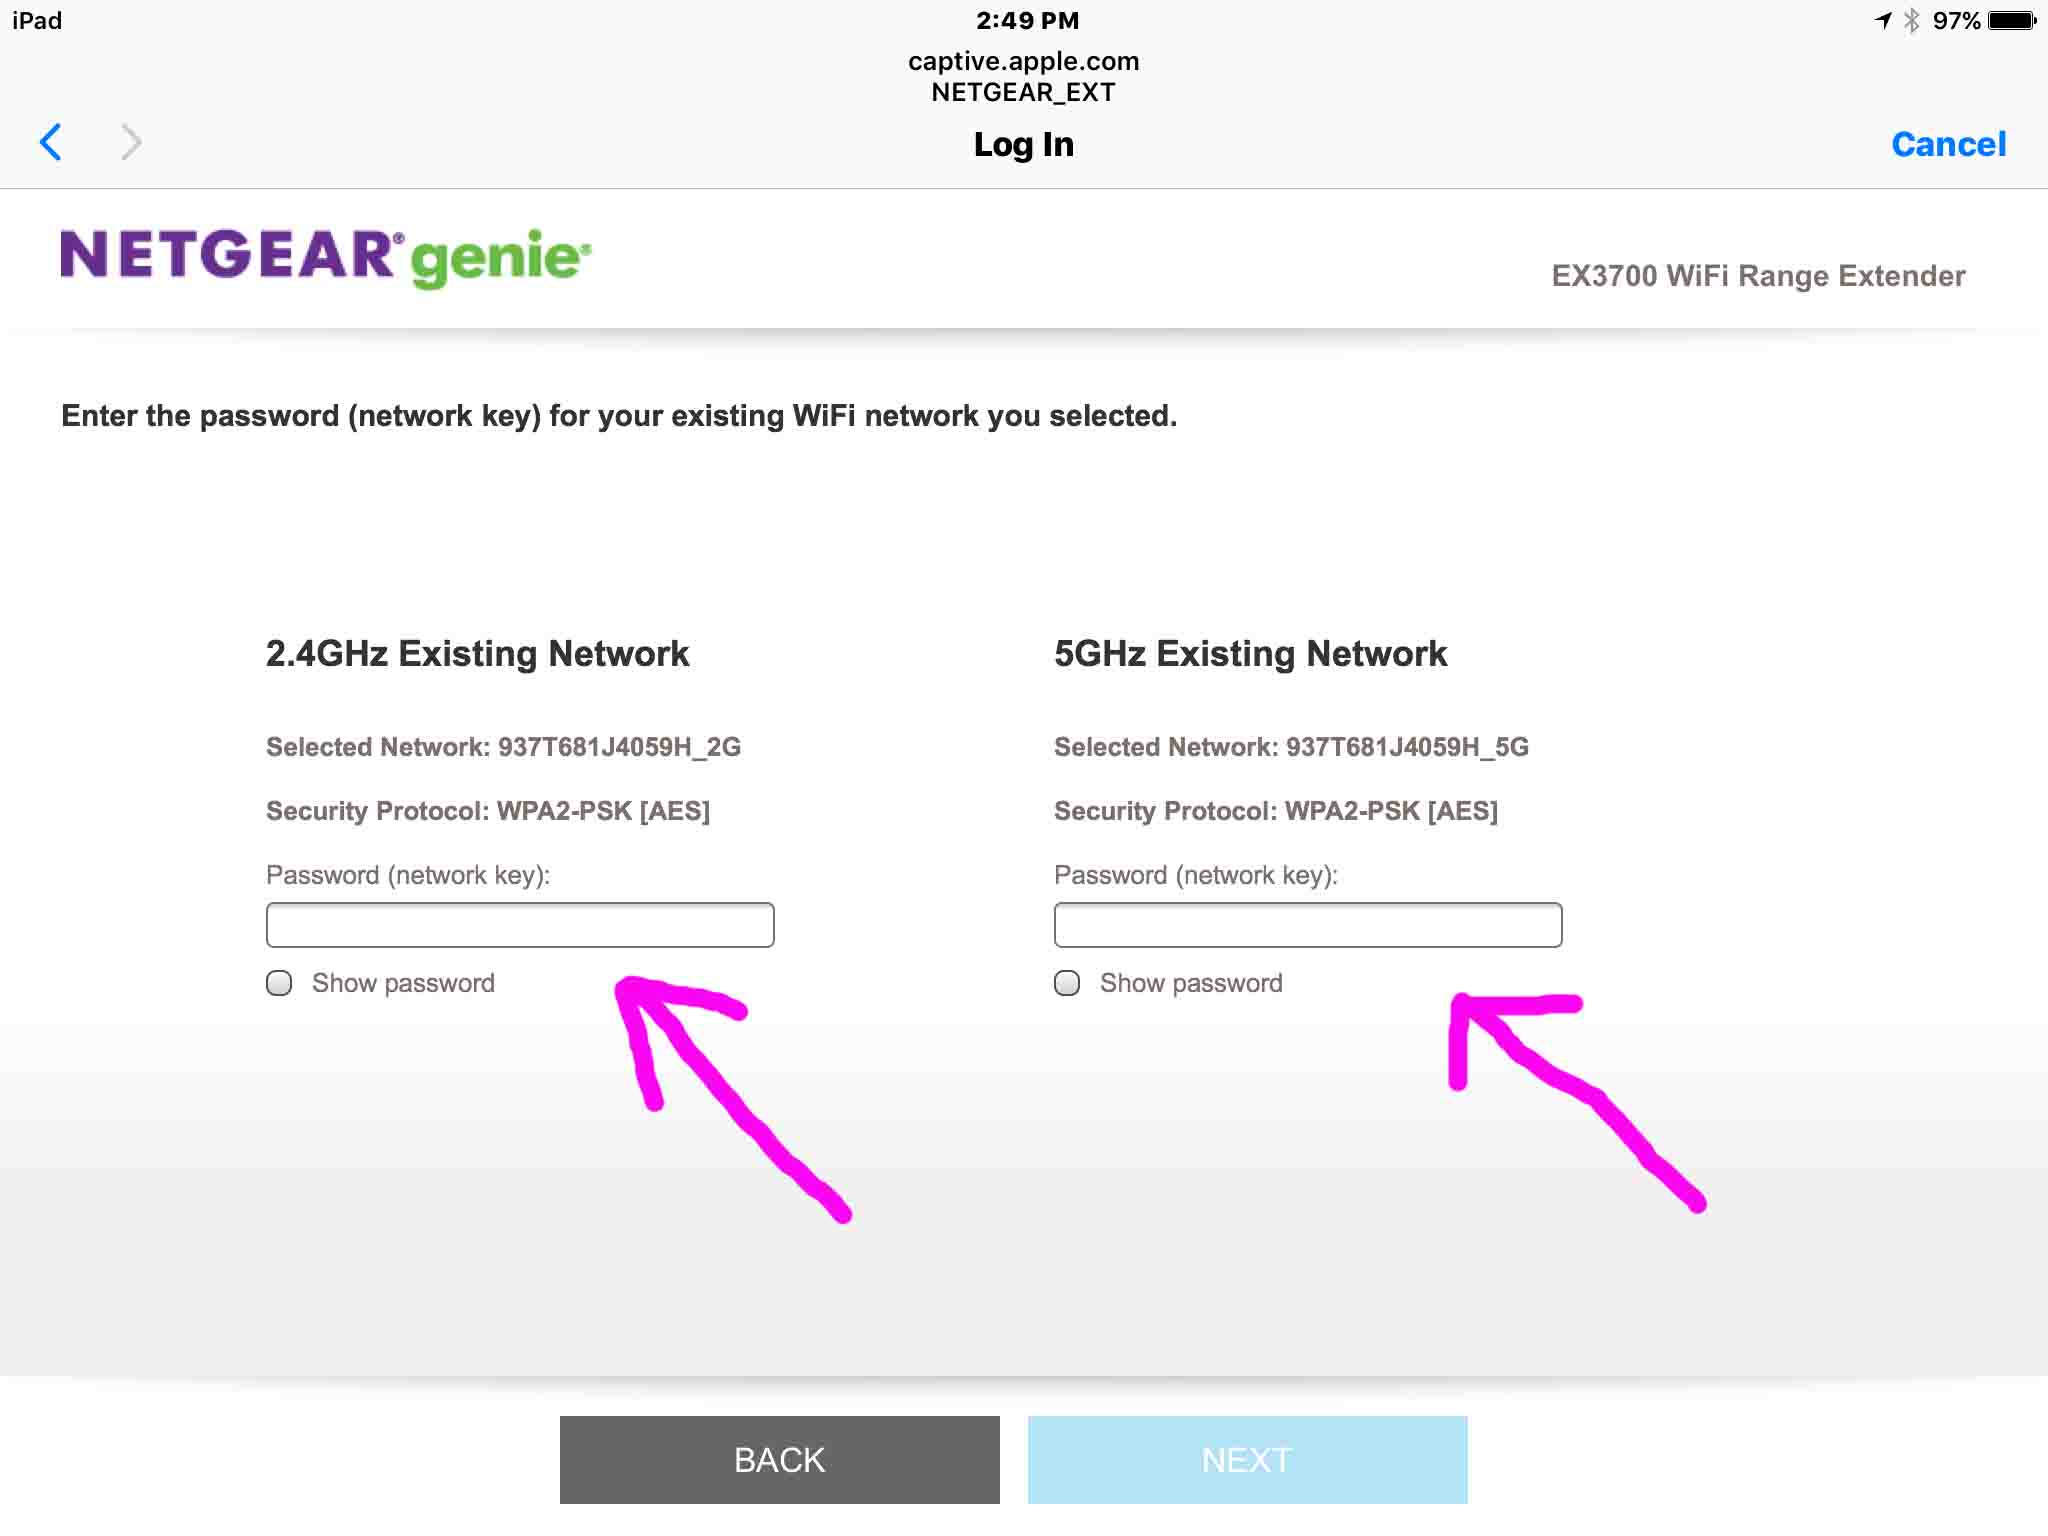
10. Enter Network Security Key (password) for One or Both Wi-Fi Networks
Next, enter the password for the 2.4 Ghz. wireless network you’re extending. Then, enter the password for the 5 Ghz. network.
11. Tap the Blue Next Button
During Netgear EX3700 setup, the extender then tries to connect to the wireless network(s) you’ve chosen.
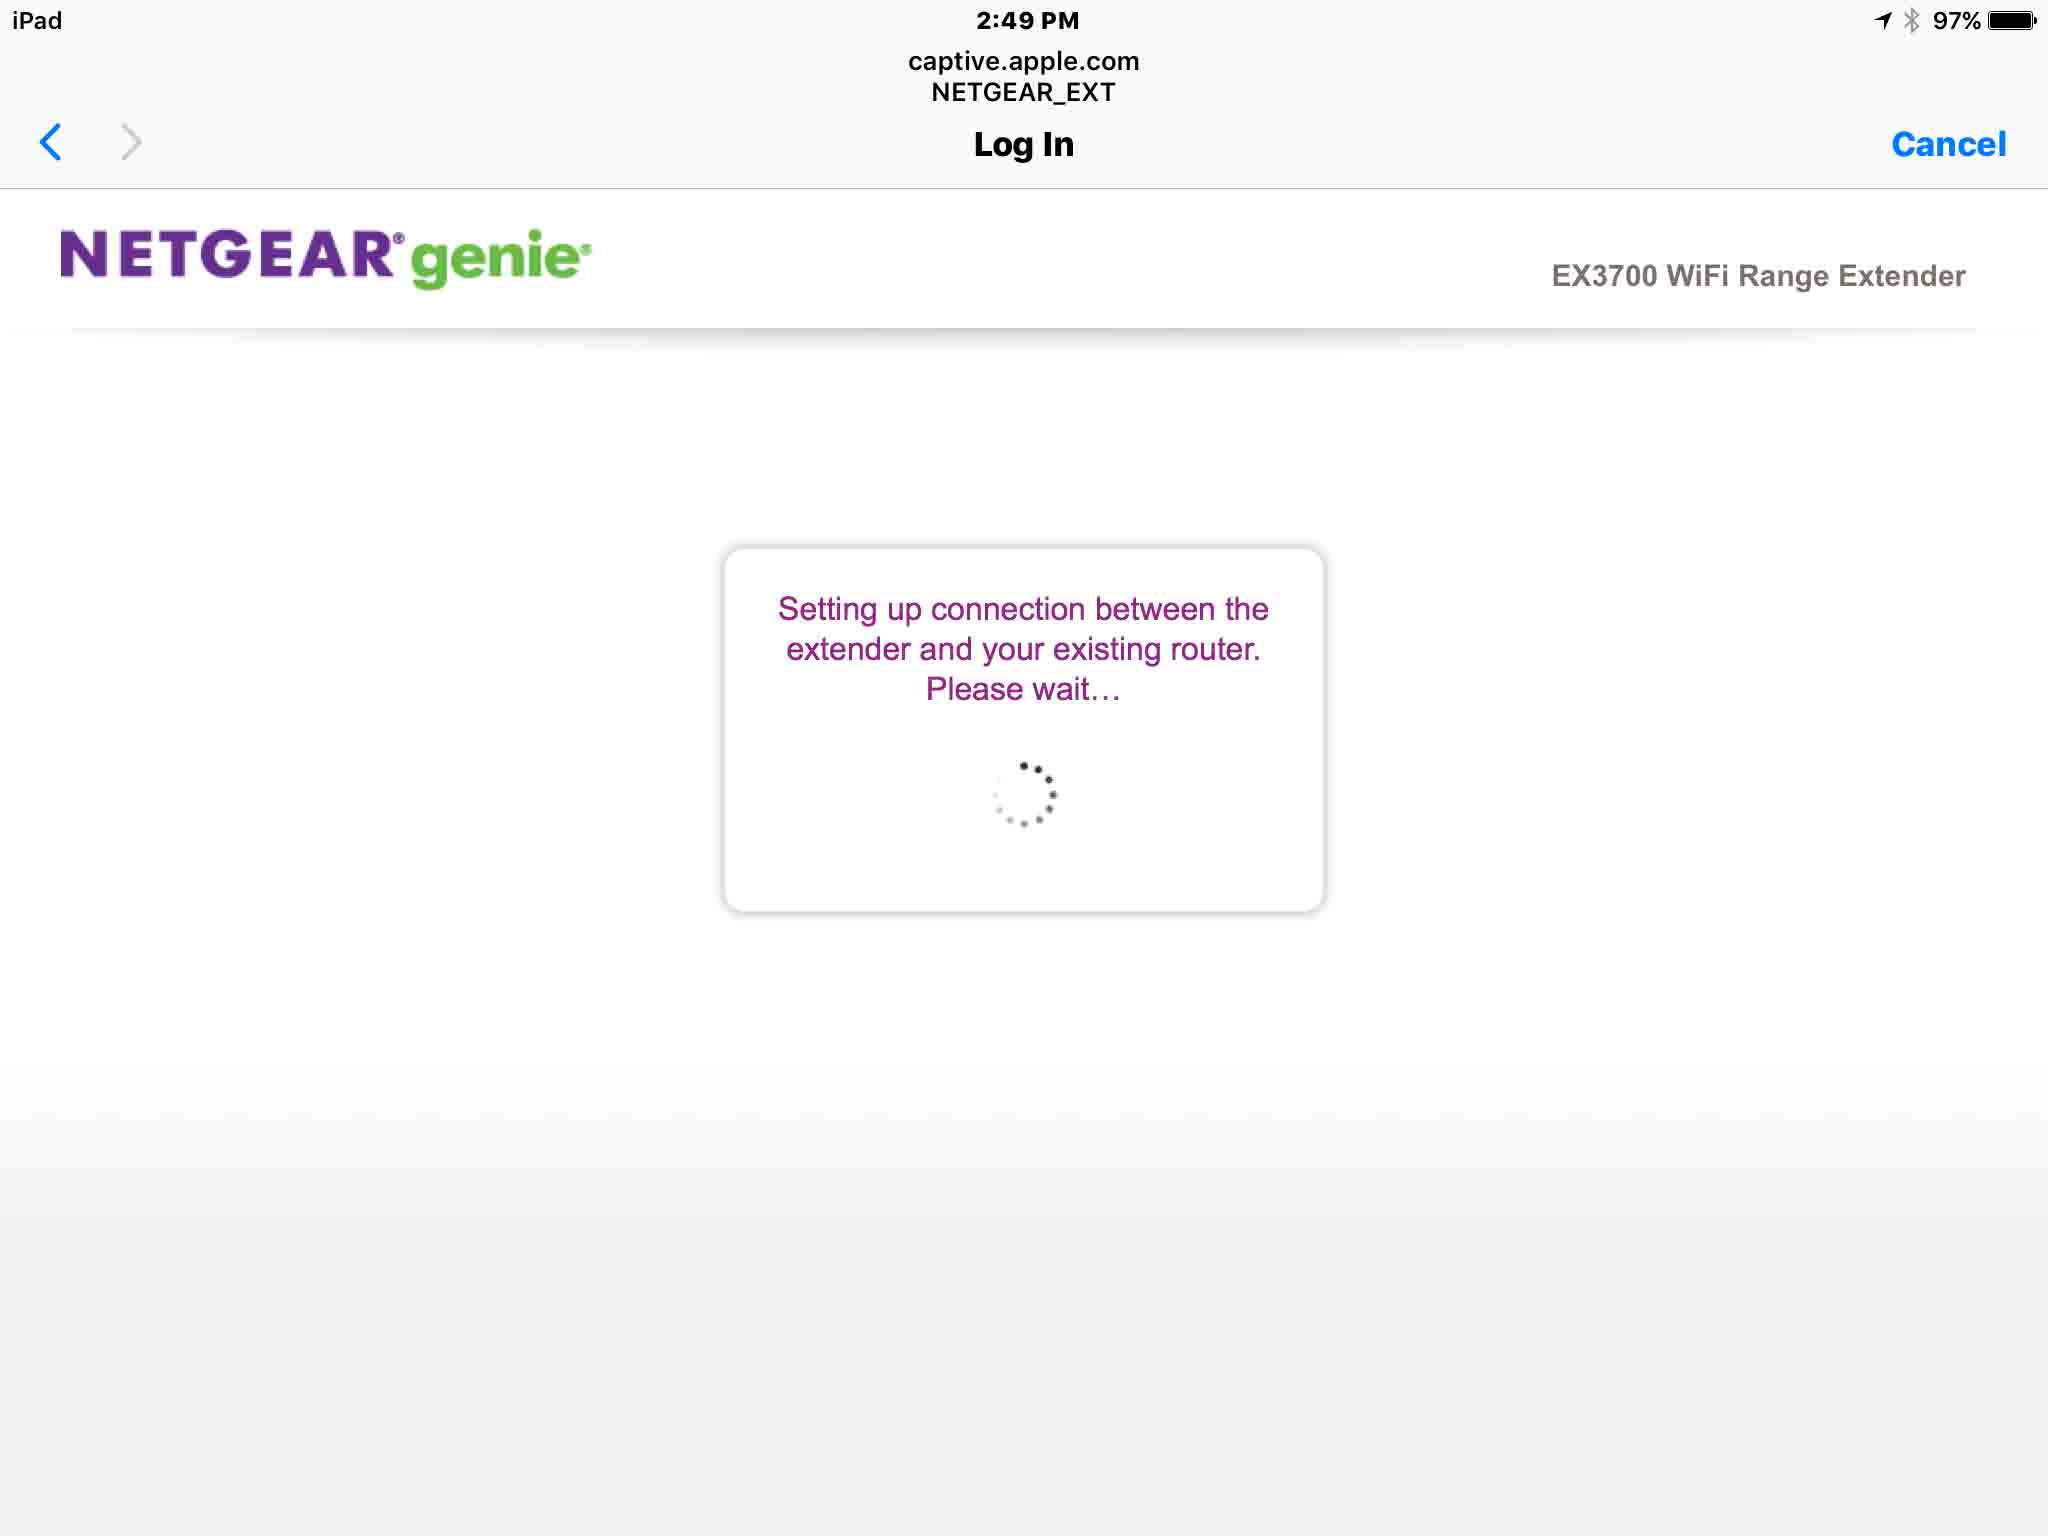
Then after a short pause, and if all goes well, the EX3700 connects to the primary wireless networks. Netgear EX3700 setup is now just about done.
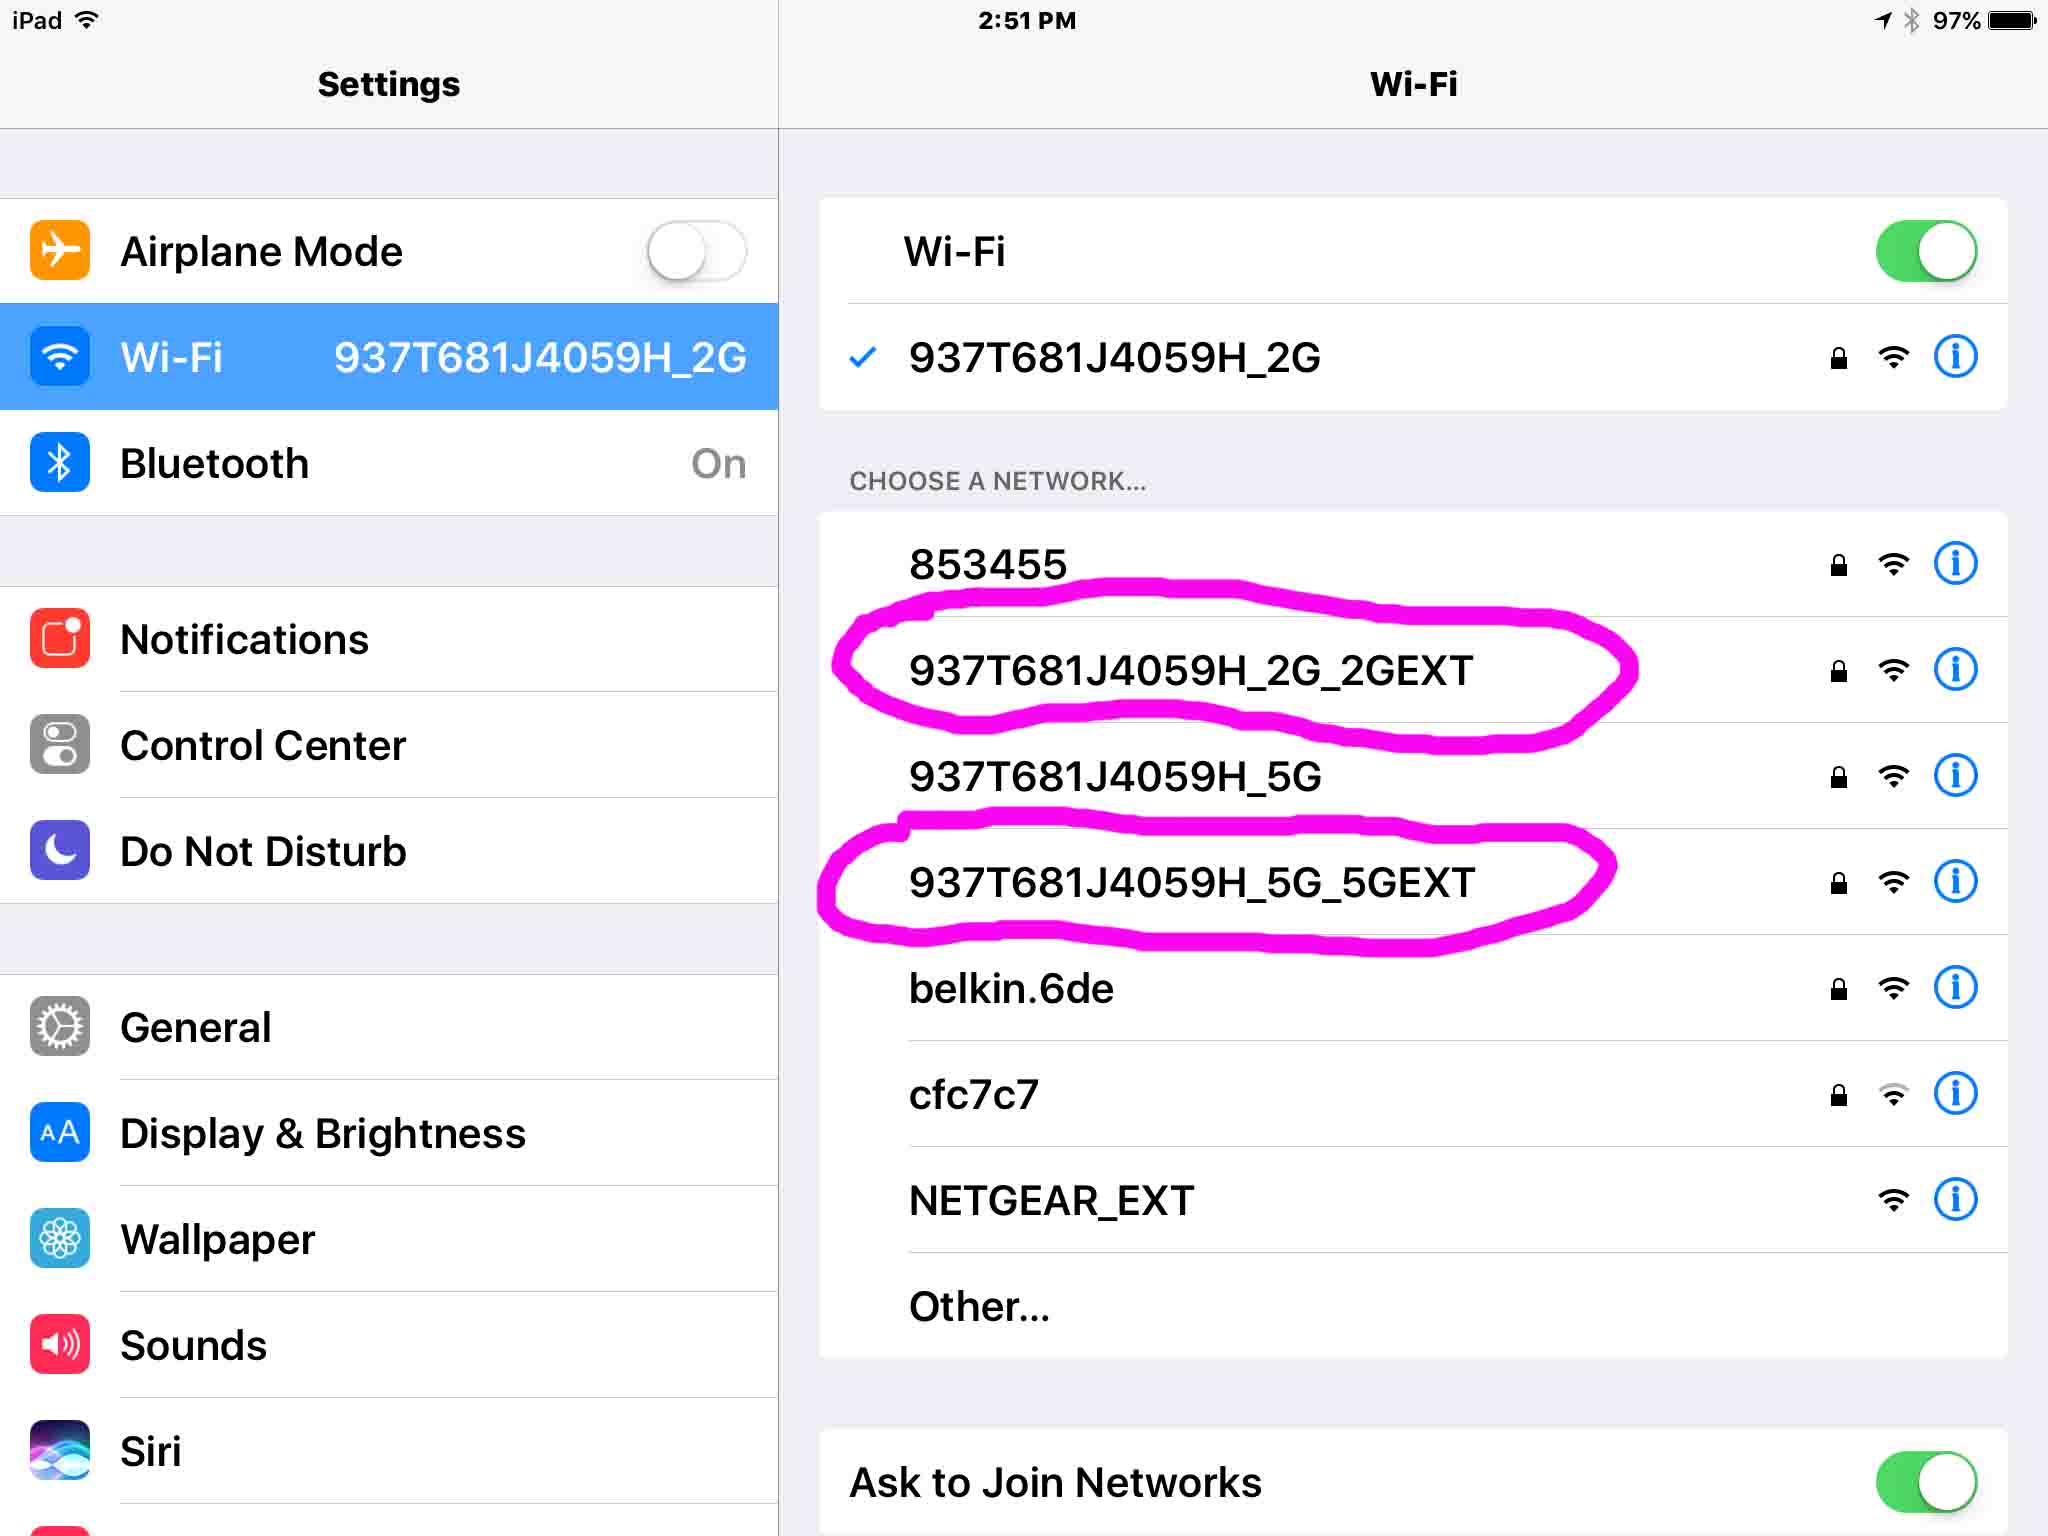
Next, Genie® then prompts you, as shown in the next picture. Further, she offers you to edit the network names and passwords for the new extension networks. There’s now one new network that the extender has created for your 2.4 Ghz. primary Wi-Fi network. Also, there’s one for the 5 Ghz. Wi-Fi network.
Furthermore, by default, these take the same as your primary networks with slight additions. The 2.4 Ghz. extension has a “_2GEXT” string appended to it. The 5 Ghz. extension network has a “_5GEXT” string added to it. Also, the extended network passwords default to the same passwords as the extended network passwords. We suggest not changing from these default network names without good reason.

12. Tap the Blue Next Button to Continue with Netgear EX3700 Setup Instructions
We’ve highlighted the Next button with the pink arrow in the previous picture.

13. Tap the blue Continue Button
Then, this closes the Netgear® Genie® interface.
14. Scan for the Extended Networks
On our iPad, we again visit the Settings page, under the Wi-Fi settings, and we get the following screen. The pink line circles the Wi-Fi networks broadcast by the EX3700 in the next picture.
15. Move the Netgear EX3700 to Where you Need Better WiFi signal
Next, after Netgear EX3700 setup, unplug the extender. Then, take it to the final location. plug it in there, and wait for booting to finish. The lights on its front should look as follows once the extender again establishes connection with your primary network.
16. Done with Netgear EX3700 Setup Instructions !
You’ve now completed the Netgear EX3700 setup procedure finally. So, feel free to connect your wireless devices to the extension networks. Have fun!
Qualifiers and Disclaimers
During this Netgear ex3700 setup demo, we used the following Netgear® firmware versions:
-
- 1.0.0.50
- 1.0.0.58_1.0.38.