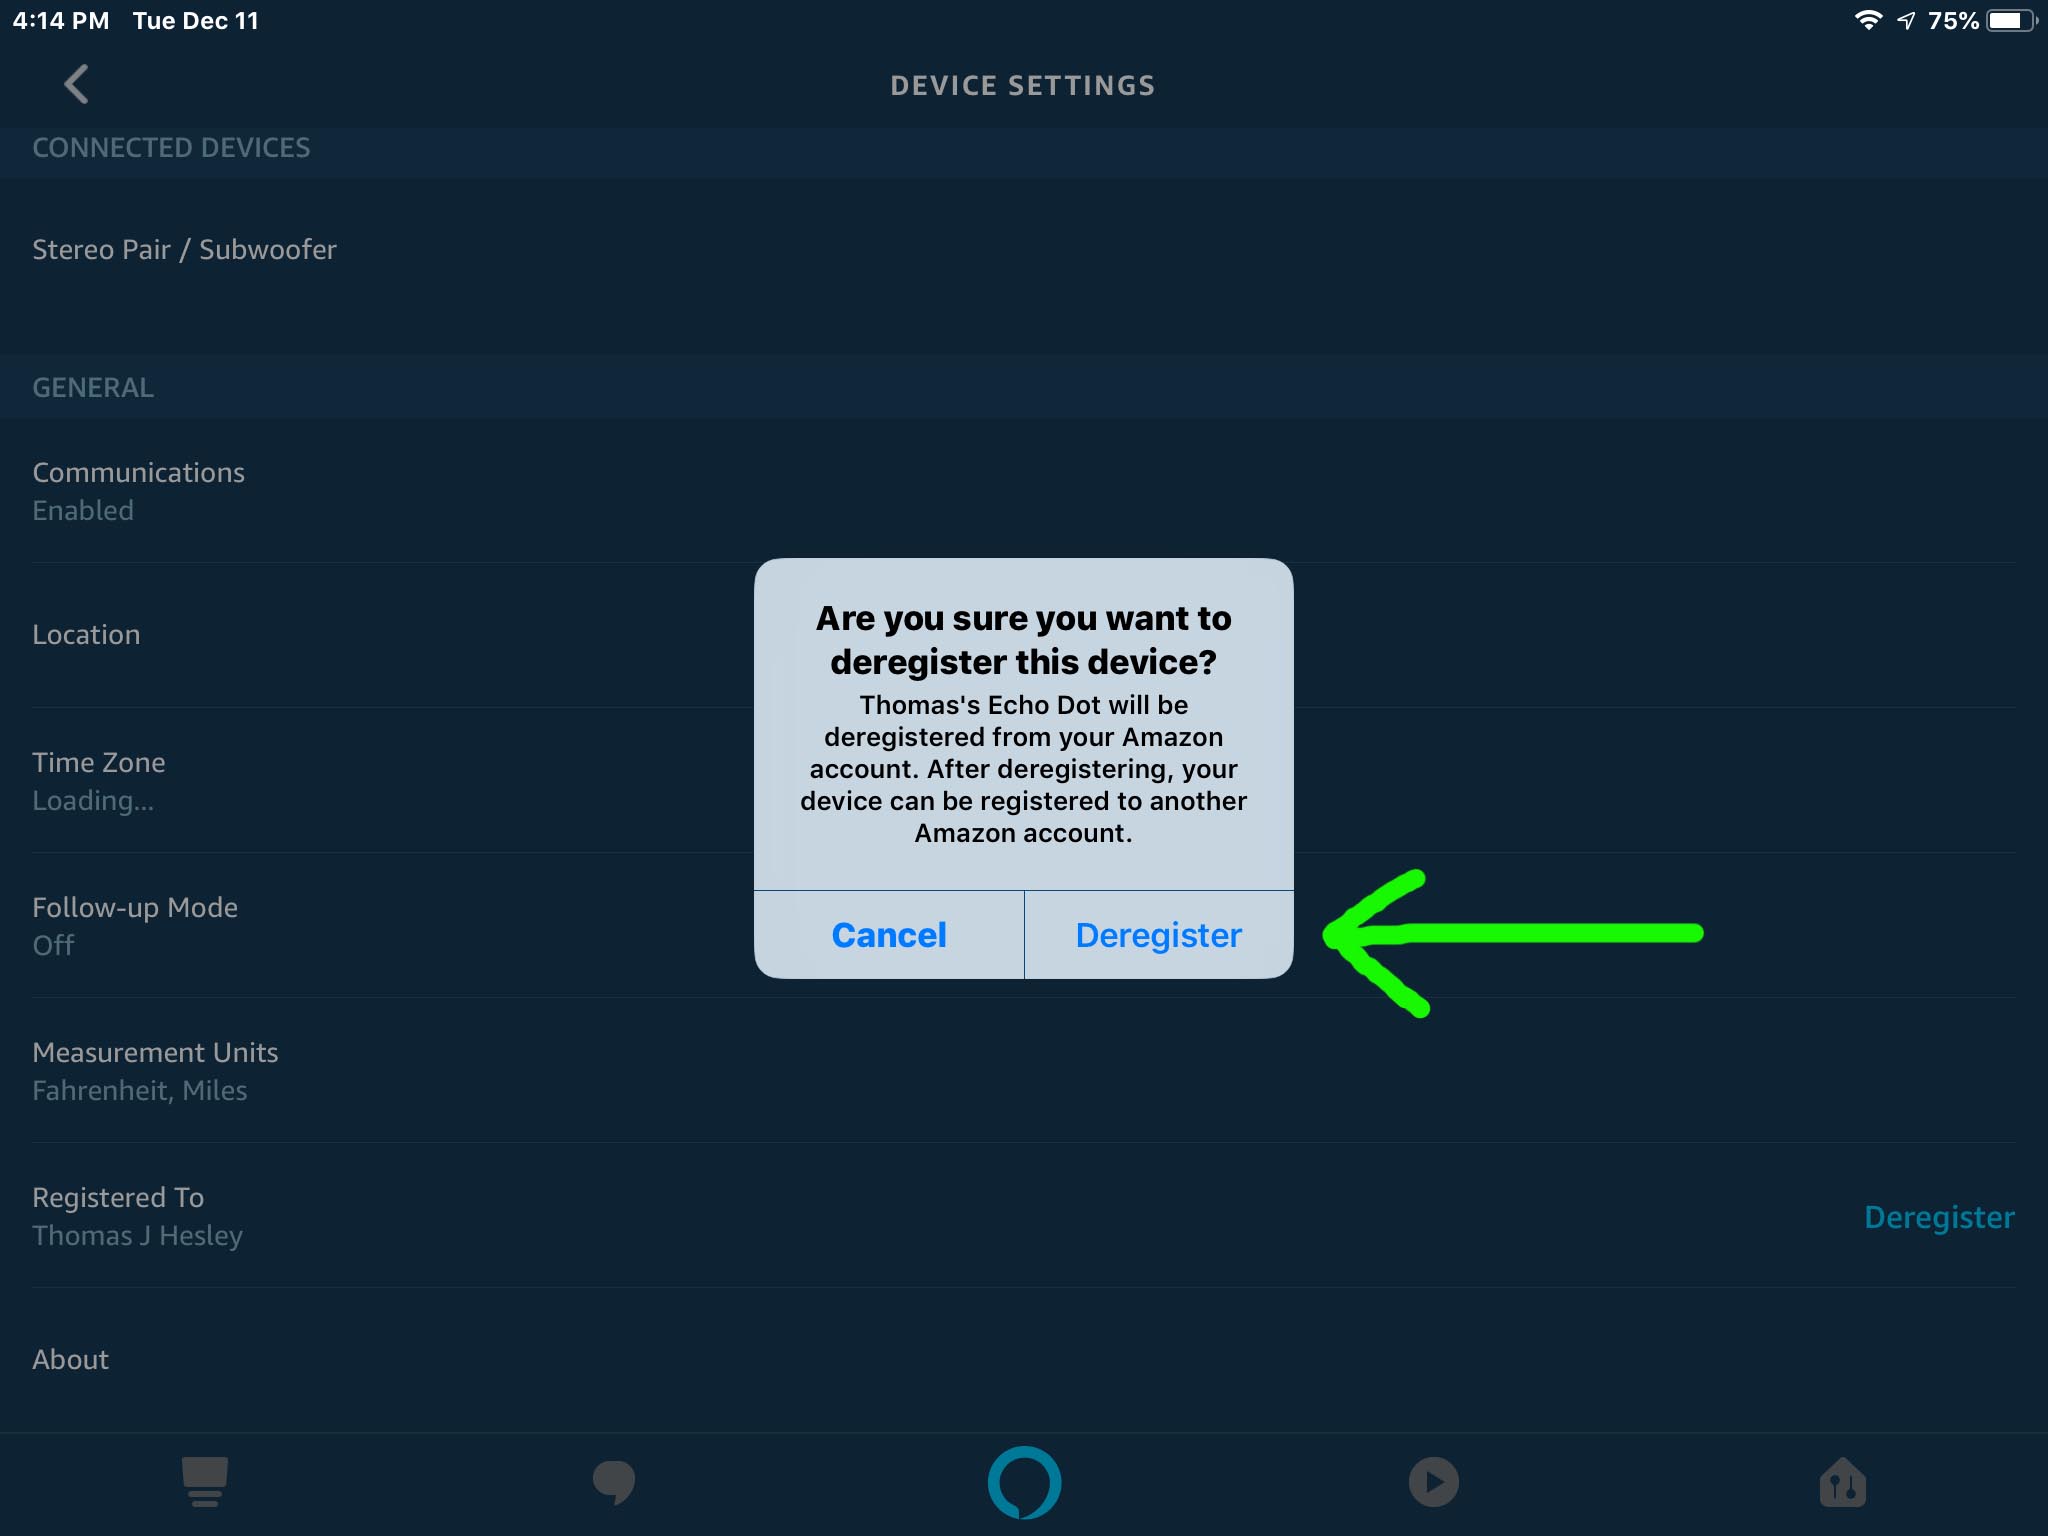
Echo Alexa app on iOS, displaying its -Deregister Device- confirmation prompt windows, with the -Deregister- button highlighted.
You might wish to run these deregister Echo Dot instructions if you’re getting rid of a Dot speaker. Perhaps you’re upgrading to a later model Alexa Dot. Or, as we did here, we bought a new Dot device for a sister. But we forgot to mark it as a gift in our Amazon cart. This meant that Amazon automatically registered it to our account. Even though it should have been set up in our sister’s account. Thus, we wanted to deregister this Alexa speaker from our account before giving it to her. Thus, we deregistered as follows.
Note that this does not affect how the Echo Dot will work once registered to another Amazon account. However, deregistering unwanted speakers from your Alexa account keeps your devices list up to date. Plus, it keeps the clutter of no longer valid devices low. So, we recommend deregistering old Alexa devices from your Amazon account periodically. Now to the instructions on how to deregister an Echo Dot speaker from your Alexa Amazon account.
Get to a place where you have internet access on your mobile device.
You should have installed and set up the Alexa App from Amazon on a mobile device. Log into the app with your Amazon account credentials. Be sure to use the same Amazon account that has the speaker you wish to deregister.
This scenario specifically instructs on how to deregister echo dot 2nd generation smart speaker.
Pull out your mobile device and bring up Amazon’s Alexa app.
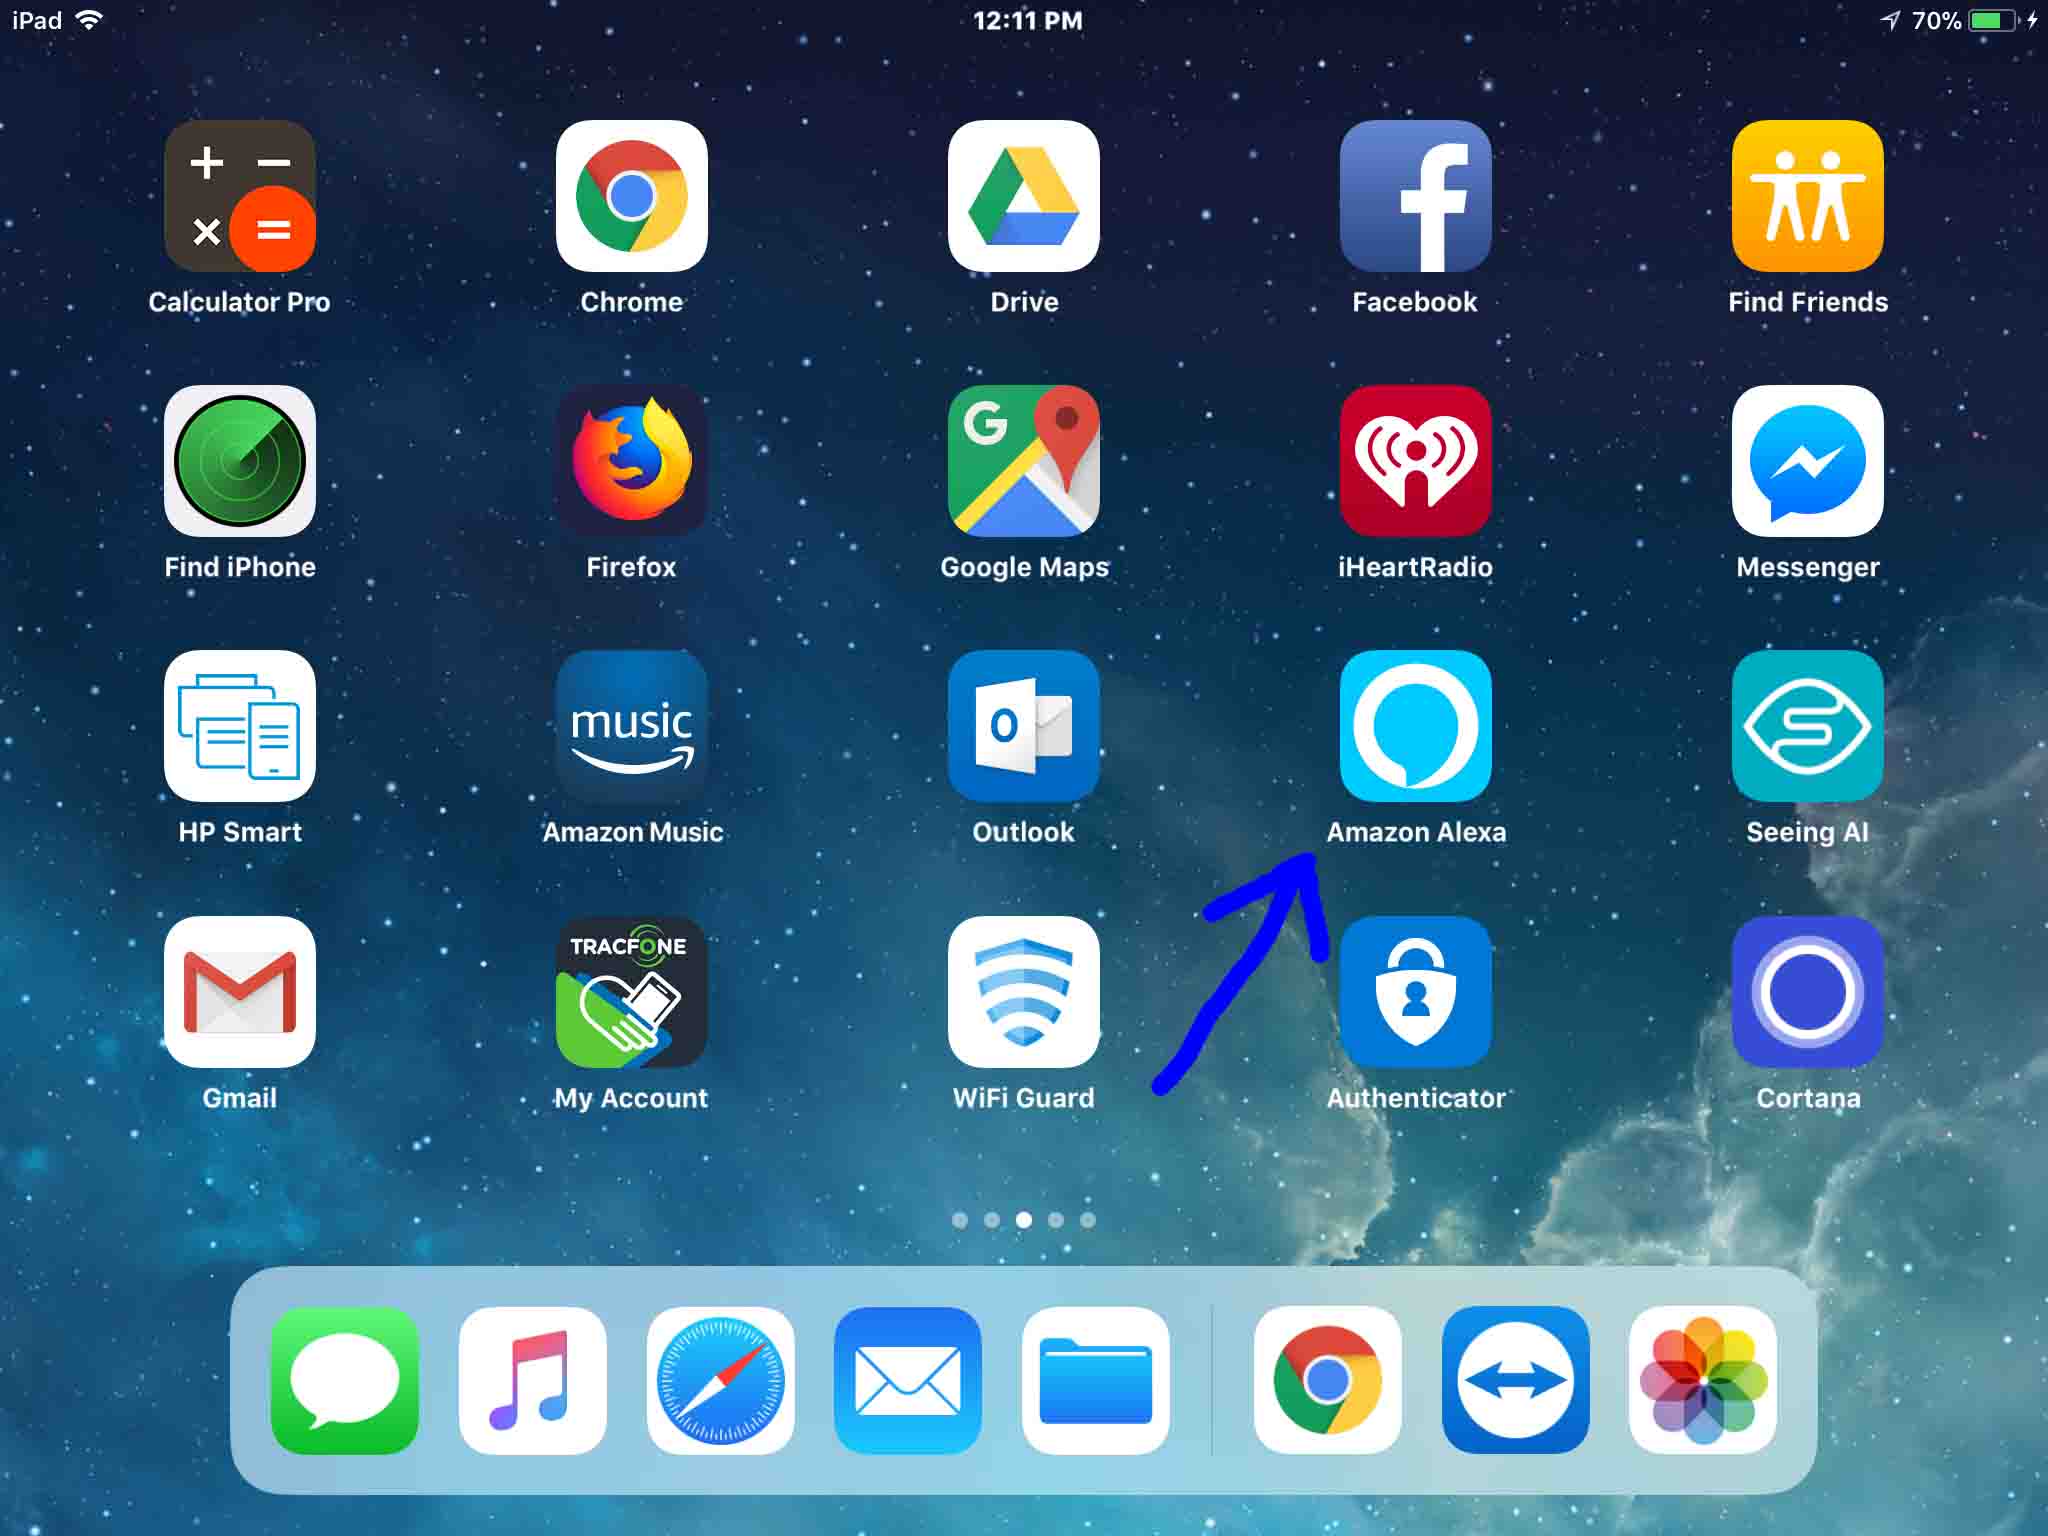
Here, we run an iPad Air tablet. So, for this demo, we’ll show screenshots from the iOS version of the Alexa app.
Find the app, as pictured next on our Home screen, as pointed at by the dark blue arrow.
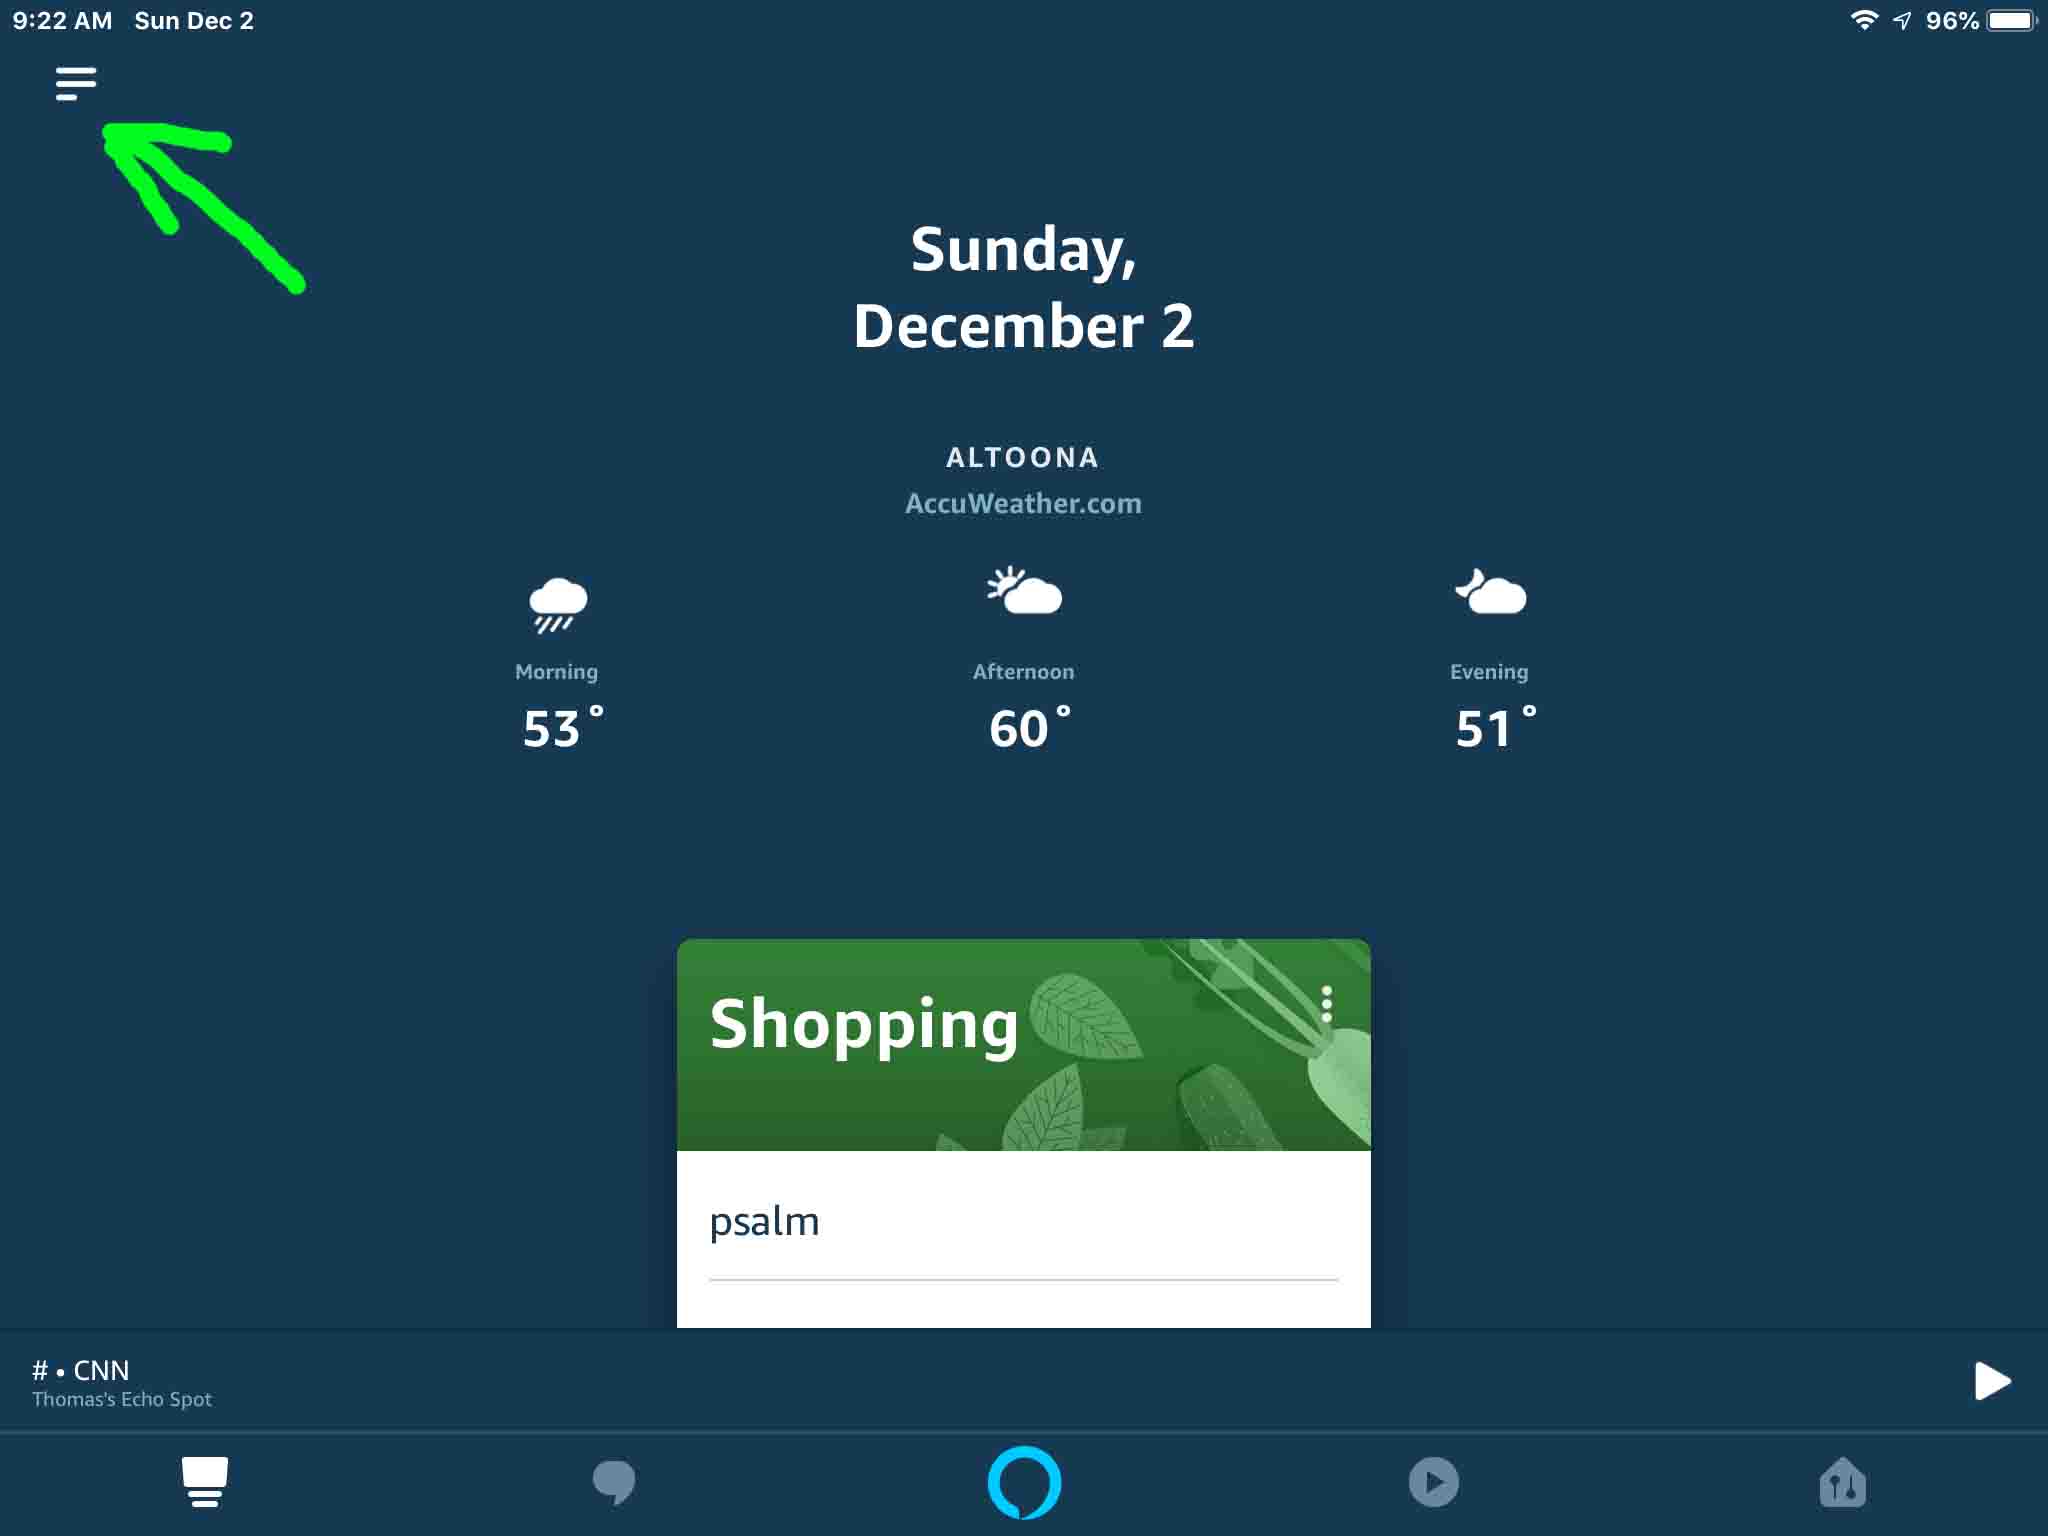
The Alexa app Home screen then appears, as pictured next.
Find the Hamburger menu switch in the top left corner of the Alexa home screen. We point at this with the green arrow in the last picture.
This then brings up the Alexa app’s main menu, as shown next.
Find the Settings option pointed at by the green arrow in the last picture.
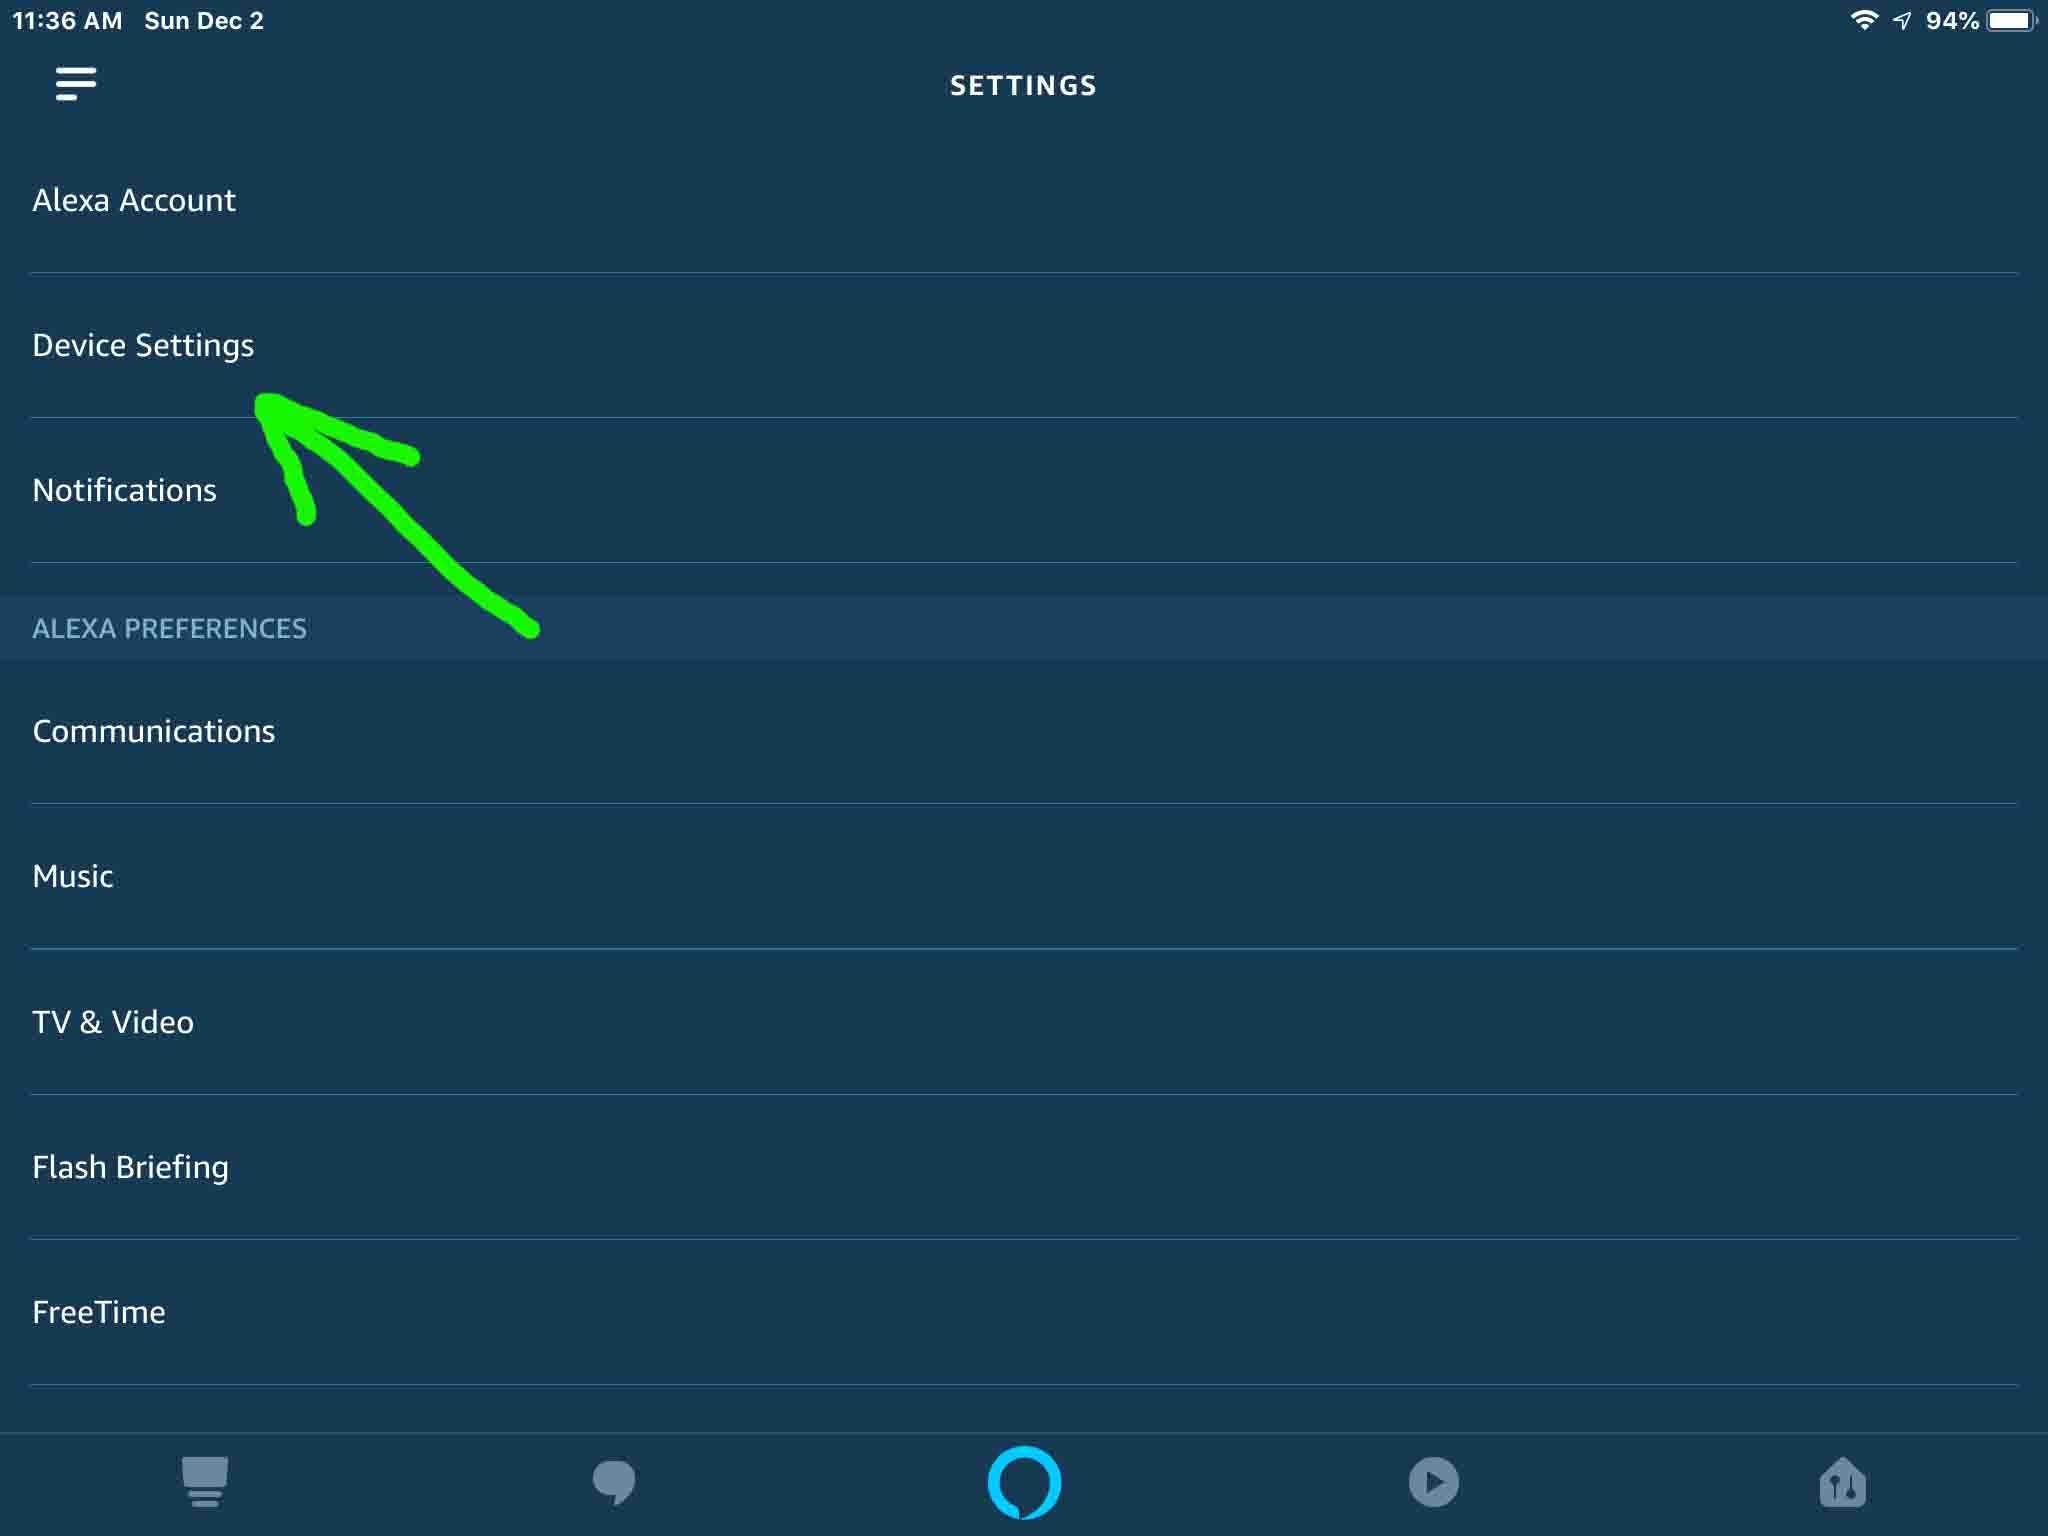
Activating the Settings option brings up the Settings screen, as shown next.
Find the Device Settings option near the top of the Settings screen, as highlighted by the green arrow in the last picture.
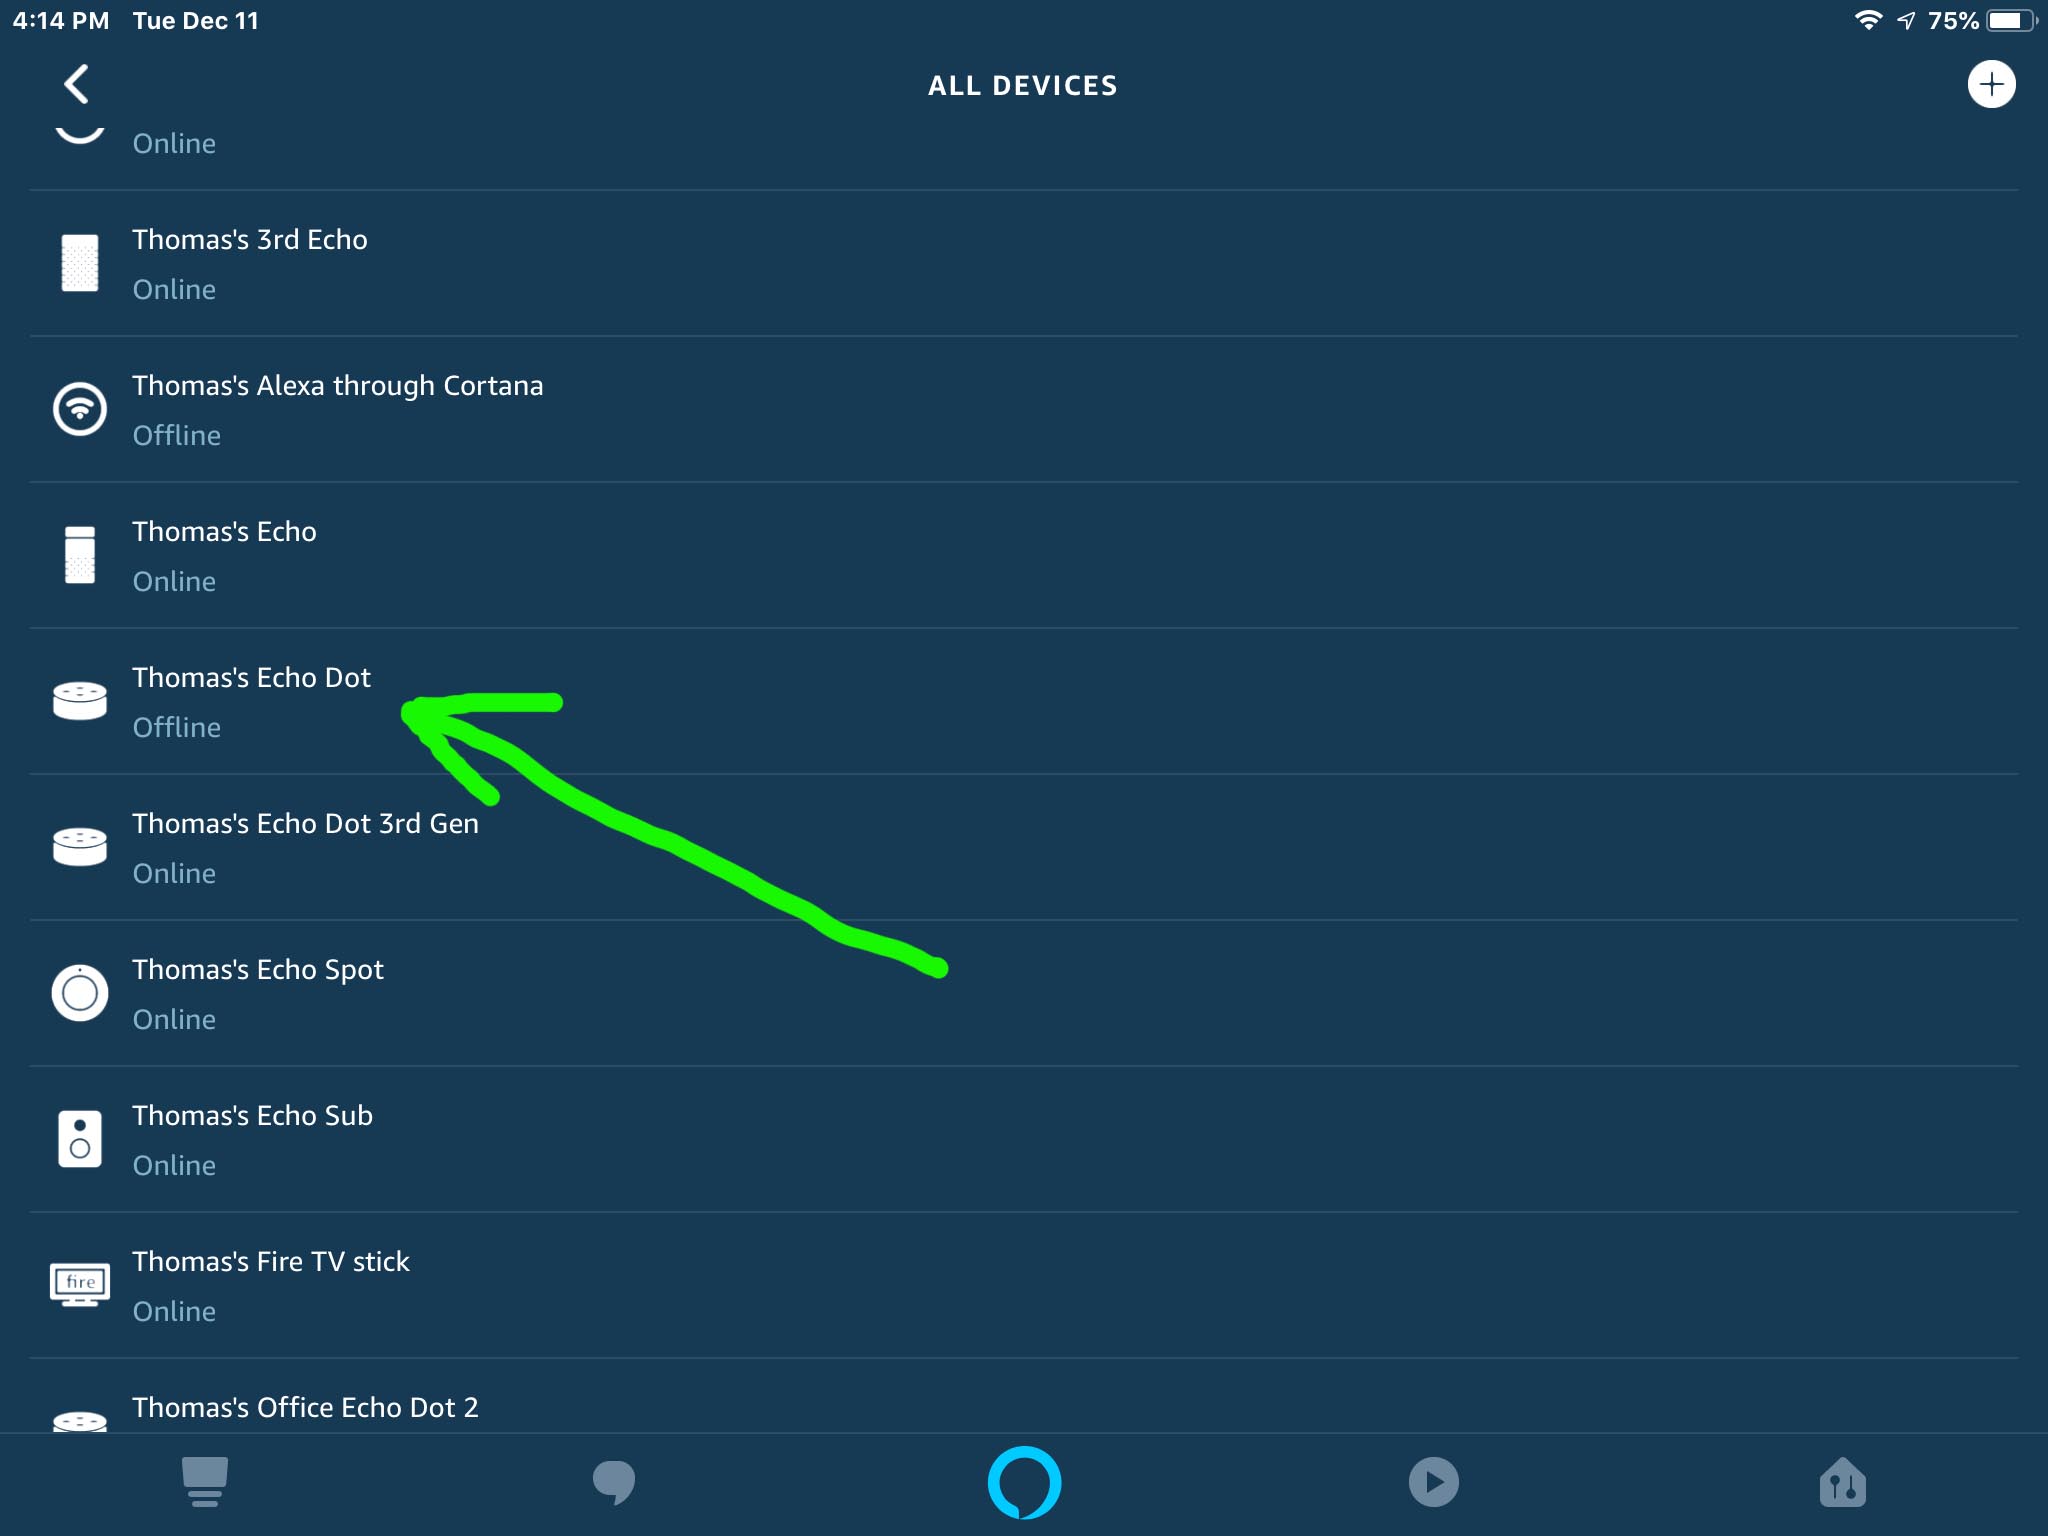
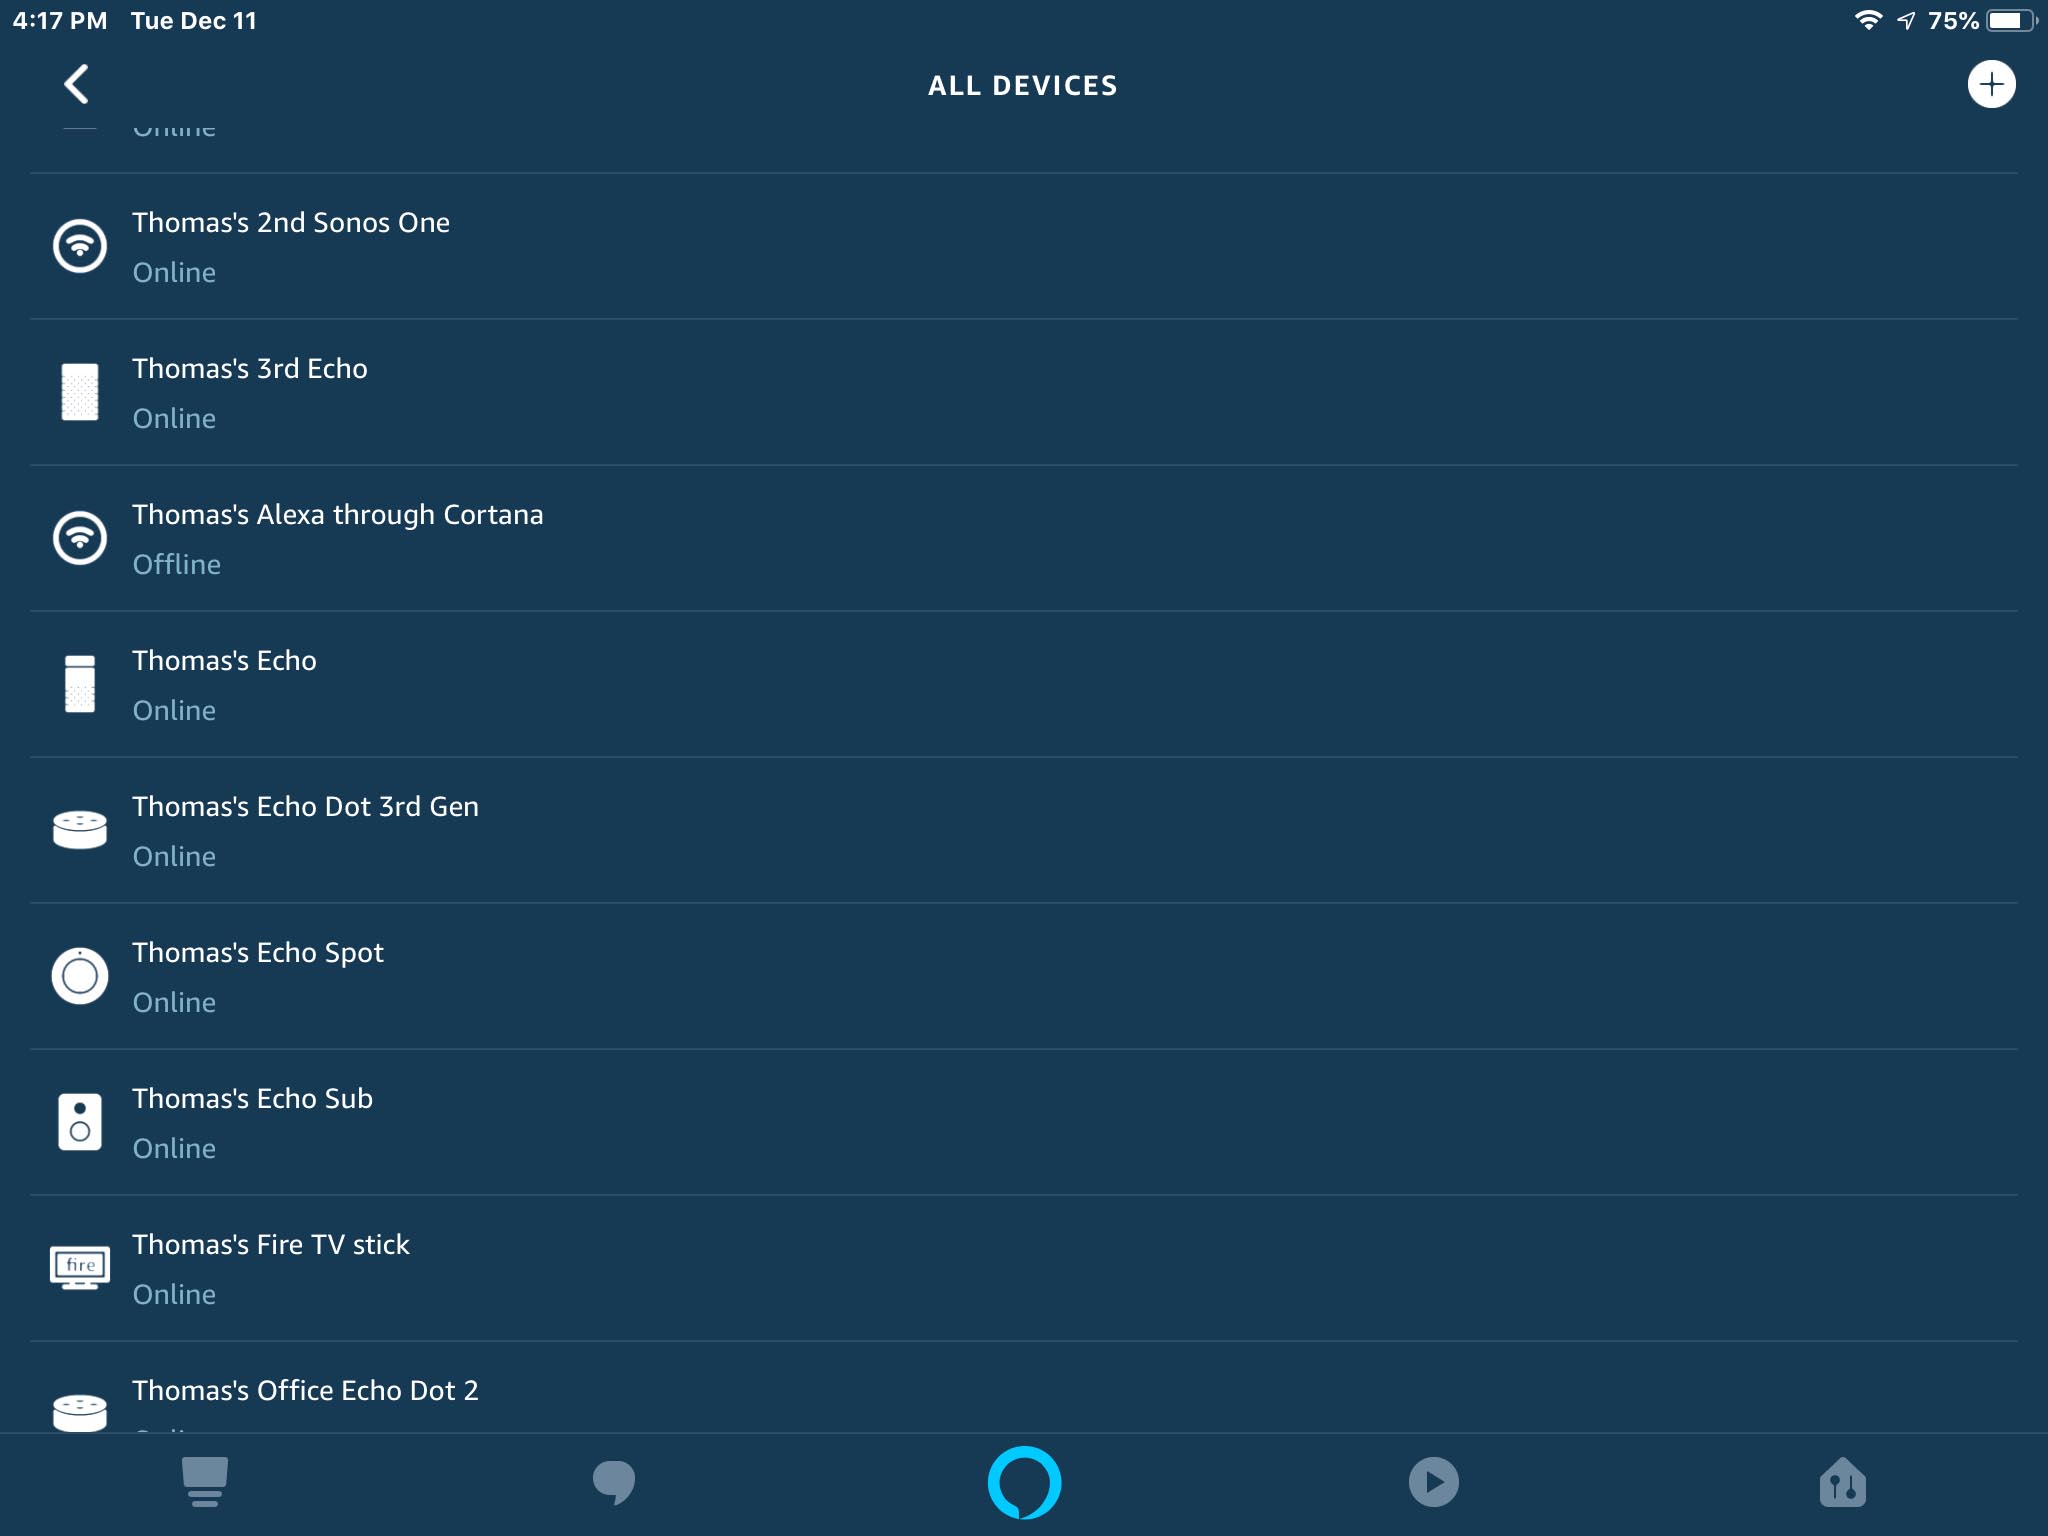
Tapping Device Settings then brings up the All Devices screen, as shown in the next screenshot. This screen provides a list of all the Alexa devices registered to the Amazon account.
We found the speaker we want to deregister. That’s the Tom’s Echo Dot speaker, as highlighted by the green arrow in the last picture.
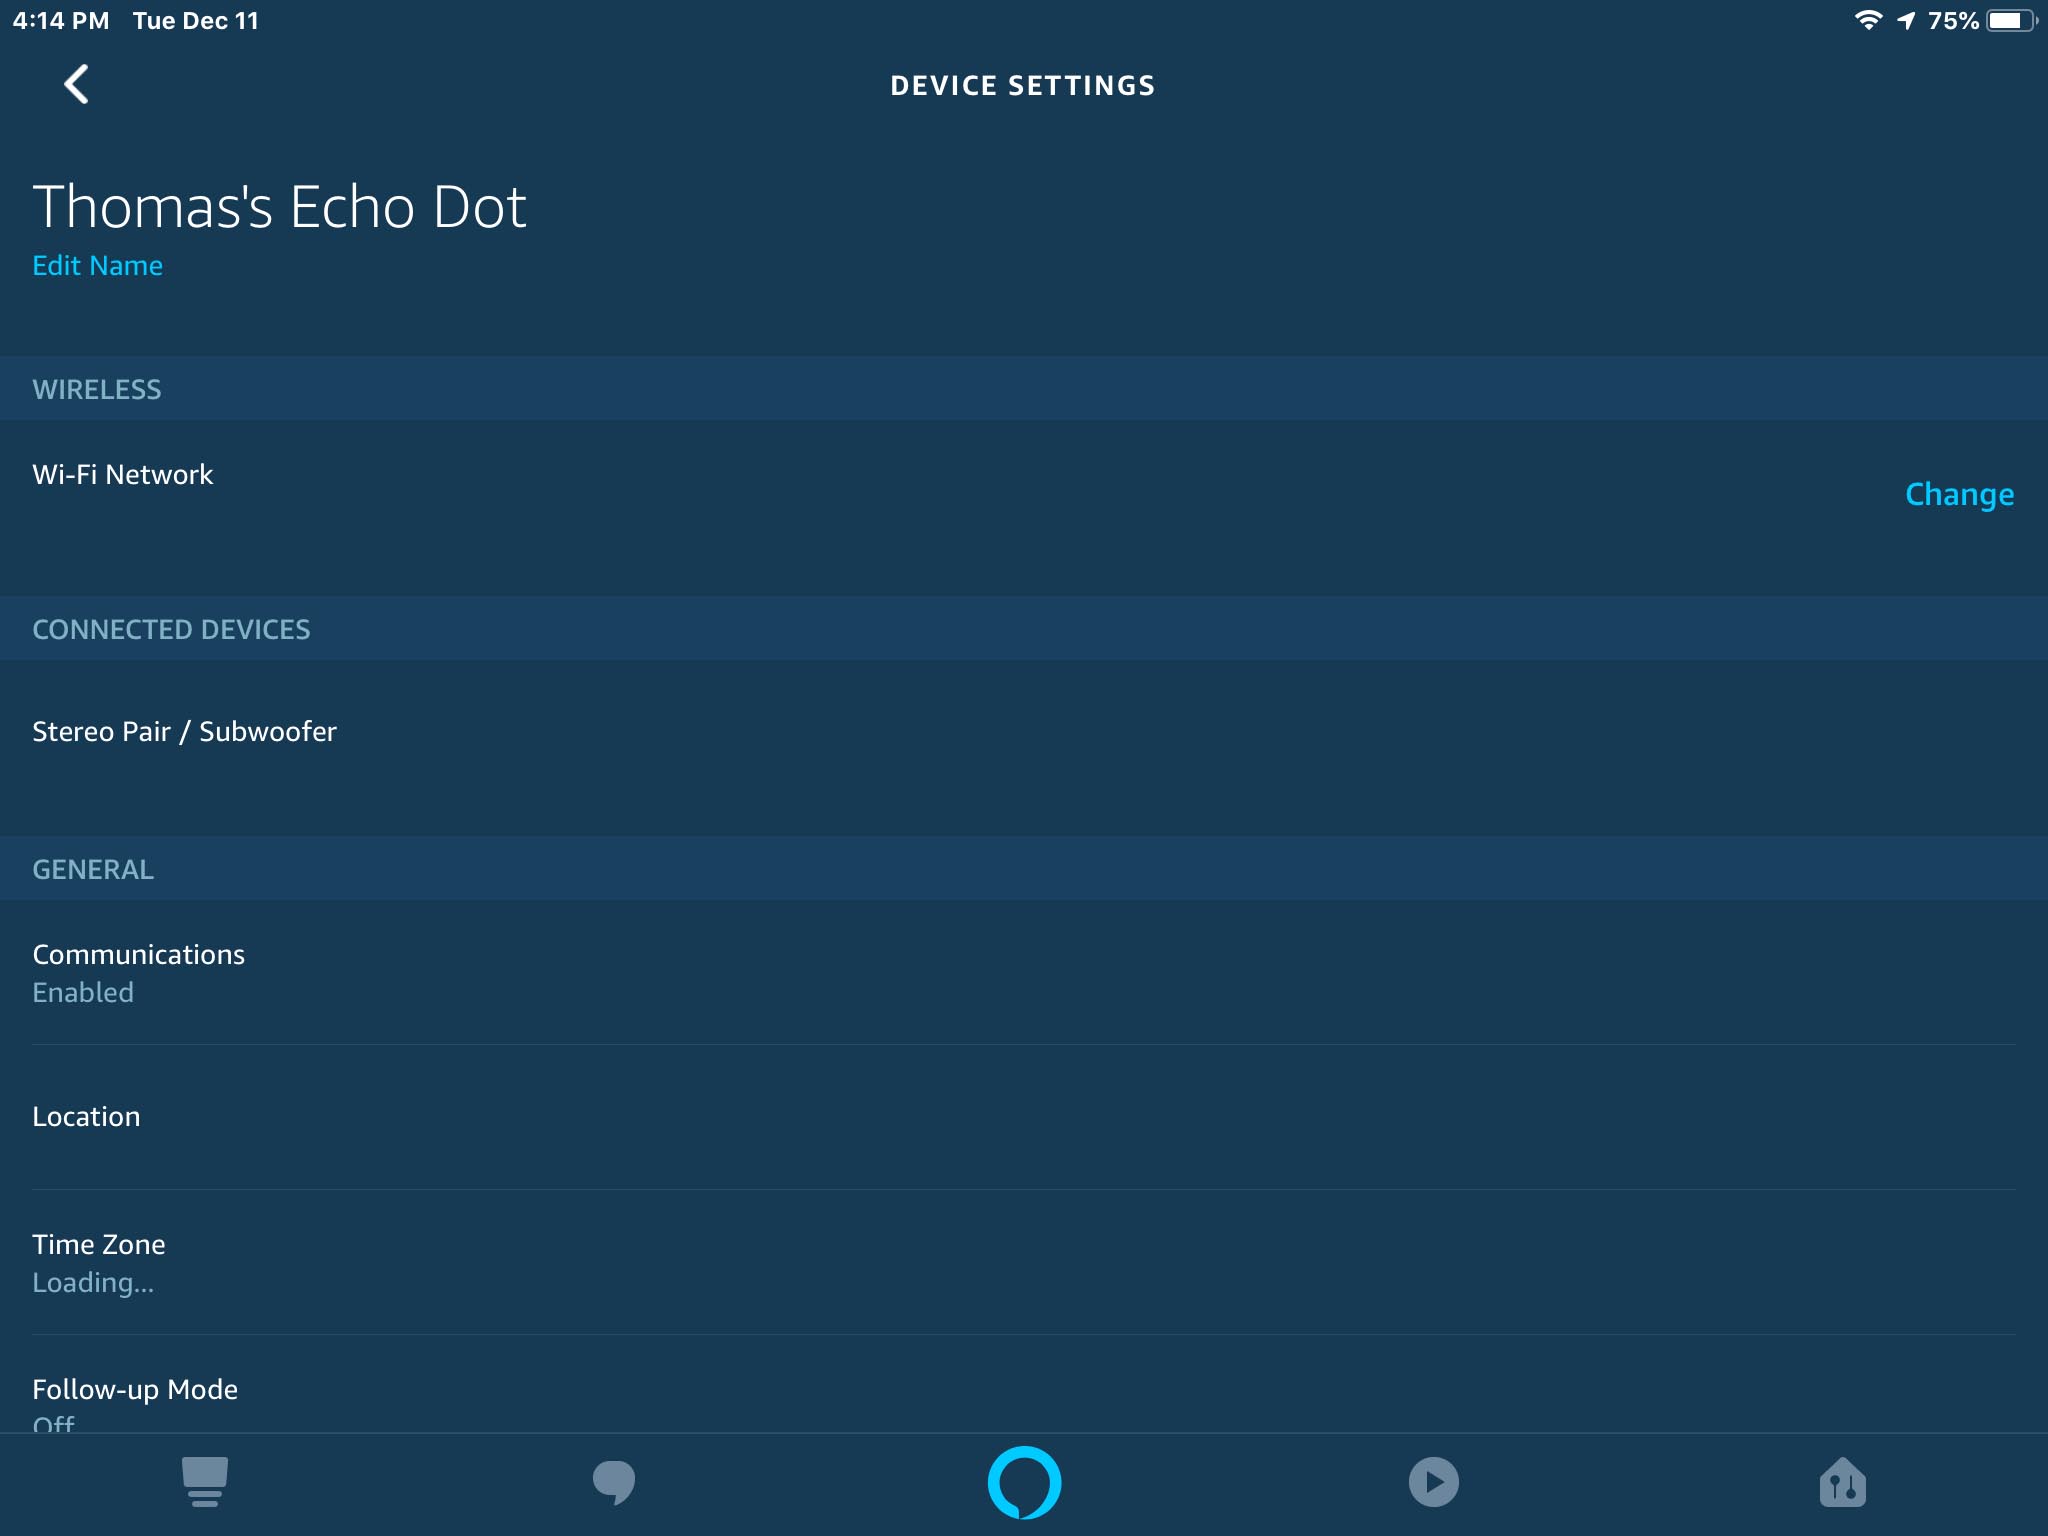
Tapping that device then brings up the Device Settings screen for that specific Alexa device, as shown next.
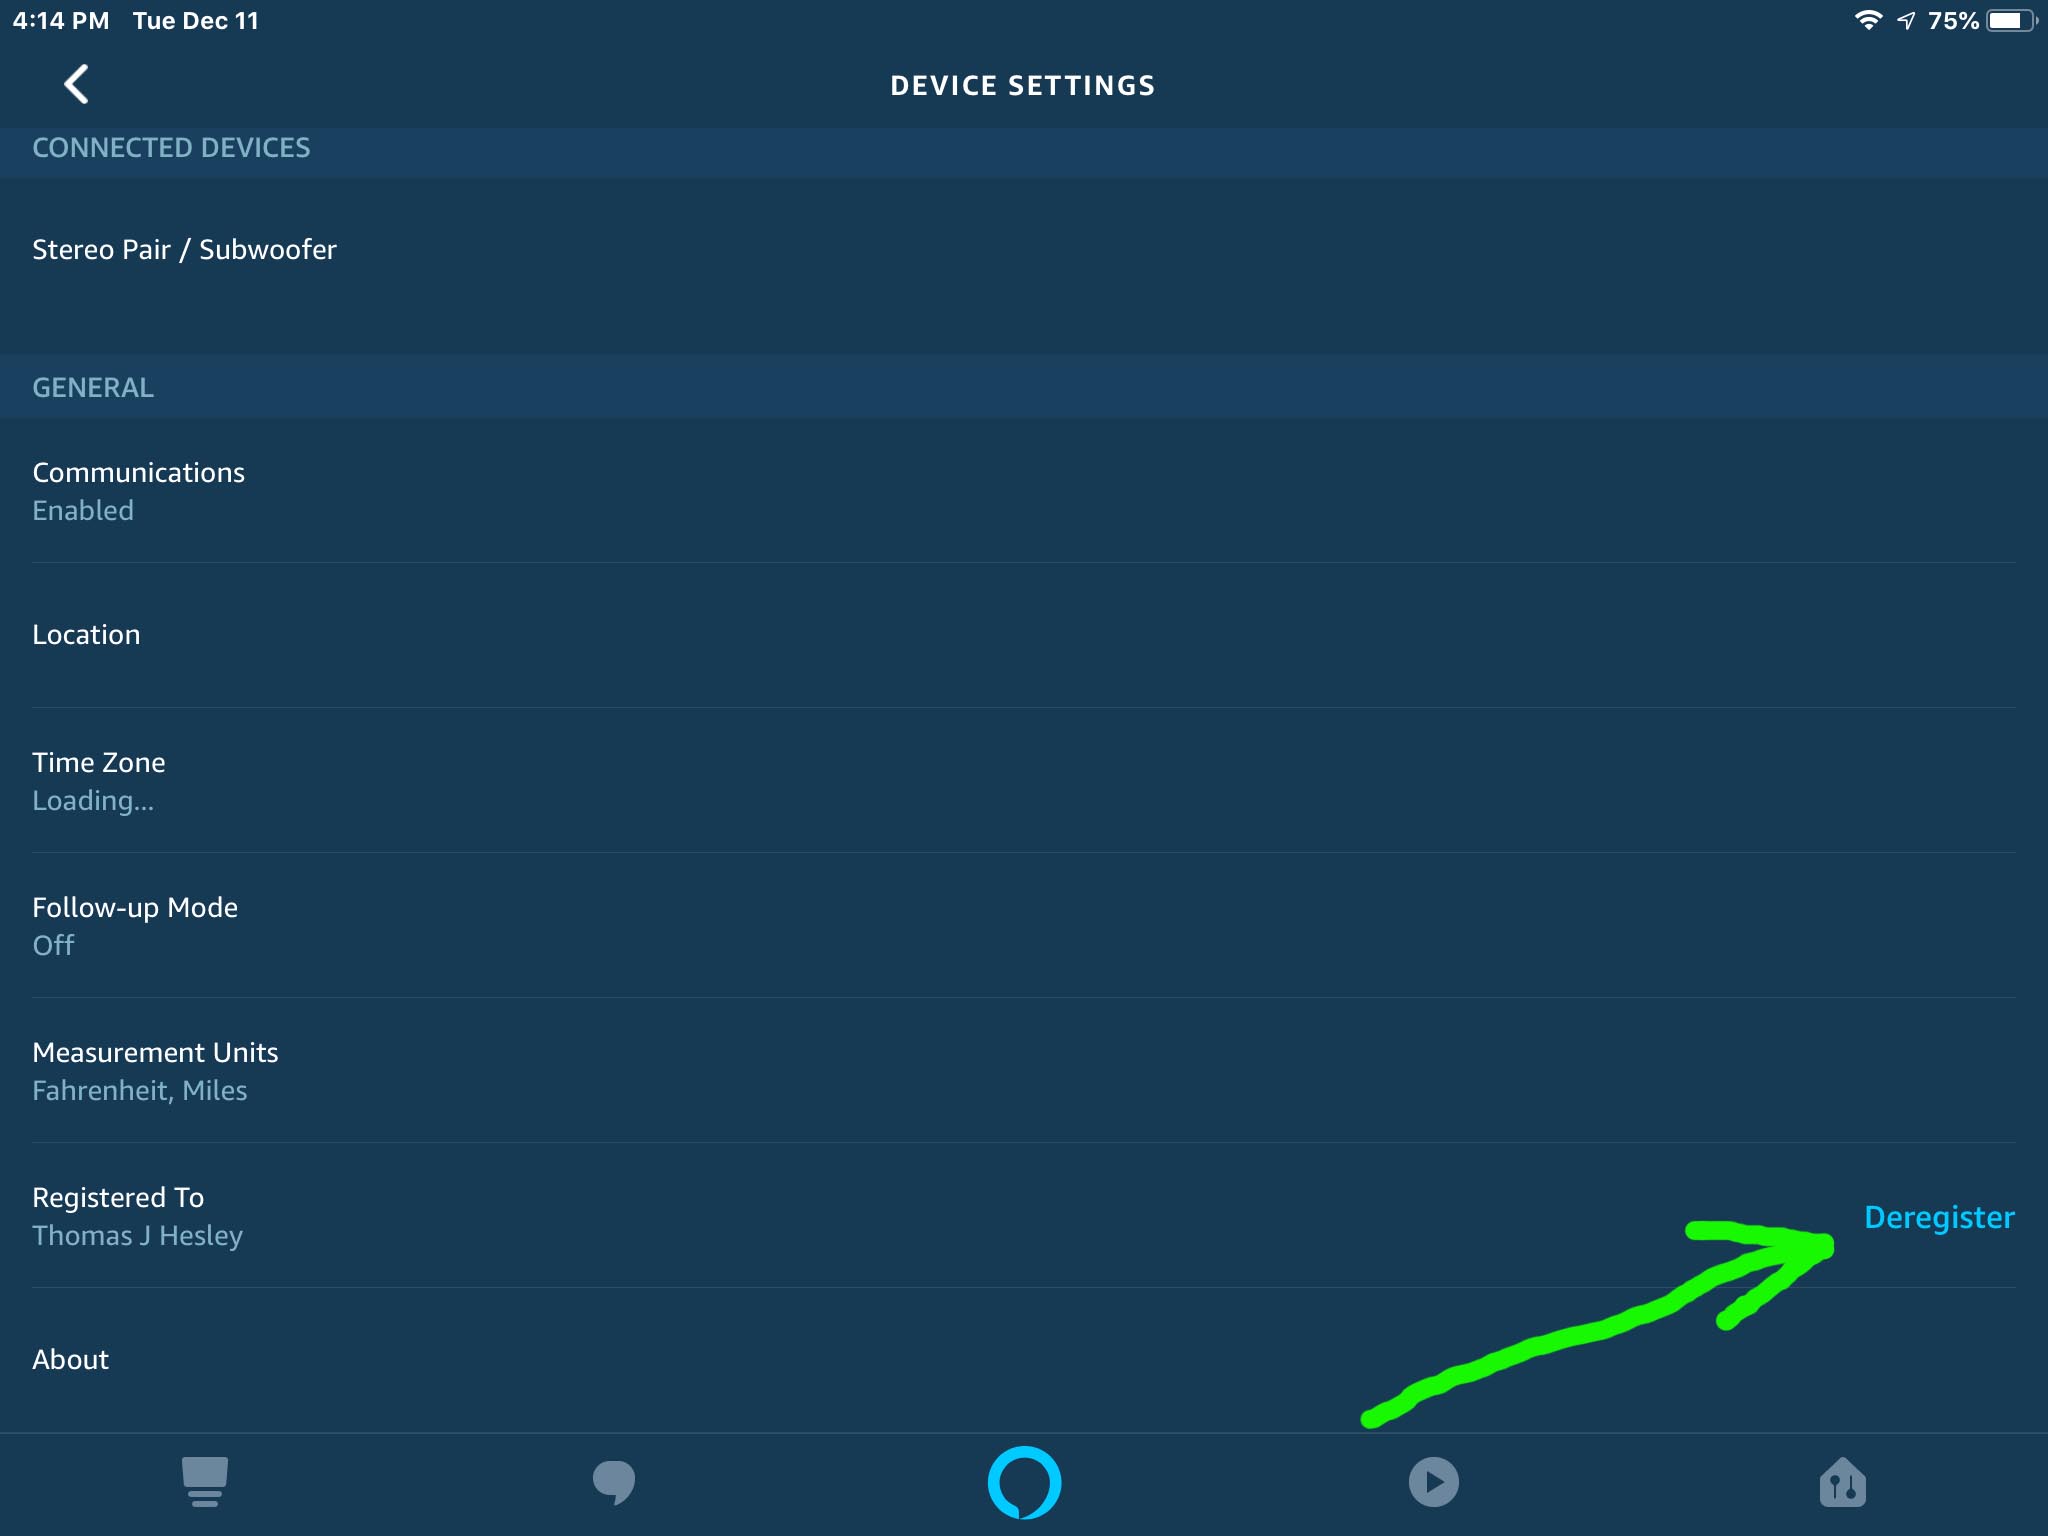
Scroll Down the Device Settings screen. Find the Registered To item on the left side of the screen, as shown next. Then, note that this option has a blue Deregister button on the right side of the screen. We point this out with the green arrow in the next picture.
Running the Deregister item on the Device Options screen then brings up the device deregistration confirmation window. See this in the next screenshot. This screen asks if you really wish to deregister the device you chose in step 5 above.
Tapping that second Deregister button causes Alexa to deregister the device. It removes the selected device from the list of active devices in your Amazon account. Note in the next All Devices screenshot, that our Thomas’s Echo Dot speaker is now gone.
The Echo Dot we just deregistered in this scenario will no longer work until the following.
You may experience Wi-Fi connection errors when booting your original Google Home speaker. Or, the…
The JBL Charge 3 features several controls and lights across its top, as well as…
Here we give the hard reset Google Home Mini speaker routine. You might hard reset…
You can hard reset all of the smart speakers in the Google Home family. These…
Covers How to Hard Reset Google Home. Now you can reset this original version of…
Gives the iPod Touch hard reset procedure. Now a hard reset restores all settings to…