Netgear EX3700 AC750 Wi-Fi range extender, showing the front lights prior to connecting to primary router.
In this post, we give Netgear range extender factory reset routine. Indeed, Netgear® builds a vast line of network extenders. And many have a factory reset button. Thus when you press this button, it causes the unit to erase any custom settings. Factory reset then returns the extender to factory default values. E.g. A factory reset restores the settings to what they were when the unit shipped from the factory.
So you factory reset the Netgear range extender to factory default state if it shows strange behaviors. These could include failing to link to the primary Wi-Fi network. Or, the extended or extension network slows or freezes, and so on. Try factory resetting before buying a new unit. A simple factory reset might save you the cost of that new extender.
Thus, here, we offer a simple method to do this. And hopefully, a factory reset will fix most problems you might see in this extender.
Never interrupt power during the factory reset. Why not? Because this can spoil the extender’s memory or break the firmware inside. Thus, the extender may not boot afterwards. So, we suggest plugging your range extender directly into a well-fitting and non switched AC wall outlet. Moreover, do not attach it through an extension cord. Why not? Because plugging right into a wall outlet avoids the loose and spotty connections often found in cheap or worn cords.
Wait until the extender finishes booting before advancing to the next step. Normally, booting can take between thirty seconds and one minute.
Save any changed settings you’ve made to the extender before factory reset. These could include the extended WiFi network name, password, network channel numbers used, and so on. Since the extender clears these settings during factory reset, write them down first. You’ll need this settings list after the unit comes back up. With it, you can easily apply them again if you wish.
If you want to use the physical reset button, skip ahead to step 9. Or, do a factory reset via the device’s admin web pages. Many Netgear® extenders give both options).
To factory reset via the web, go on to the next step. Doing it this way saves you from digging it out from behind furniture to reach its reset button. But using the web may not always be easy, like when the unit freezes or locks up. So, choose how to reset based on your specific situation.
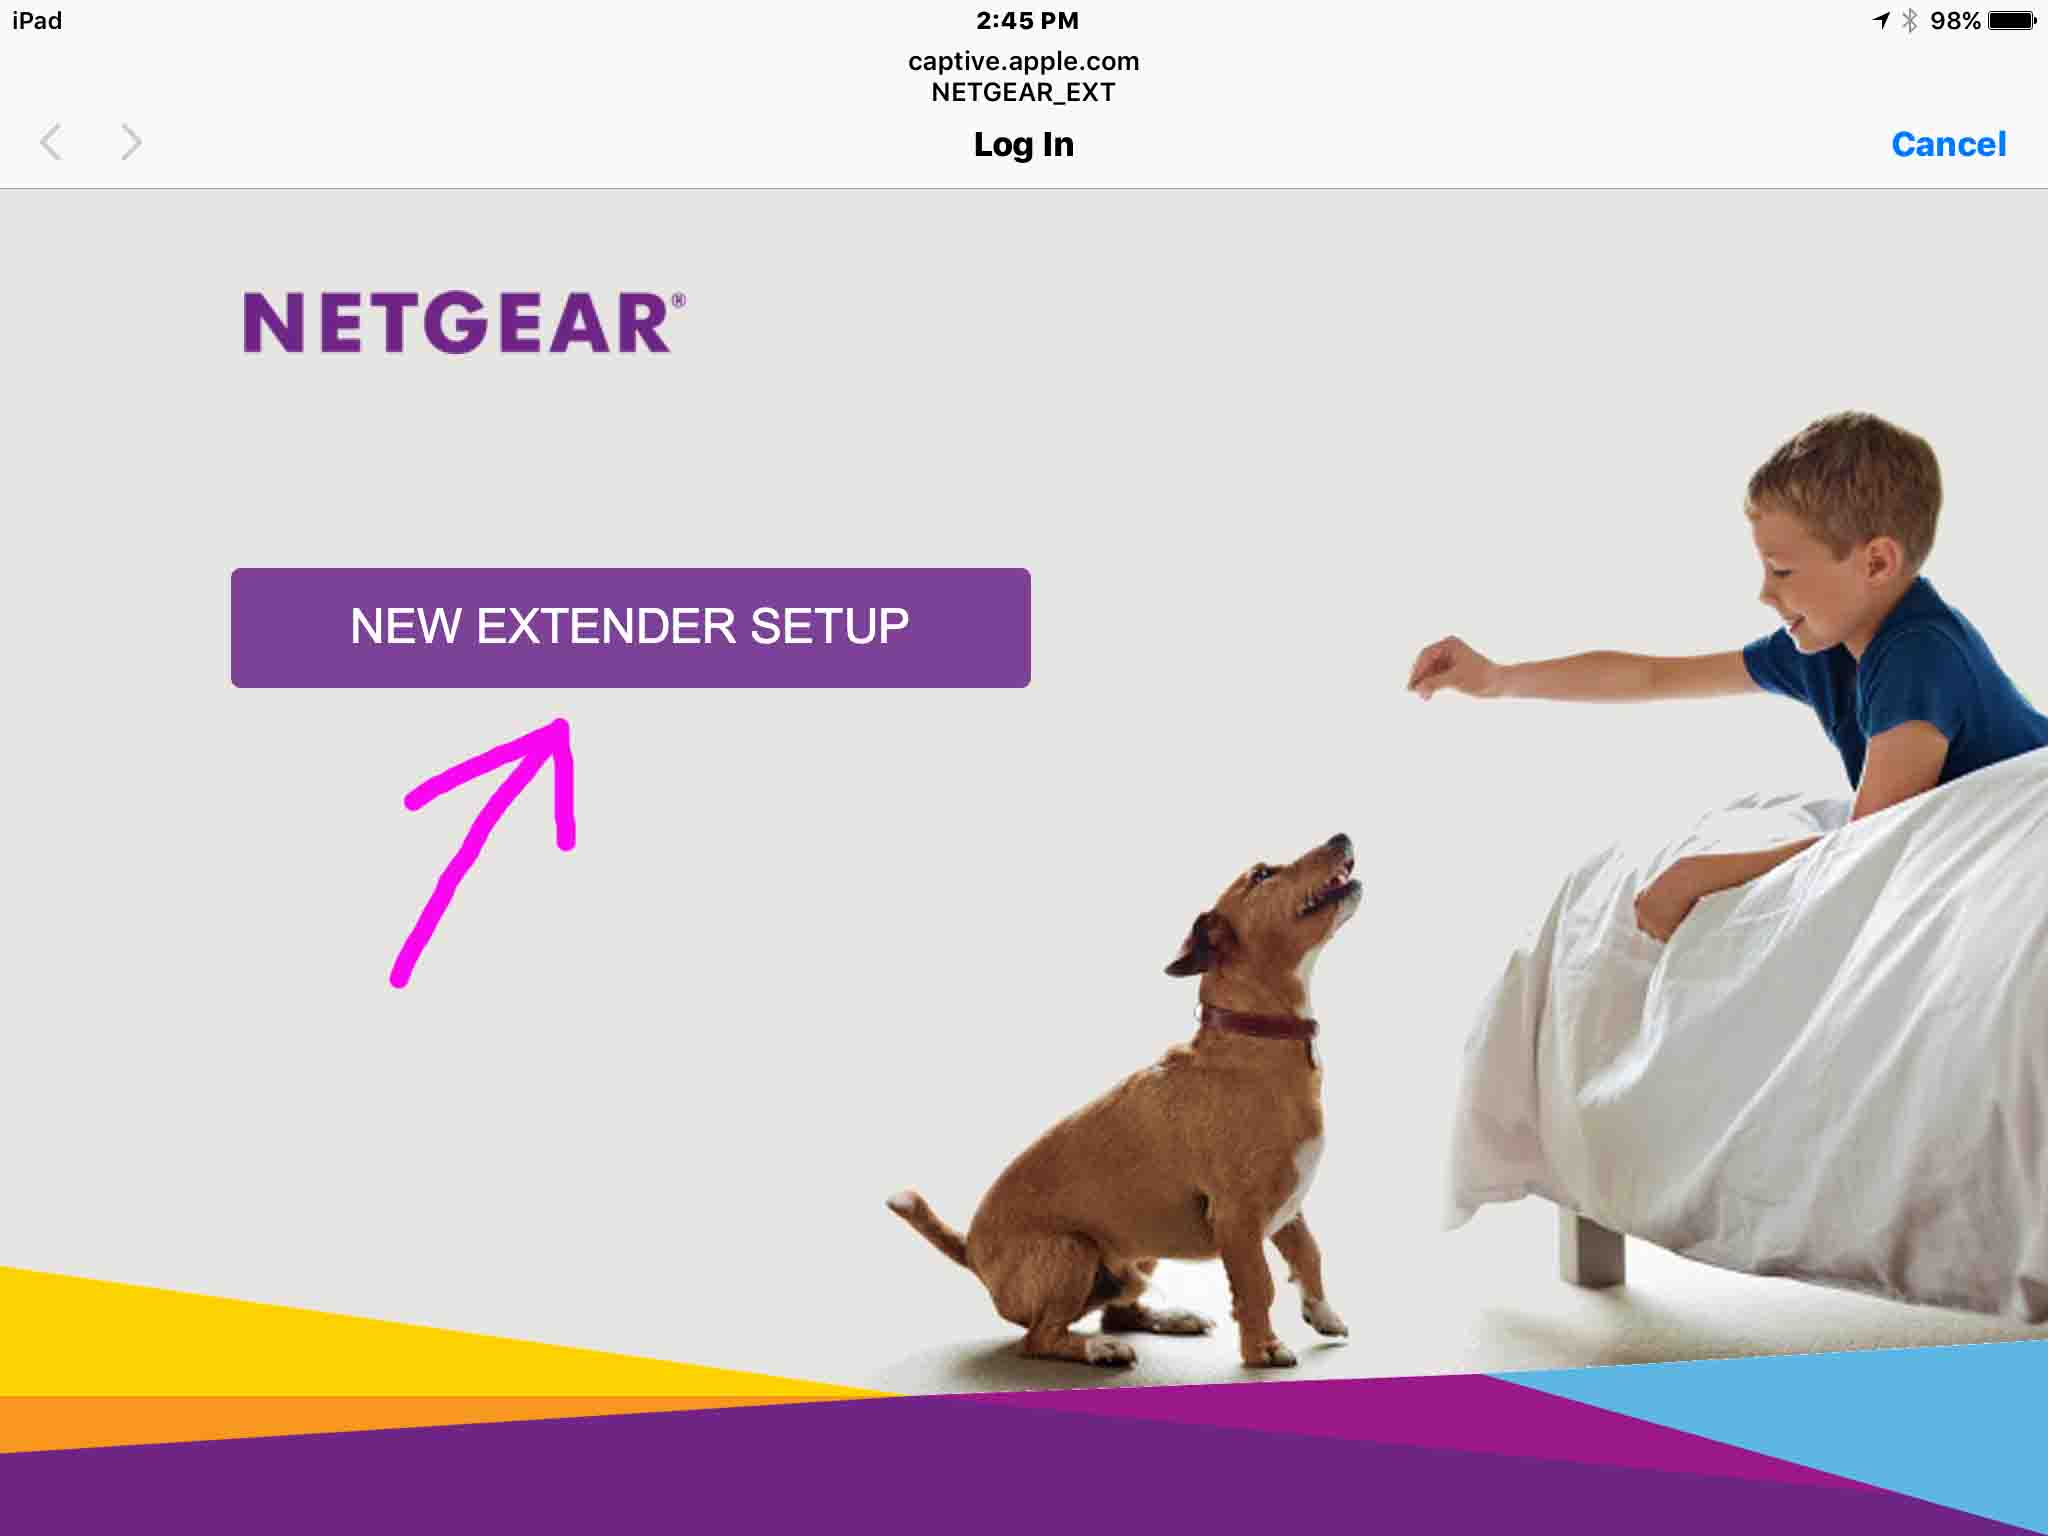
Once the extender powers up and fully boots, connect a computer to it. Then, on that computer, bring up a web browser. Then, visit the http://mywifiext.net/ site. The Netgear® Genie® web site front page then displays.
Then, follow the prompts through the extender login to the site.
You often find the factory reset link under the Settings->Other section.
This brings up a restore factory defaults confirm prompt screen. You may choose not to factory reset the extender at this point. In that case, just leave the reset page. But if you still wish to factory reset, move on to the next step.
Clicking or tapping this link is like pressing the reset button on the unit. That is, factory resetting takes the Netgear range extender offline while it restores the factory default settings.
Now the extender will also log you off of the http://mywifiext.net/ web site during this time. Lights will go out for some seconds, then start flashing as the reset takes effect.
Now, you may move your extender to a new spot and set it up there. Or, it’s now ready for the next user if you’re going to sell or gift it.
The button is quite small. Furthermore, you often find it inside a hole on either the back or bottom of the extender. The button is red, black, or silver in color, and likely in a hole in the case surface. Use a flashlight if you put your unit in a dark spot.
Since the RESET button port is often small, use the tip of a pen or paper clip to reach it. Also, this button is delicate. So, if you poke it too hard, you can easily jam or break it. Thus increase your pressing pressure only until you feel the button give (click) into the pressed position. Then, keep pressing with that same strength until the extender starts resetting.
You can tell when factory reset begins because the lights will all go out, except for perhaps the Power lamp. You need not keep holding the button in, once this process starts. In fact, pressing for too long can, again, damage the button. So, only hold it in as long as it takes to start factory resetting.
This can take up to four minutes. So stay calm, and DO NOT UNPLUG (POWER DOWN) YOUR EXTENDER WHILE RESETTING!!!
Again, turning off most any network device while it’s resetting can brick it. If that happens, you may have to send the extender to Netgear® for proper re flashing. That is, if they can re flash at all. For cheaper extenders, factory re flashing may not be worth the expense. So, get it right the first time. That is, never stop a extender while factory resetting.
Factory reset completes when the lights stop blinking. You should also see the extender’s admin setup web pages at http://mywifiext.net/ after reset.
Once the factory reset finishes, make any changes to settings that your specific network needs. Do this at the http://mywifiext.net/ site.
What ever way you reset your Netgear range extender, it is now ready for setup. Note that you must set up your extender anew after a factory reset. It will not extend any networks until you enter the wireless networks you wish to extend. Do this on the extender’s setup web pages.
You may experience Wi-Fi connection errors when booting your original Google Home speaker. Or, the…
The JBL Charge 3 features several controls and lights across its top, as well as…
Here we give the hard reset Google Home Mini speaker routine. You might hard reset…
You can hard reset all of the smart speakers in the Google Home family. These…
Covers How to Hard Reset Google Home. Now you can reset this original version of…
Gives the iPod Touch hard reset procedure. Now a hard reset restores all settings to…