The JBL Charge 2 Plus speaker, fully charged, showing all of its battery status lights as OFF.
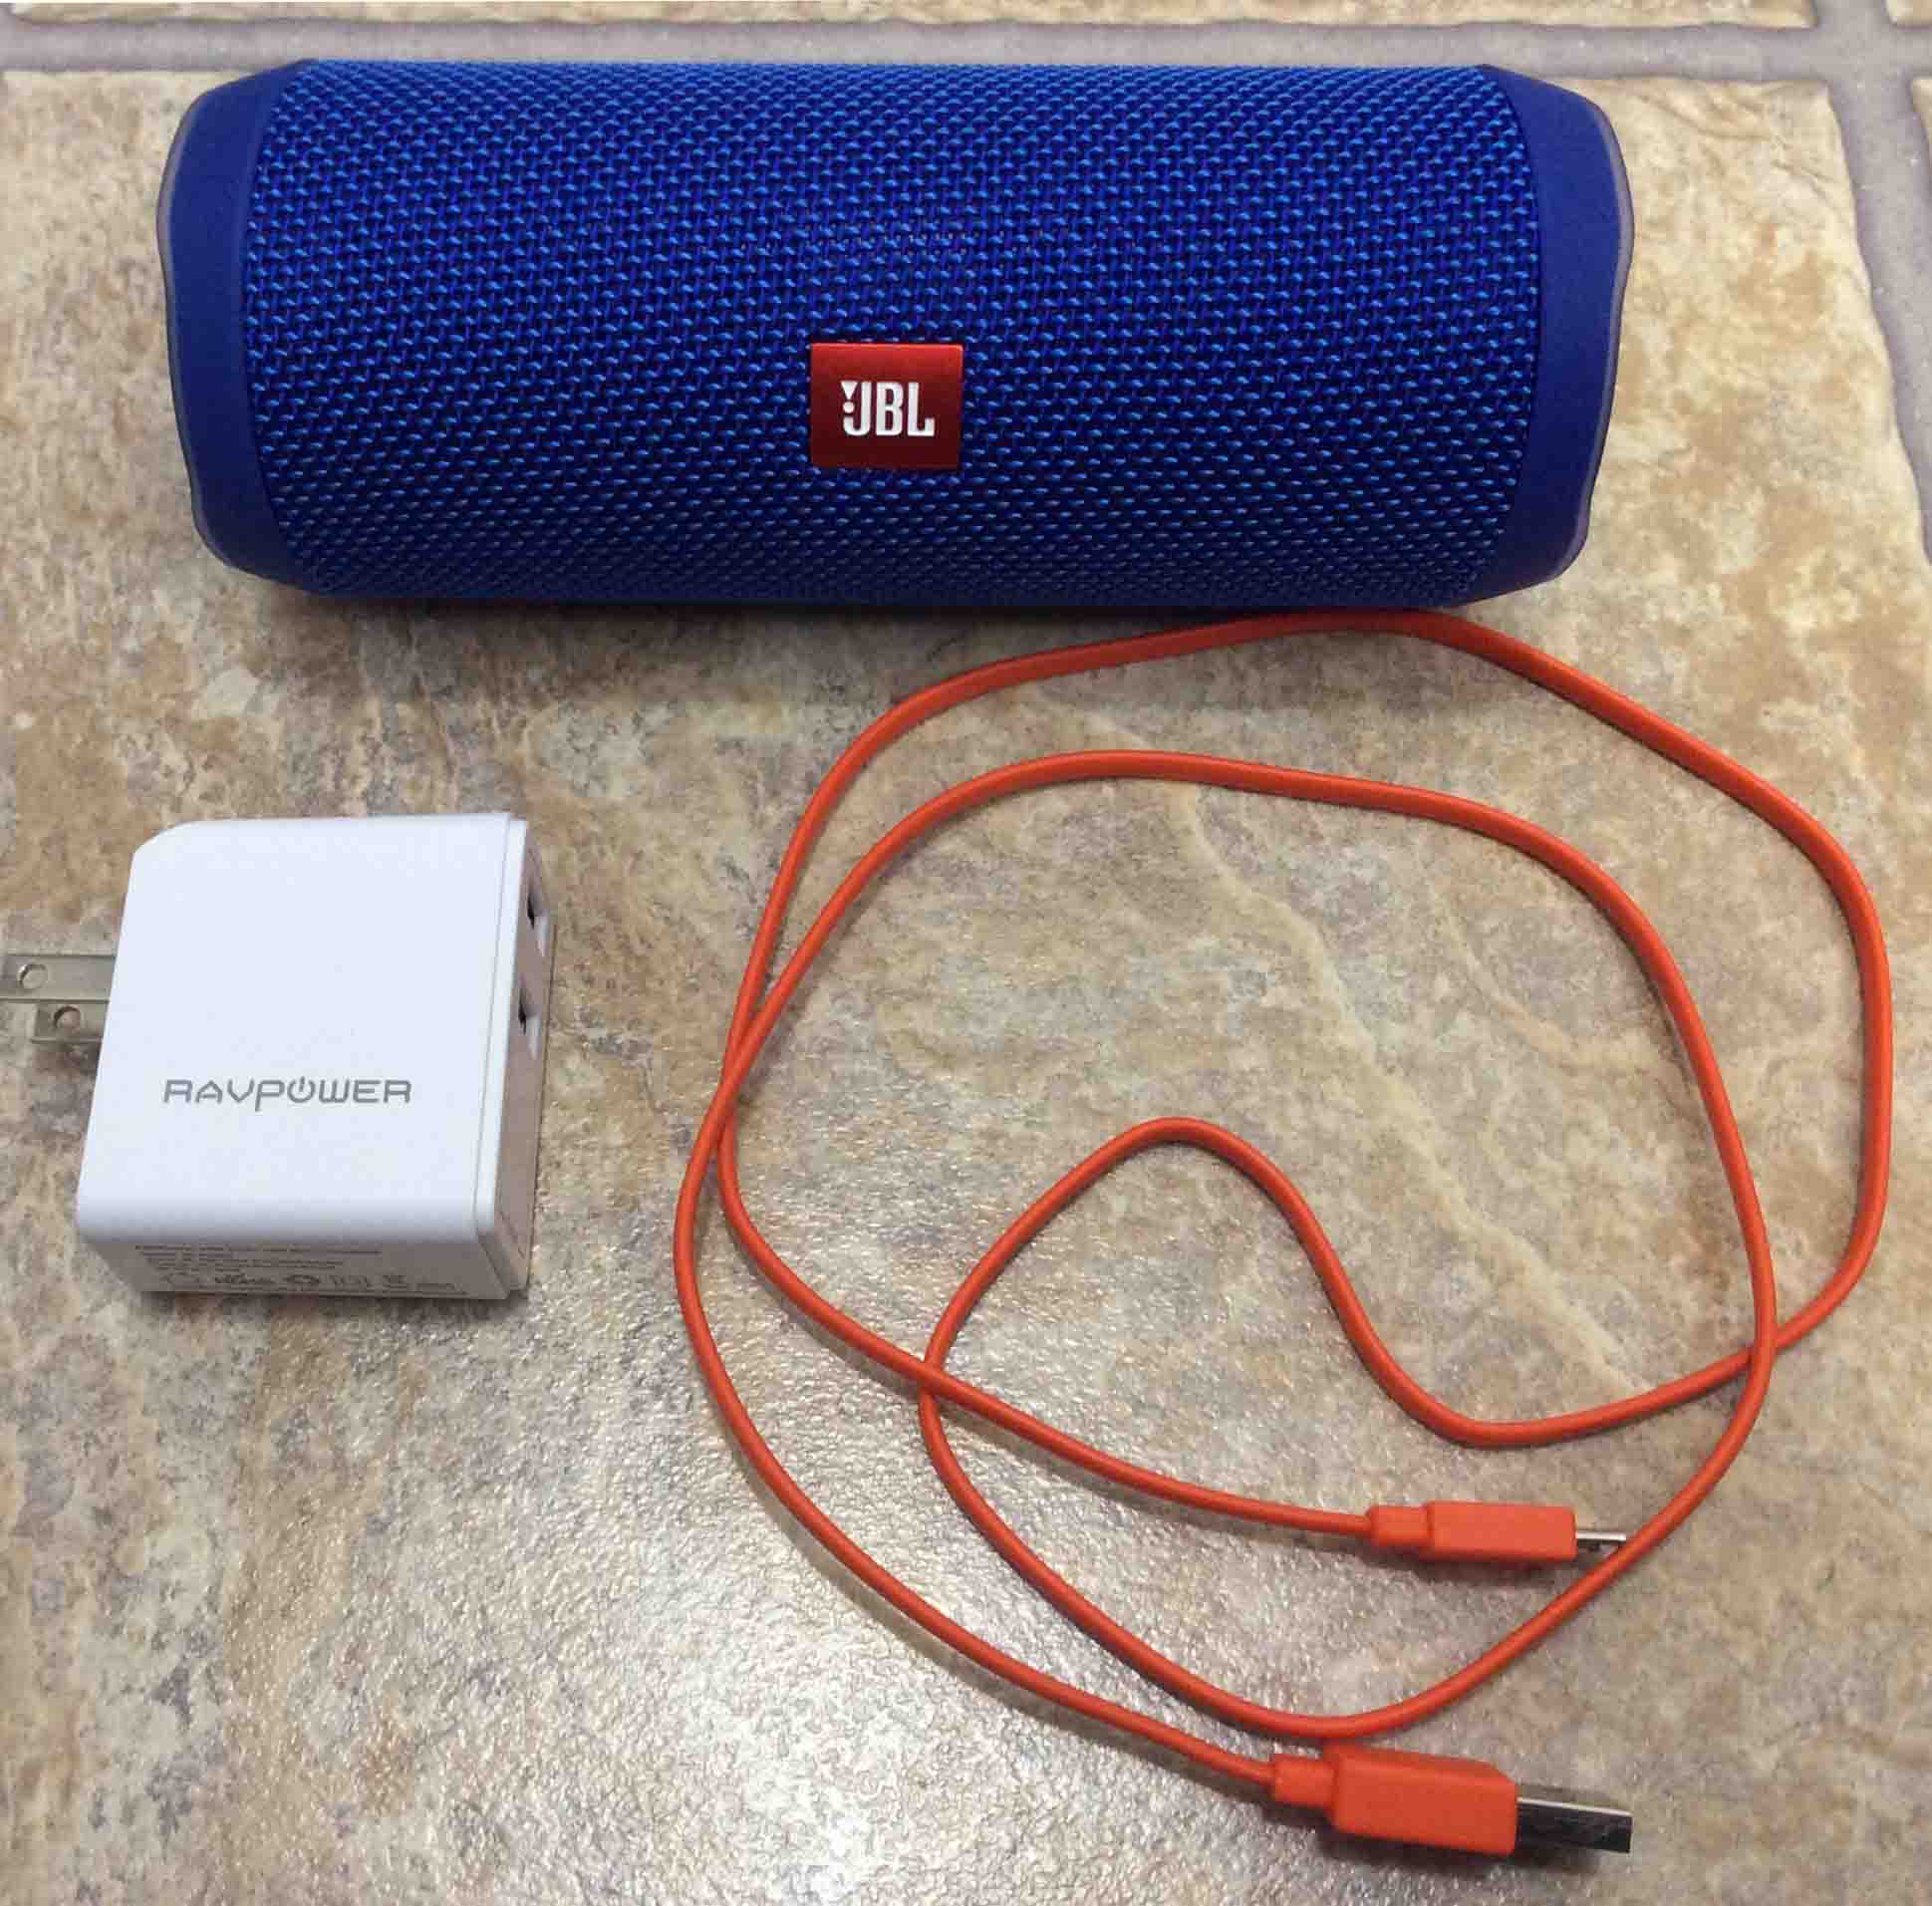
Charging a JBL speaker is easy through the charge ports. Plus on most models you may use them while they charge too. First, select an adequate power adapter. Why ? Because the many JBL Speaker models do not come with this as a standard accessory. Furthermore, the bigger models need a high power USB power source to charge fully in their spec times.
Next, connect the cable between the JBL speaker and that adapter. Next, plug the adapter into a working wall outlet. Finally after two to six hours, your JBL speaker completes charging. Then you’ll be able to play it again for up to perhaps twenty four hours, depending on your model.
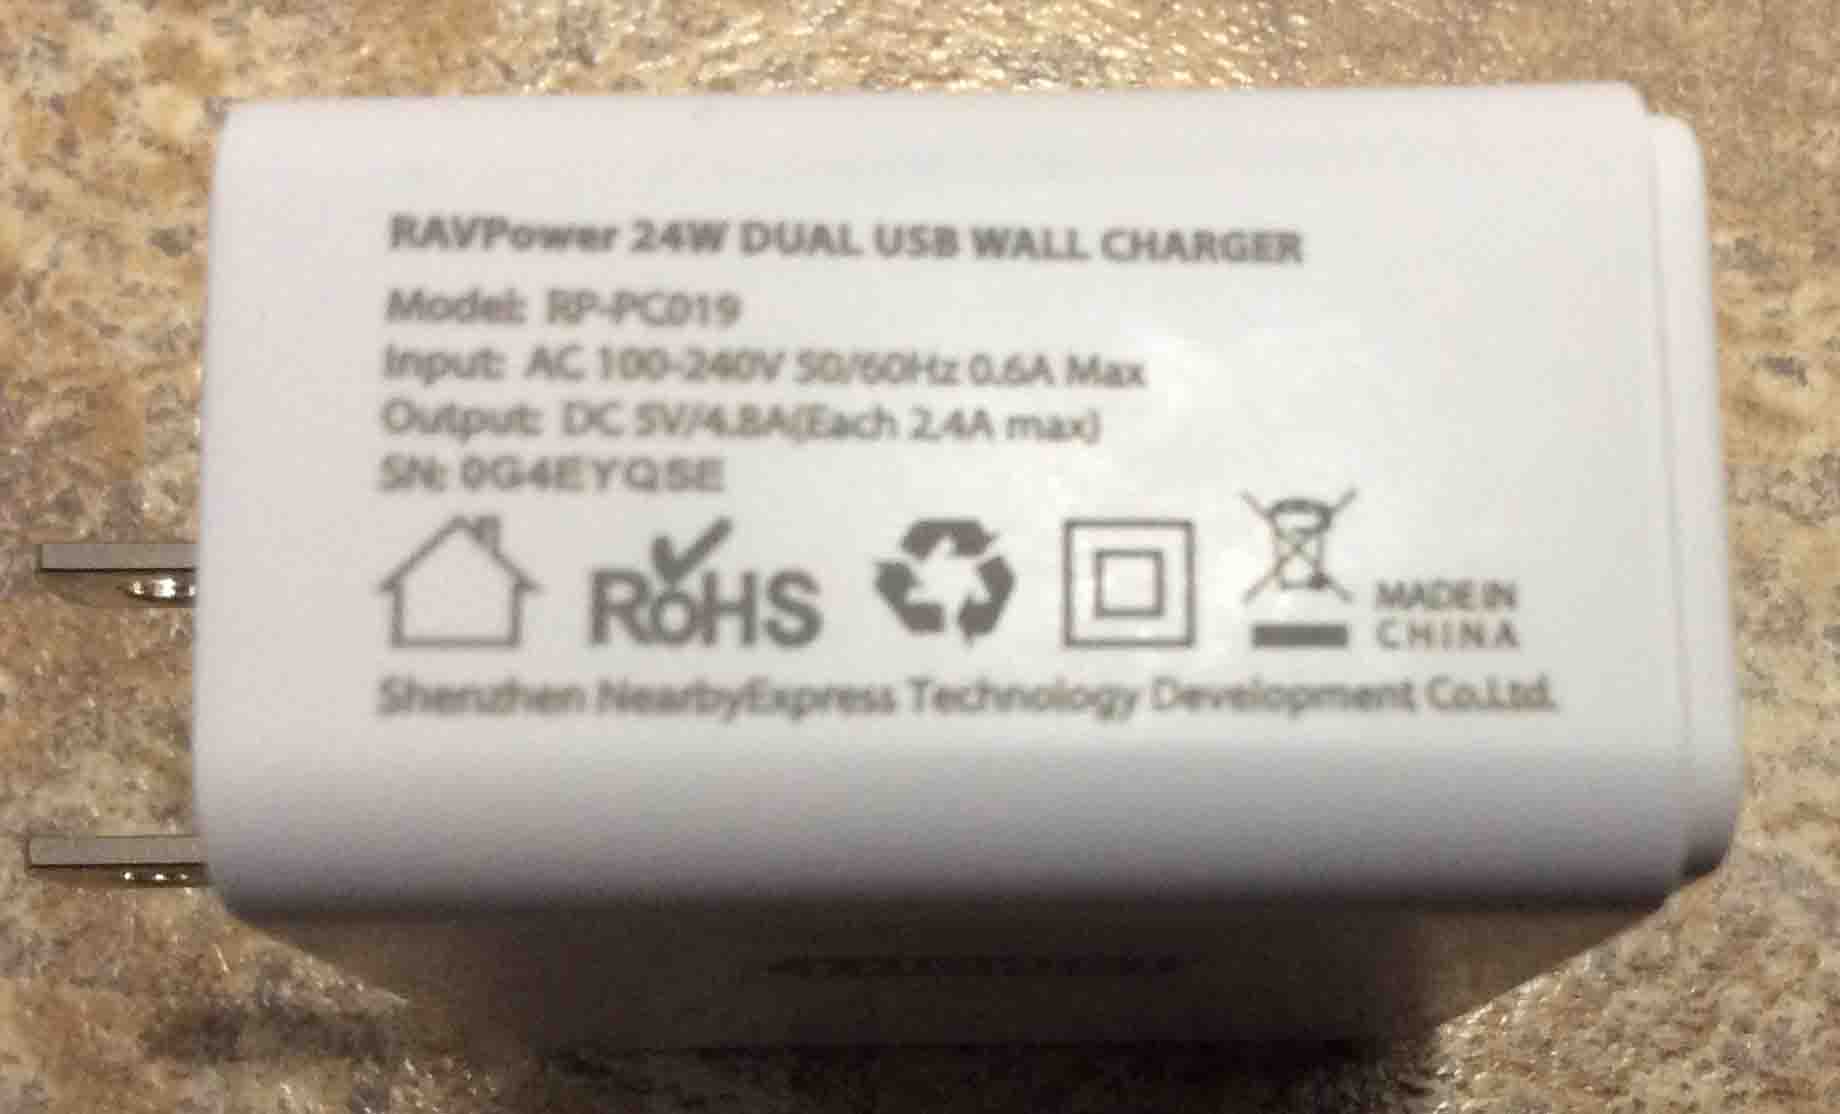
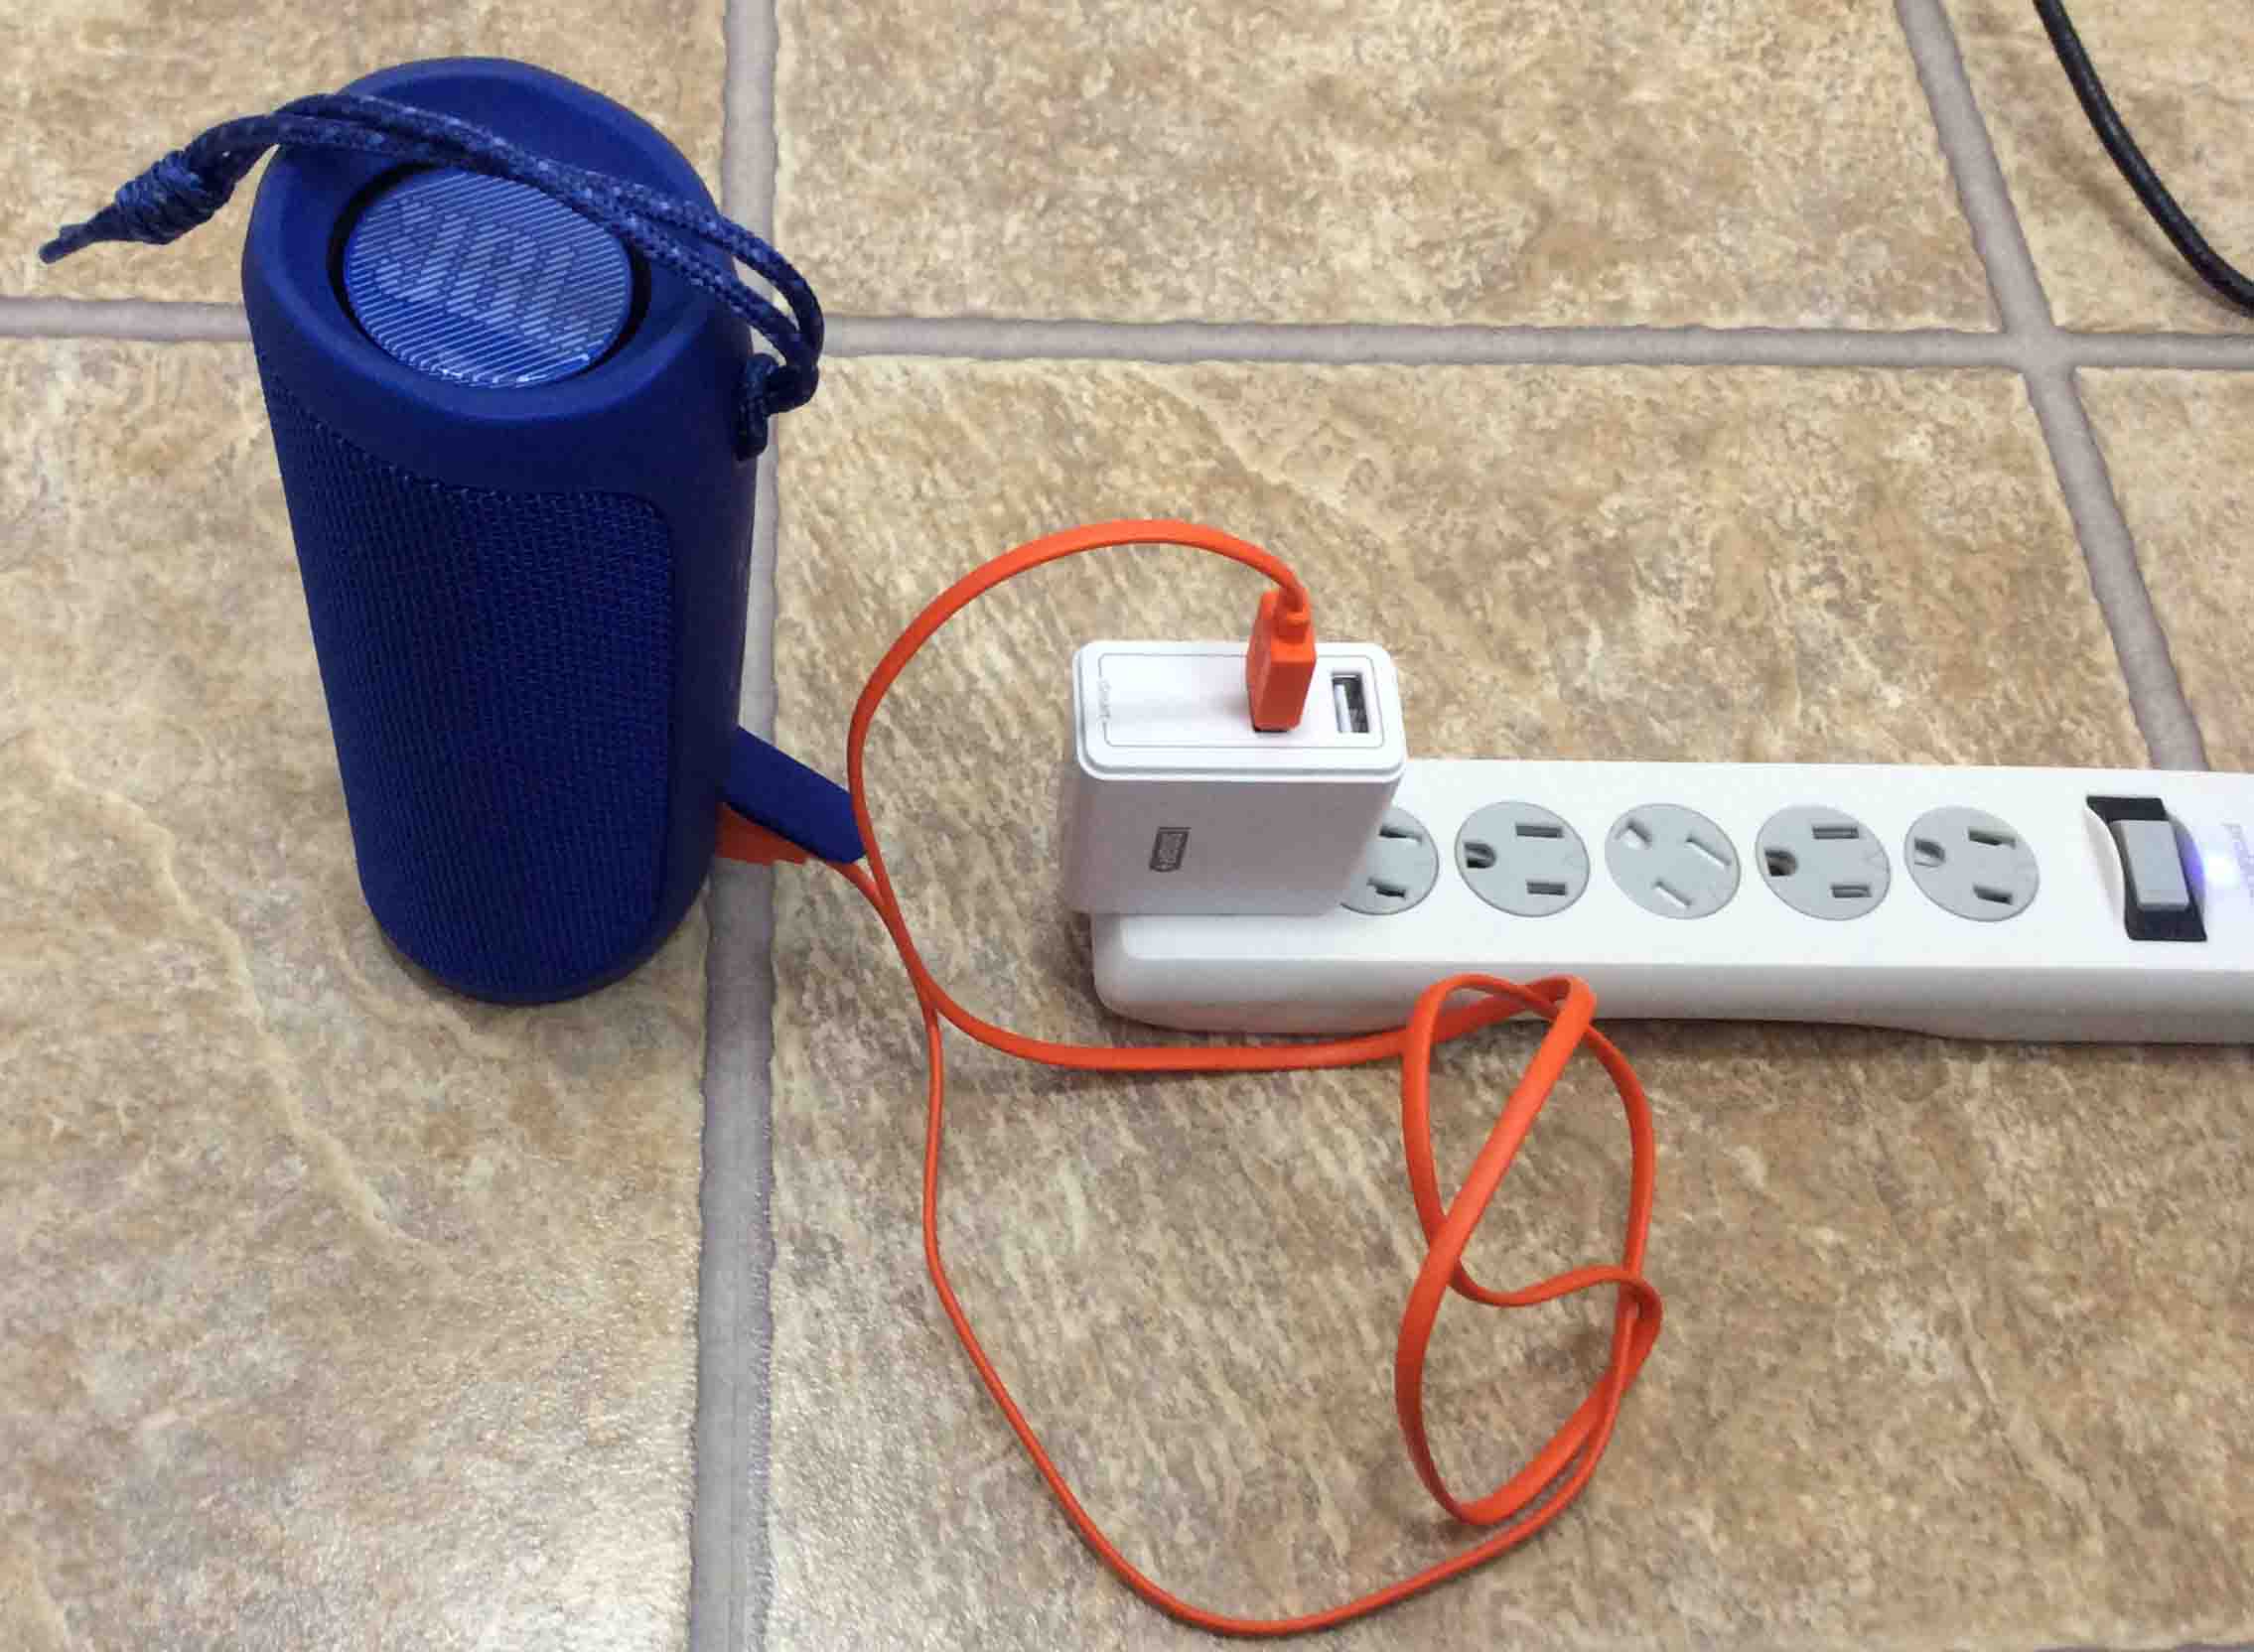
In this demo, we’re using the RavPower 24 watt dual port USB charger adapter.
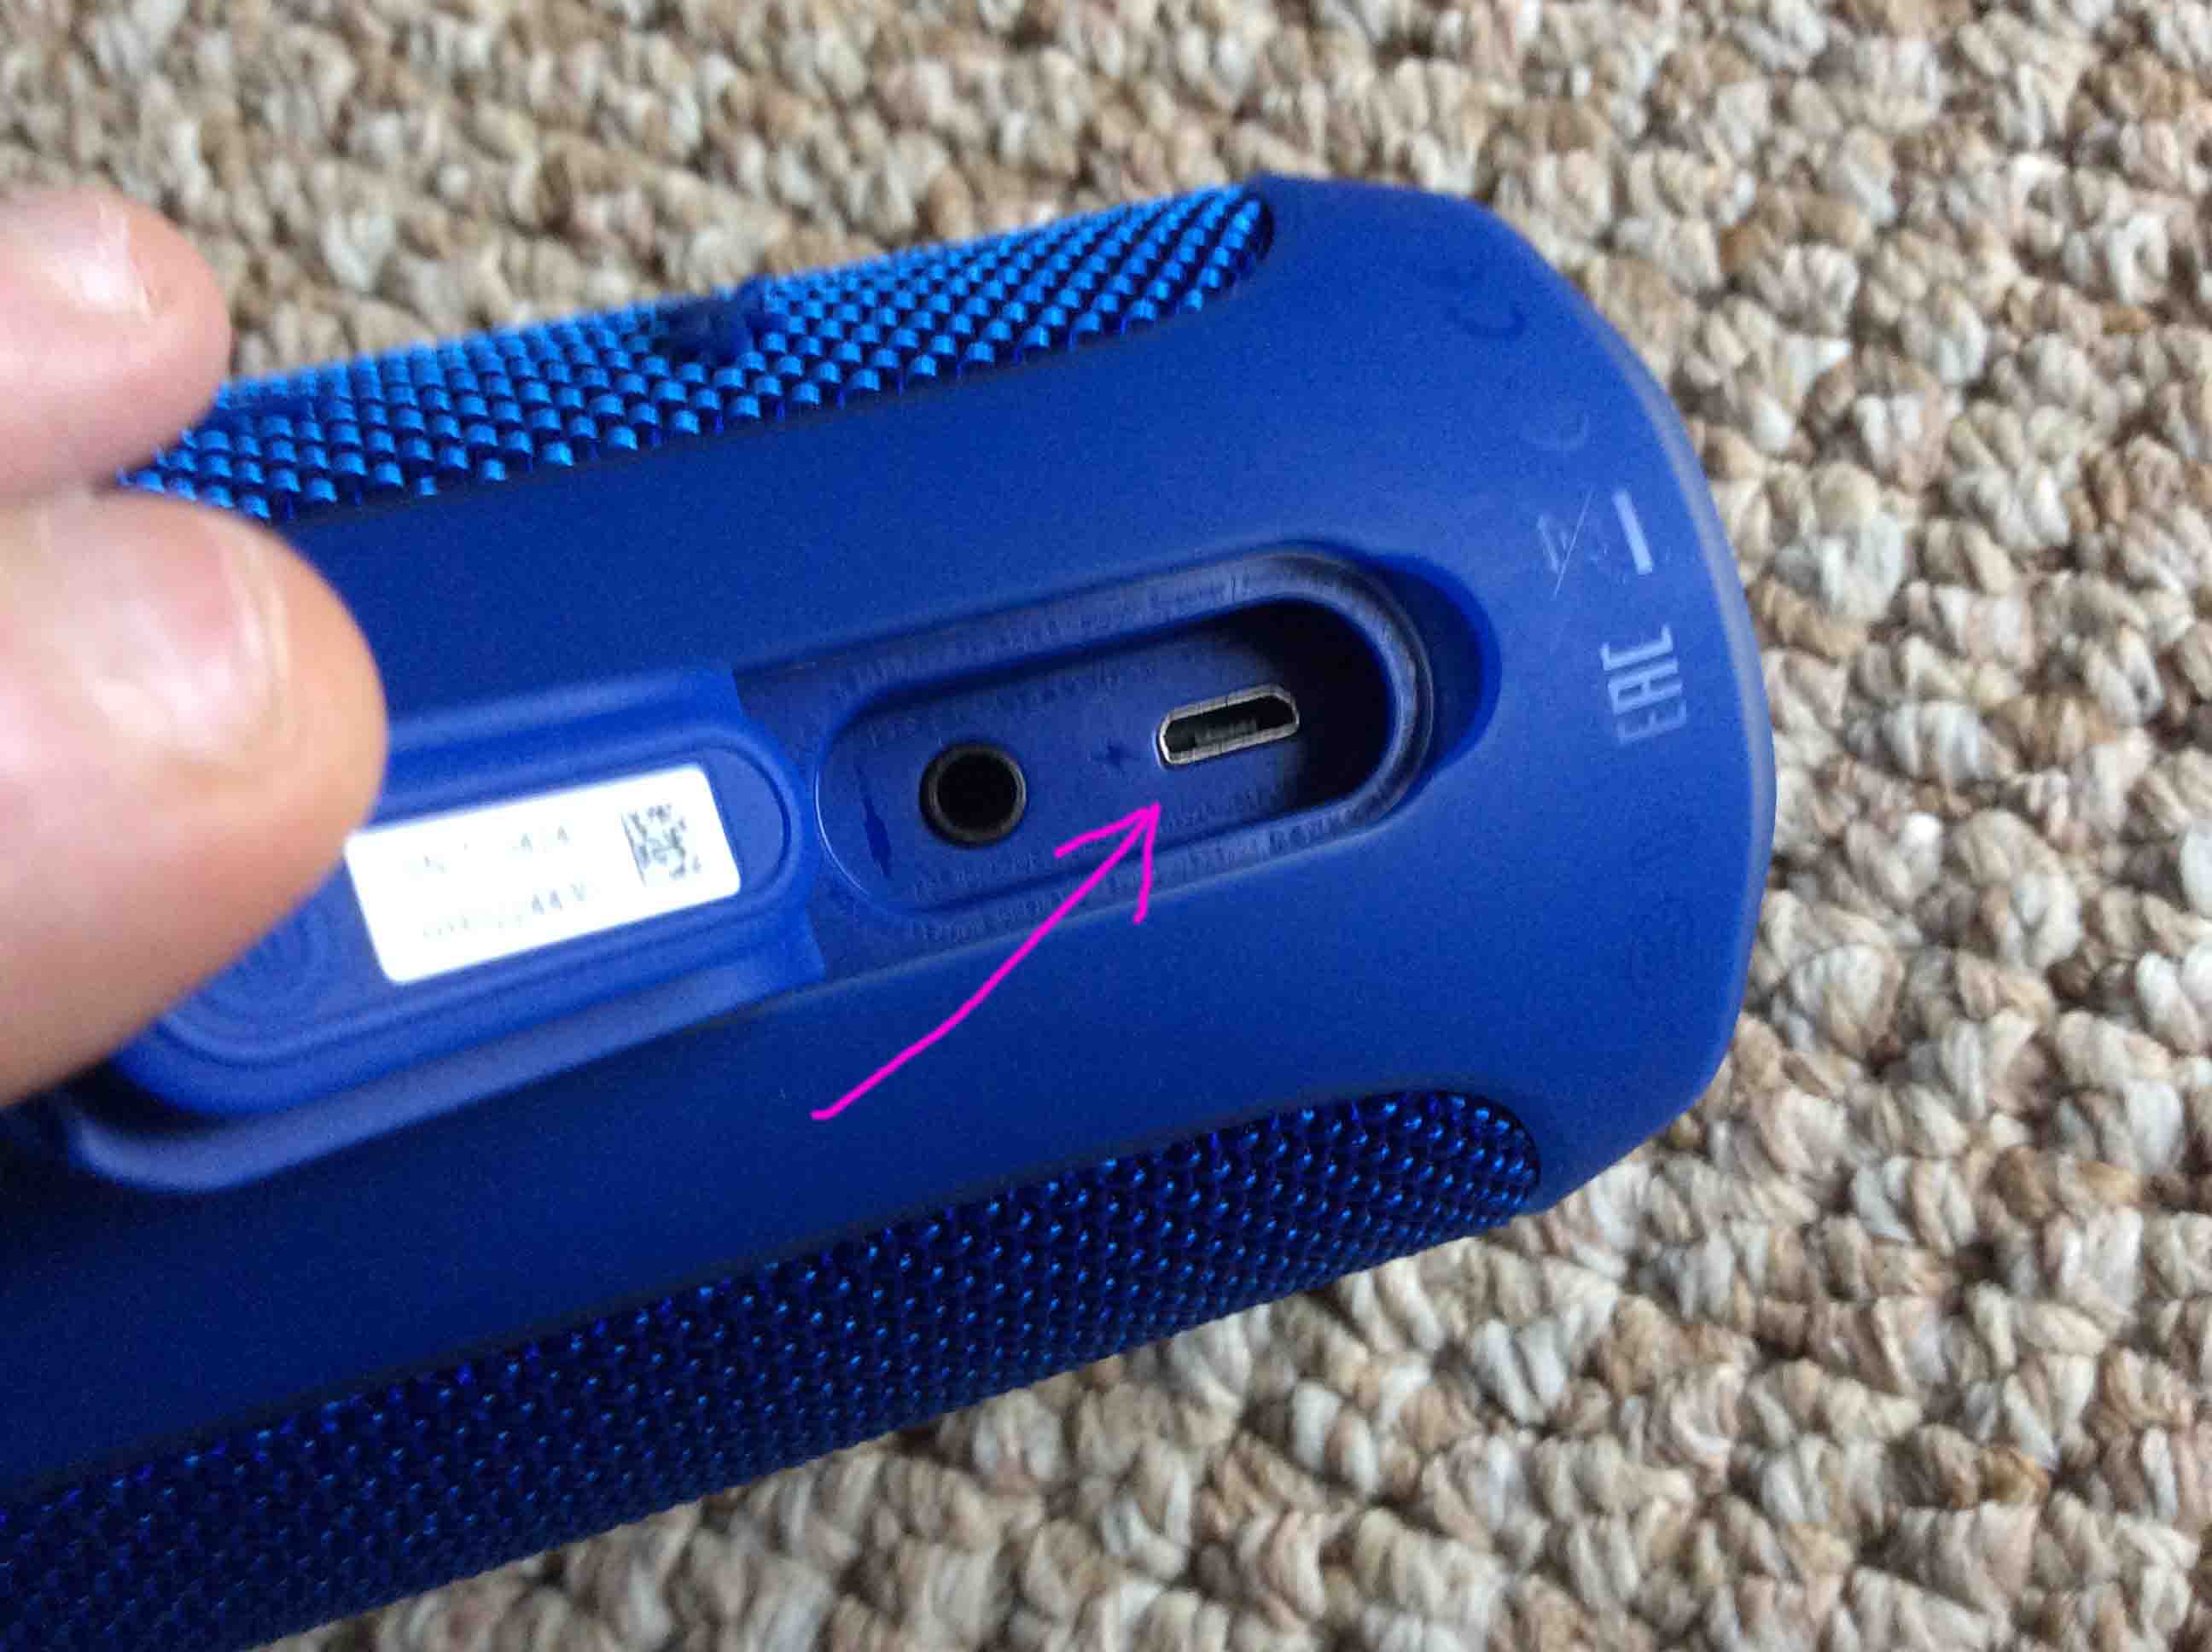
We find these doors on the Clip, earlier Flip, Charge, and Xtreme series JBL Speaker models. Some have a zipper cover. But others feature a snap-closed flap.
So for these, use a penny or a dime to pry open the waterproof seal port cover. But for the zipper door models, just unzip them. In either case though, this exposes the charging port inside. Here, we see a micro USB port. But the later Flip and Charge models have a USB-C port. The Xtreme units accept a barrel DC connector.
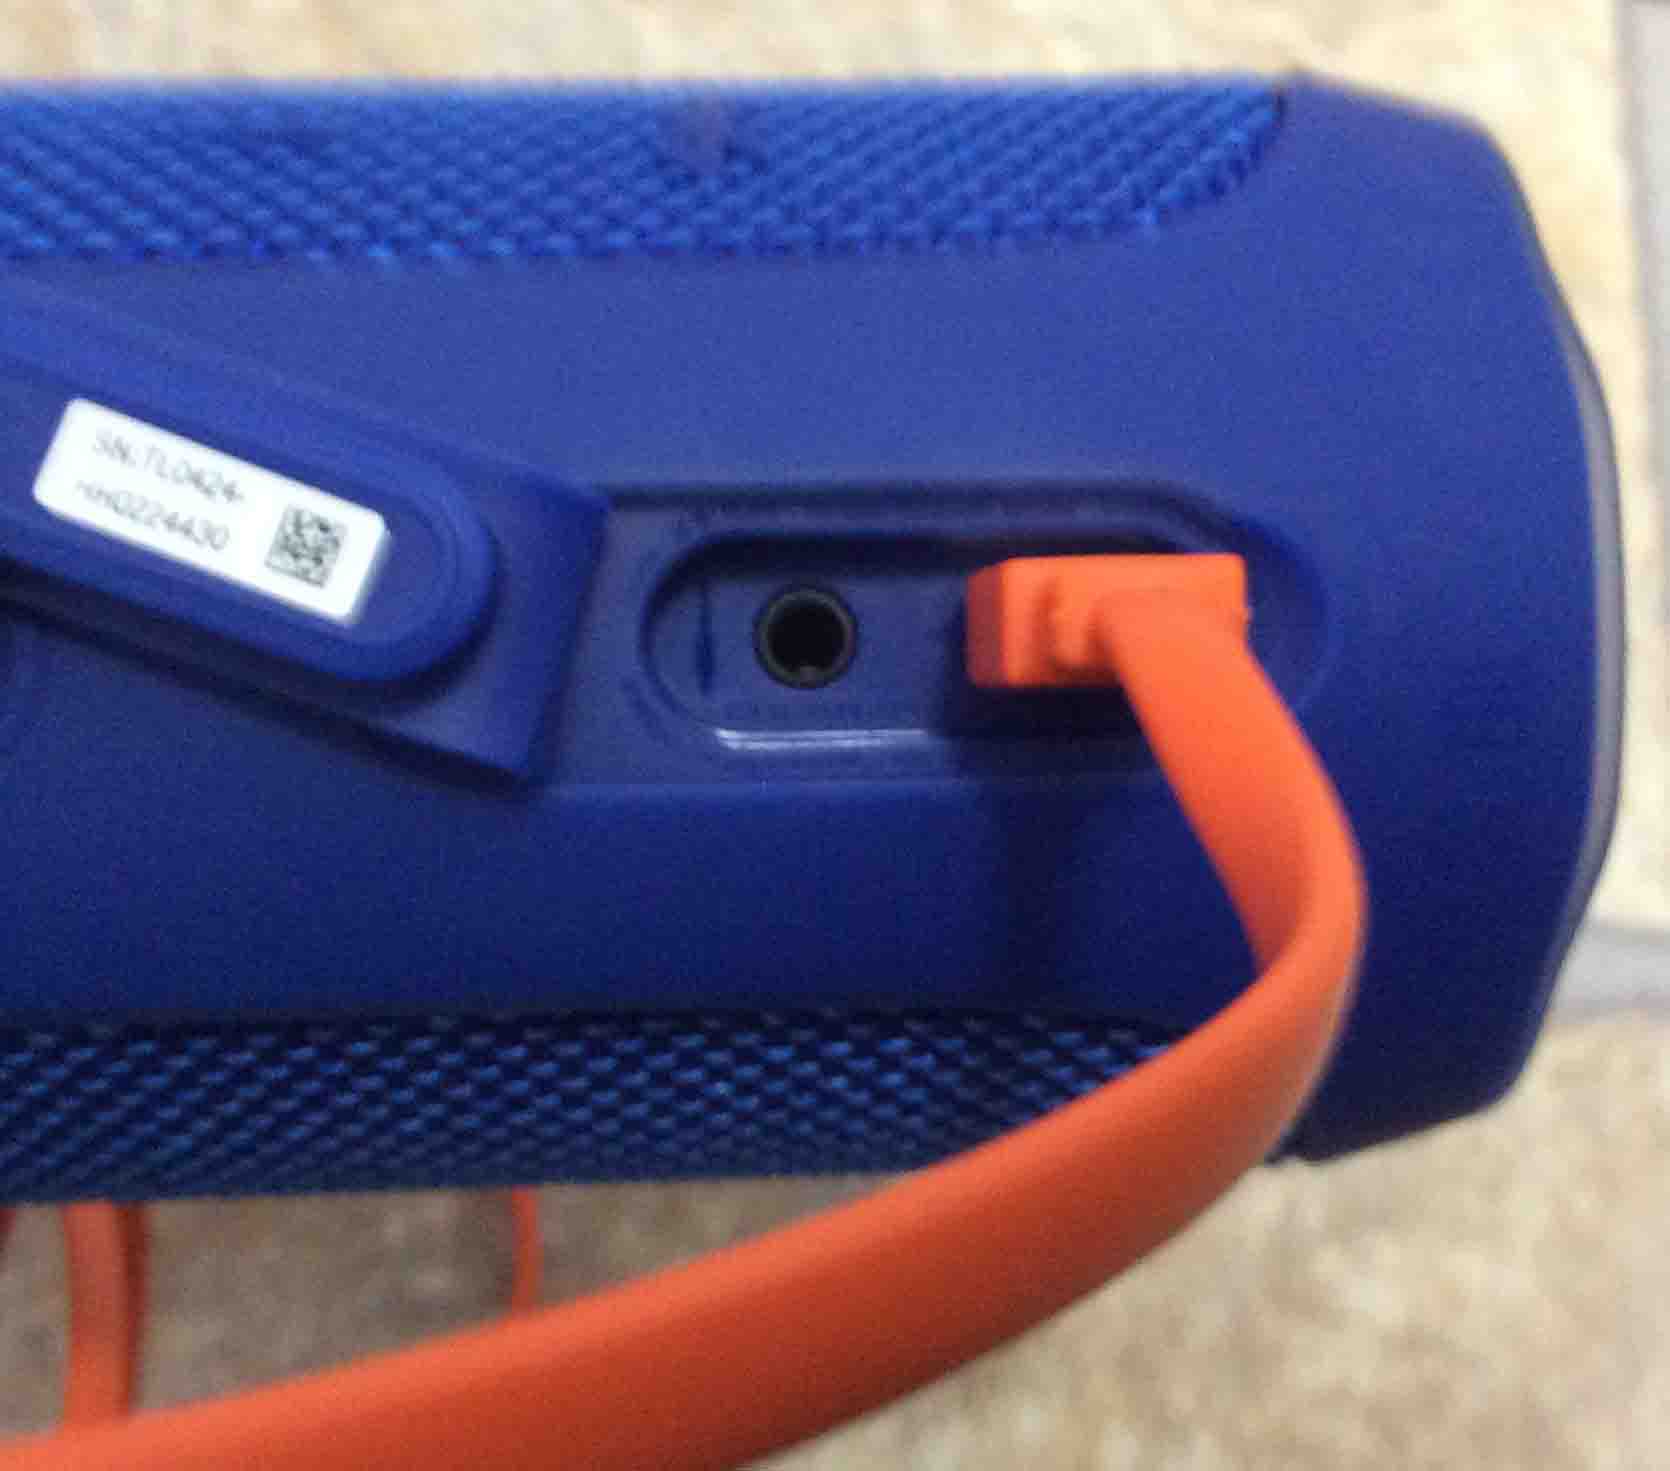
Then, plug the DC end of the charge cord into the matching charge port in the speaker.
Next, connect the other end of the cable to the adapter for separate cables.
We next plug the charger into a working AC outlet. In this demo, we plug ours into a surge protector power strip.
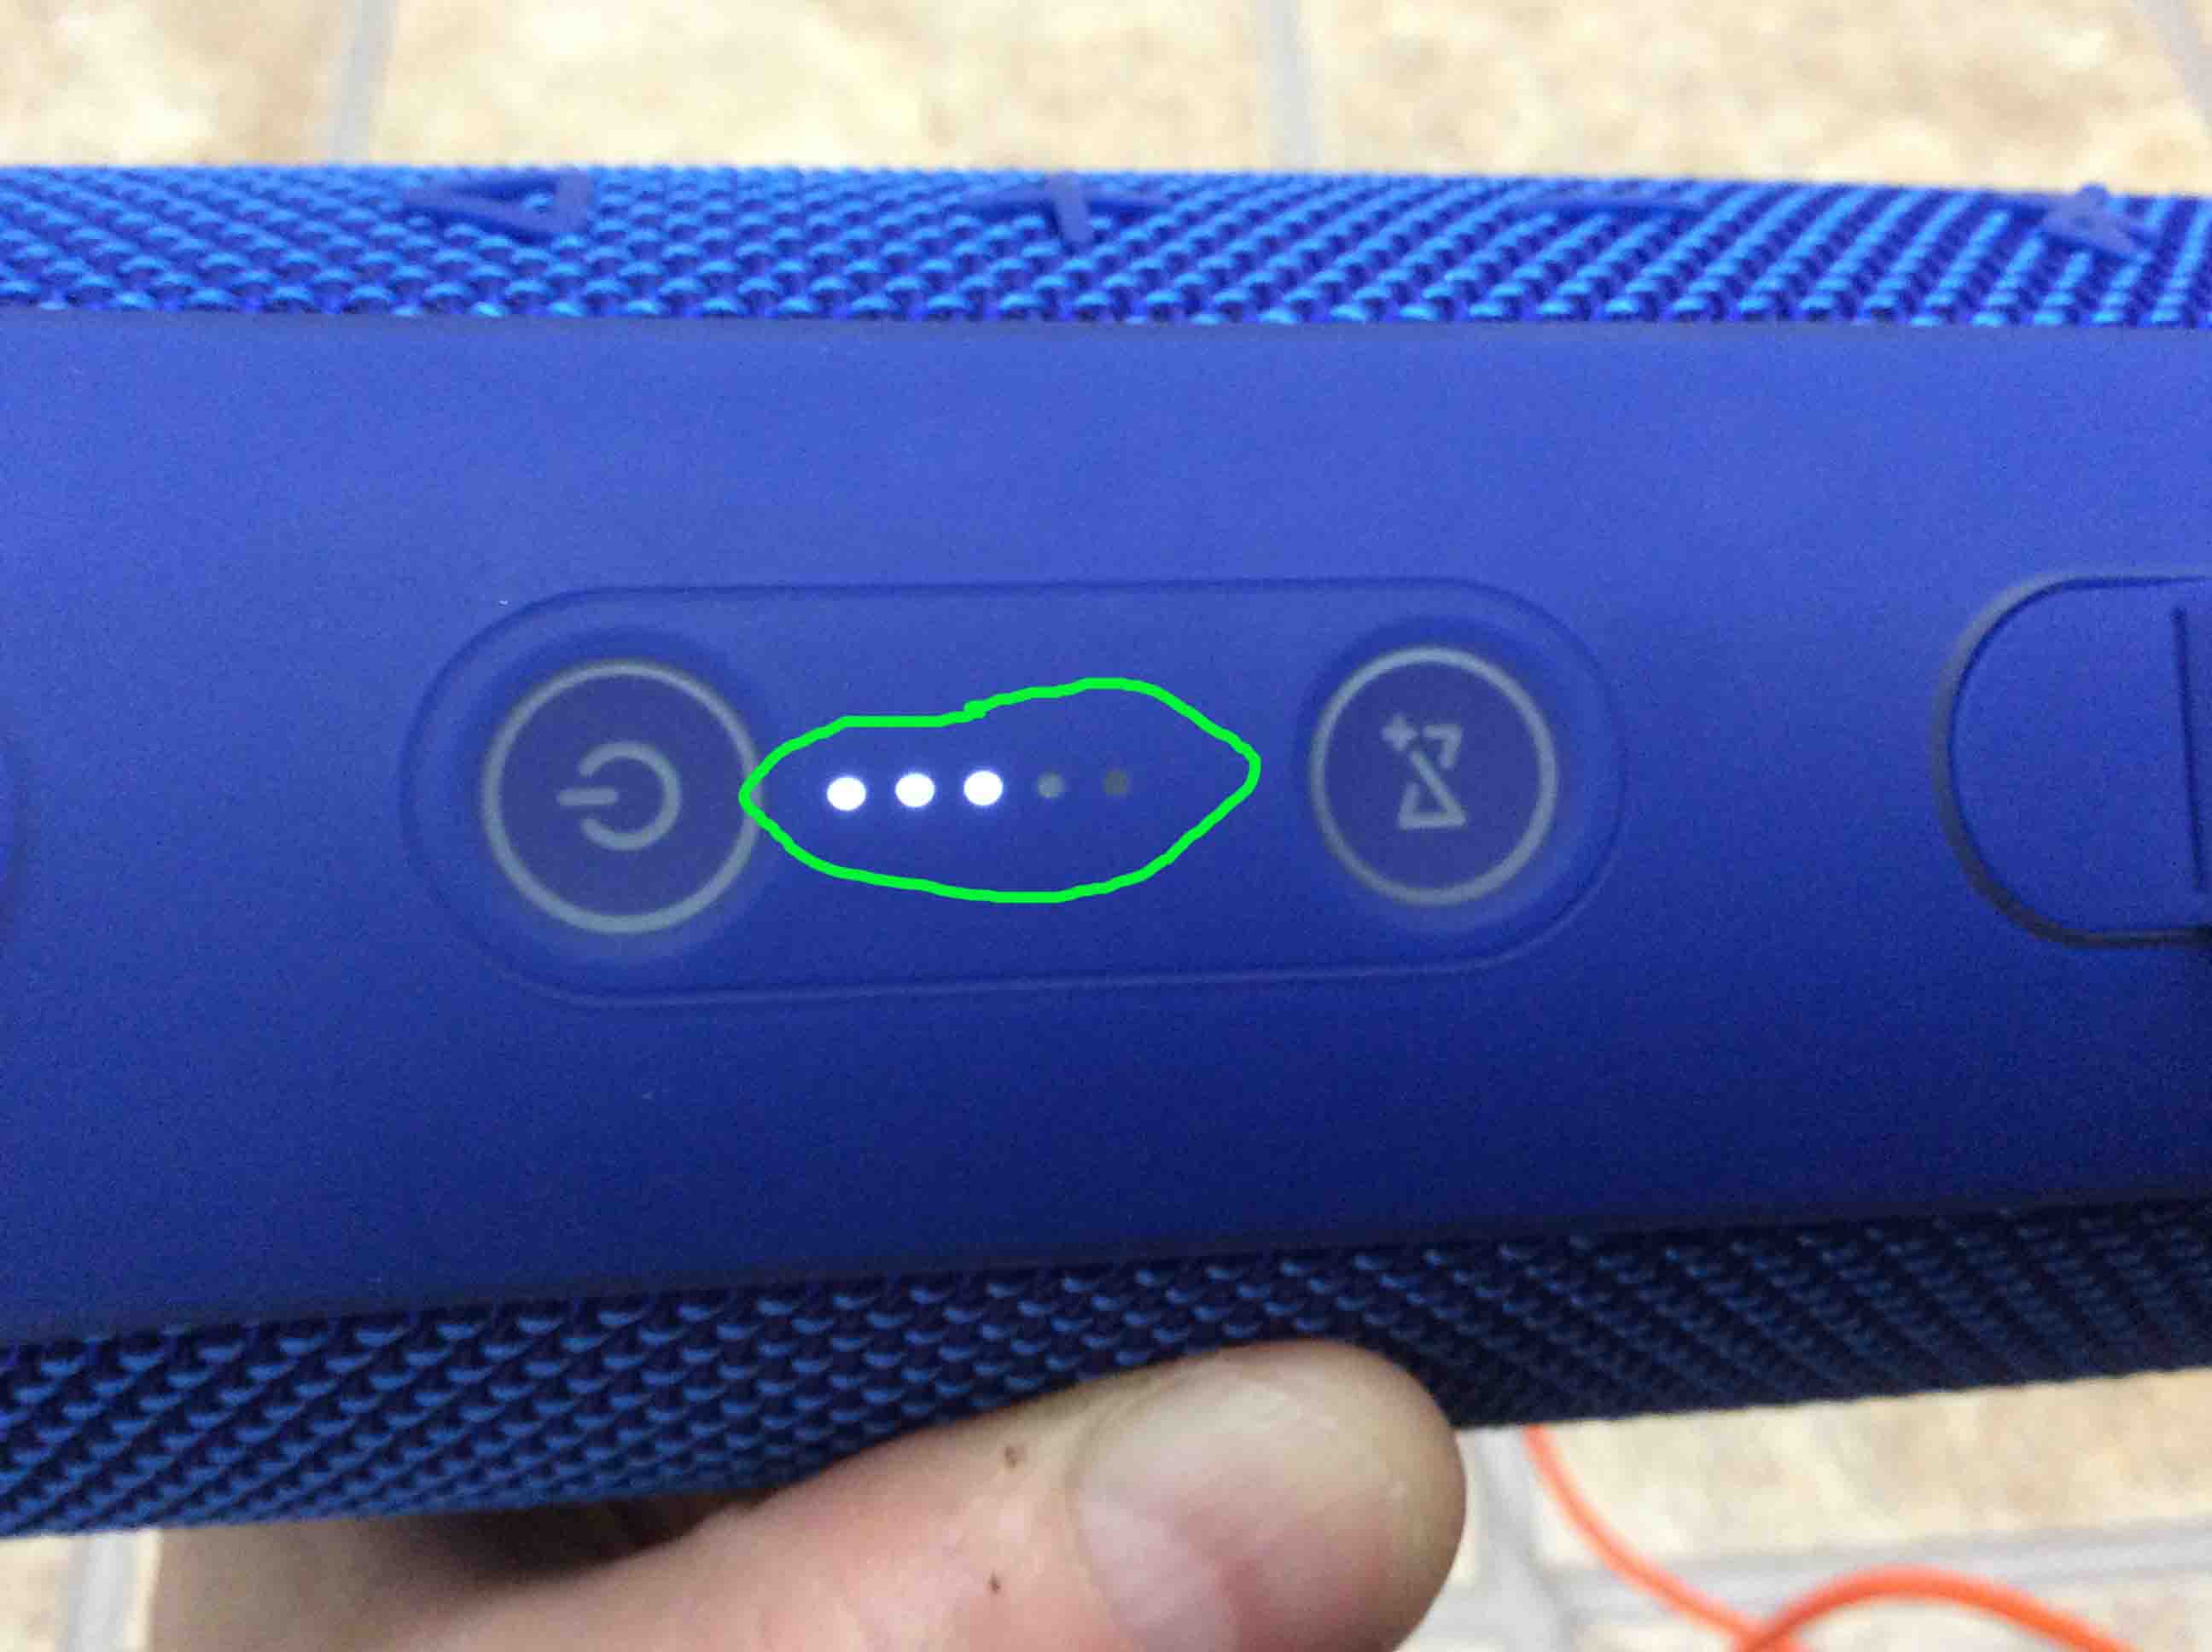
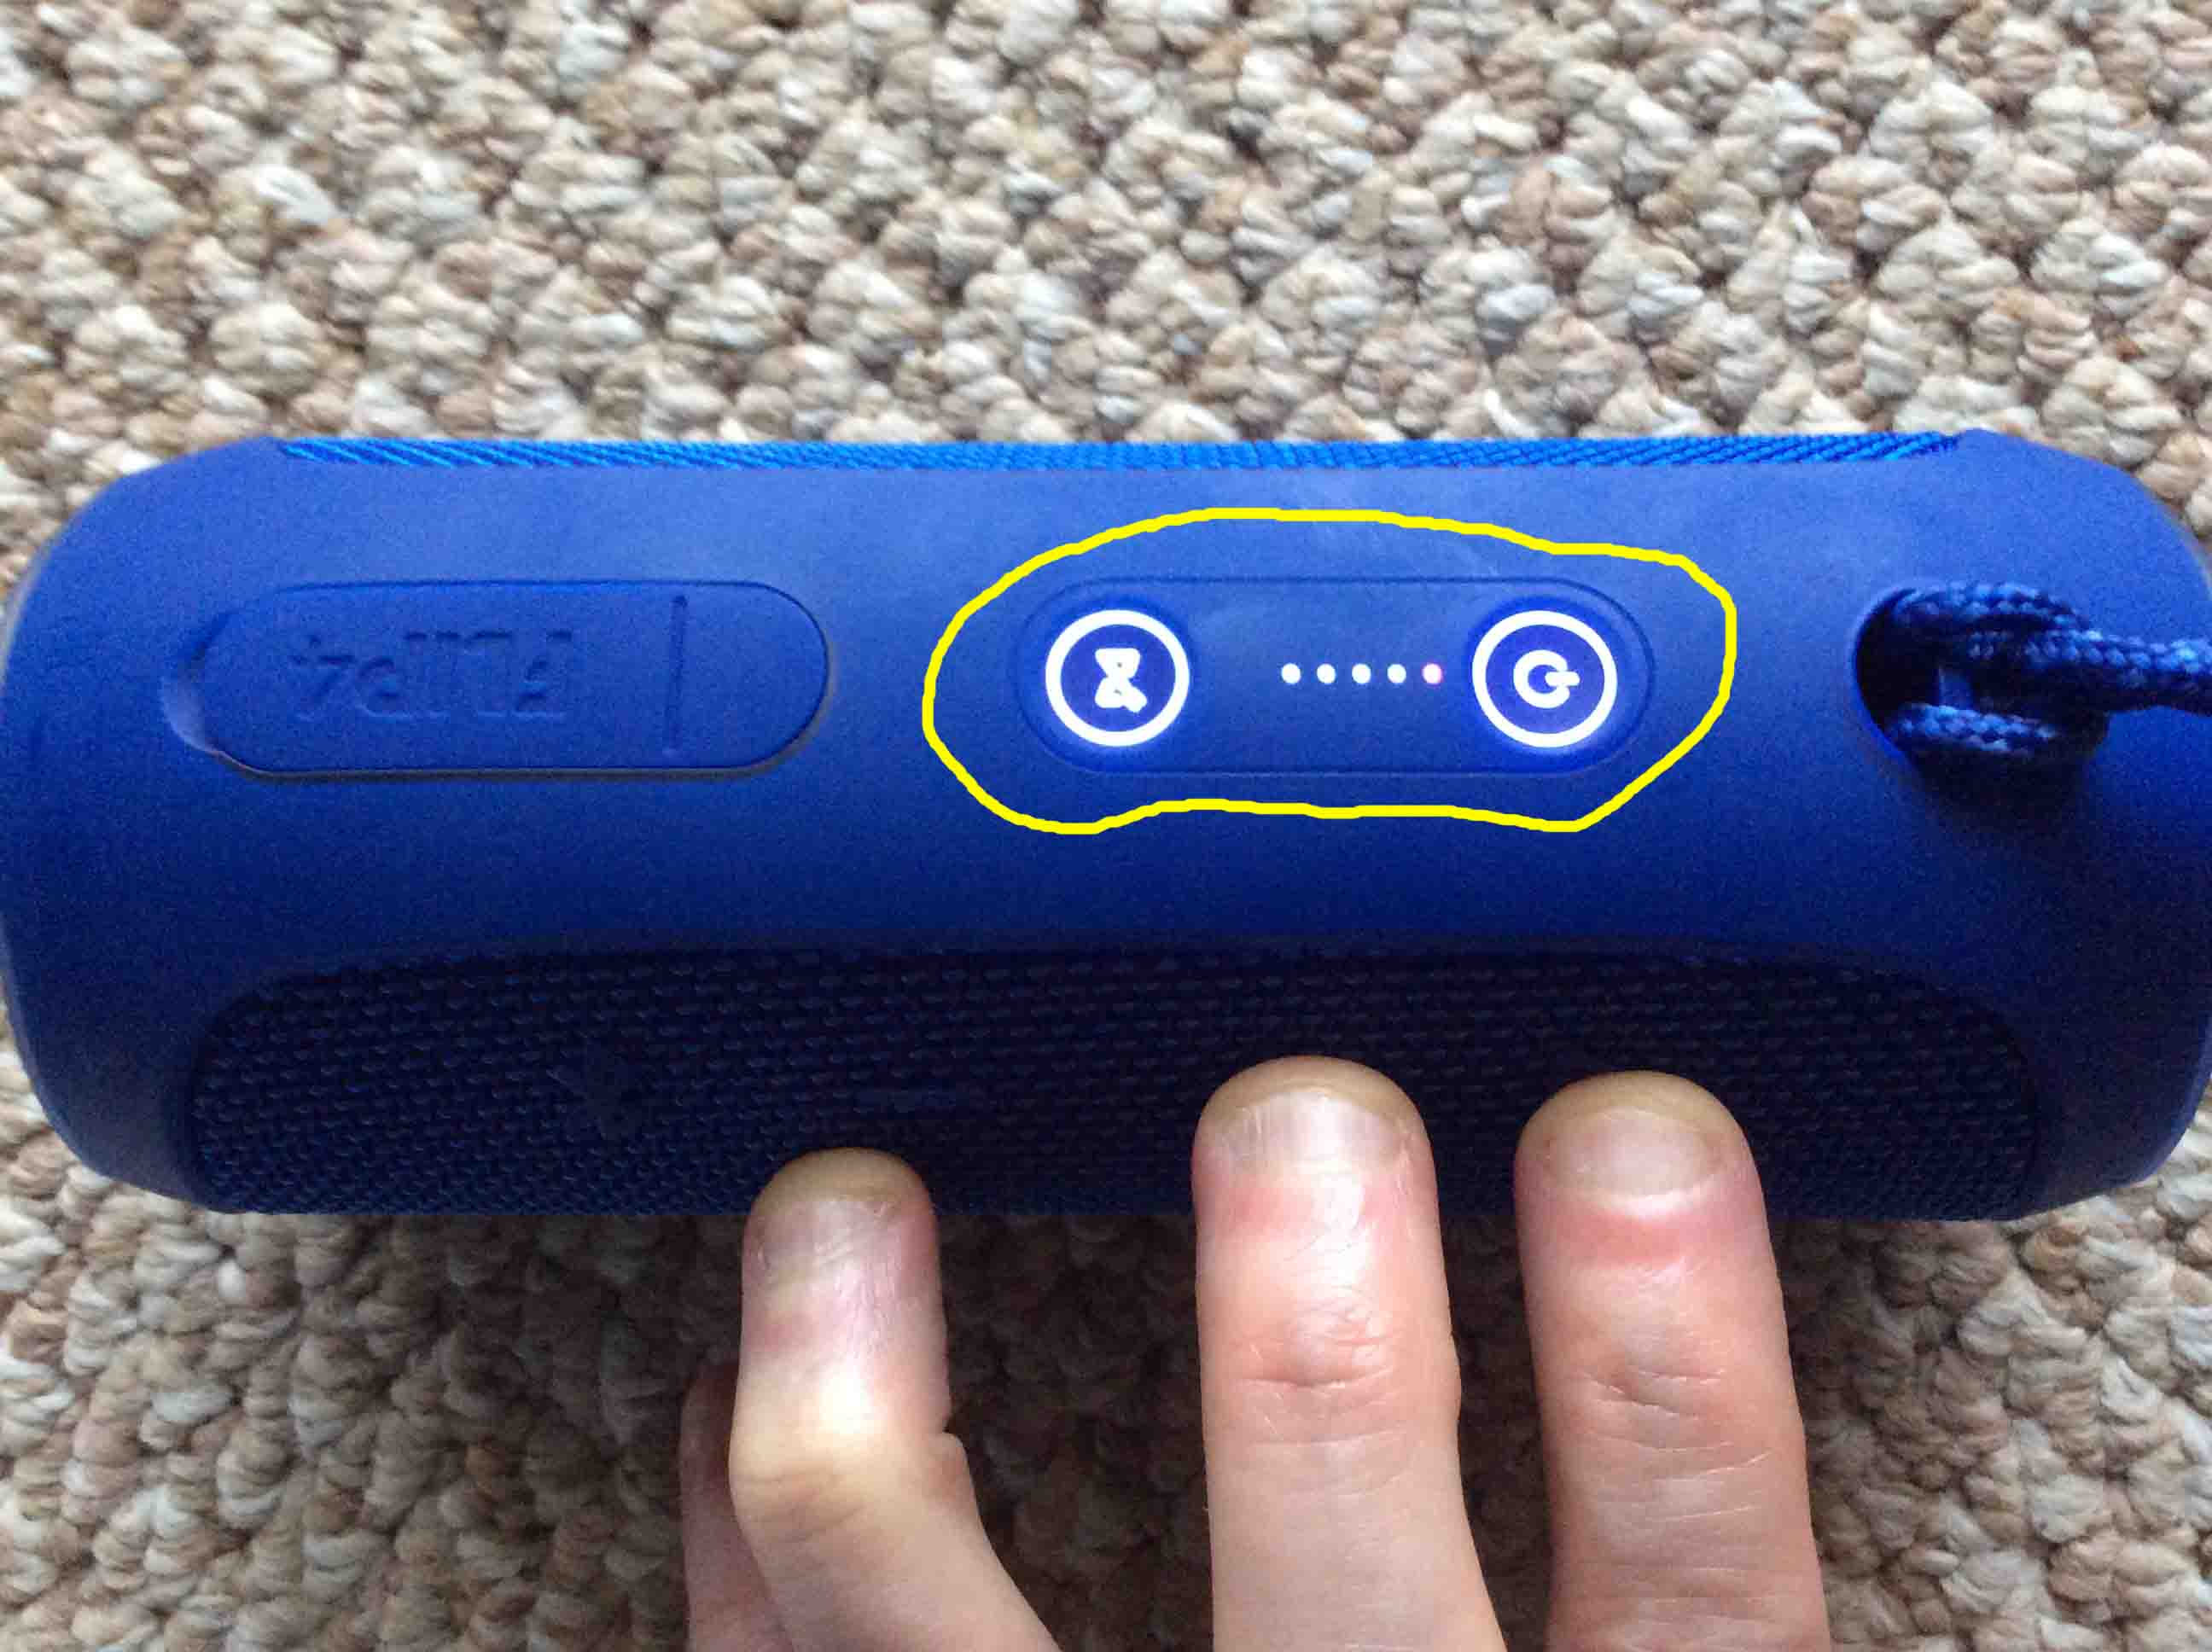
At least one of the battery status lamps lights up on a JBL speaker when you apply power. Most speakers have five lamps that light in succession as charging progresses. The JBL Flip, Charge, and Xtreme speakers all feature this battery gauge.
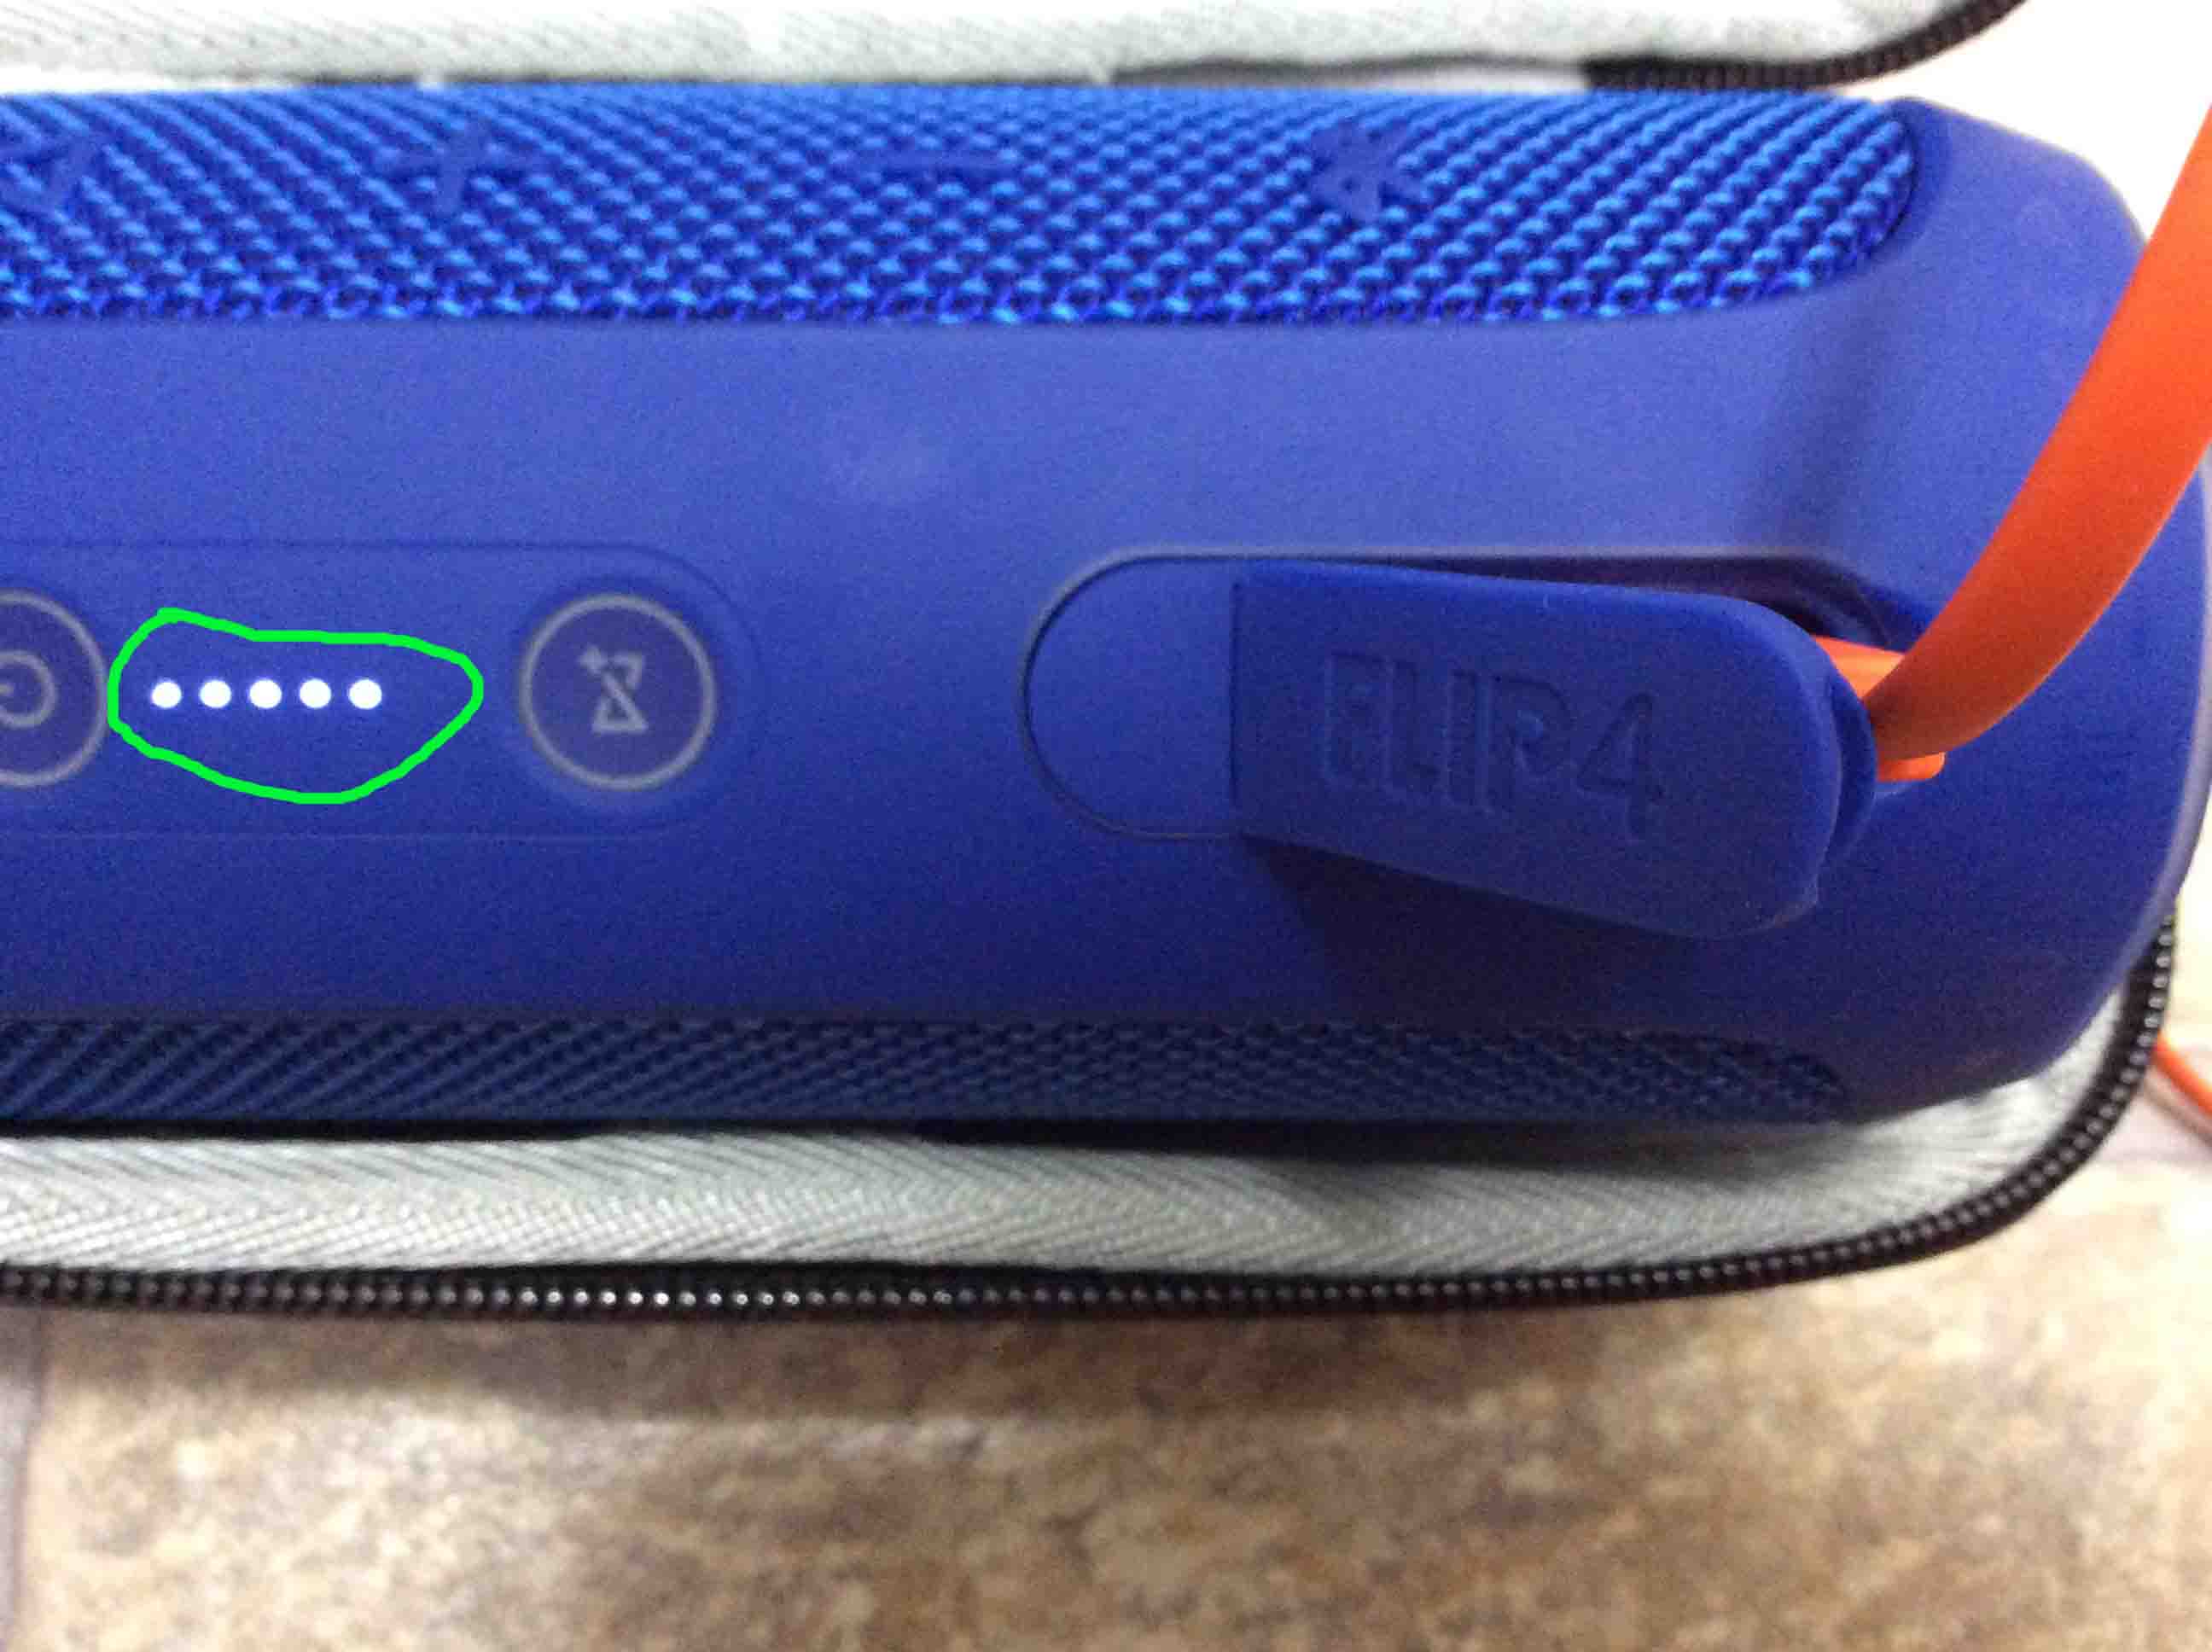
Battery charging is complete when all but the last of the battery status lights light solid. Then, the last one continues to blink for several minutes.
This next picture shows the speaker just before completing a full charge cycle. Note that all the lamps in the battery status gauge are glowing. However, the last one continues to blink.
The battery recharge cycle finishes when all battery status gauge lights go out.
Note that unless this flap fully closes, water could enter the port area. Then this could possibly damage the electronics inside. So, be sure to fully close the port door for best water resistance.
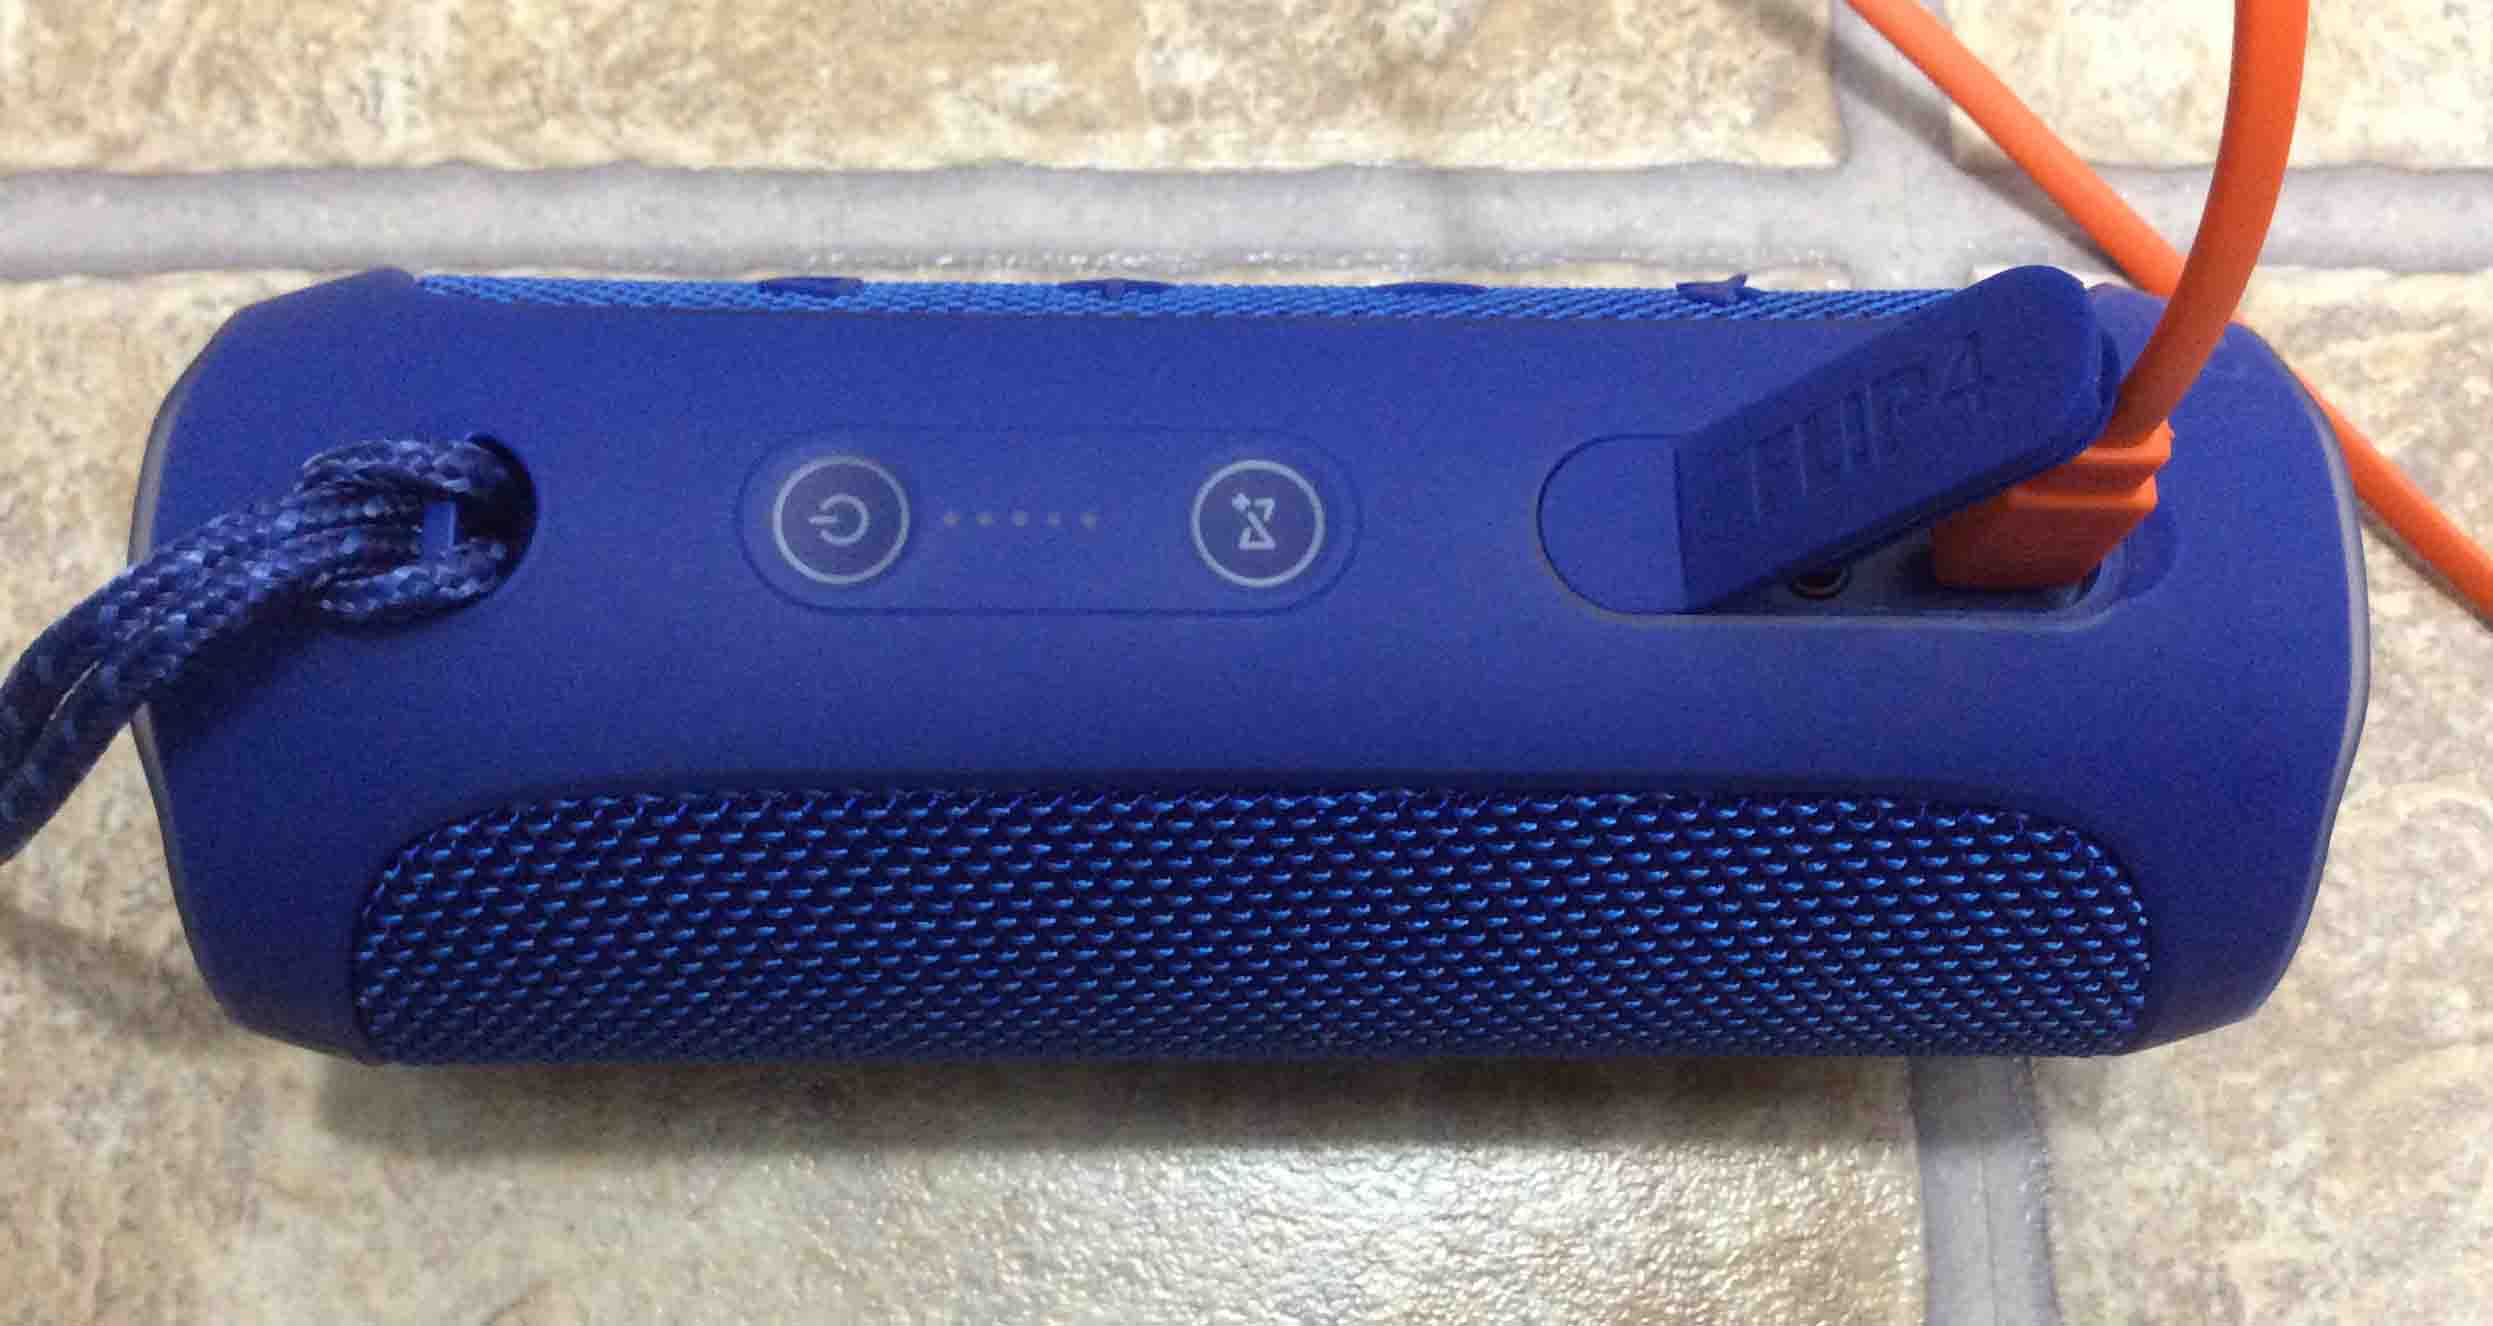
At last we have now fully charged our JBL speaker. Note that the battery charge status gauge just after turning on the unit at full recharge. All lamps glow.
Finally, repeat this process every ten to twenty hours of music play. This helps keep its battery in top condition. We charge ours when the battery gauge has only one light glowing.
You may experience Wi-Fi connection errors when booting your original Google Home speaker. Or, the…
The JBL Charge 3 features several controls and lights across its top, as well as…
Here we give the hard reset Google Home Mini speaker routine. You might hard reset…
You can hard reset all of the smart speakers in the Google Home family. These…
Covers How to Hard Reset Google Home. Now you can reset this original version of…
Gives the iPod Touch hard reset procedure. Now a hard reset restores all settings to…