To control your Honeywell thermostat remotely through the internet, you must run through these Honeywell WiFi thermostat registration instructions. Furthermore, you do this at the Honeywell Total Connect Comfort (TCC) web site. So here, we walk you through that on the RTH9580WF smart thermostat.
Honeywell WiFi Thermostat Registration Instructions: First Steps
1. Install your Honeywell WiFi Thermostat
Firstly, skip this step if your thermostat is up and running, and showing its home screen. If it isn’t, then see our Honeywell Smart Thermostat Wiring Instructions RTH9580WF post. So this gives tips on mounting and wiring this new thermostat.
2. Connect your T-stat to your WiFi Network with Internet Access
Skip this step if you’ve already connected your thermostat to an internet-ready Wi-Fi network at its installed location. If you haven’t, then see our Change WiFi Network on Honeywell Smart Thermostat RTH9580WF piece for instructions. That post details how to link your thermostat to your home or office wireless network.
3. Create an Account on the TCC Web Site Honeywell WiFi Thermostat Registration
You’ll need a working account over there in order to register your thermostat and control it remotely. Again, skip this step if you’ve already set up a TCC account. If you have not, then visit the TCC web site here. Then on the login page, click the Create an Account button, and then follow the instructions.
4. Gather Thermostat Info
To add your thermostat to your TCC account, you need its MAC address and CRC code. They print these in the documentation that accompanies new Honeywell thermostats. However, you may also get them from the thermostat itself, as follows. If you have this information already, then skip ahead to Step 5 below.
Honeywell WiFi Thermostat Registration Instructions: Step by Step
5. Look at the Thermostat Home Screen
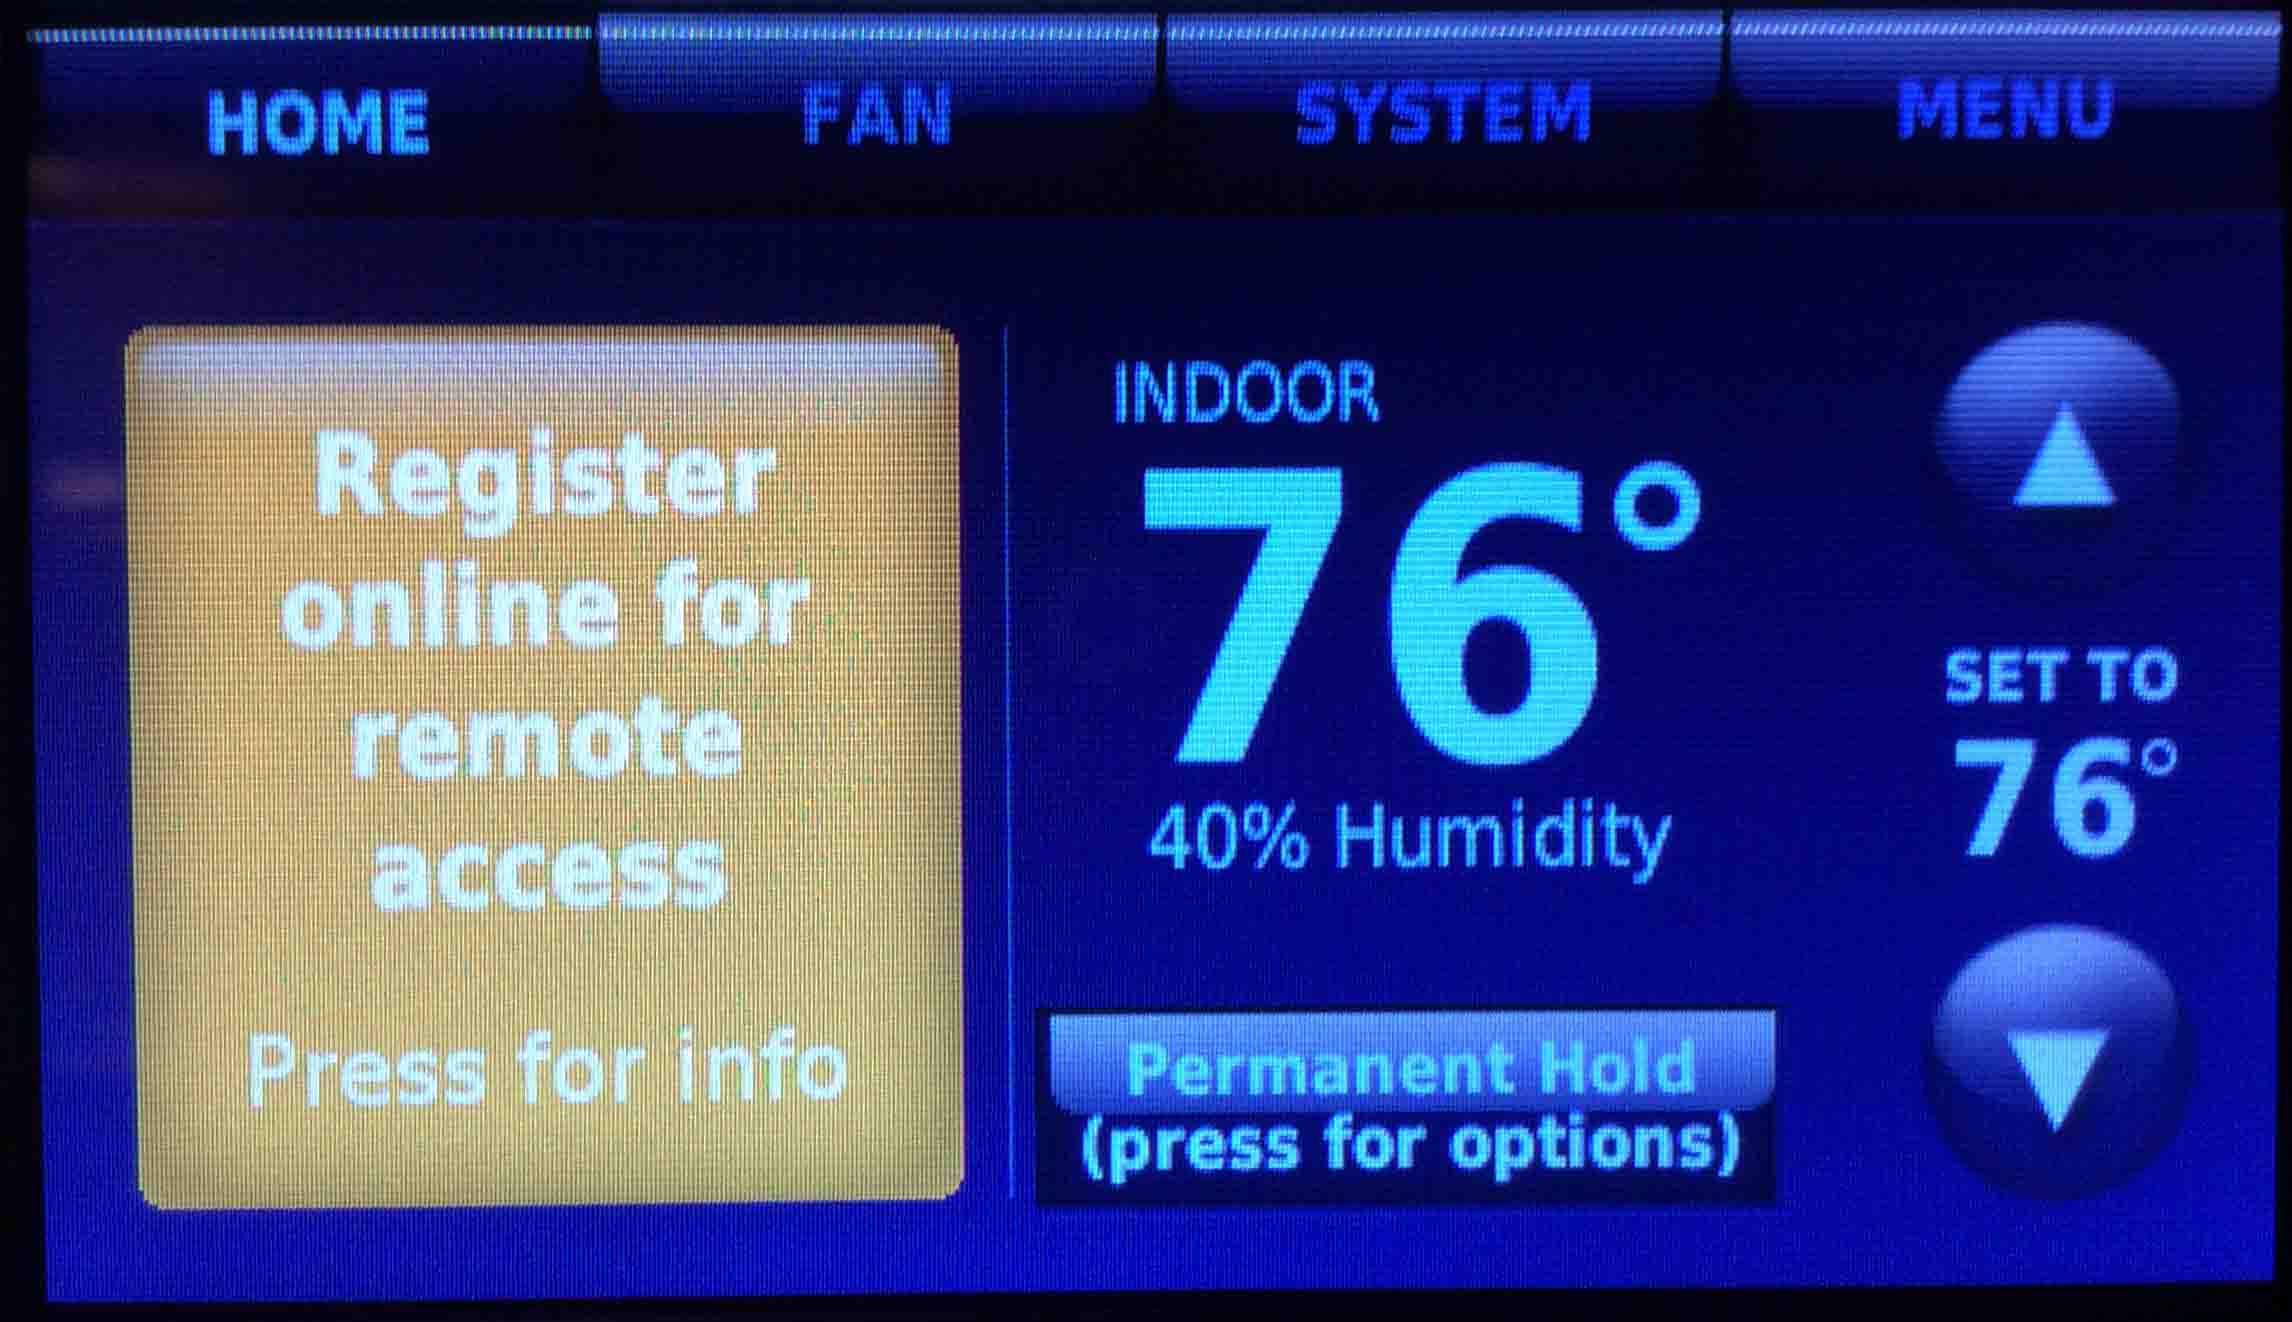
6. Tap the Yellow Message Box
Find this box on the left center of the screen. This brings up a notification screen. This says that you need to register this thermostat online.
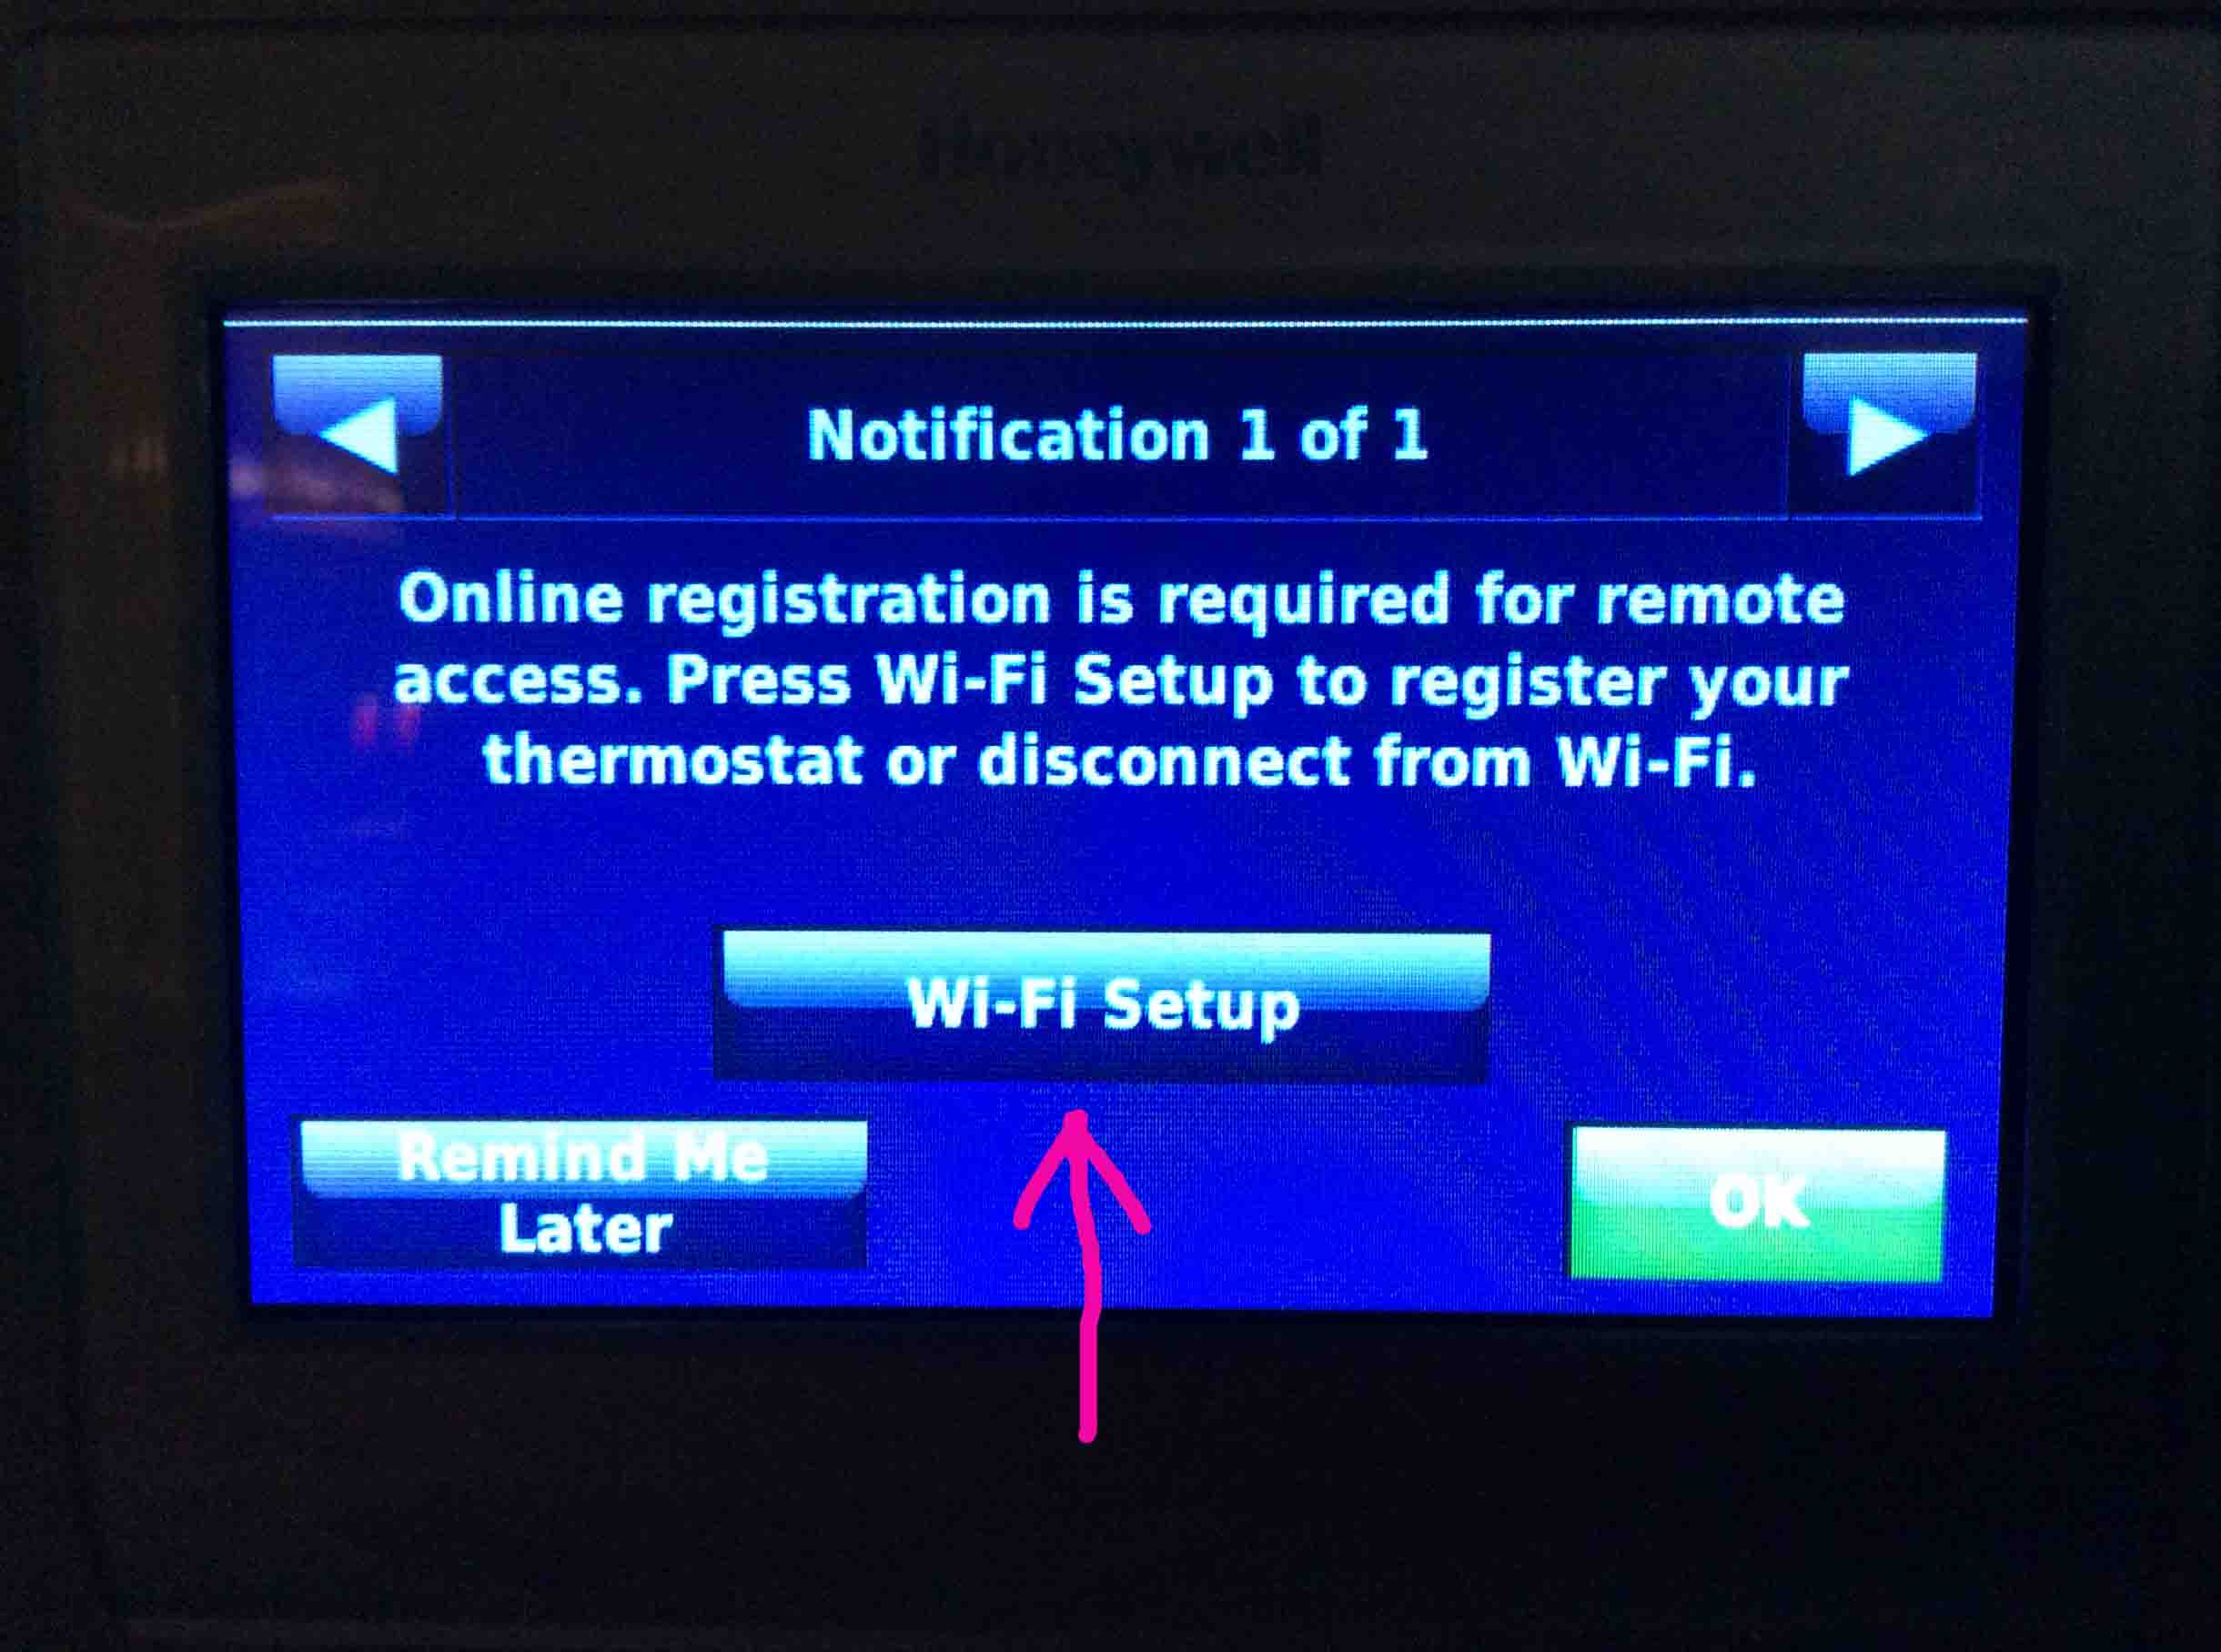
7. Tap the Wi-Fi Setup Button to Continue with Honeywell WiFi Thermostat Registration Instructions
The Wi-Fi Setup screen displays.
Note that we connect the thermostat to our 937T681J4059H_2G wireless network. However nonetheless, it is as of yet, unregistered. You should have connected yours to the network you used in Prerequisite Step 2 above.
We “pink-painted over” our thermostat’s MAC address and CRC value in these pictures for security reasons.
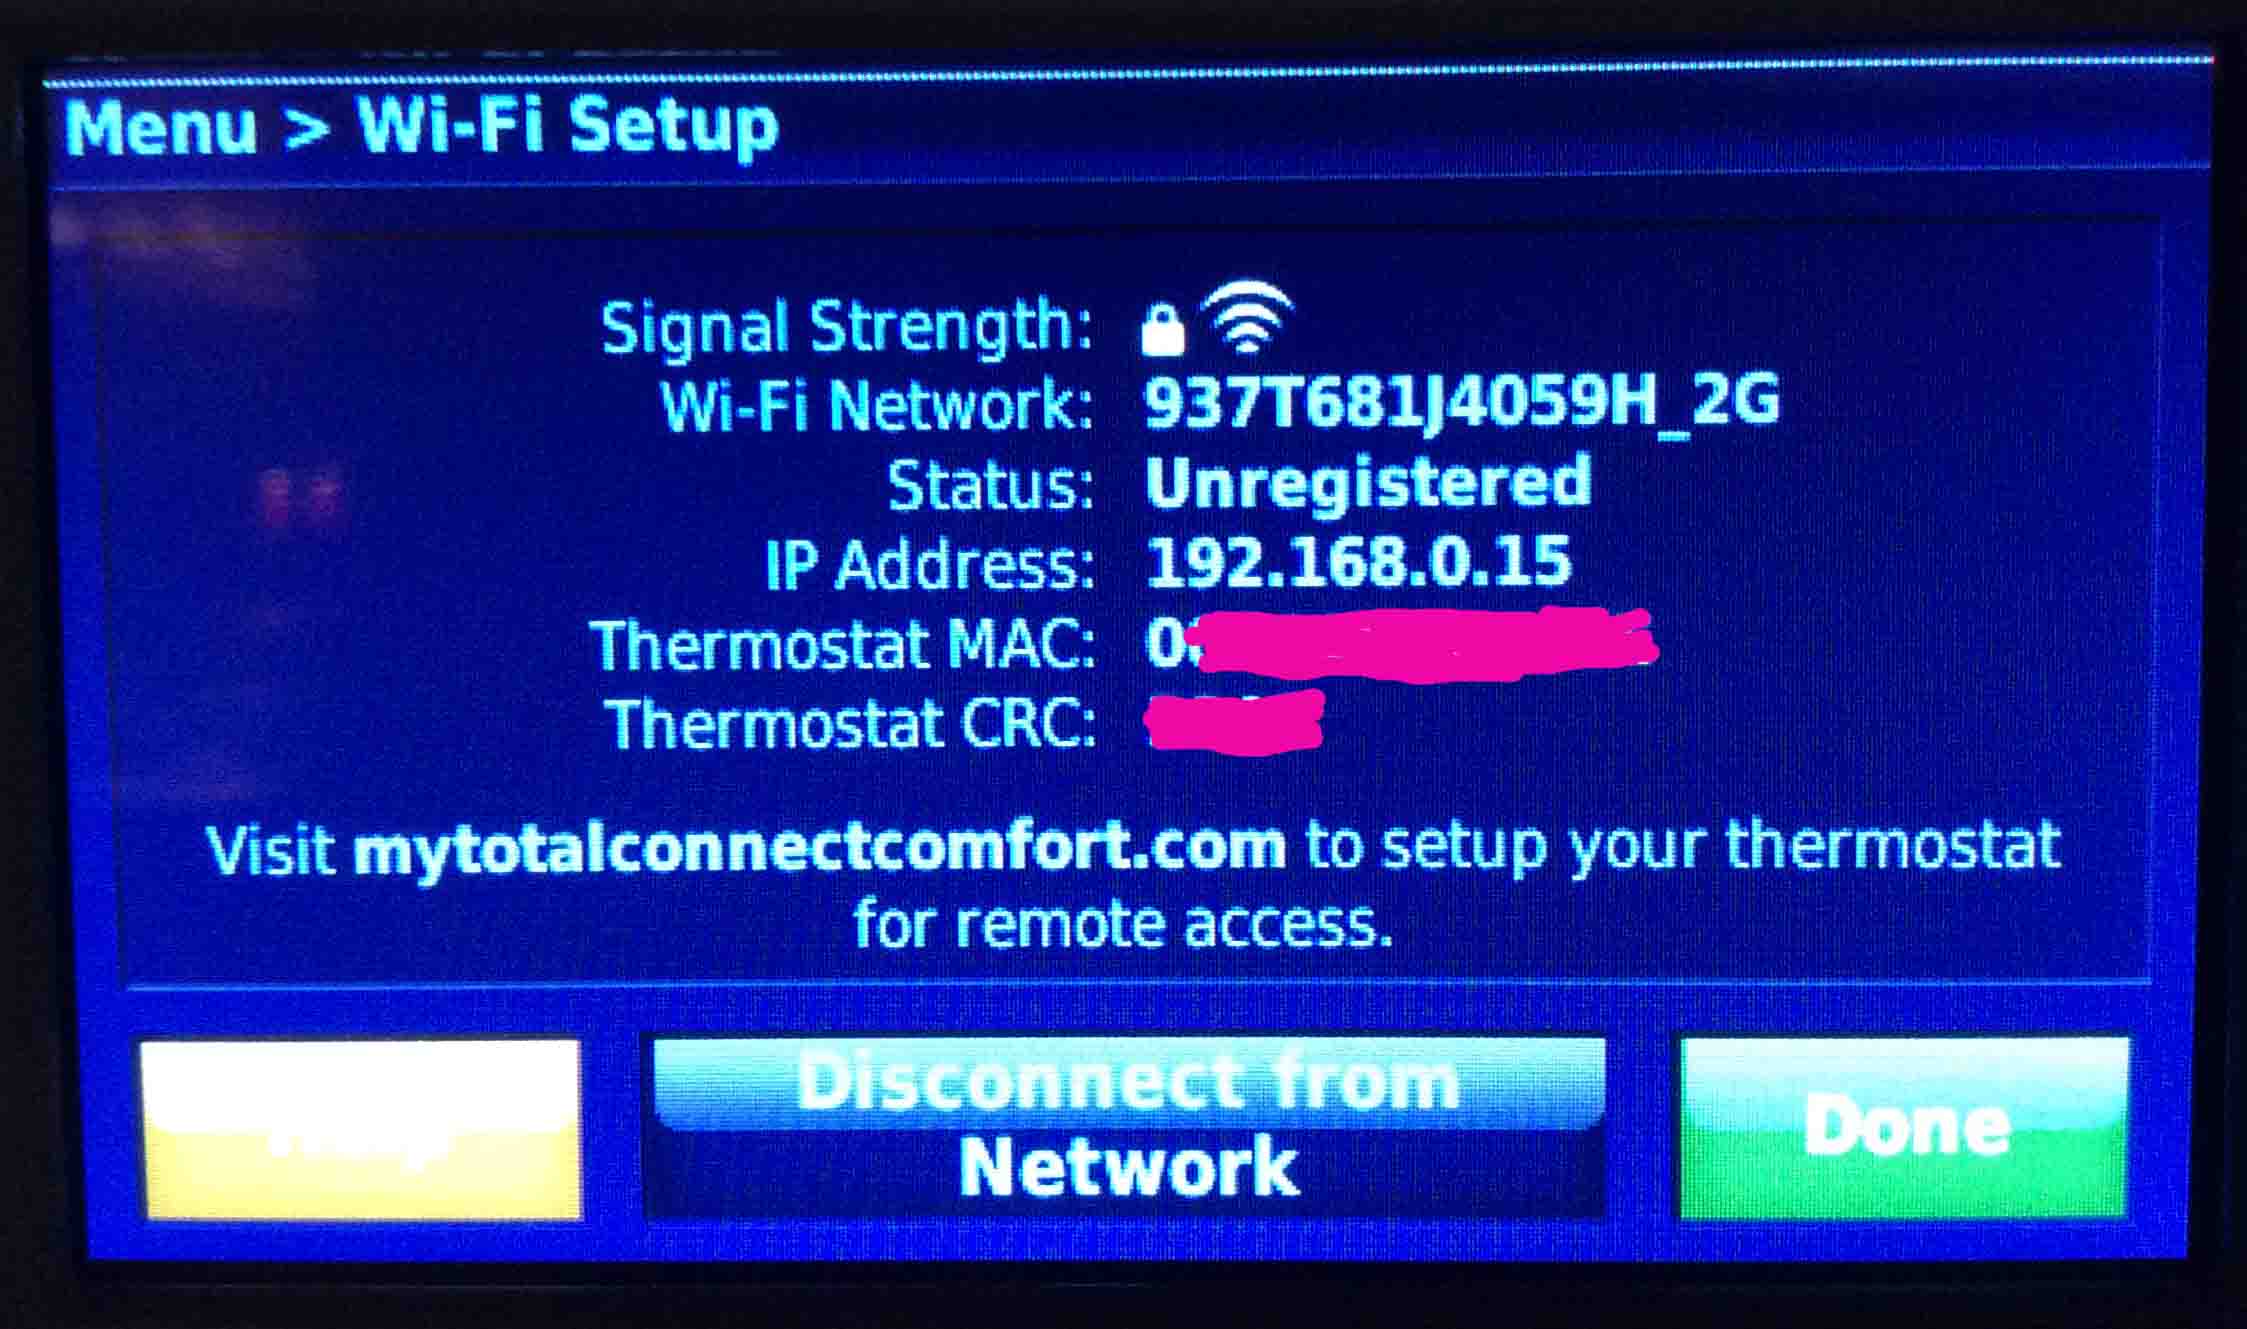
8. Write Down CRC and MAC Address Shown
Now you need these values in the steps below to complete the registration.
9. Visit the Honeywell Total Connect Comfort Web Site
Then on your computer, phone, or tablet, point your web browser at https://www.mytotalconnectcomfort.com/ .
The system may then prompt you for which region you are in. So click on that. Then You’ll then see the TCC login screen.

10. Enter your TCC Account User Name and Password to Continue with Honeywell WiFi Thermostat Registration Instructions
11. Press the red Login Button
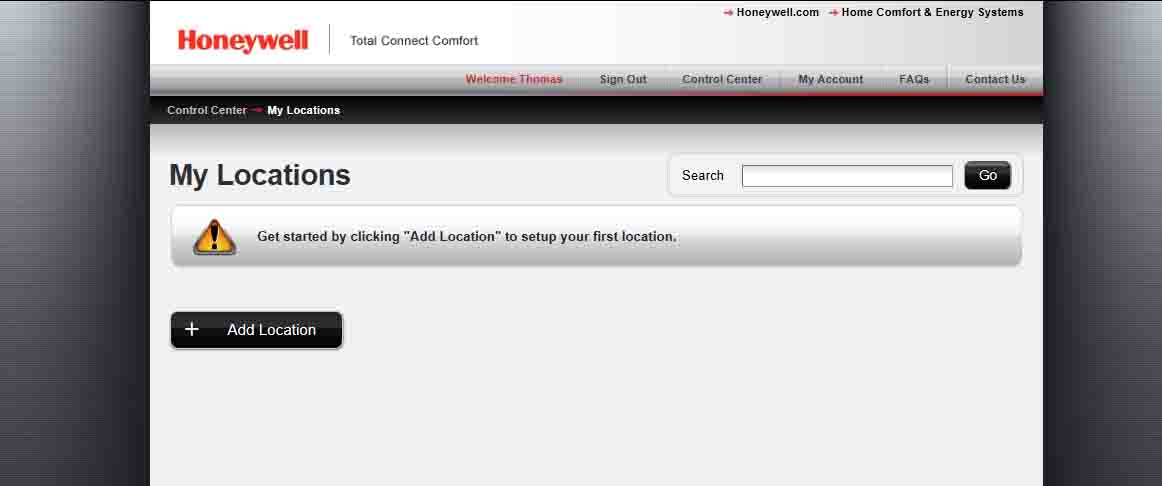
So this may be your first time signing into the TCC web site. Thus you never set up any locations before. If so, then you’ll see the following screen. Note that you must set up at least one location to register your thermostat in. We detail how to do that in the steps following.
But if you already defined the location, then it will show on the My Locations screen. Skip ahead to step 12 in that case, to continue the registration process.

11a. Tap the Black Add Location Button
The Add Location screen then displays, as shown next.

11b. Type in the Requested Info About the Location you Want to Define
So in this demo, we define a place named Graystone. Now in your case, enter the place’s name, address, region, city, and state. Furthermore, don’t forget to choose the place type you wish for this new location (home or building).
11c. Tap the Red Submit Button to Continue with Honeywell WiFi Thermostat Registration Instructions
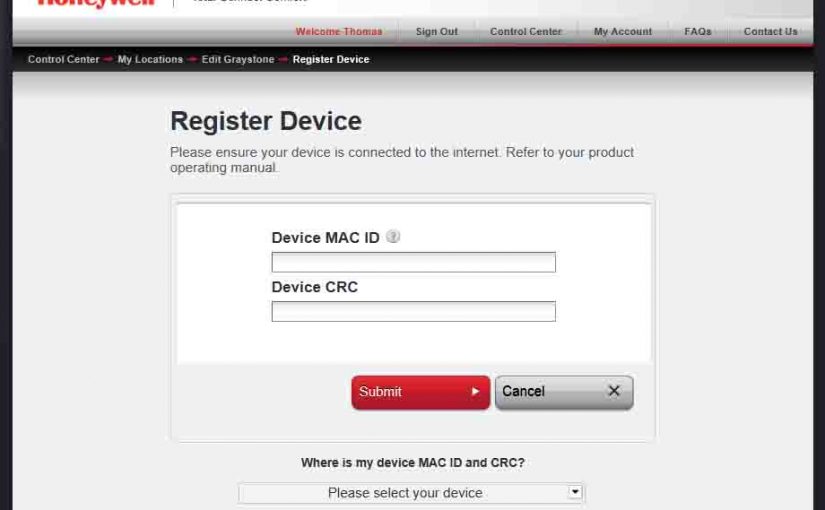
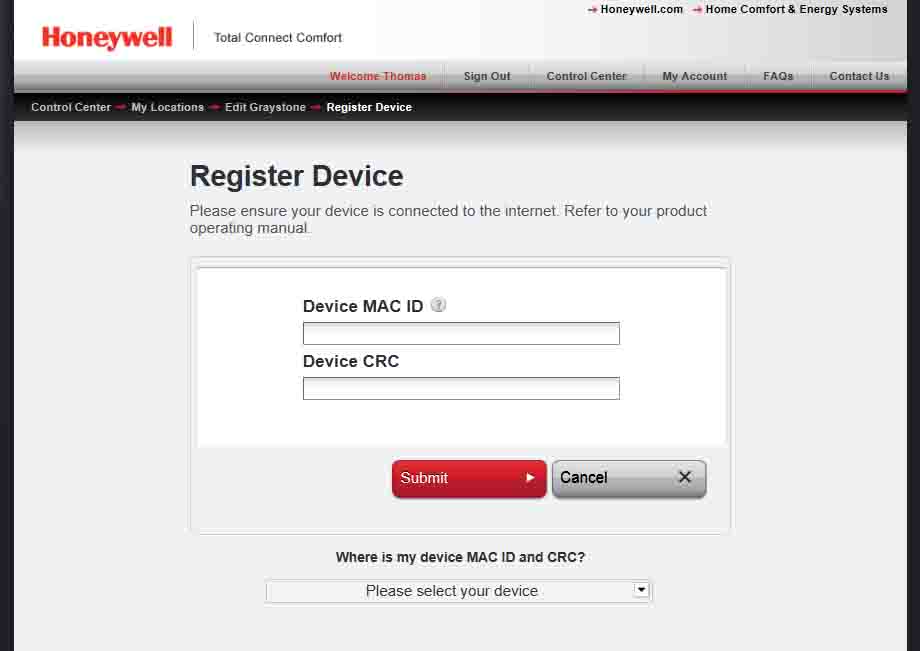
The site then displays the Register Device page, as shown next.
12. Tap the Settings Button on the Already-Defined Location
You’ll then see the Edit My Location screen, as shown next.
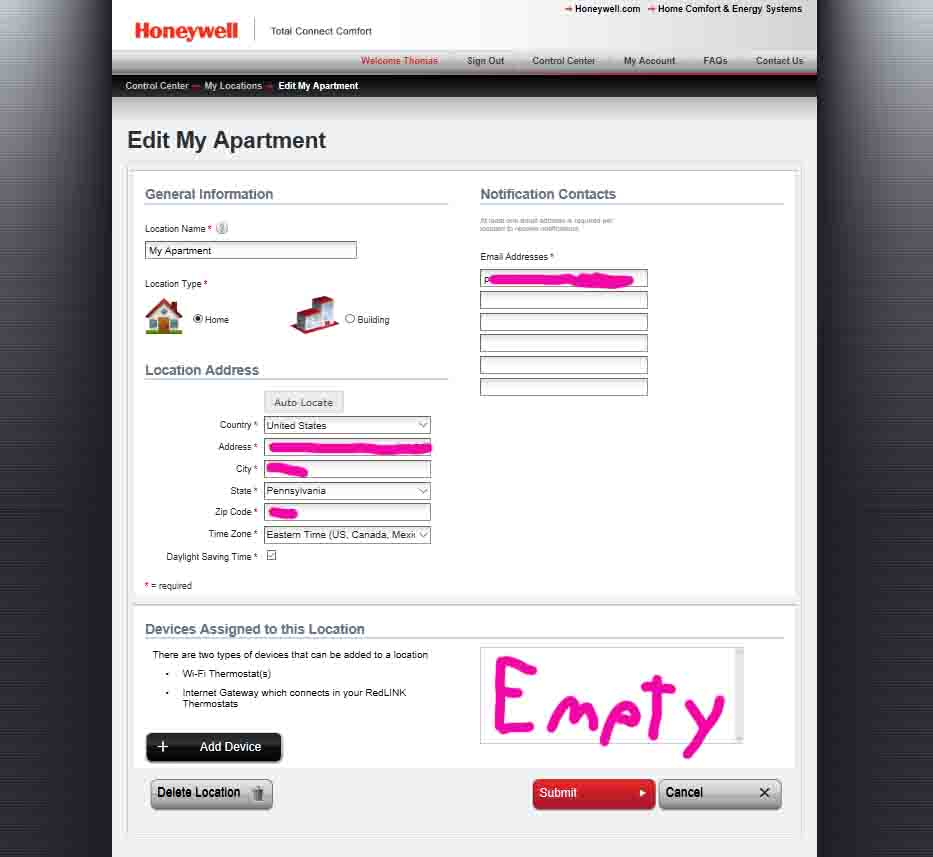
13. Tap the Black Add Device Button
So find this near the lower left corner of the screen.
Then tapping this button brings up the Register Device screen.
14. Enter the MAC Address and CRC Value you Wrote Down in Step 4 Above
15. Tap the Red Submit Button to Continue with Honeywell WiFi Thermostat Registration
The system then briefly displays the Device Registration In Progress screen as shown next.
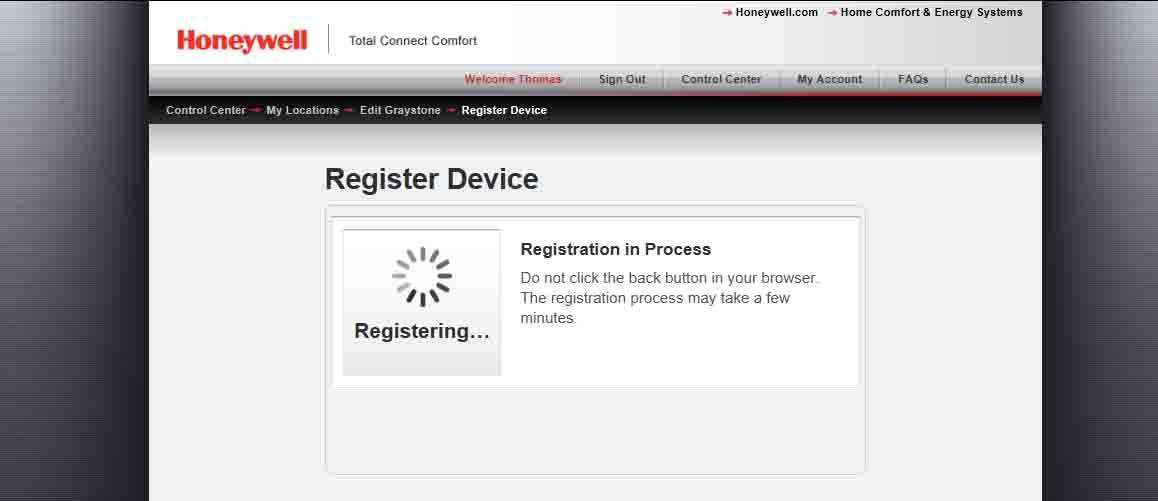
After several seconds, you then get the Thermostat Registration Successful screen, as follows.
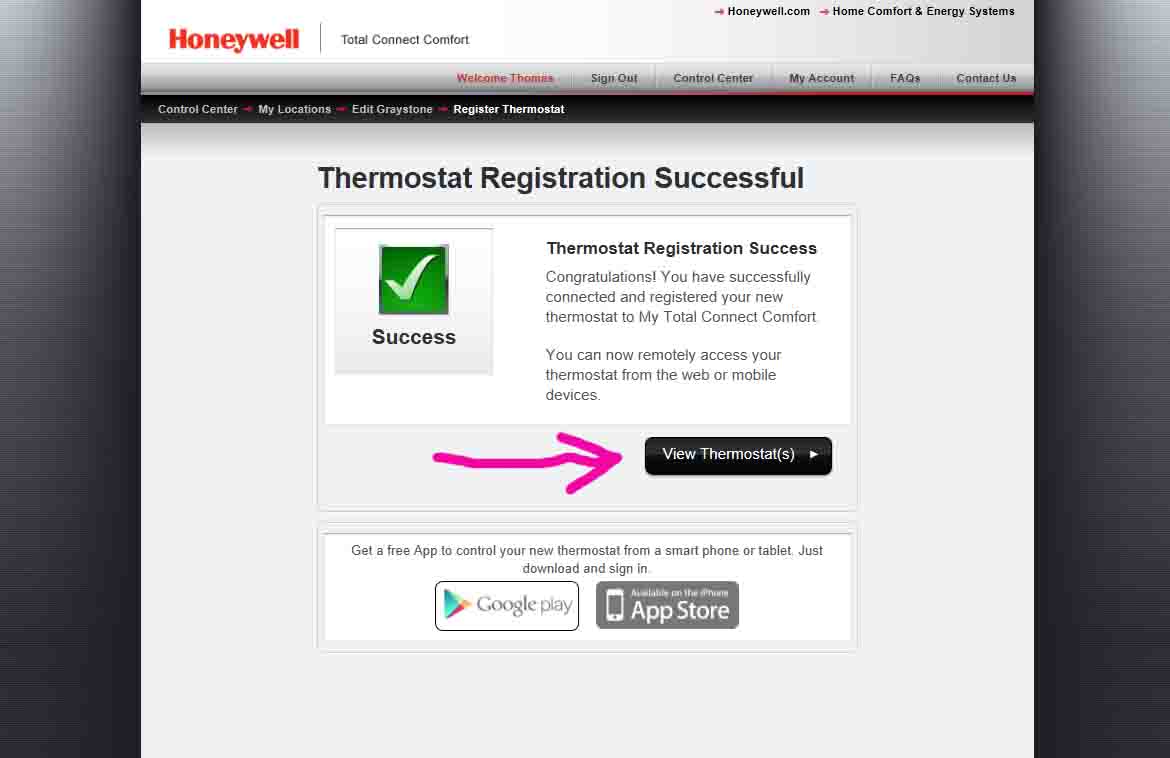
16. Tap the Black View Button
This takes you to your newly registered thermostat’s status screen, as seen in the following picture.
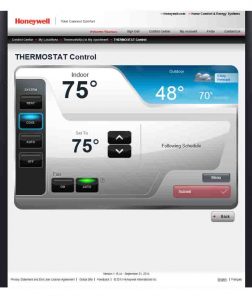
17. Honeywell WiFi Thermostat Registration Instructions Complete !
At least, thermostat registration is complete. So you can now control it via the internet and the Honeywell TCC web site or app.