
Gives the iPod Touch hard reset procedure. Now a hard reset restores all settings to default values. Plus, you can reset the Touch without a computer. Here’s how.
iPod Touch Hard Reset: Step by Step
Note that doing so this way, does not erase any music from this player right away.
Warning!
But, restoring does schedule a media file deletion. These files will go away the next time you connect this iPod to a computer running iTunes. So to keep these files, do not plug the iPod into an iTunes computer. Only do so once you’re ready to lose them.
1. Get to the Home Screen
First, press the Home button (button underneath the touch screen). This brings up the Home screen, as displayed below.
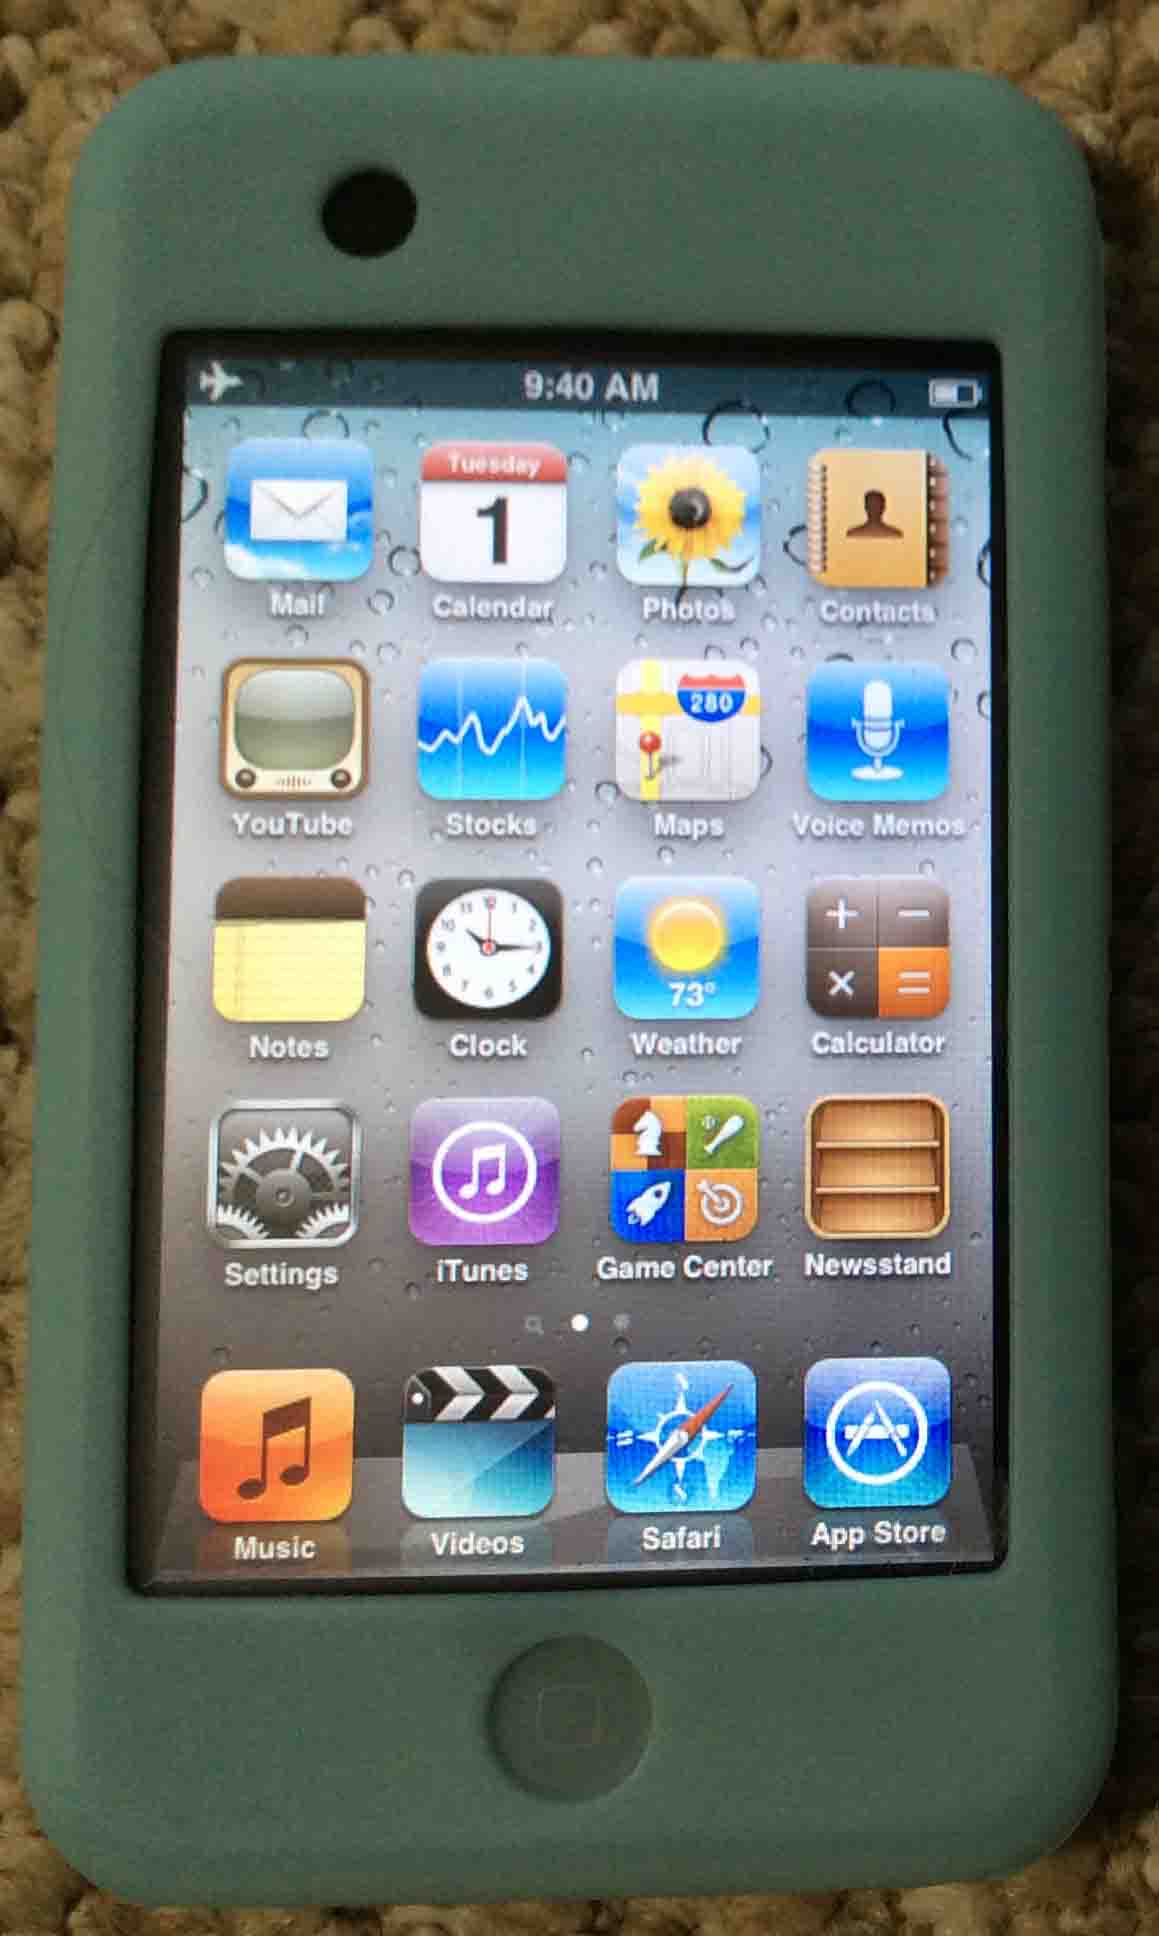
2. Bring Up the Settings Screen
Then, tap the Settings icon (located on left edge of screen, second row up from bottom).
The Settings menu screen then displays, as shown next.
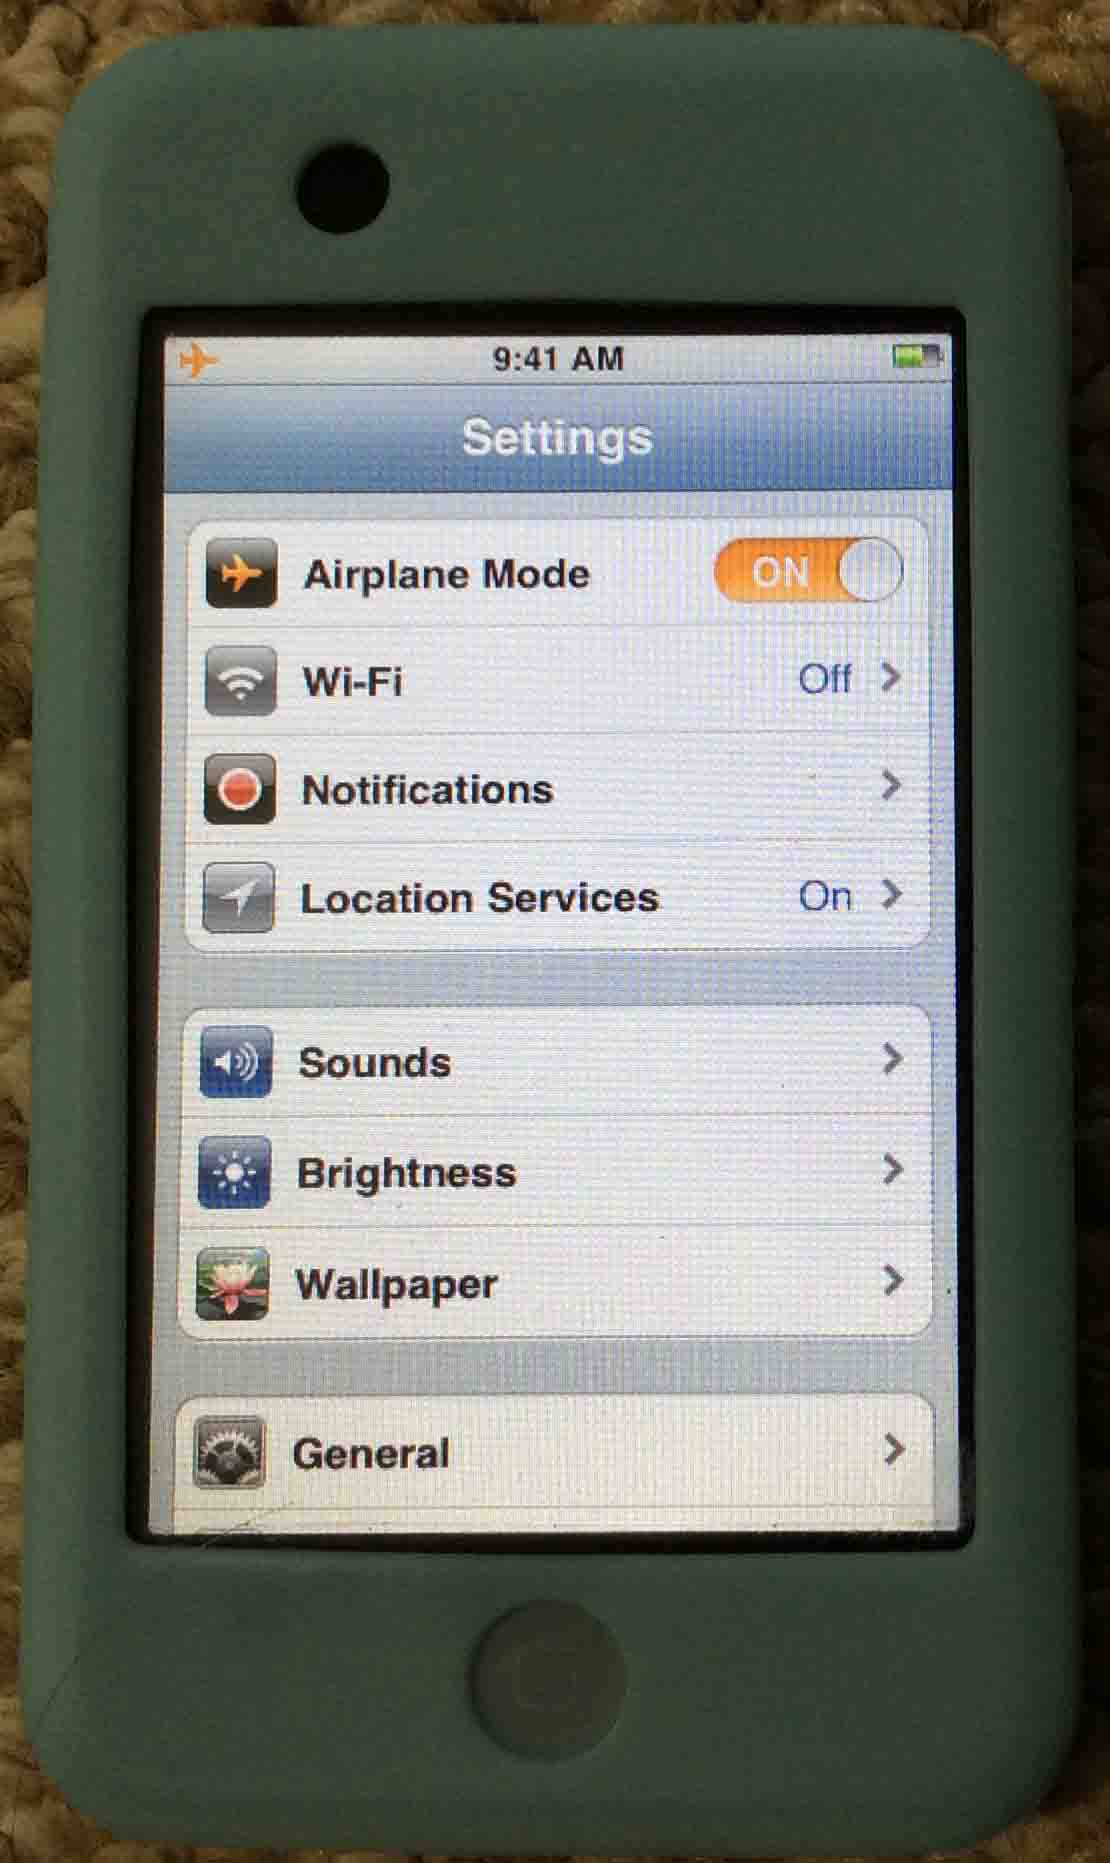
3. Next, Tap the General Item to Continue with iPod Touch Hard Reset
The iPod Touch then displays the General Settings screen, as shown next.
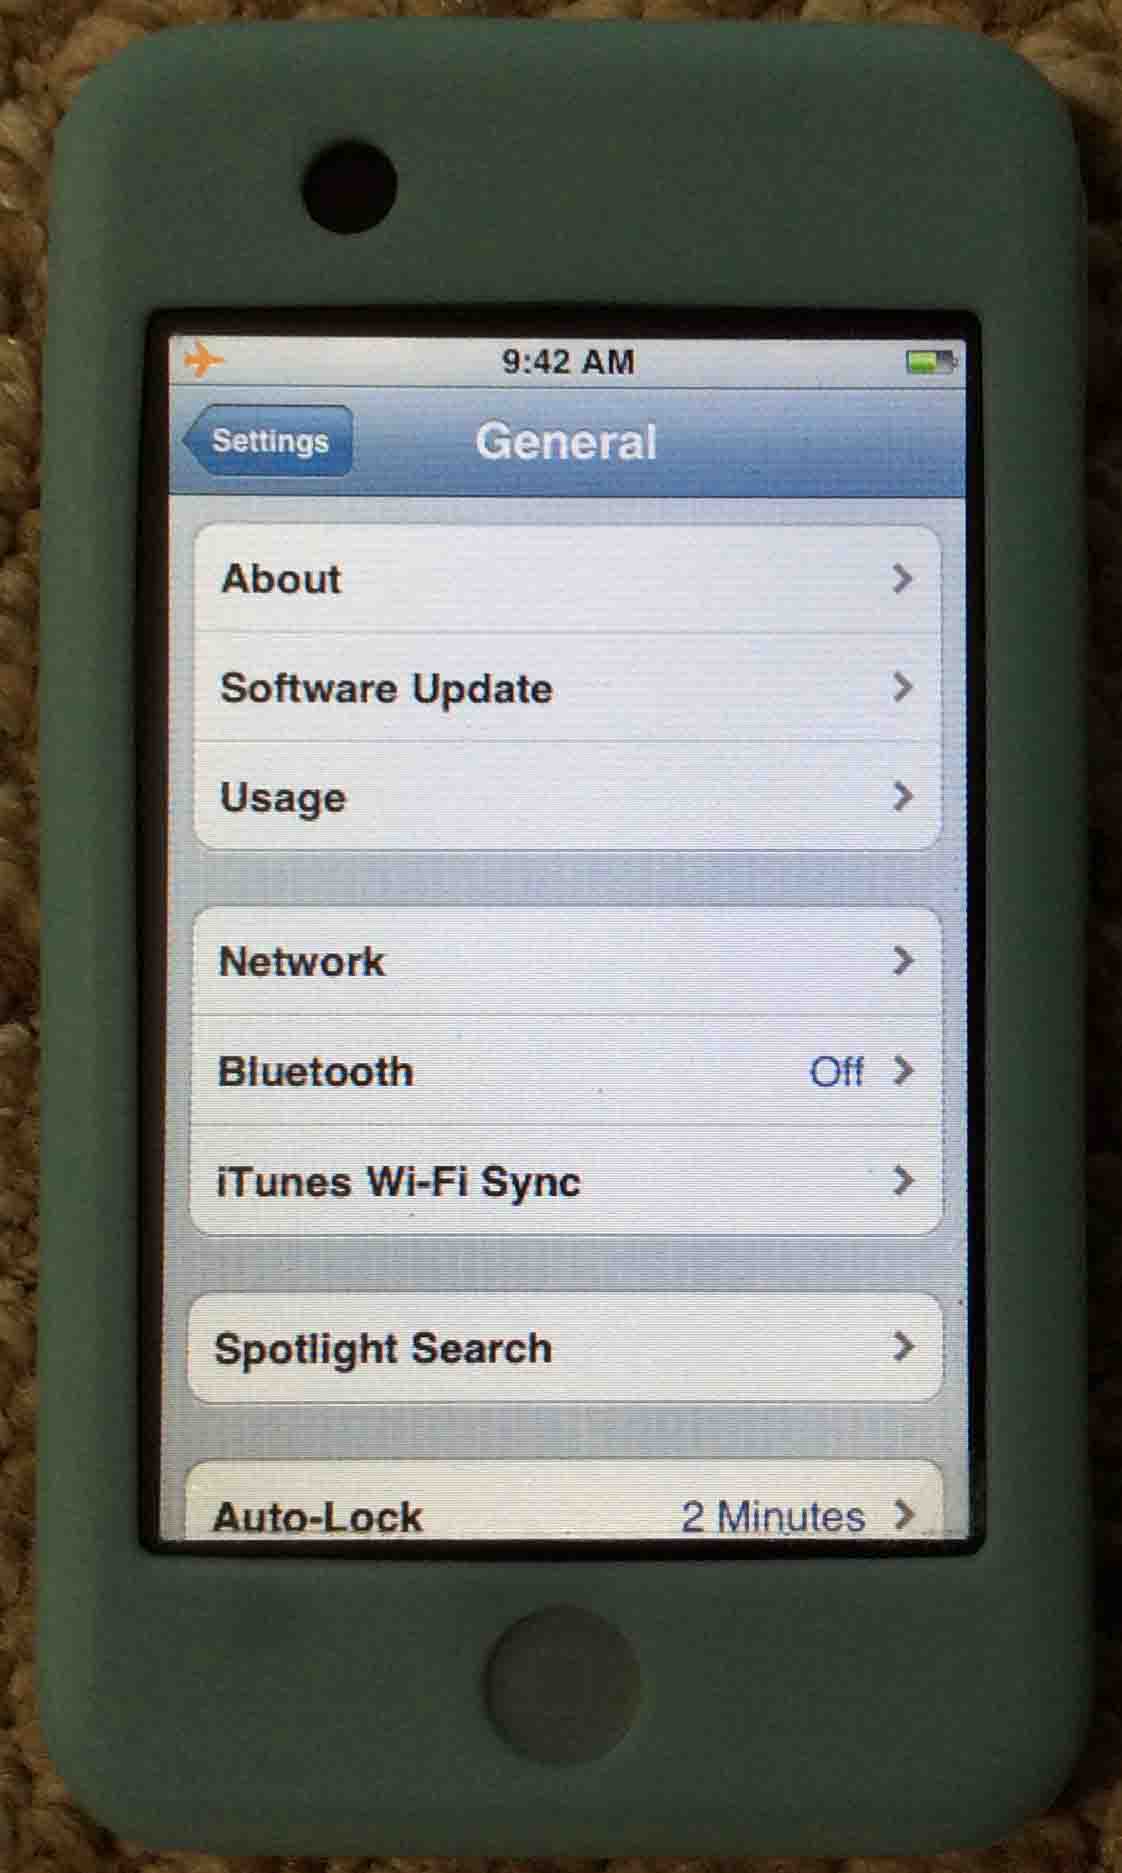
4. Find the Reset Item
Then, single-flick upward with your index finger on the touch screen, to reveal the Reset menu item, as shown next.
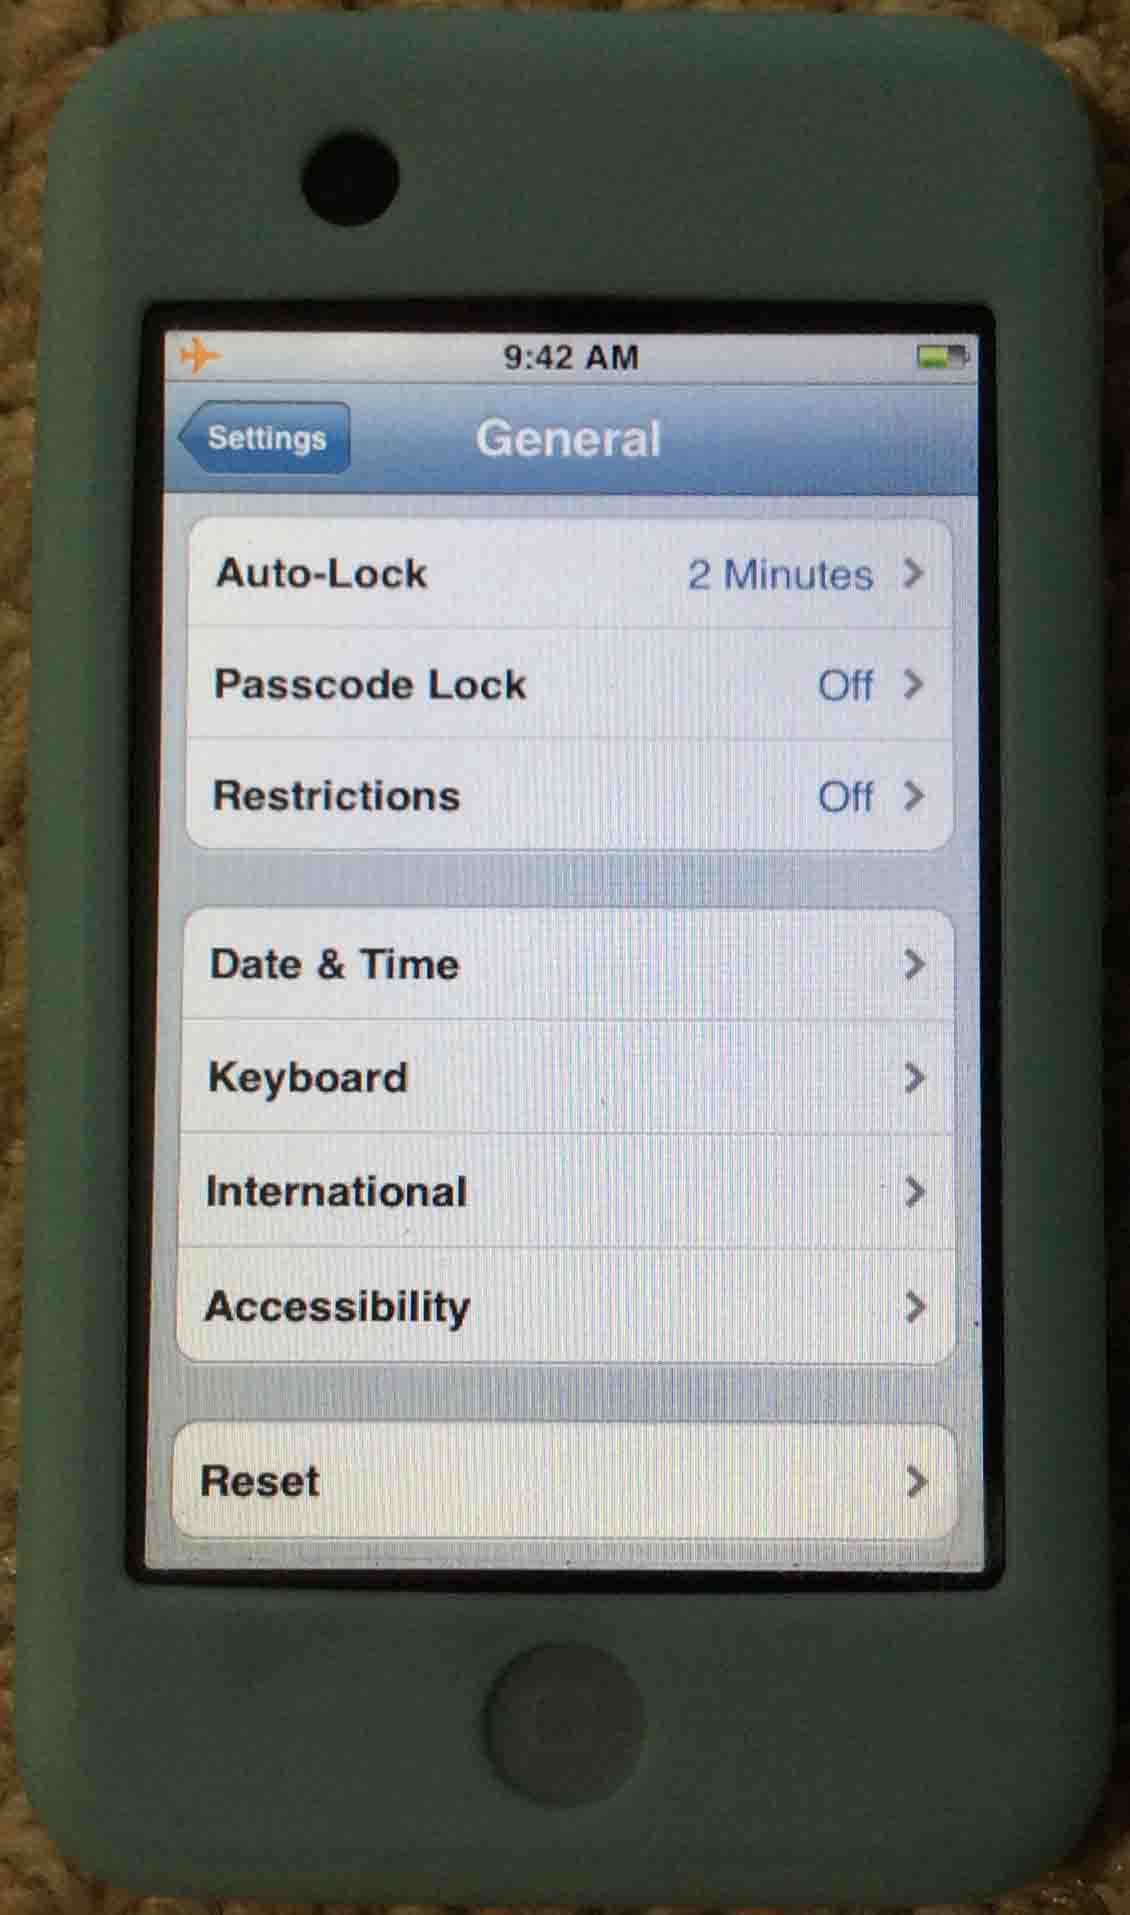
5. Then, Tap the Reset Menu Item
The Reset screen then appears, as we see next.
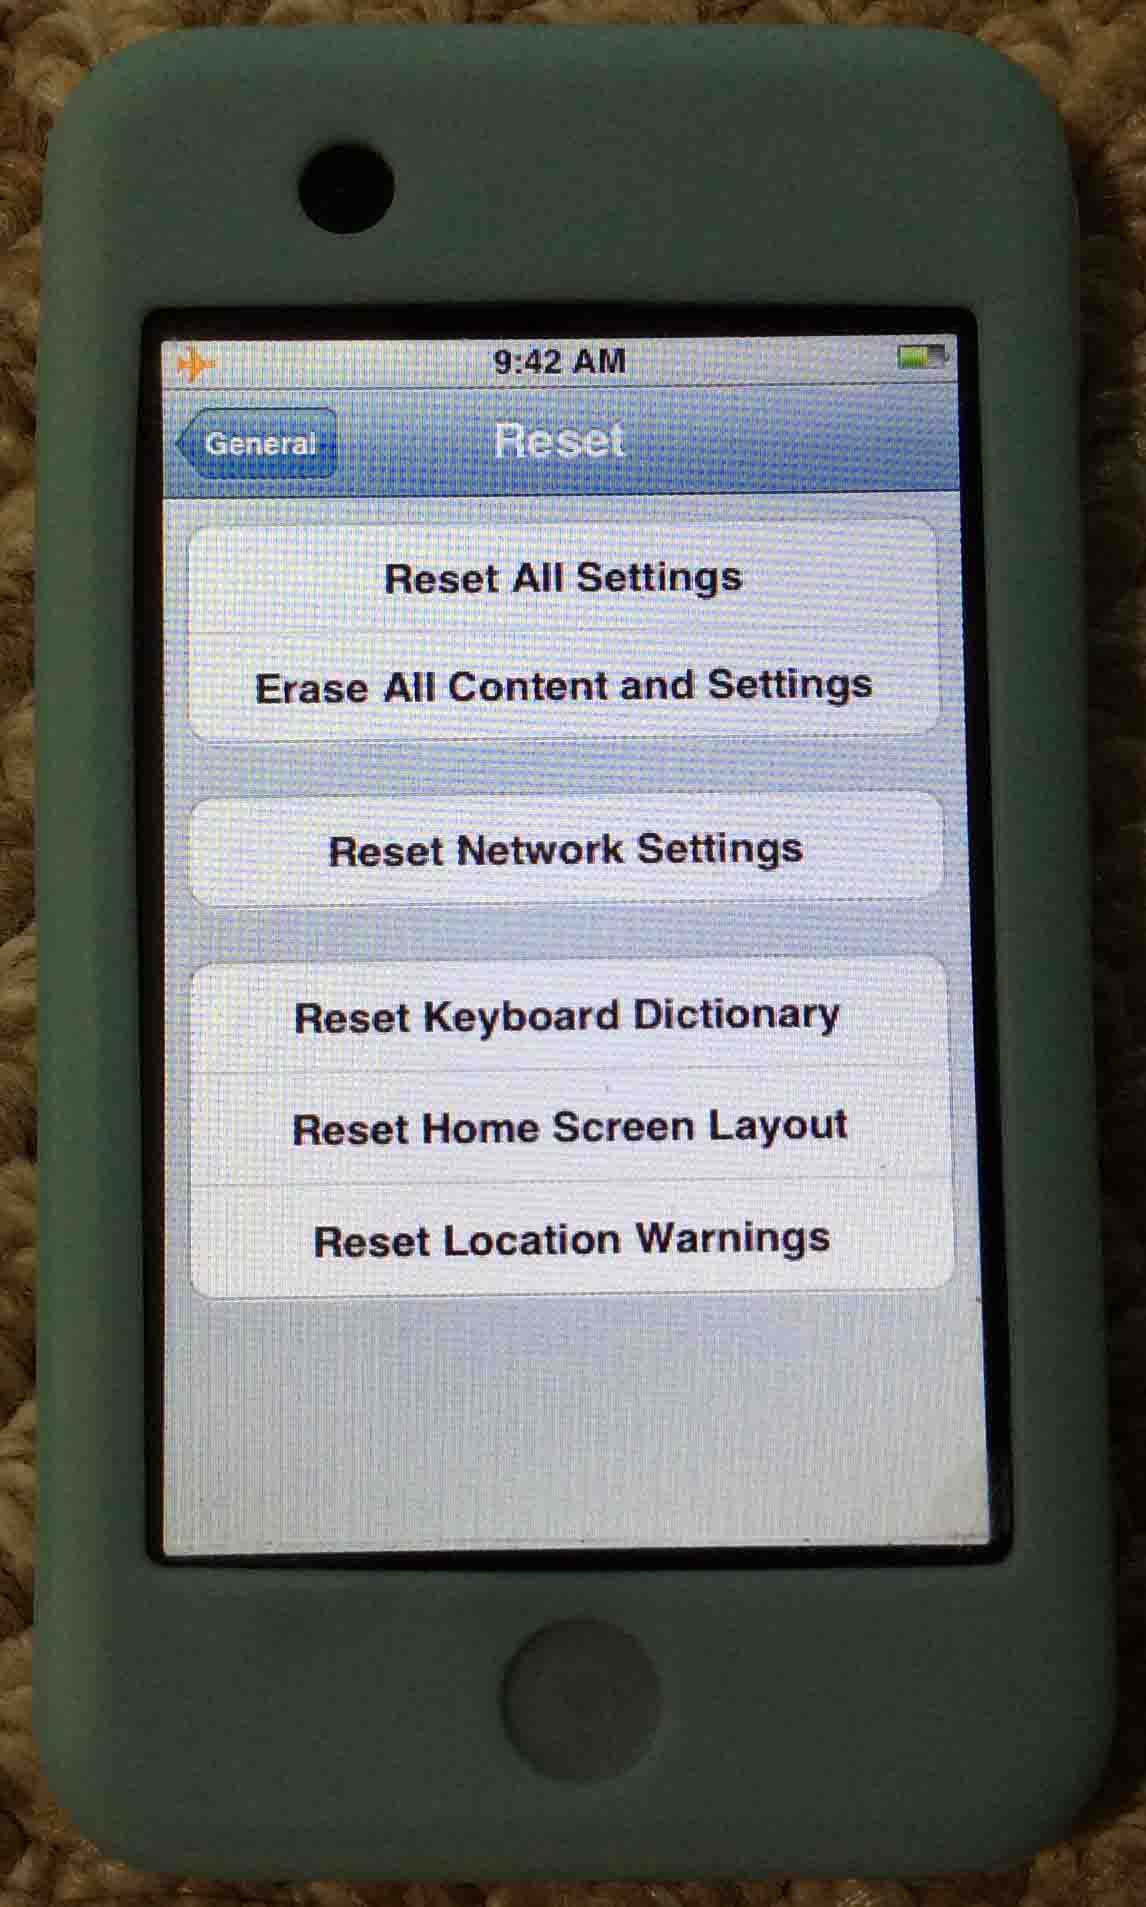
6. Pick the Type of Reset You Want, and Tap That Option to Continue with iPod Touch Hard Reset
On the iPod Touch player, you can choose how extensively the unit resets itself to factory defaults. You may choose to either
-
- Reset All Settings,
- Erase All Content and Settings,
- Reset Network Settings,
- Clear the Keyboard Dictionary,
- Reset Home Screen Layout, or
- Clear Location Warnings
In our case here, we wish to reset all settings on the iPod, but not erase the music. So to do that, we touch the Reset All Settings option. This is the first option on the Reset menu.
This brings up the Reset All Settings screen, as shown next.
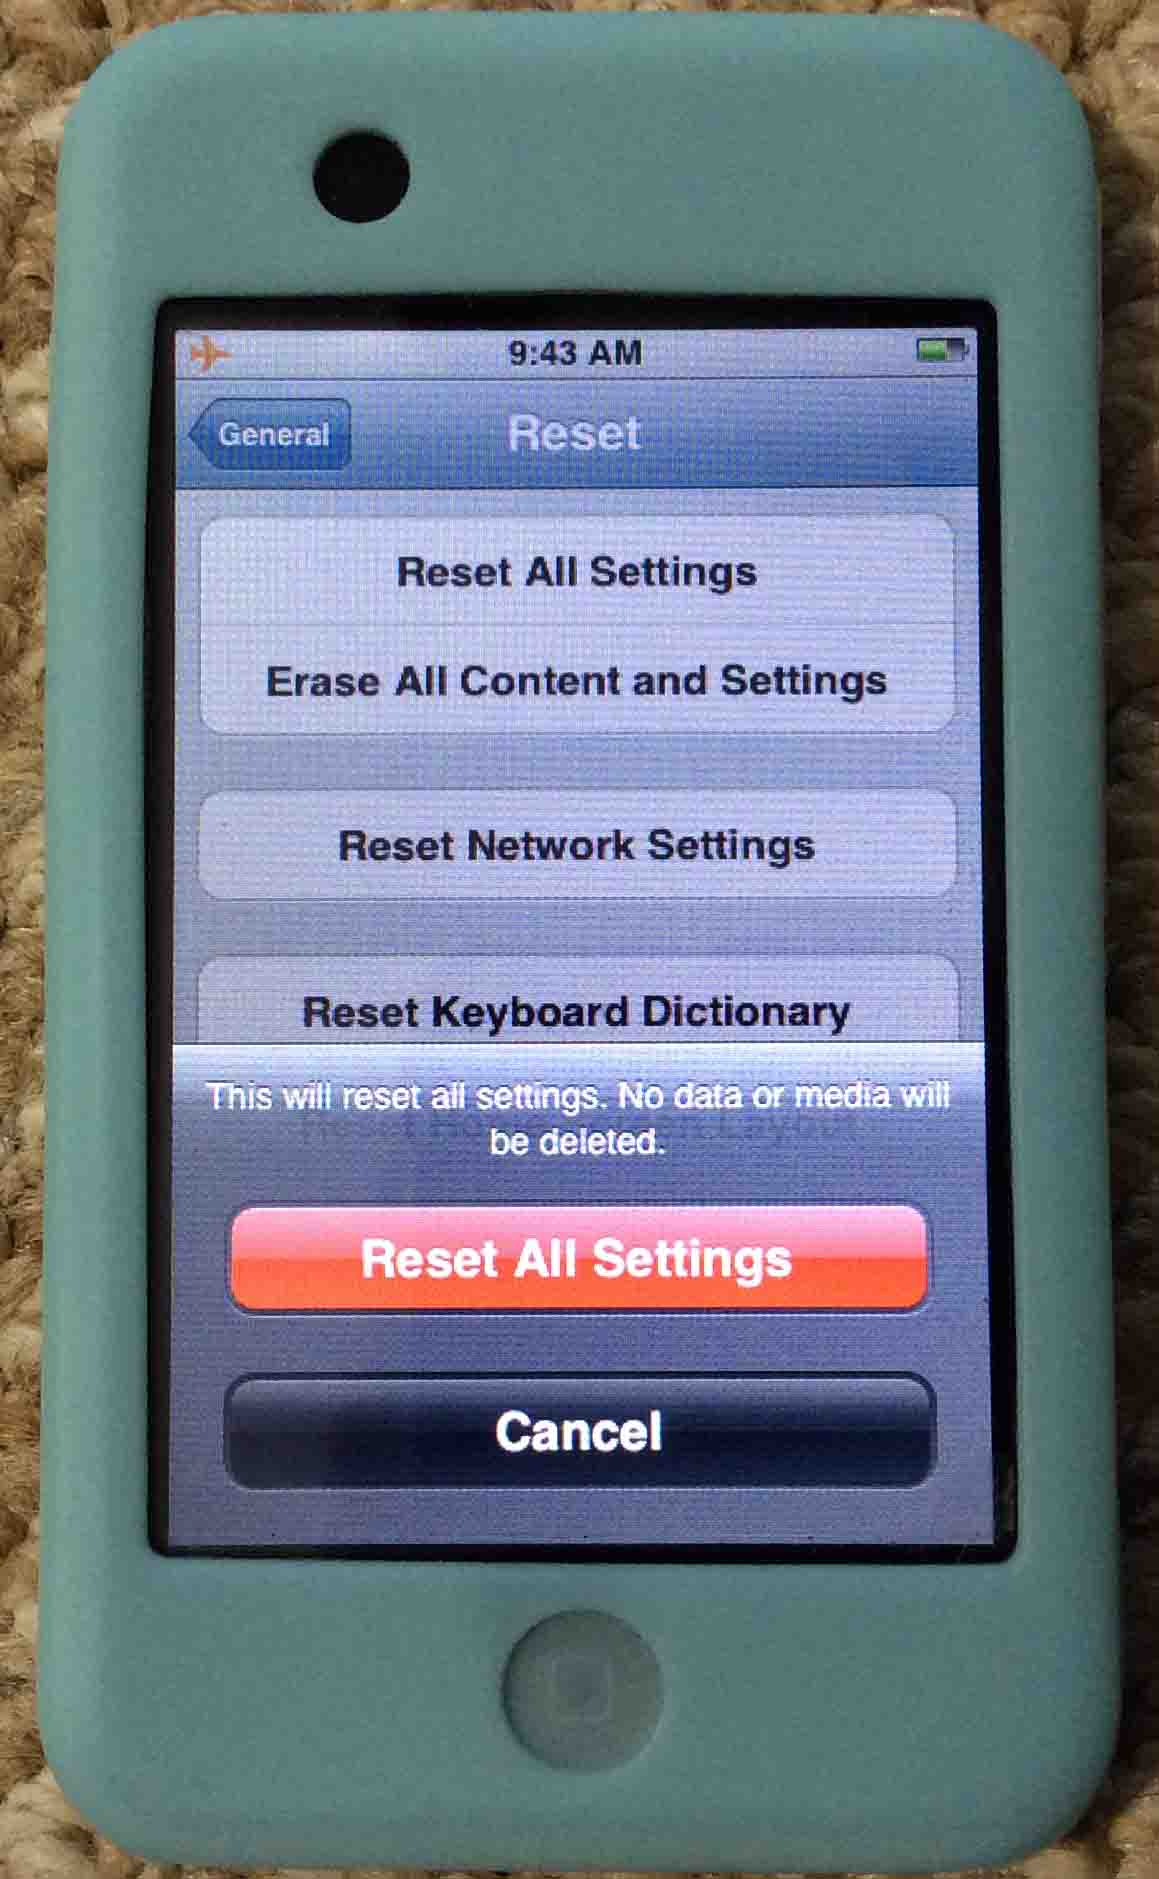
If you really wish to proceed, then press the red Reset All Settings button on this screen. If not, touch Cancel.
7. iPod Touch Hard Reset Begins
The factory hard reset process begins. Note that this can take a few seconds to finish. Also during reset, this iPod shows a progress bar. This tells how far along in the reset process it is, See this in the next picture.

Once the iPod Touch hard reset completes, the Lock screen displays, as shown next.
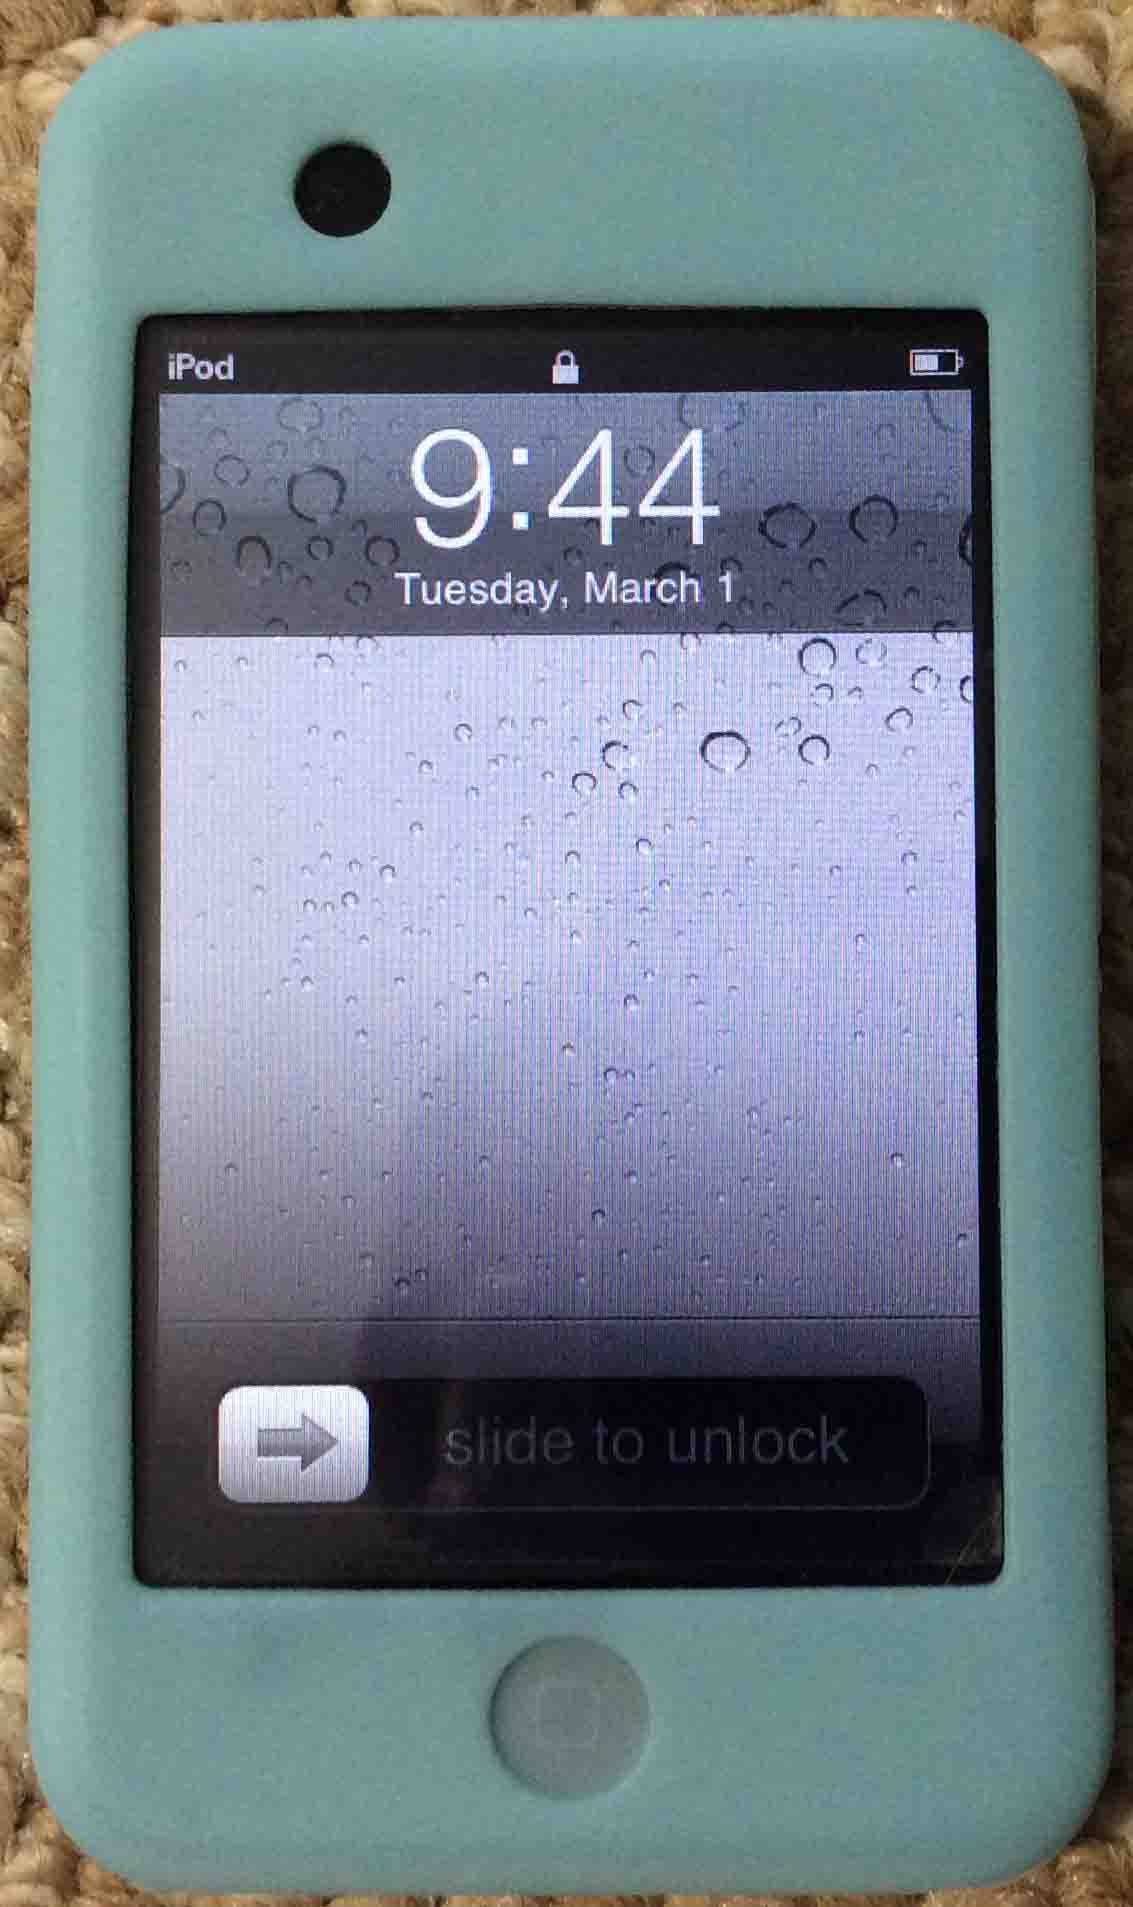
8. Unlock the iPod Touch
Then, move your finger from left to right, across the bottom of the screen where it says, Slide to unlock.
Next, the Location Services option screen then appears as follows.
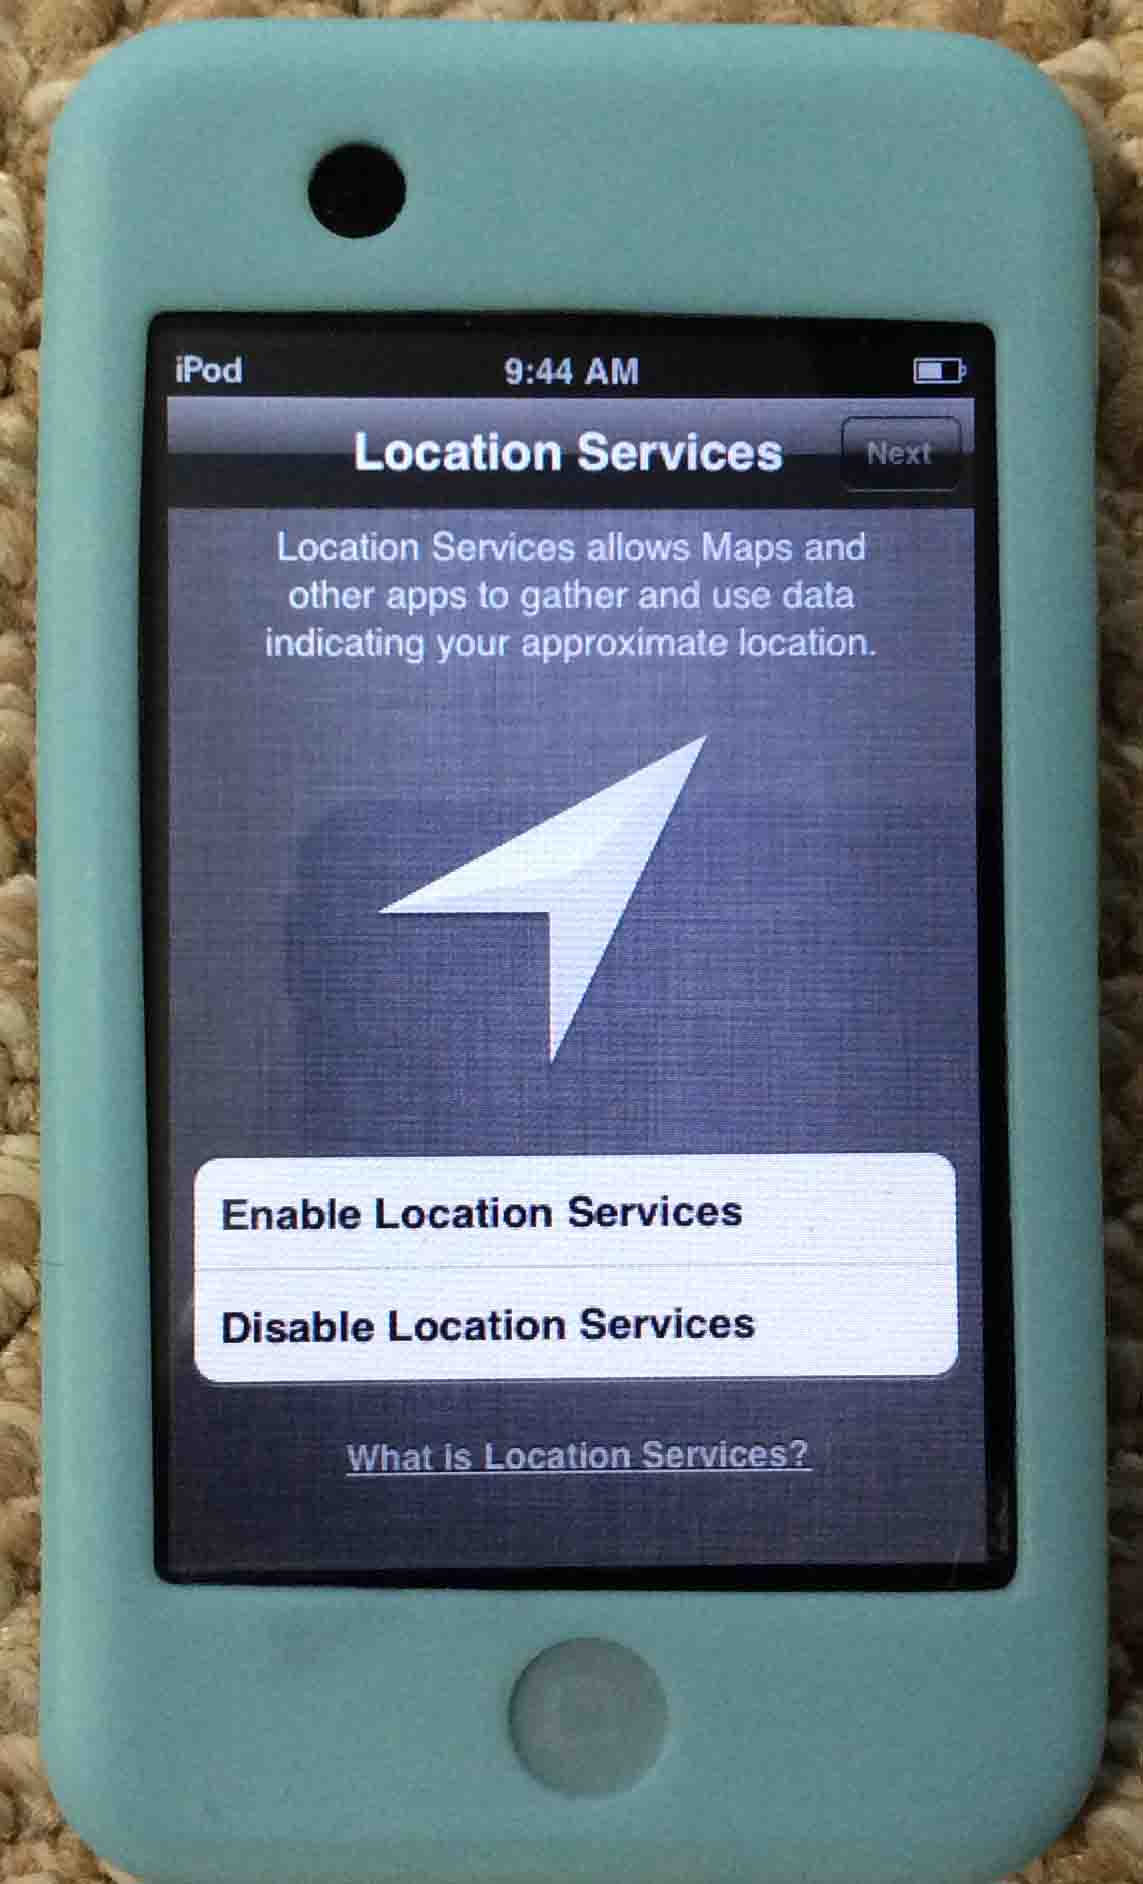
9. Turn On Location Services After iPod Touch Hard Reset
Choose whether or not you want to enable or disable Location Services here, by tapping the right button. When you do, the iPod Touch then prompts you to connect to an in-range WiFi network, as shown next.
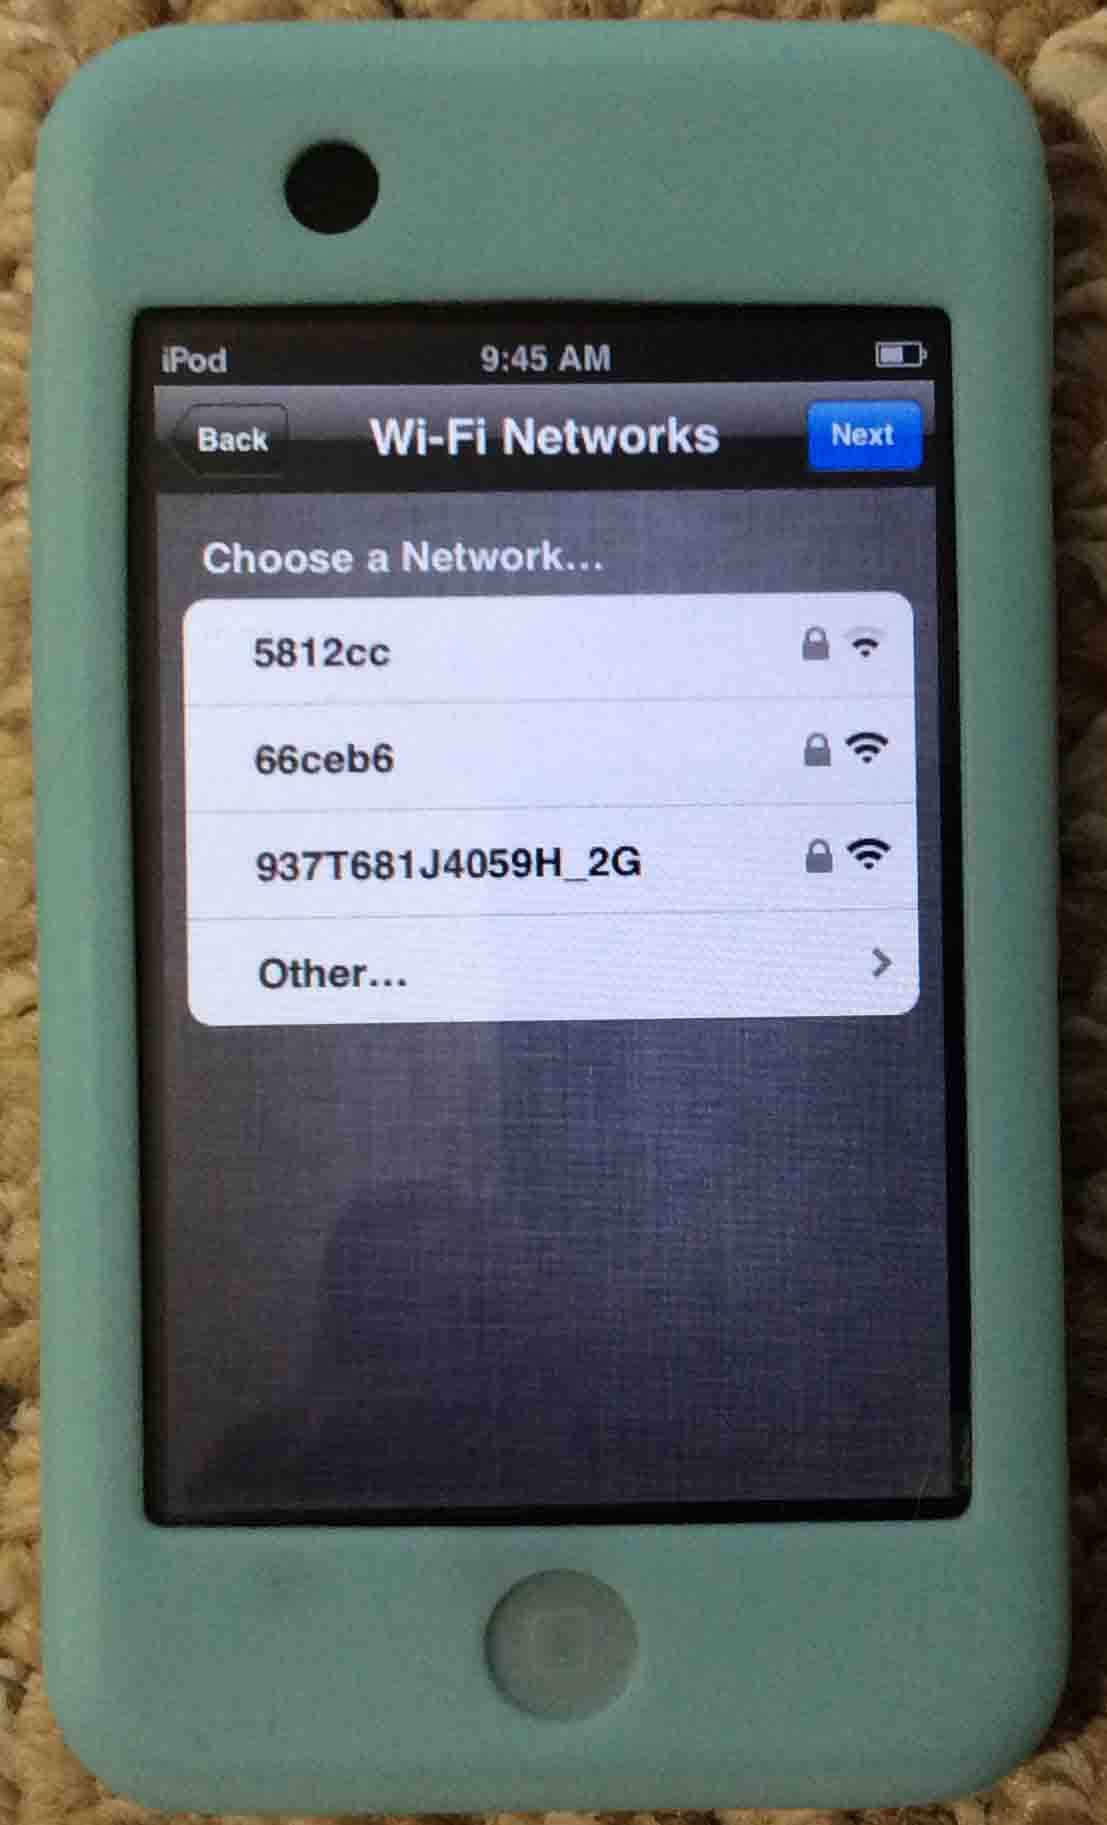
10. Connect iPod Touch to WiFi
To connect to a displayed in-range WiFi network, tap on the desired network in the displayed list. Otherwise, tap the blue Next button. We opted not to connect to a WiFi network at this time, and so just pressed Next.
The Terms and Conditions prompt appears next, as follows.
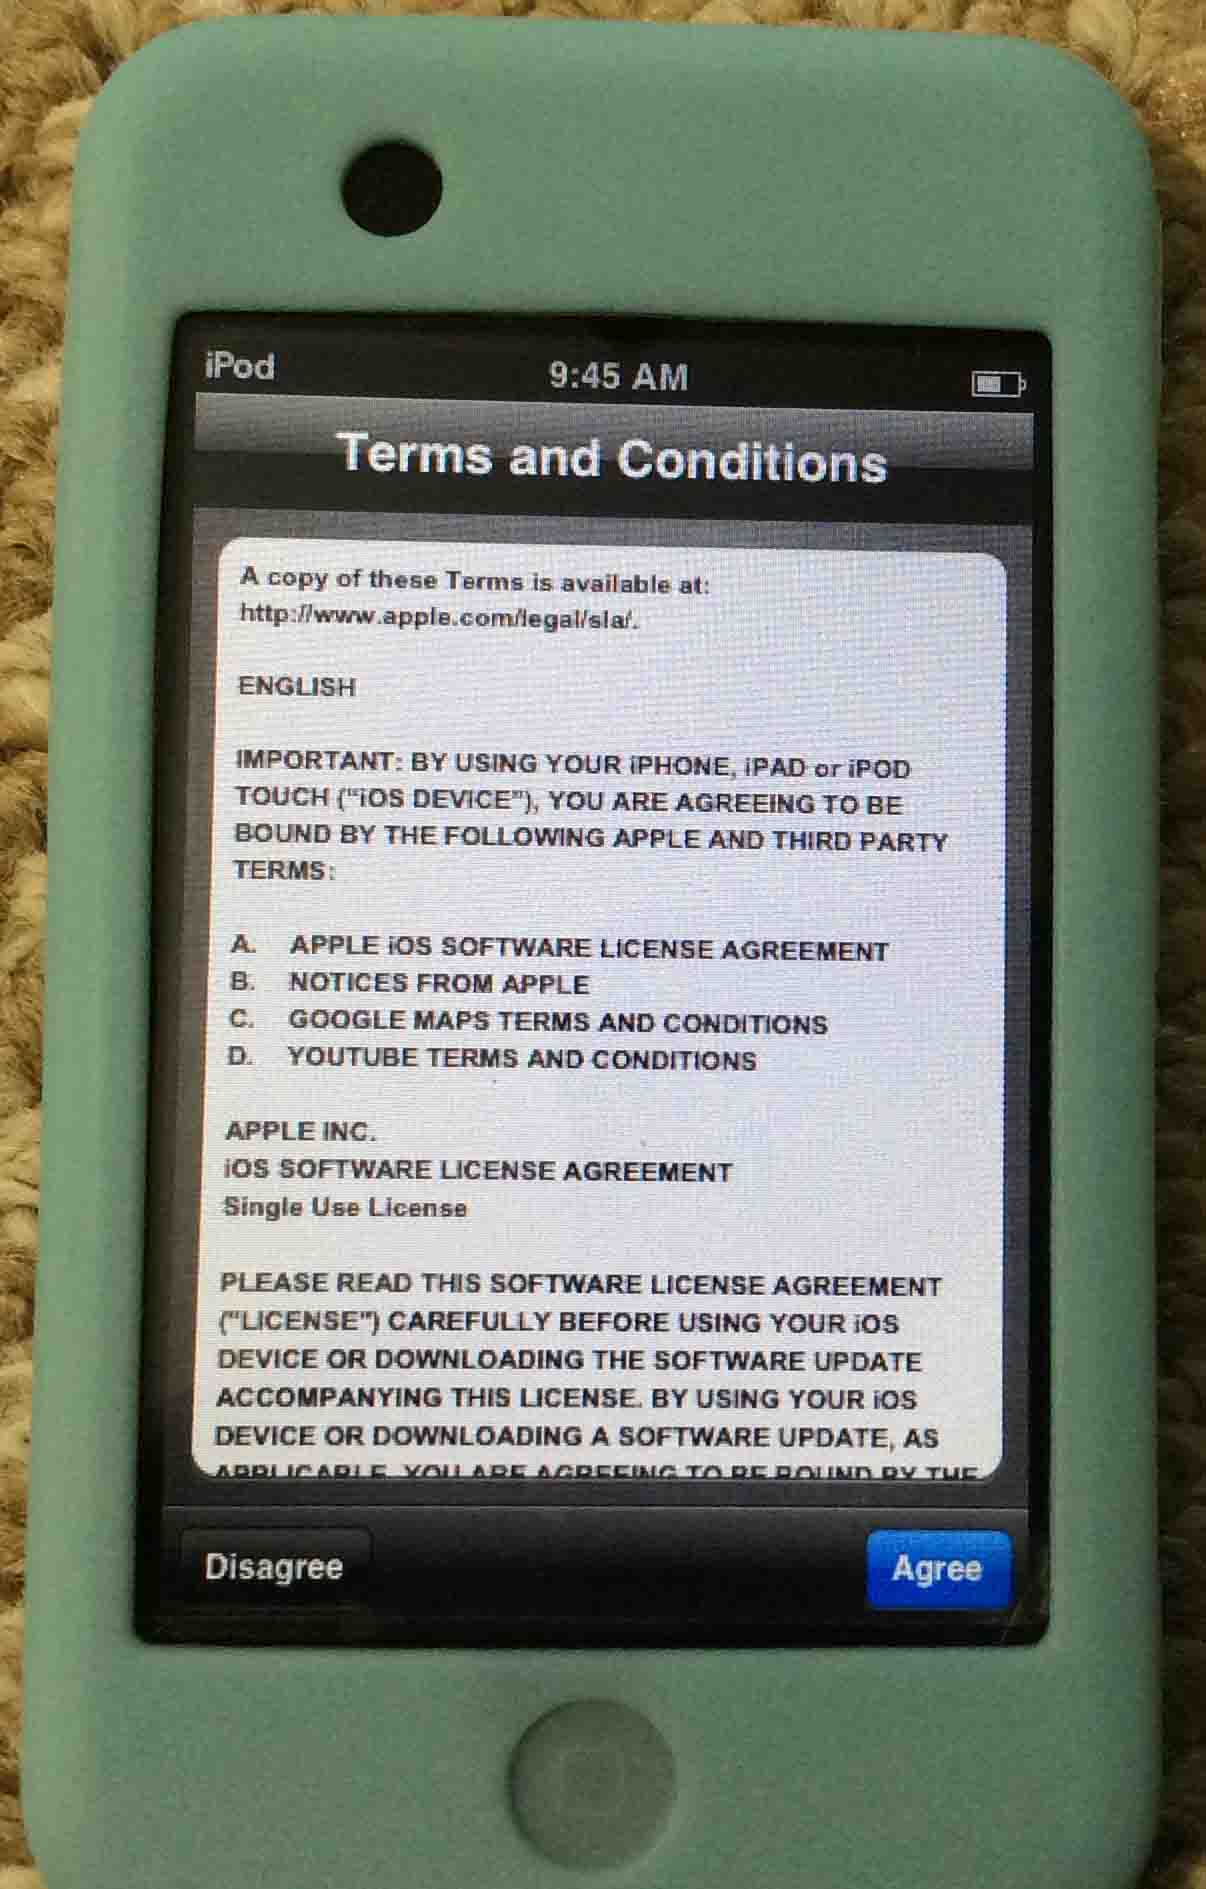
11. Touch the Agree Button
Assuming that you agree with Apple’s terms and conditions of use for this iPod, tap the blue Agree button.
The iPod Touch then prompts you for how to handle diagnostics messages, that it sends back to Apple, as follows.

12. Choose to Send or Not Send Diagnostic Info Back to Apple to Continue with iPod Touch Hard Reset
We choose the Automatically Send option. So we press this button. You then see the Thank You screen, meaning that basic setup is now done.
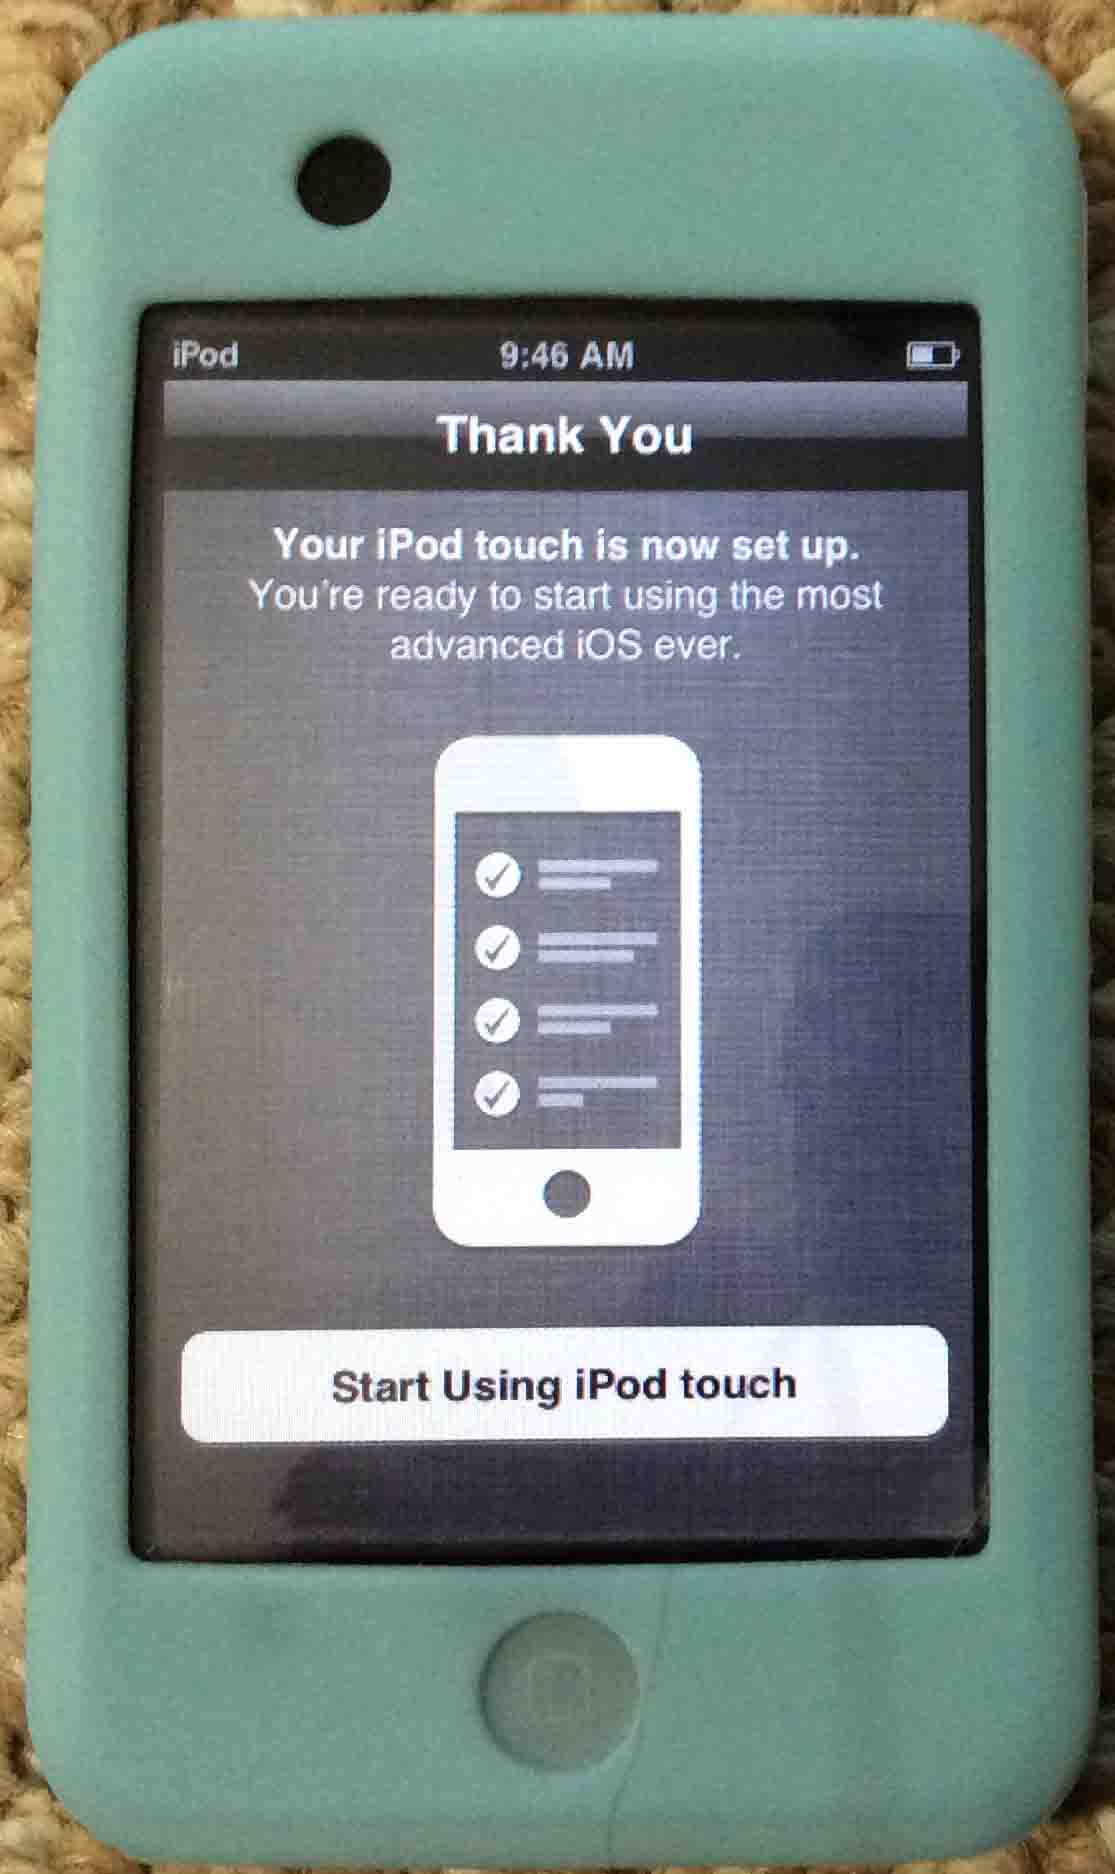
13. Finally, Touch the Start Using iPod Touch Button
Doing so takes you once again to the Home screen, as shown next. Note that any changes made to this screen are gone. All settings are now set back to their default values.
14. Done with iPod Touch Hard Reset !
You have now hard reset all settings in your iPod Touch music player to factory default values. But you have not deleting the media files on it.
You may clear those files later if you wish though, when next you connect this iPod to iTunes. Or do that by running a similar routine to above. But when the iPod touch prompts for which type of reset you want to run on the Reset screen, choose the Erase all content and settings option, instead of the Reset all settings option.
Related Posts to iPod Touch Hard Reset
References for iPod Touch Hard Reset