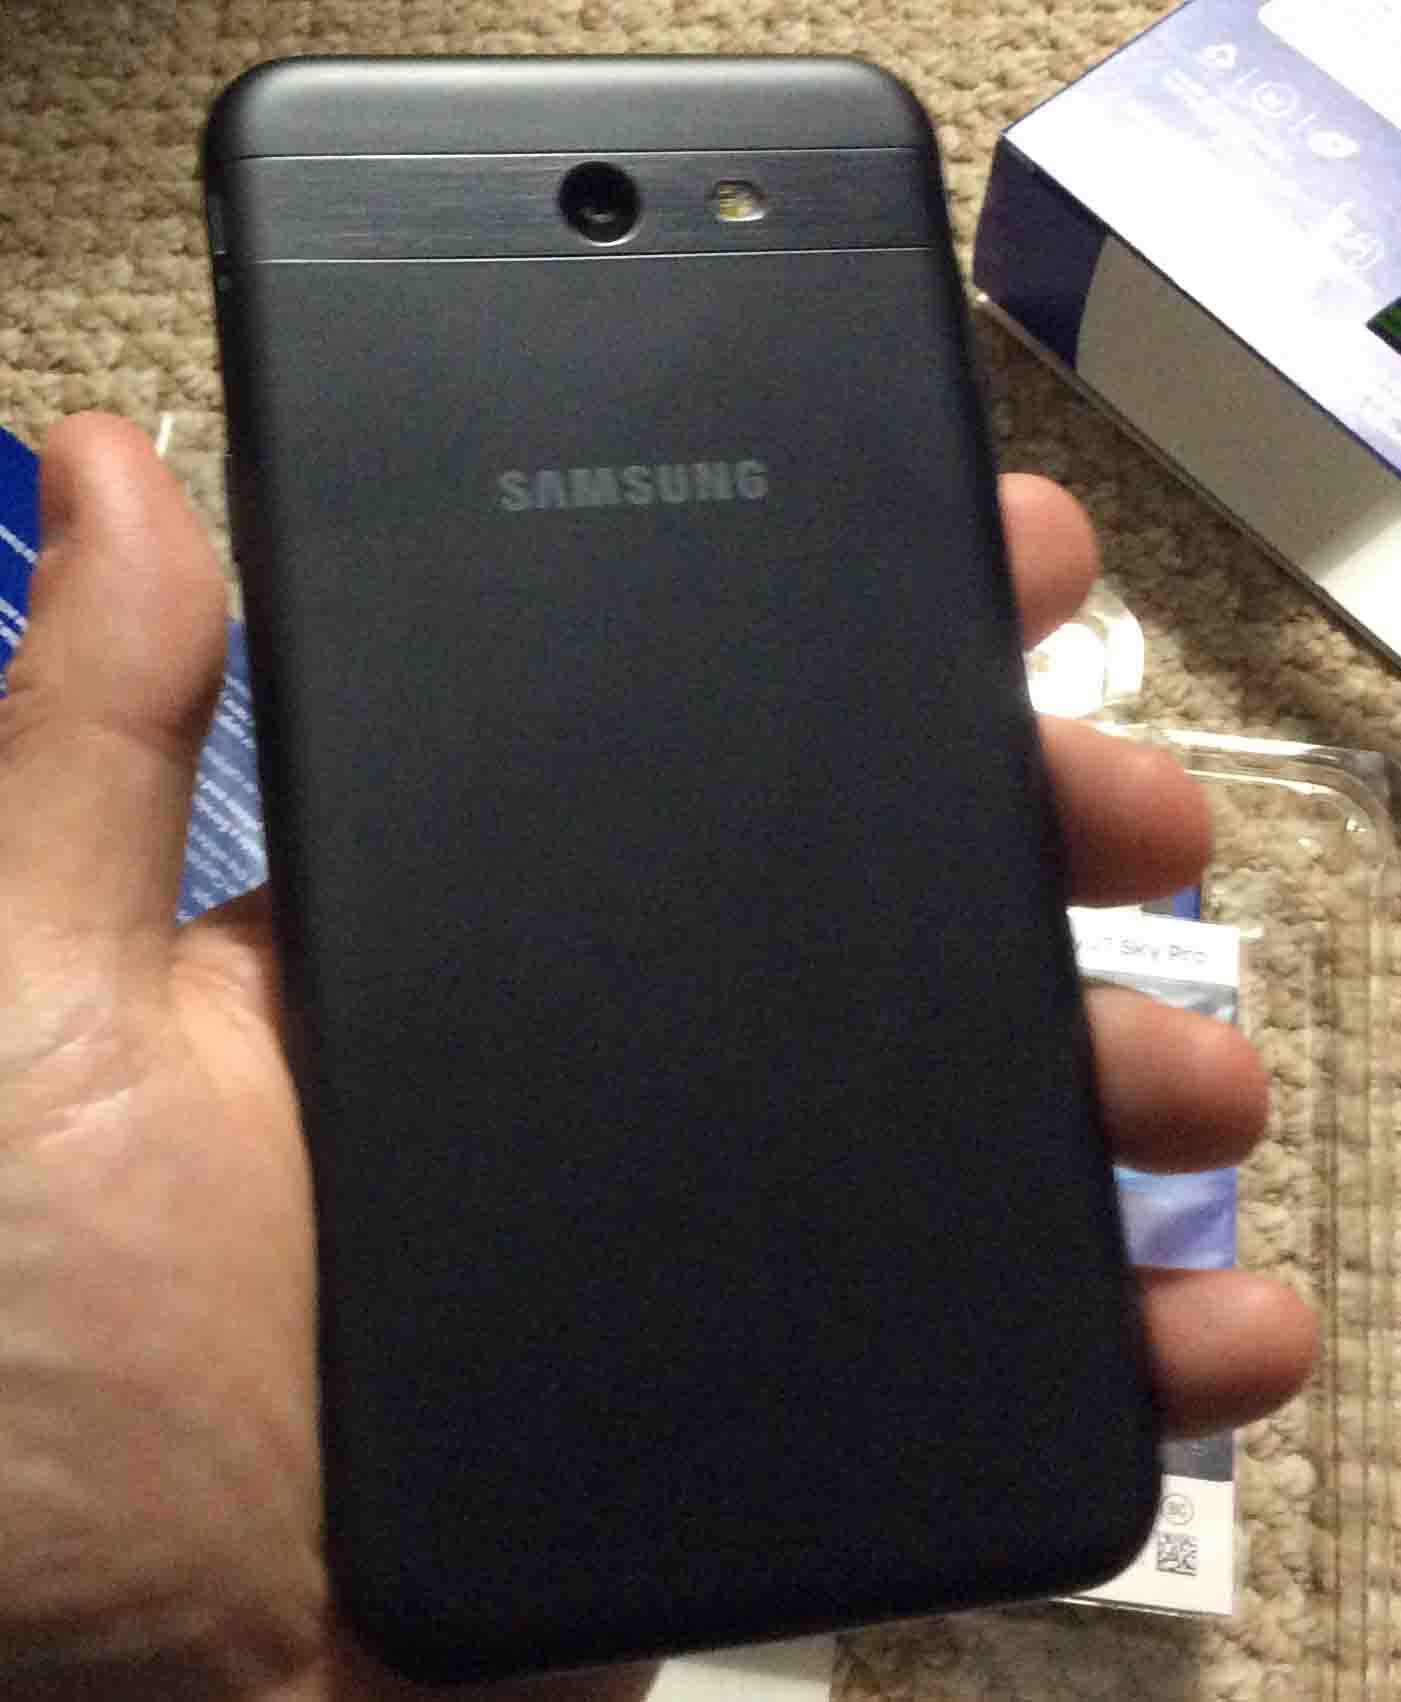
Samsung Sky Pro J7 Galaxy smart phone, back view, showing a new micro SD card fully installed.
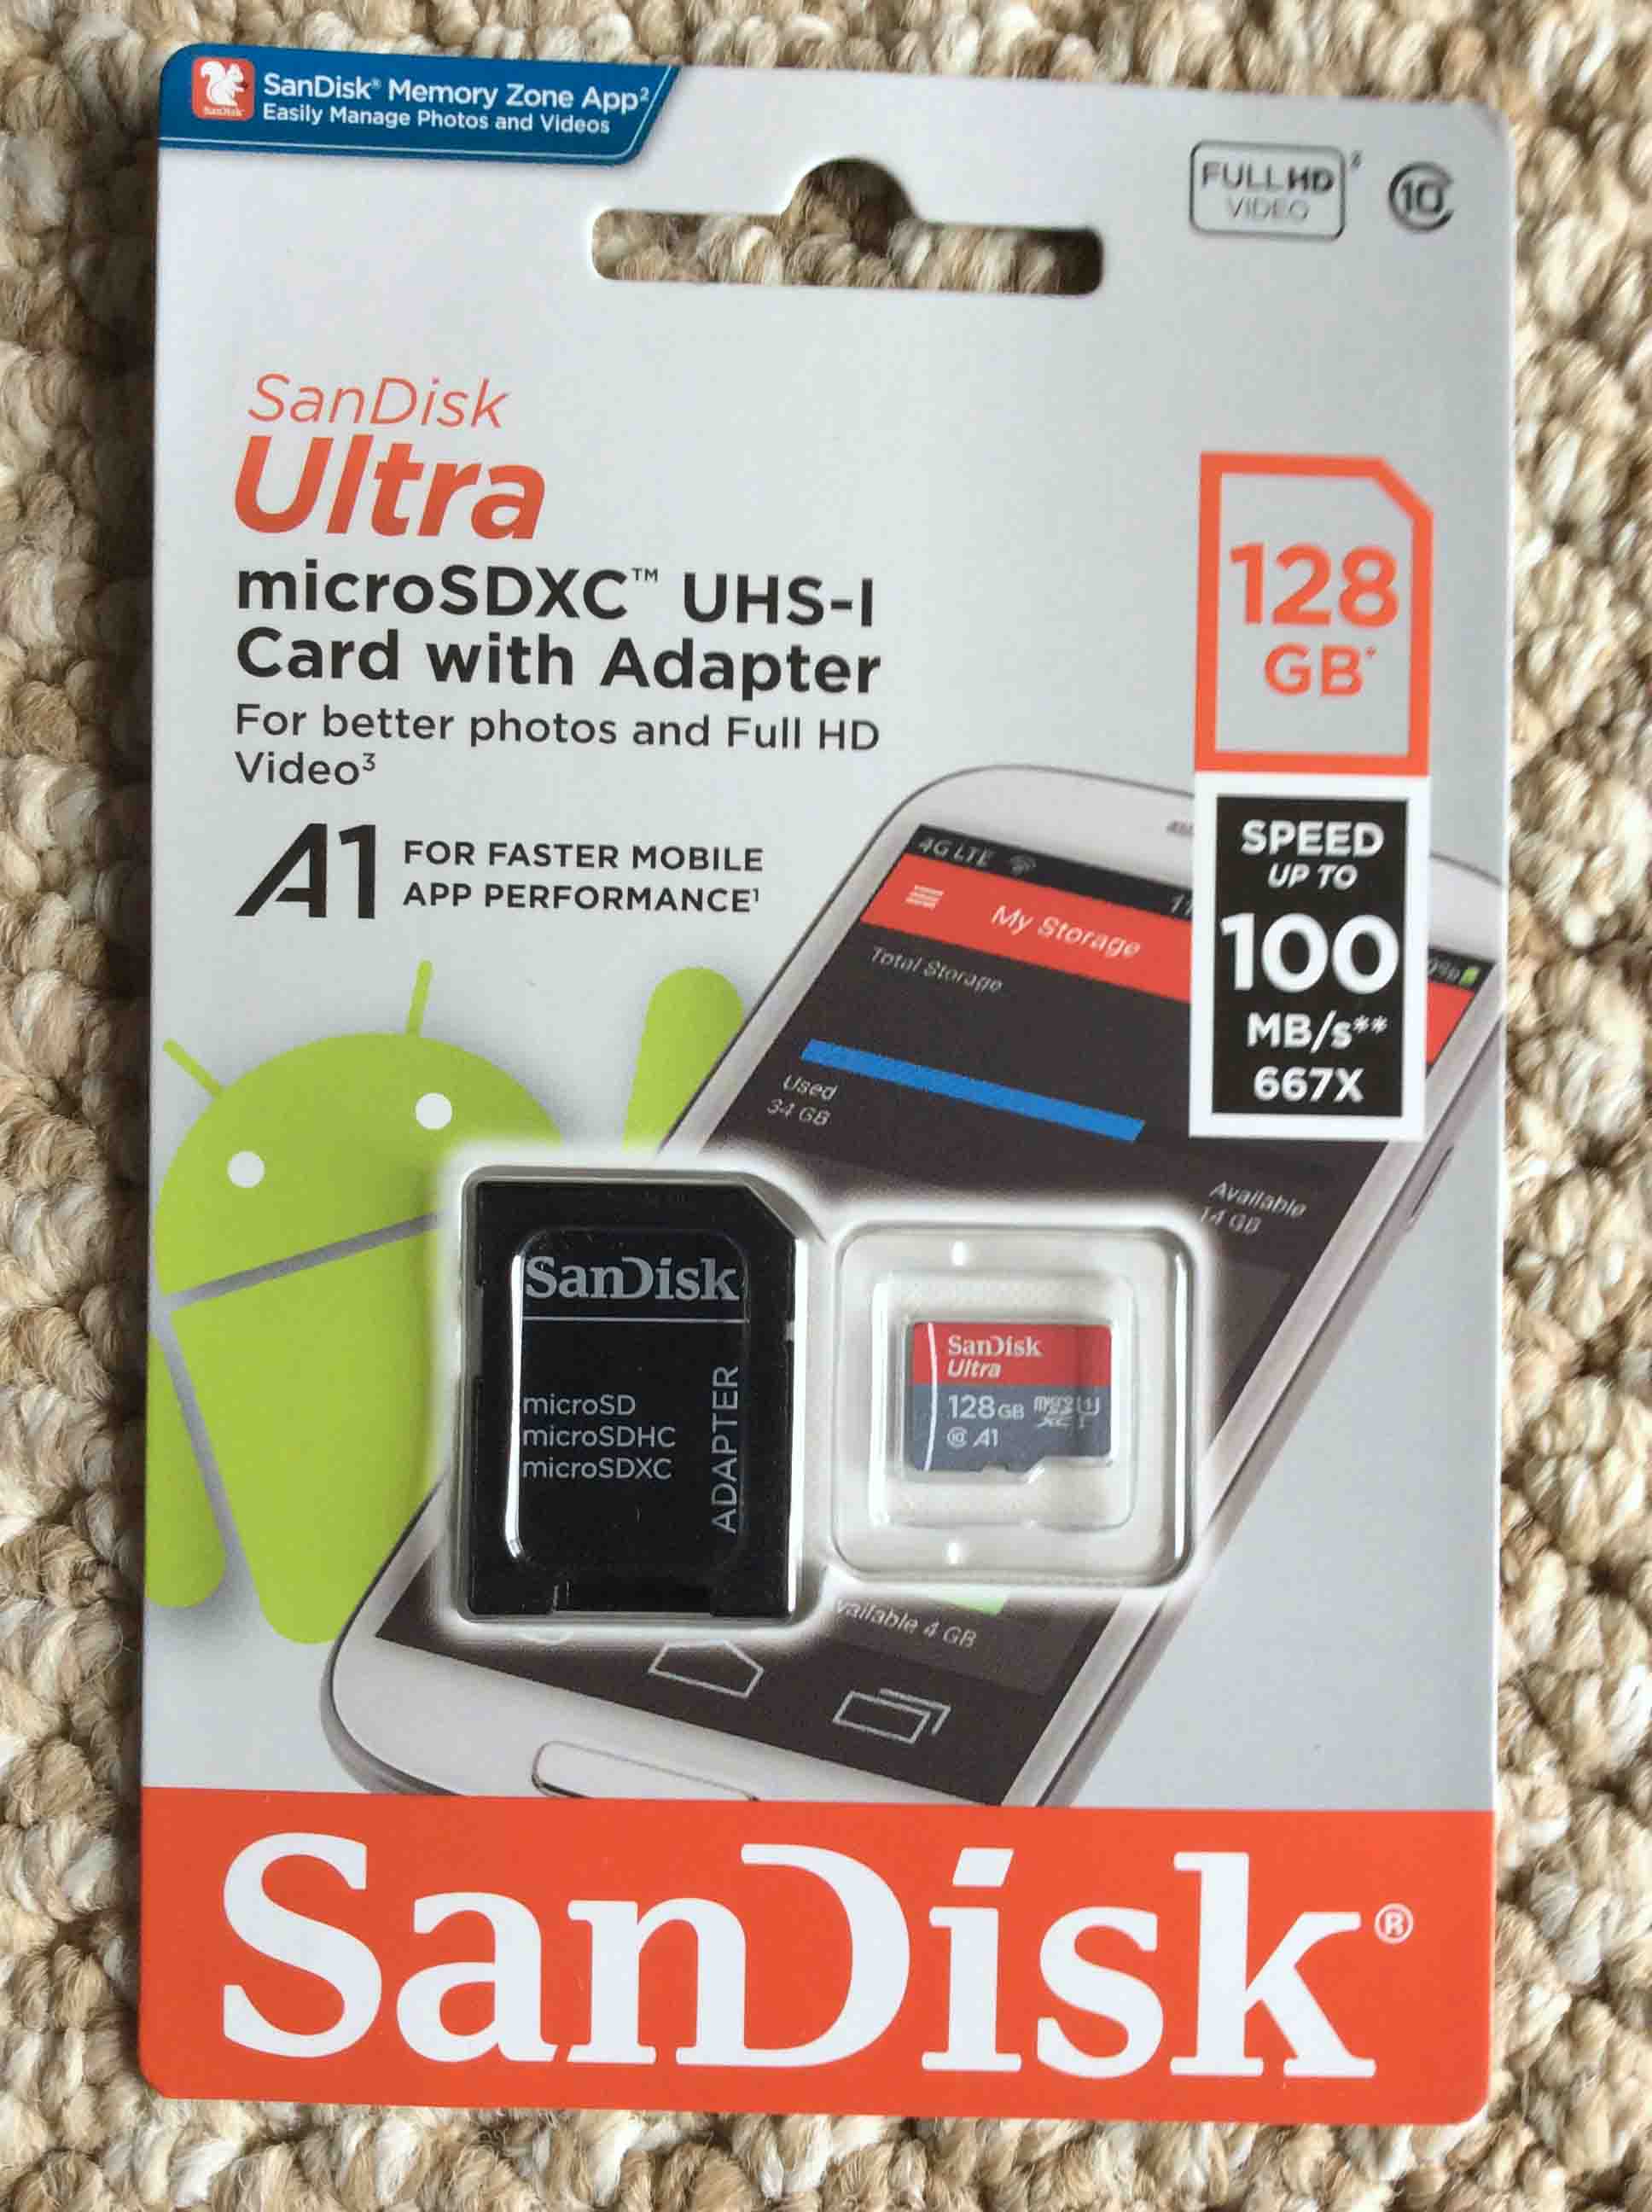
You can add up to 128 GB more memory to your Samsung J7 smart phone. The added space allows you to store lots of music, movies, video, or documents on this phone. So here, we show how to add more memory. Putting in a memory card on this phone is easy. Just don’t use too much force, ever, and the expanding should go well.
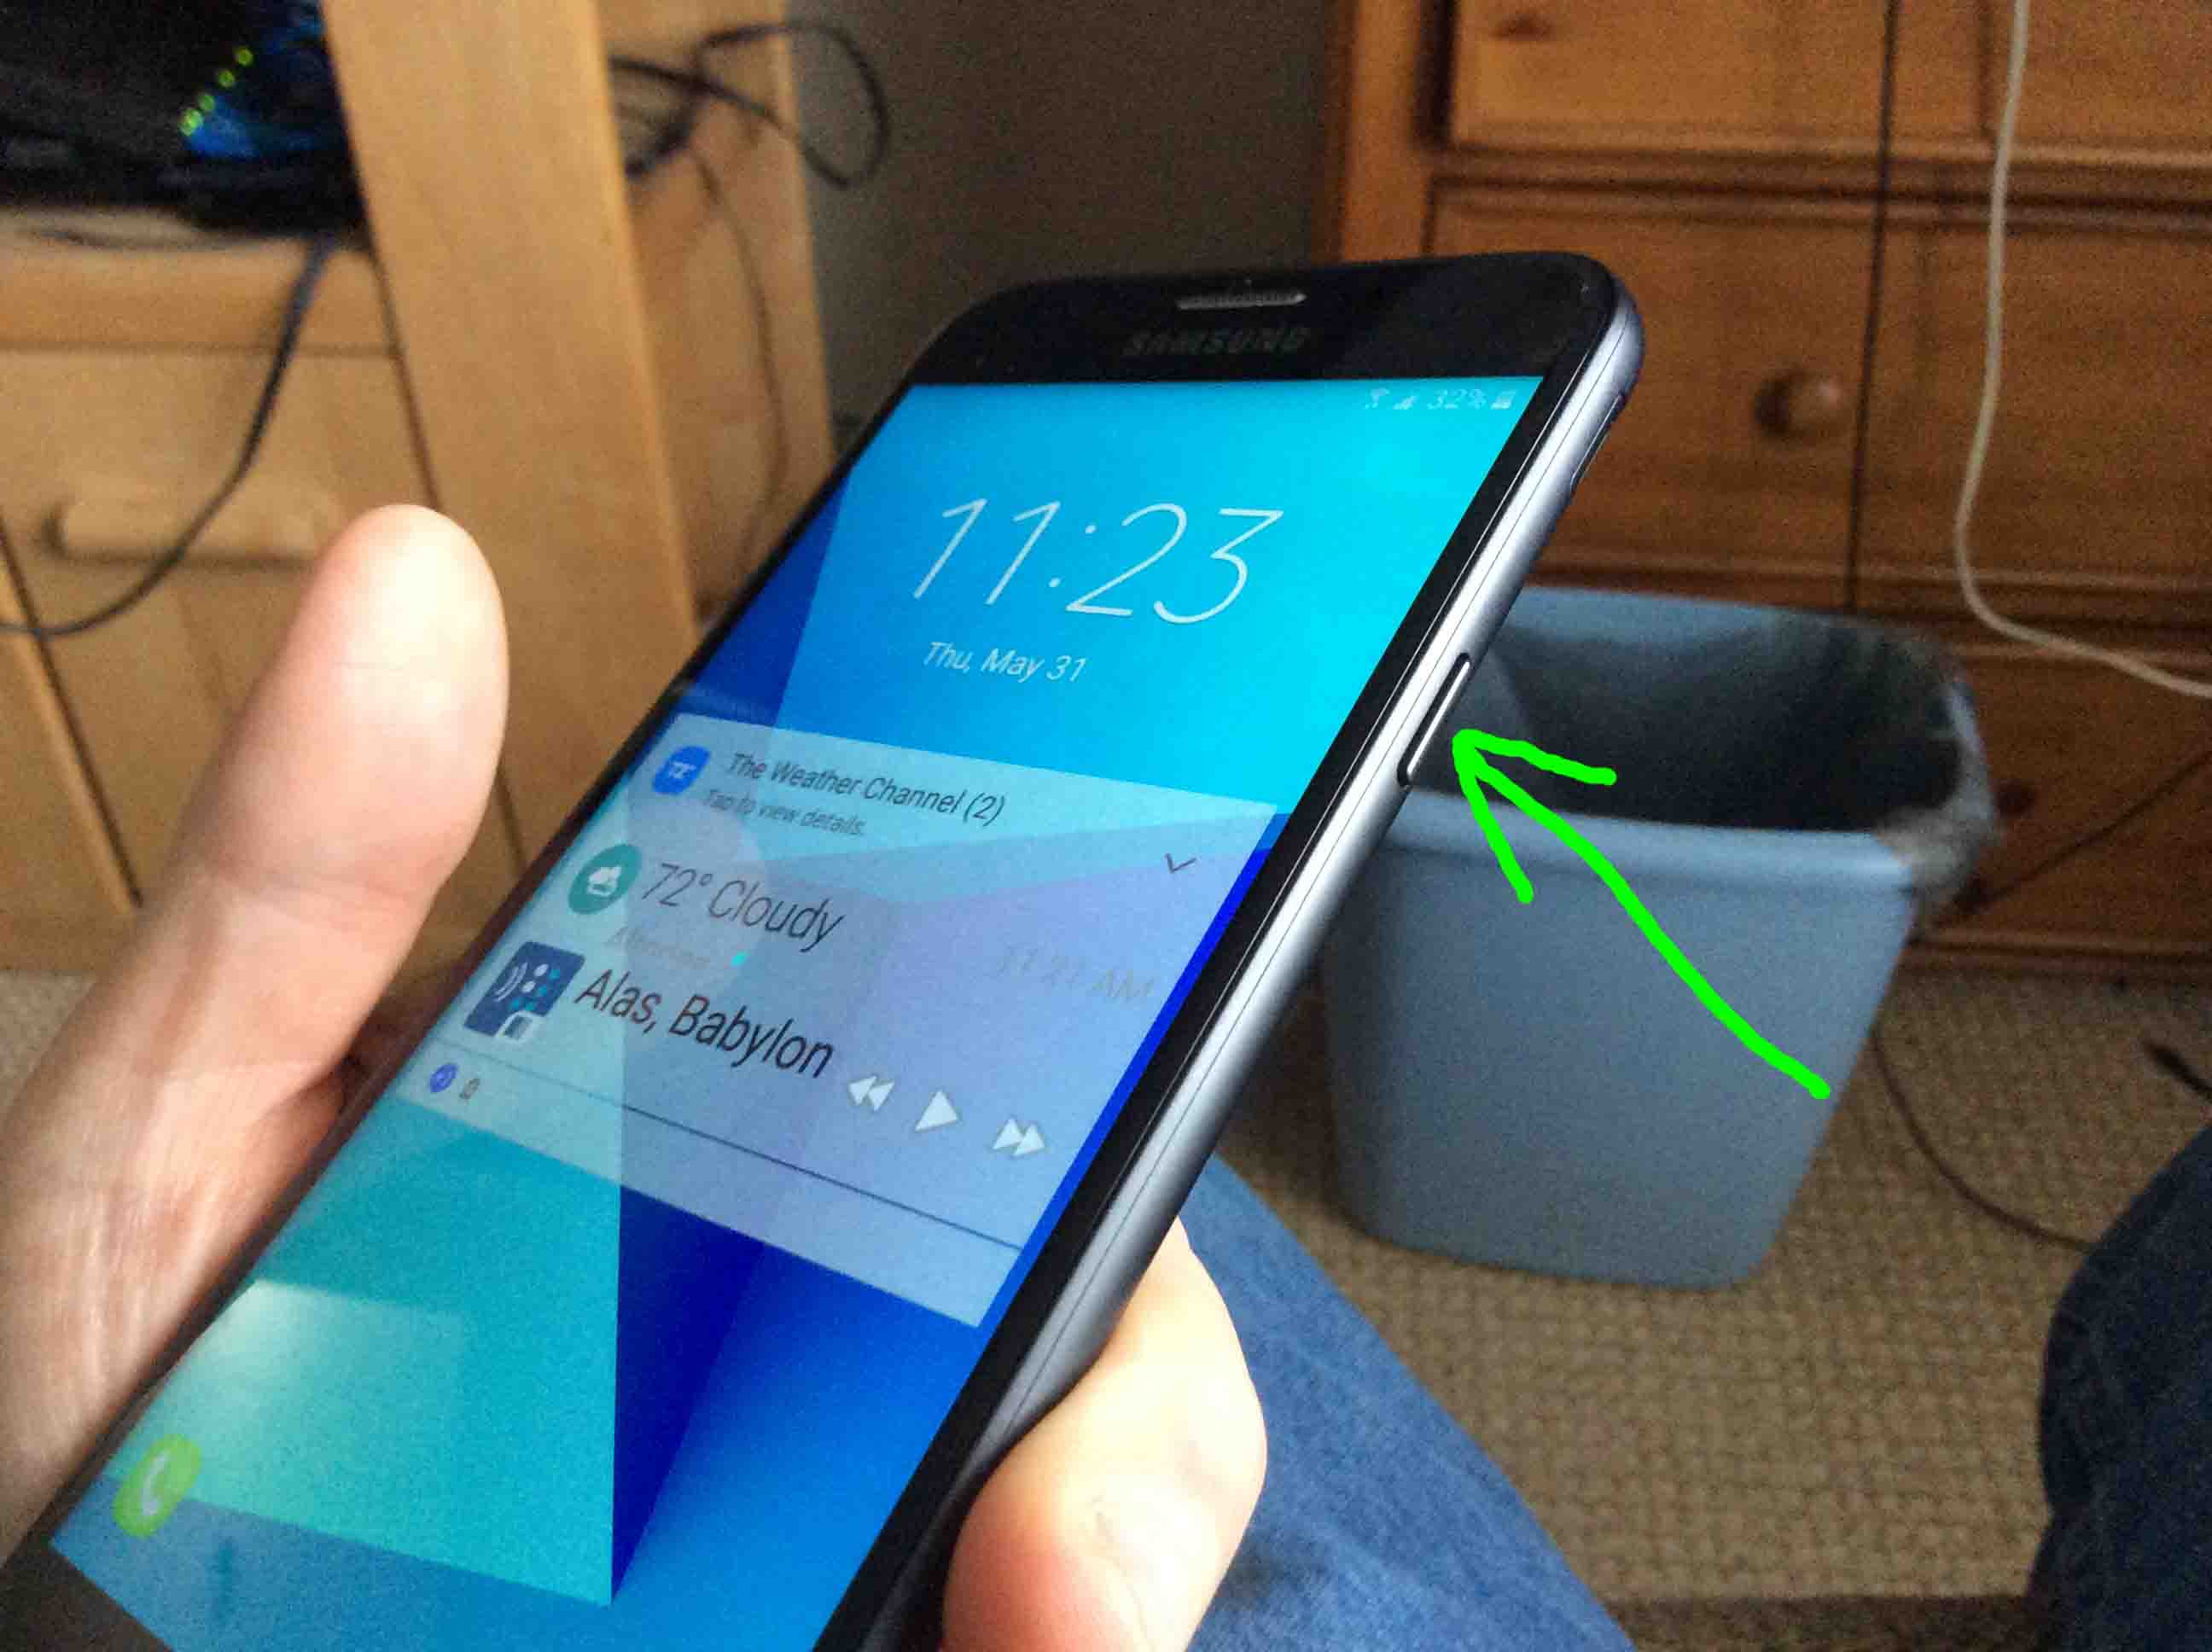
Find the Power button on the J7, as pointed at by the green arrow in the next pic. It’s on the right edge near the top of the phone.
Next, press and hold the Power button until the Power Off / Restart / Emergency Mode choices screen appears.
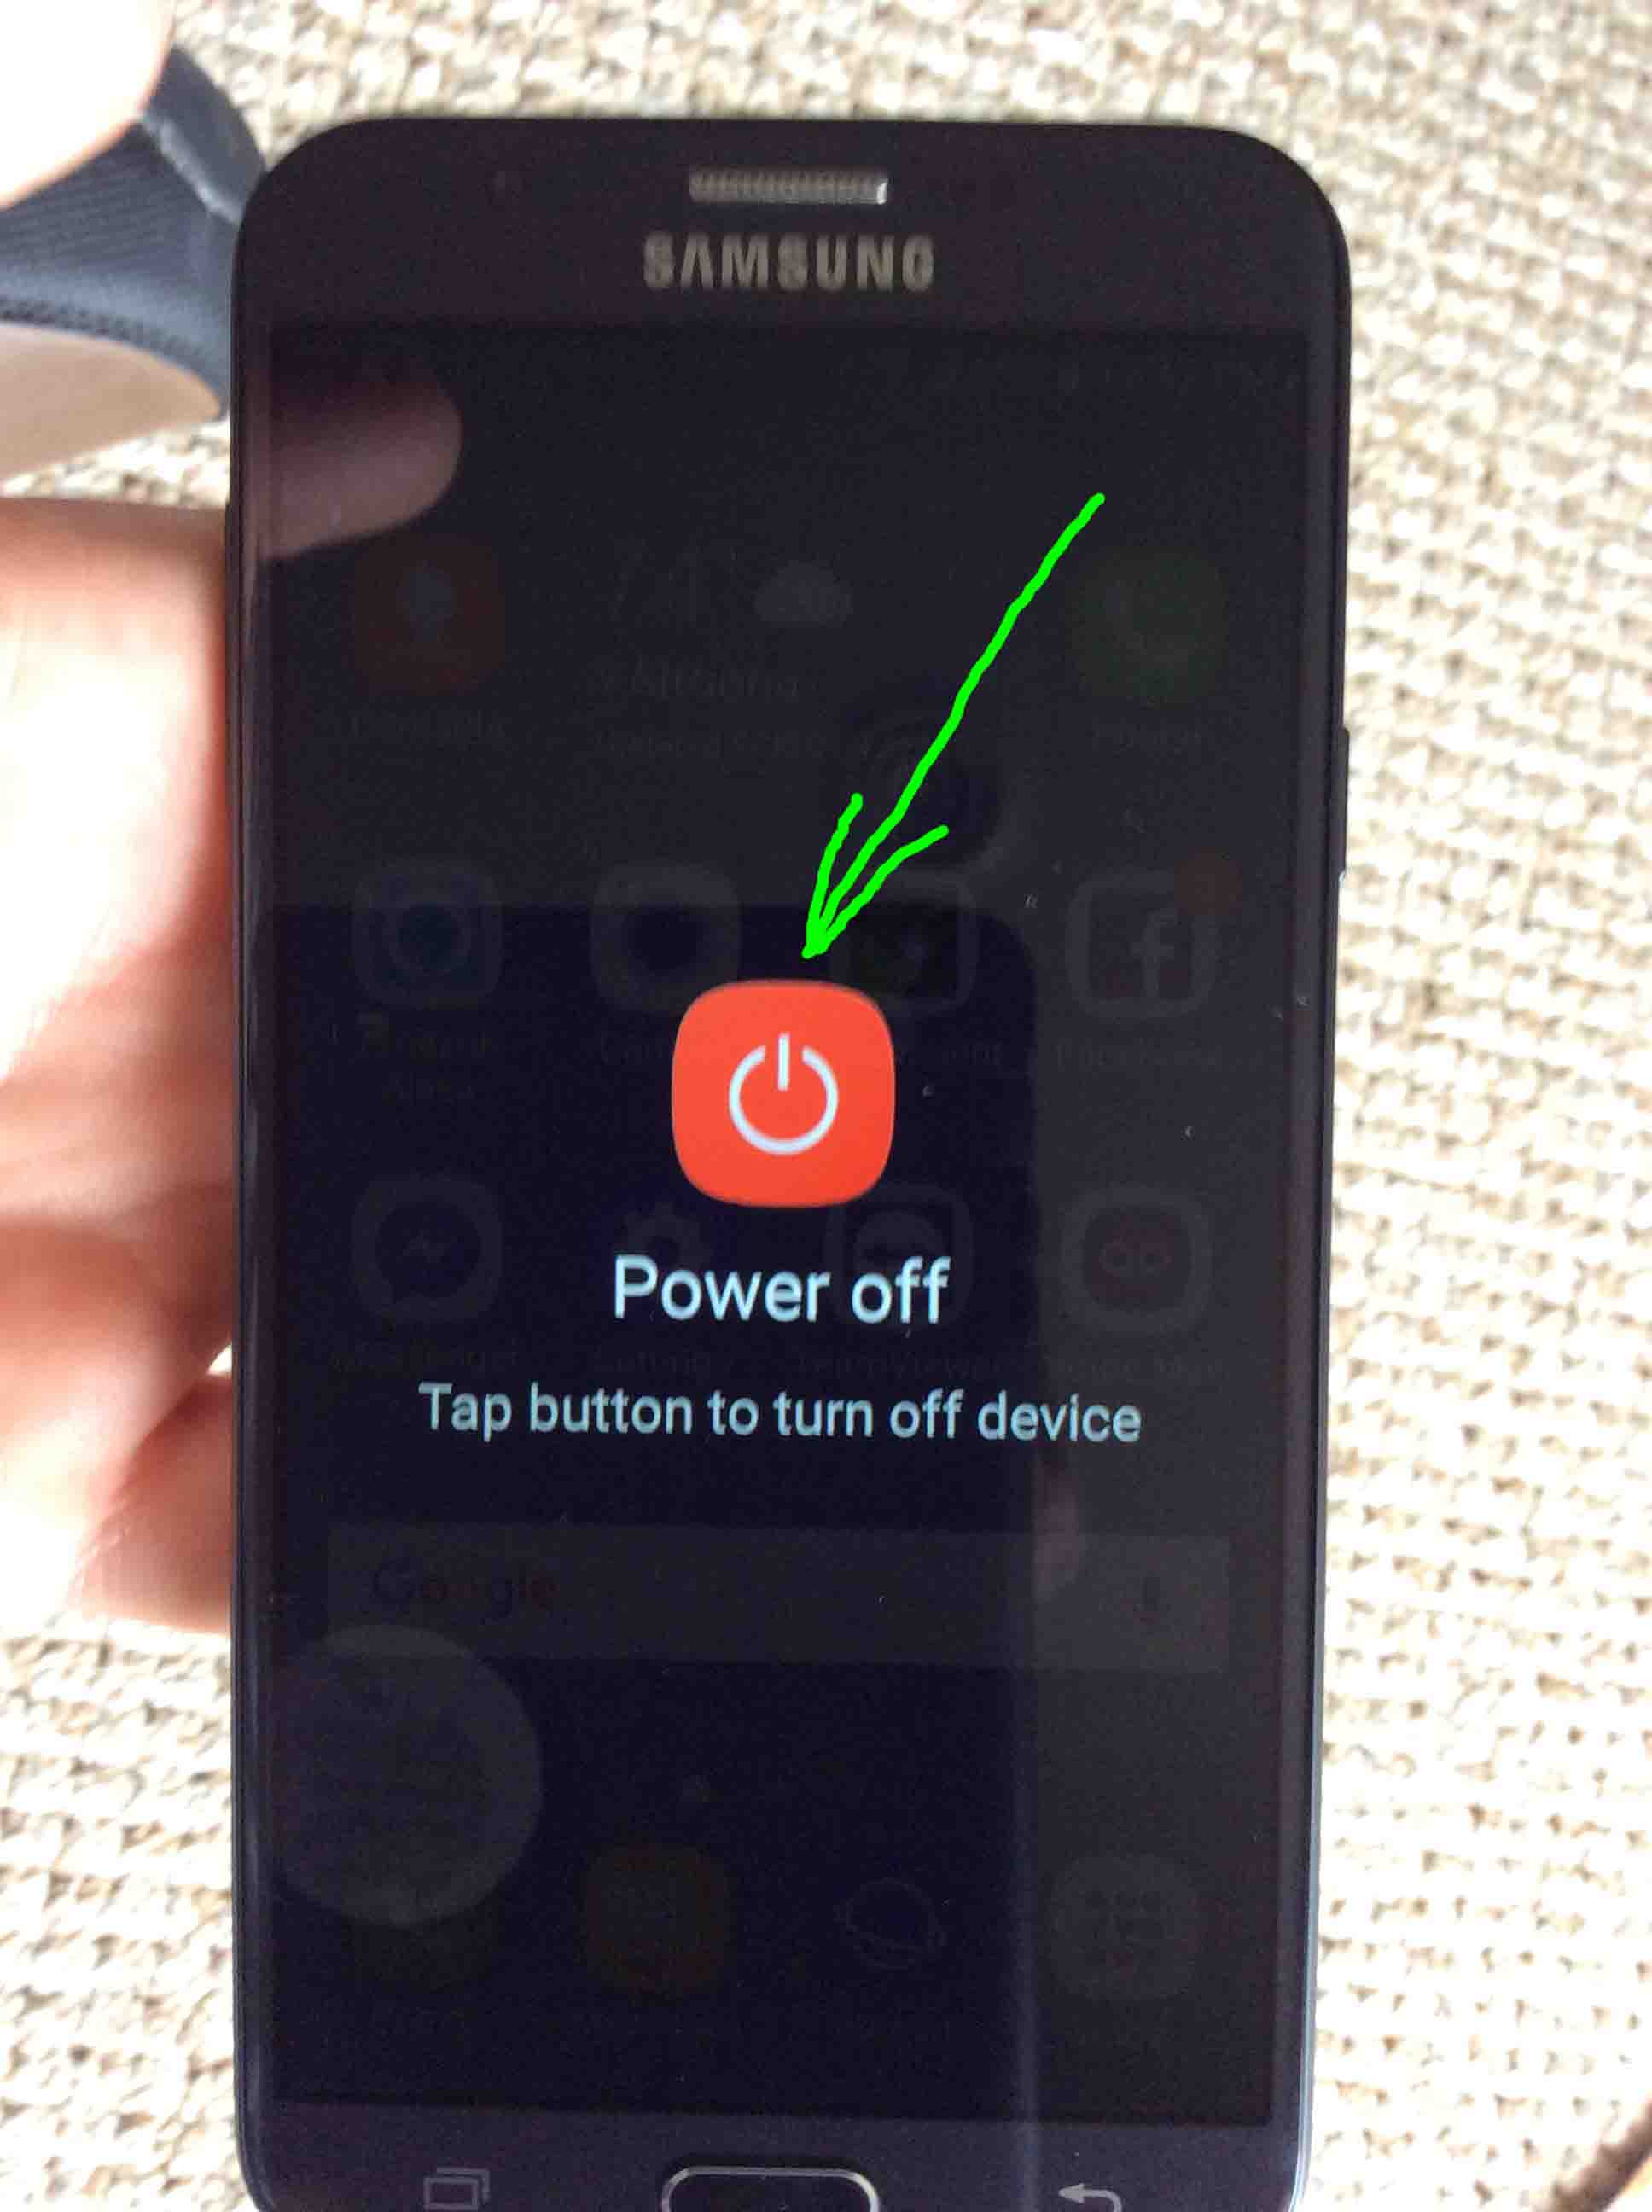
This screen is as shown next.
Next, tap the red Power Off button, shown in the last picture.
Then, the Power Off confirmation screen comes up, as shown next.
Finally, tap the large, red Power Off button, as pointed at by the green arrow in the last picture.
The J7 then shuts down, as shown next.
After several seconds, the phone completely shuts off. It’s screen then goes blank, as shown next.
Hold the J7 in left hand, as shown next.
Find the cover release hole, pointed at in the next picture by the green arrow.
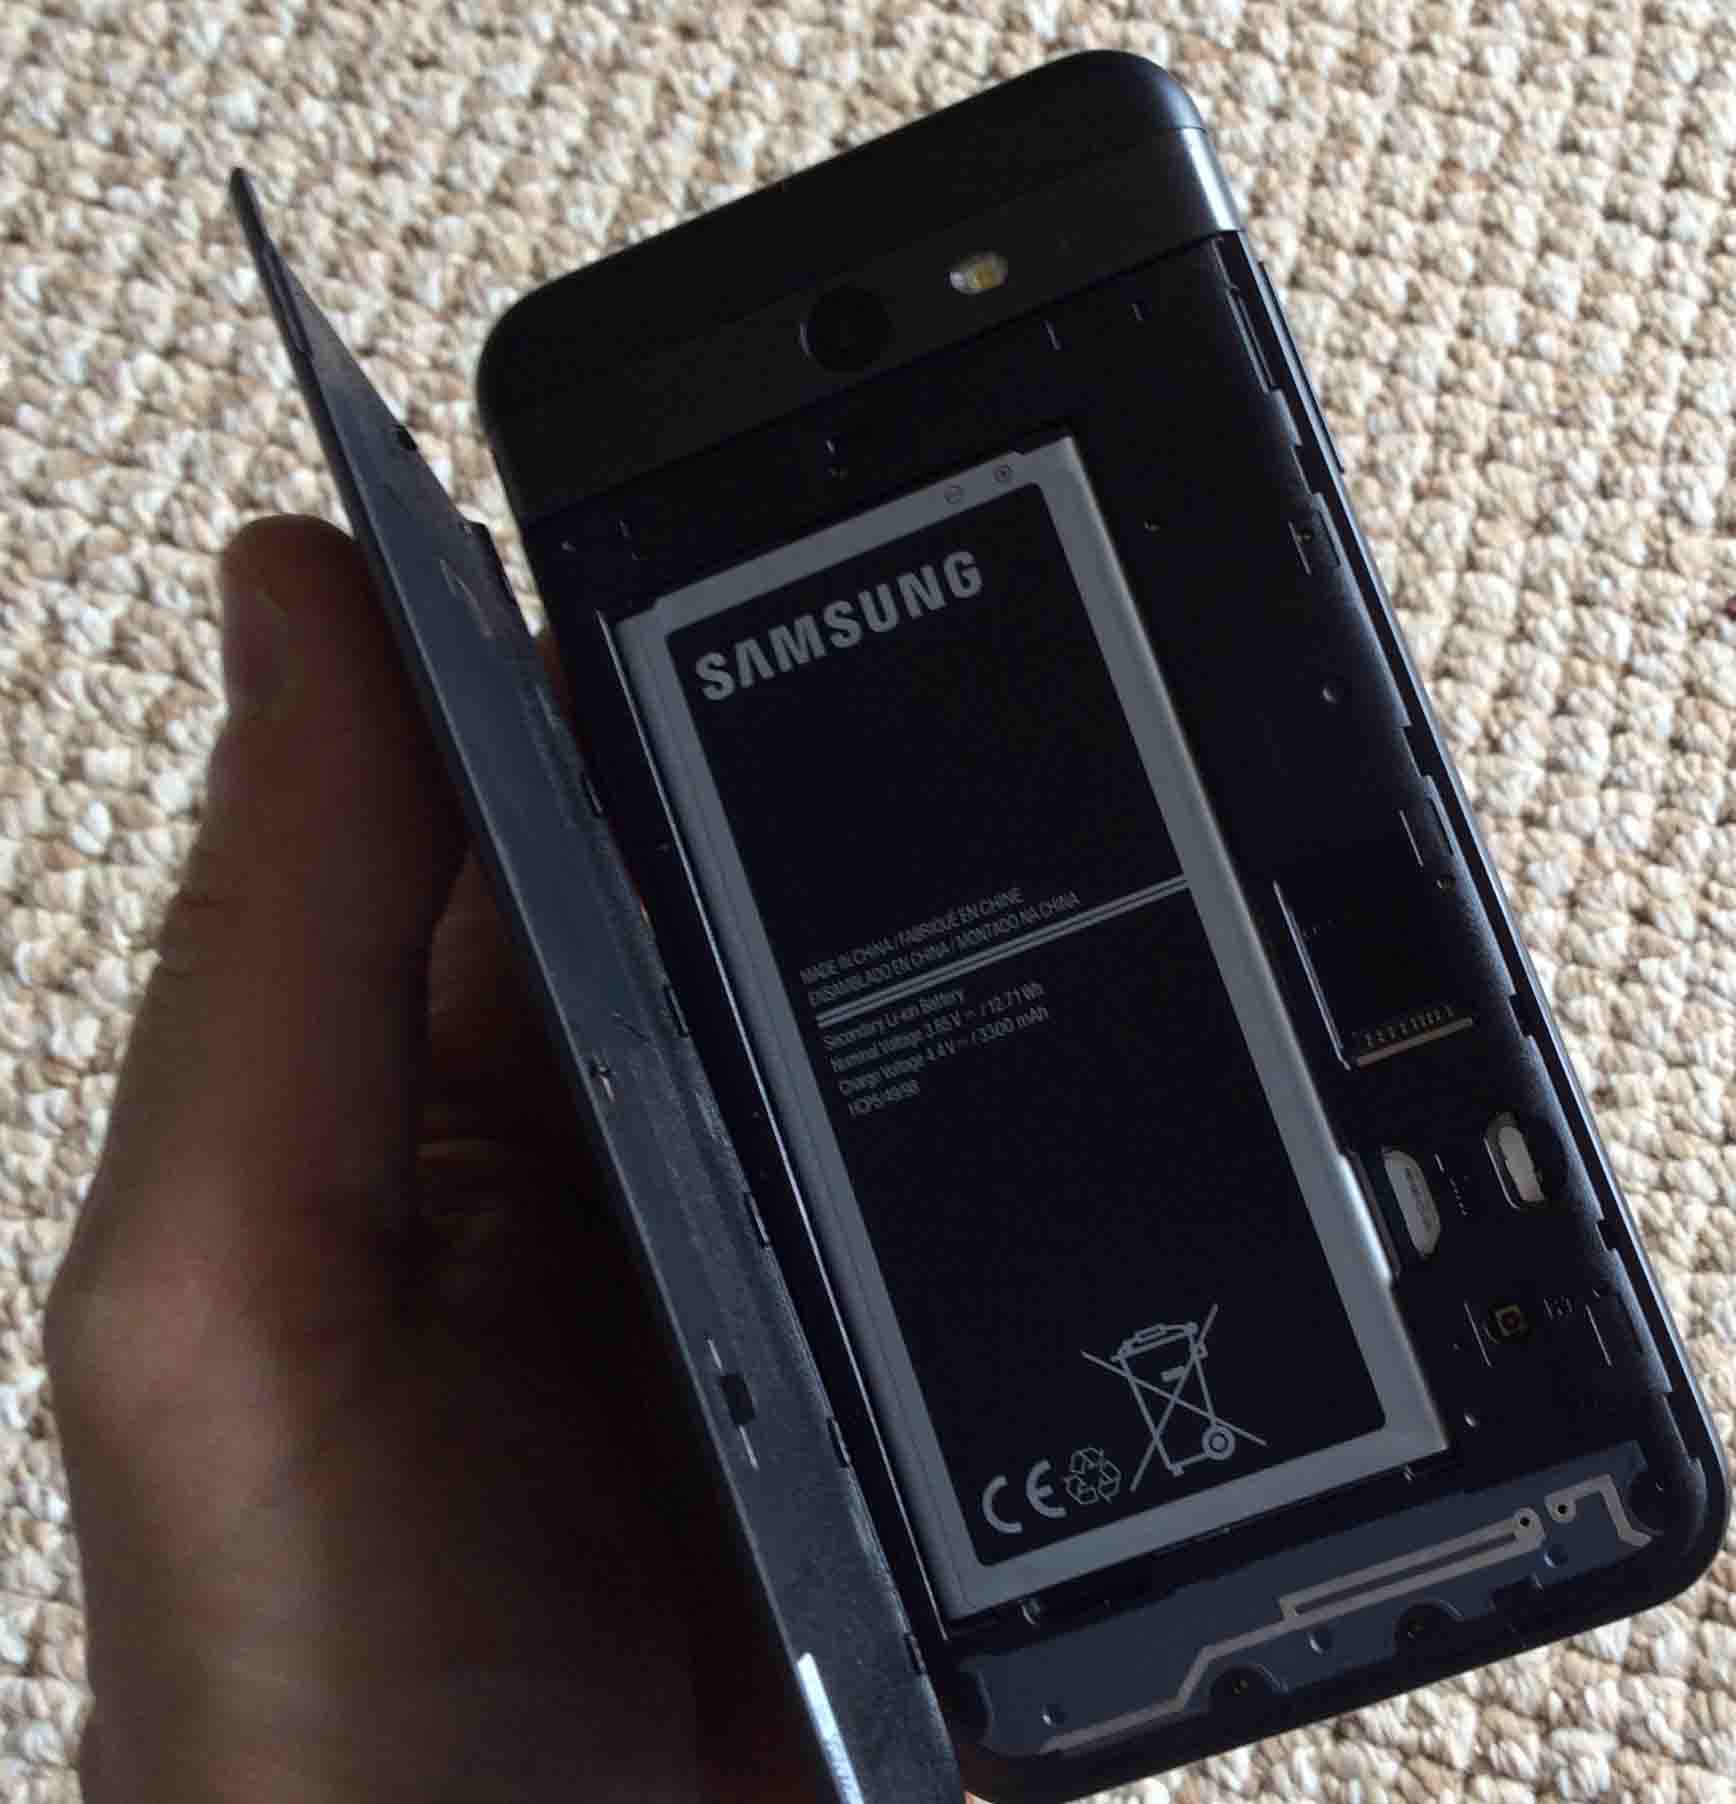
Then, insert a small flat head screwdriver or other thin, flat object into the slot. Then turn it gently, to snap open the back cover, as shown next.
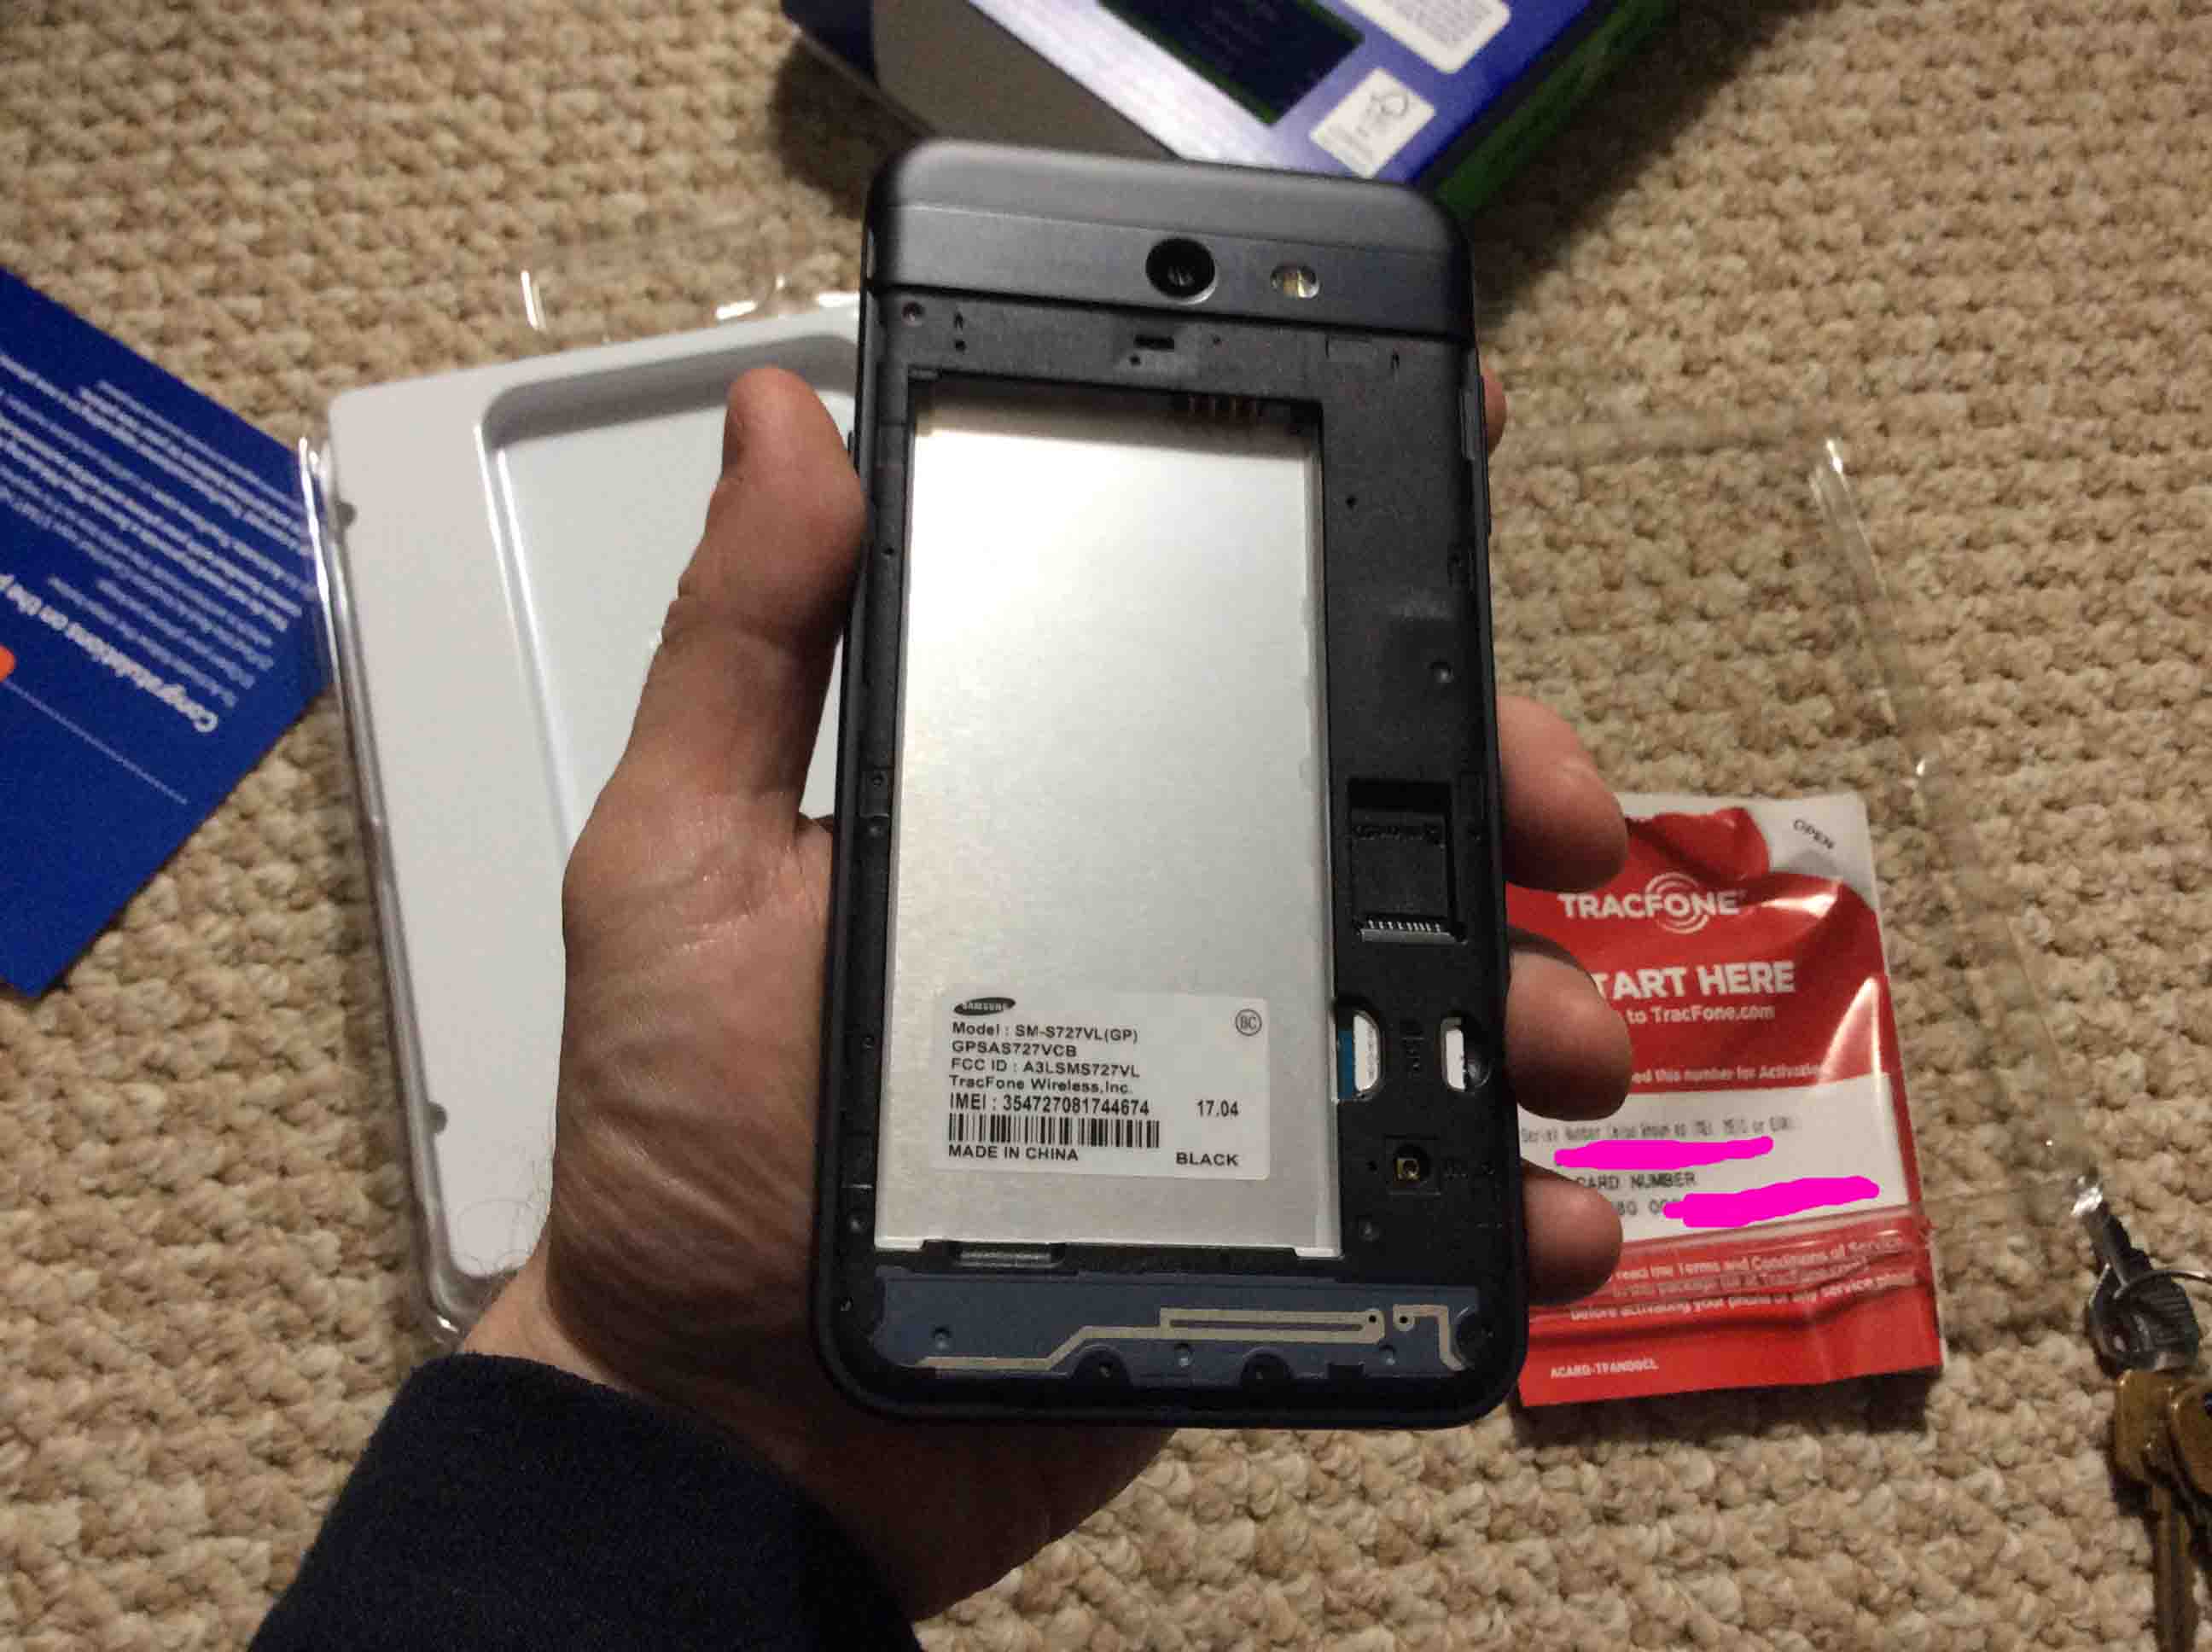
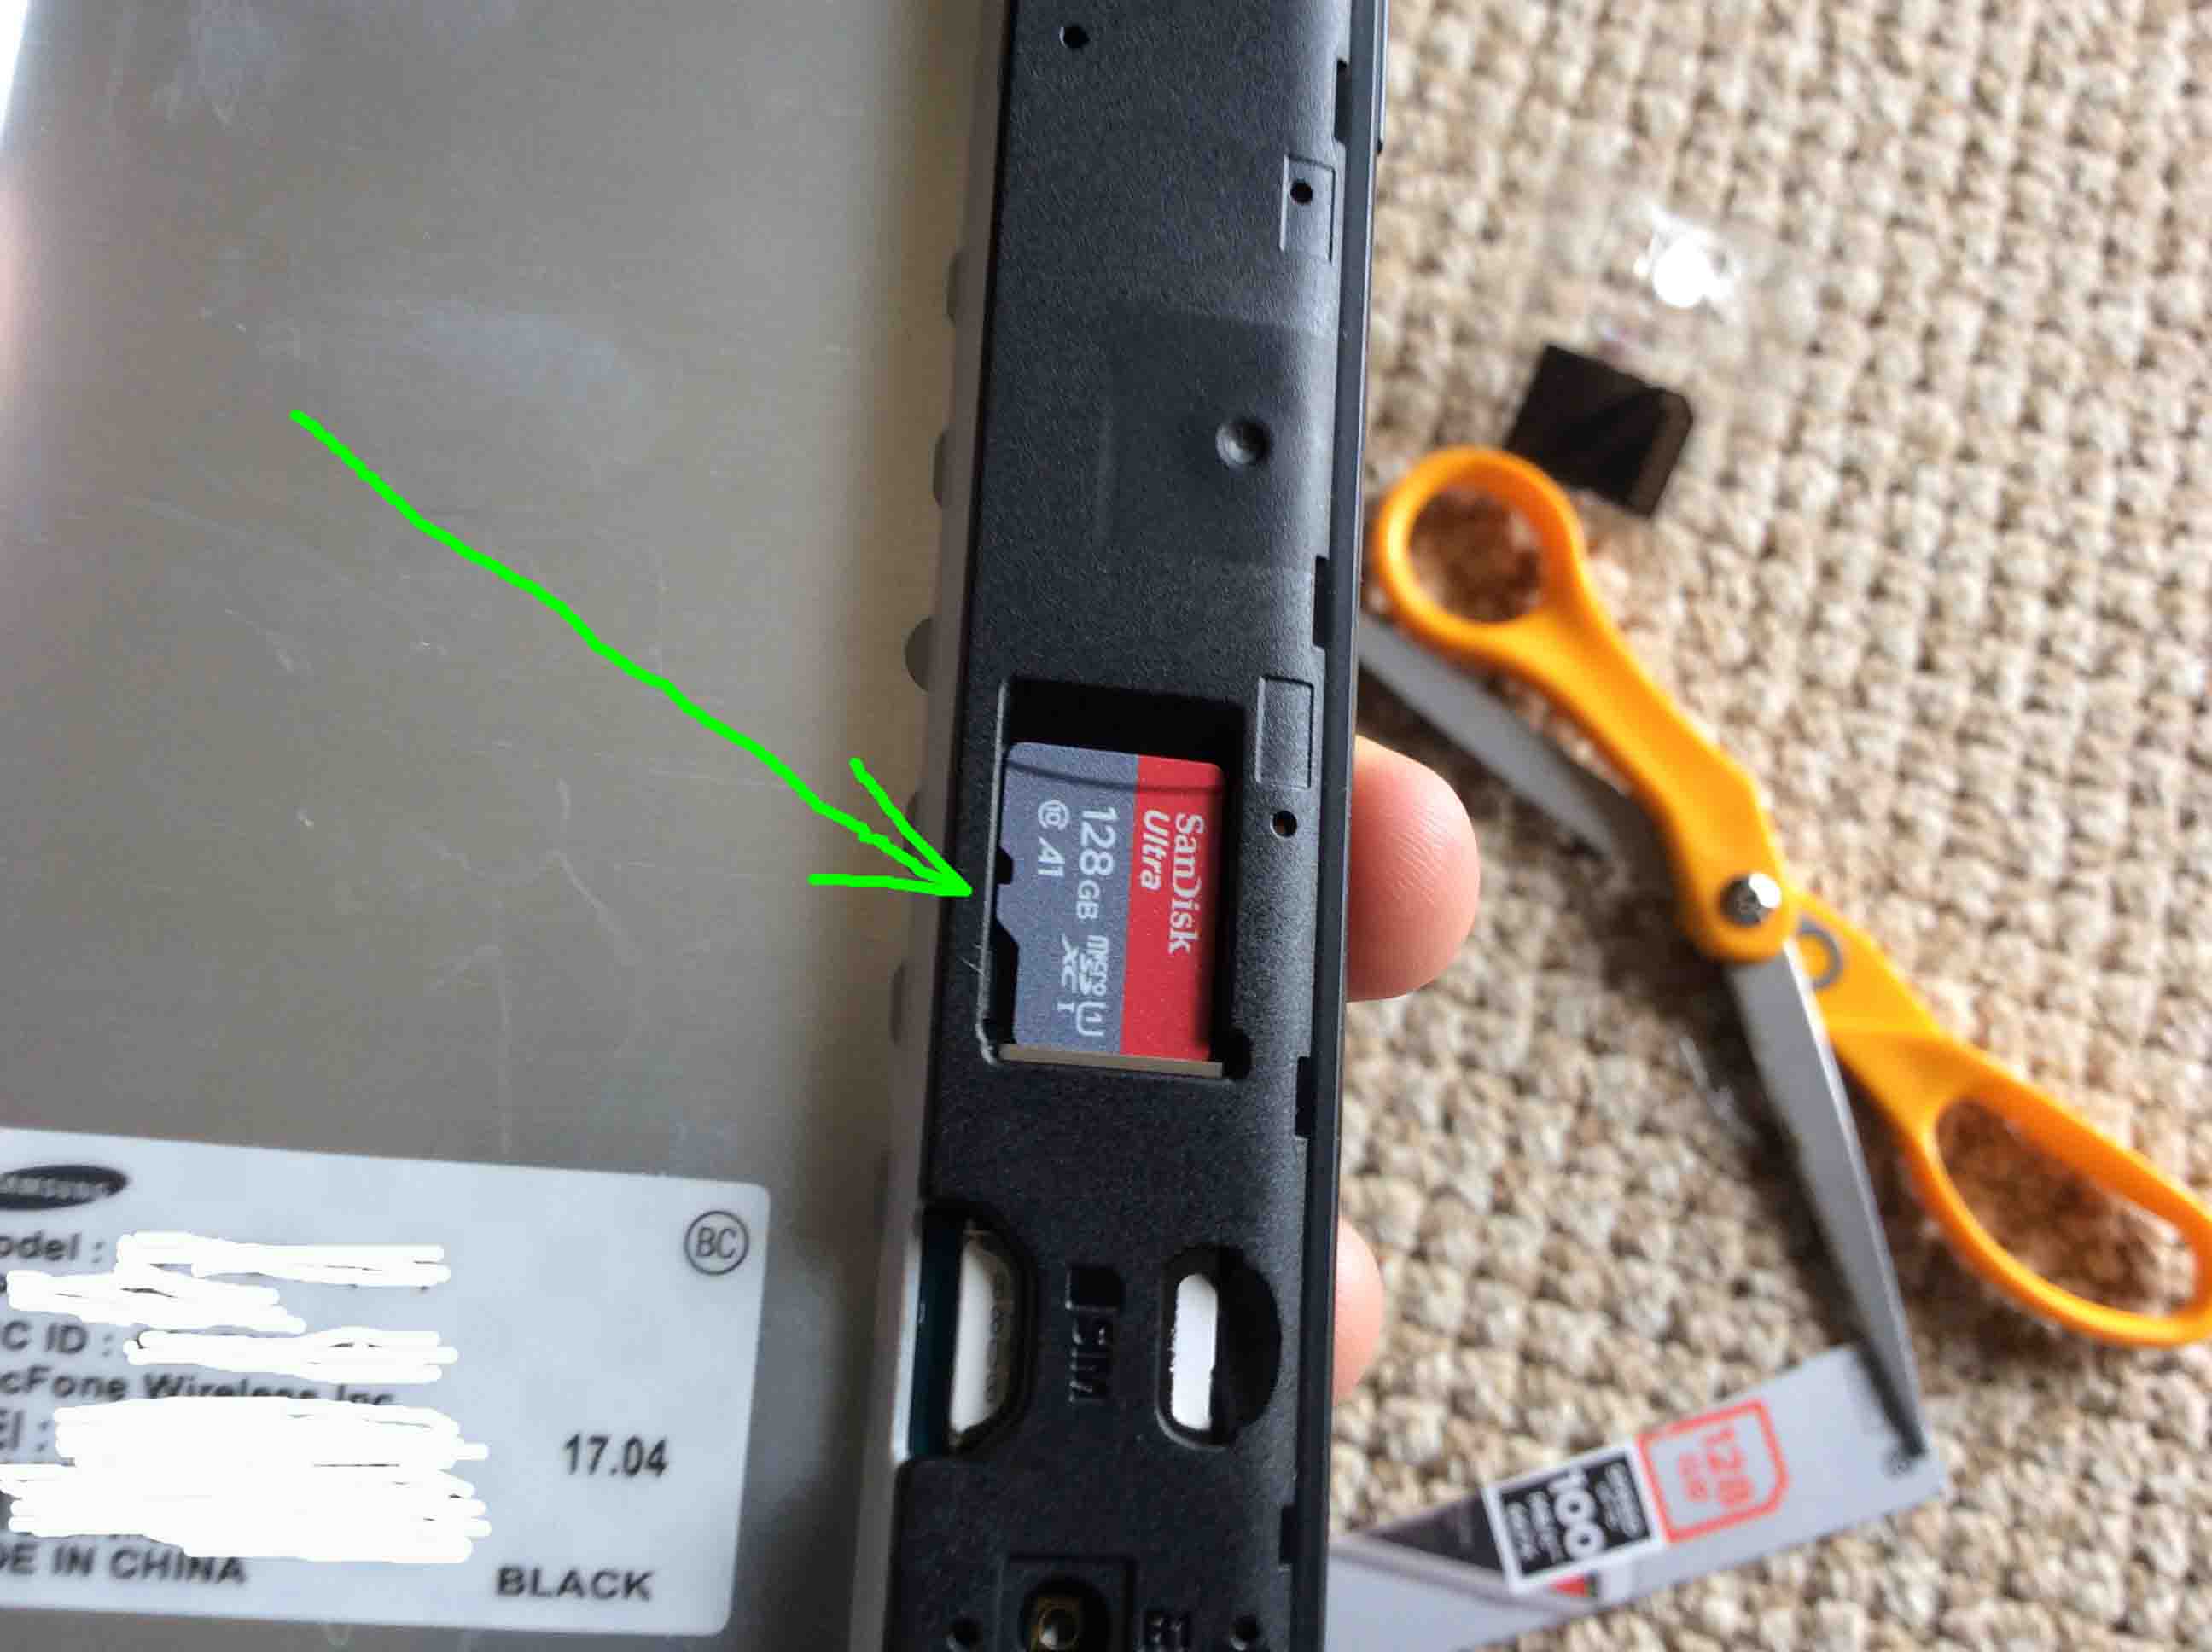
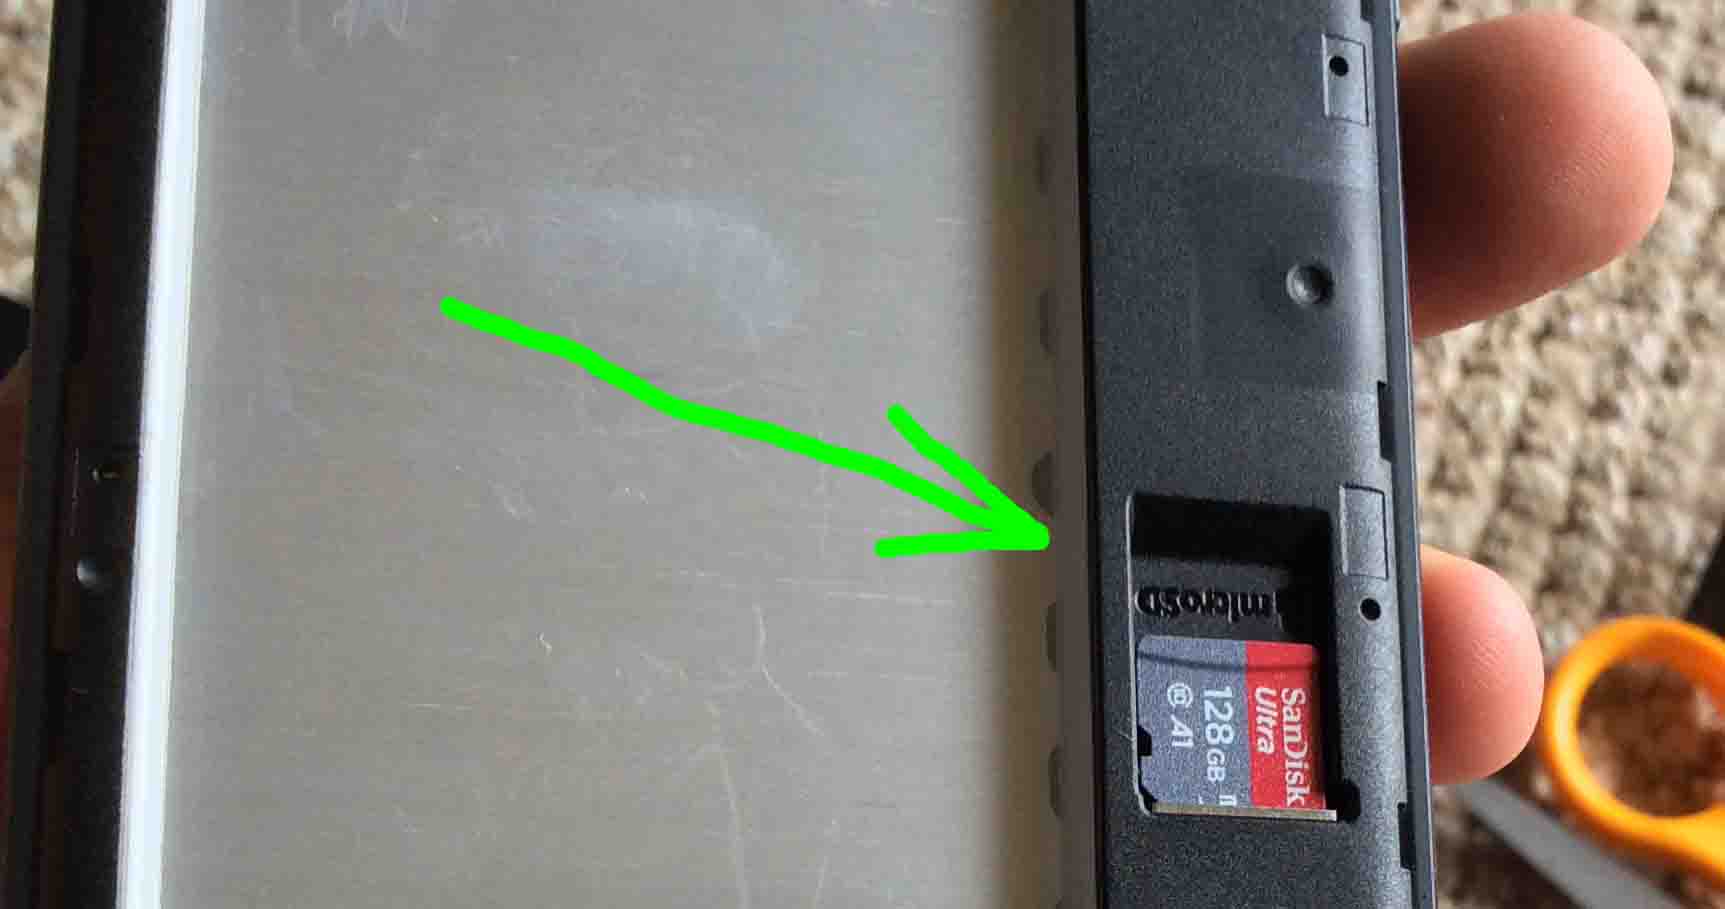
Removing the back cover reveals the battery and memory card slot, as shown next.
See the battery at the left center of the phone, and the card slot near the right edge just above the lower right corner.
Taking out the battery ensures that the phone is powered down all the way. To protect the smart phone as well as your new memory, there should be no power in the phone when you add the memory.
We’ve tested this Samsung Ultra micro SD card with the J7. It works well. The phone can access the entire 128 GB of memory on this UHS-1 storage device. Plus, the access is plenty fast for most phone uses like running apps, storing pictures, and viewing pics and movies from it.
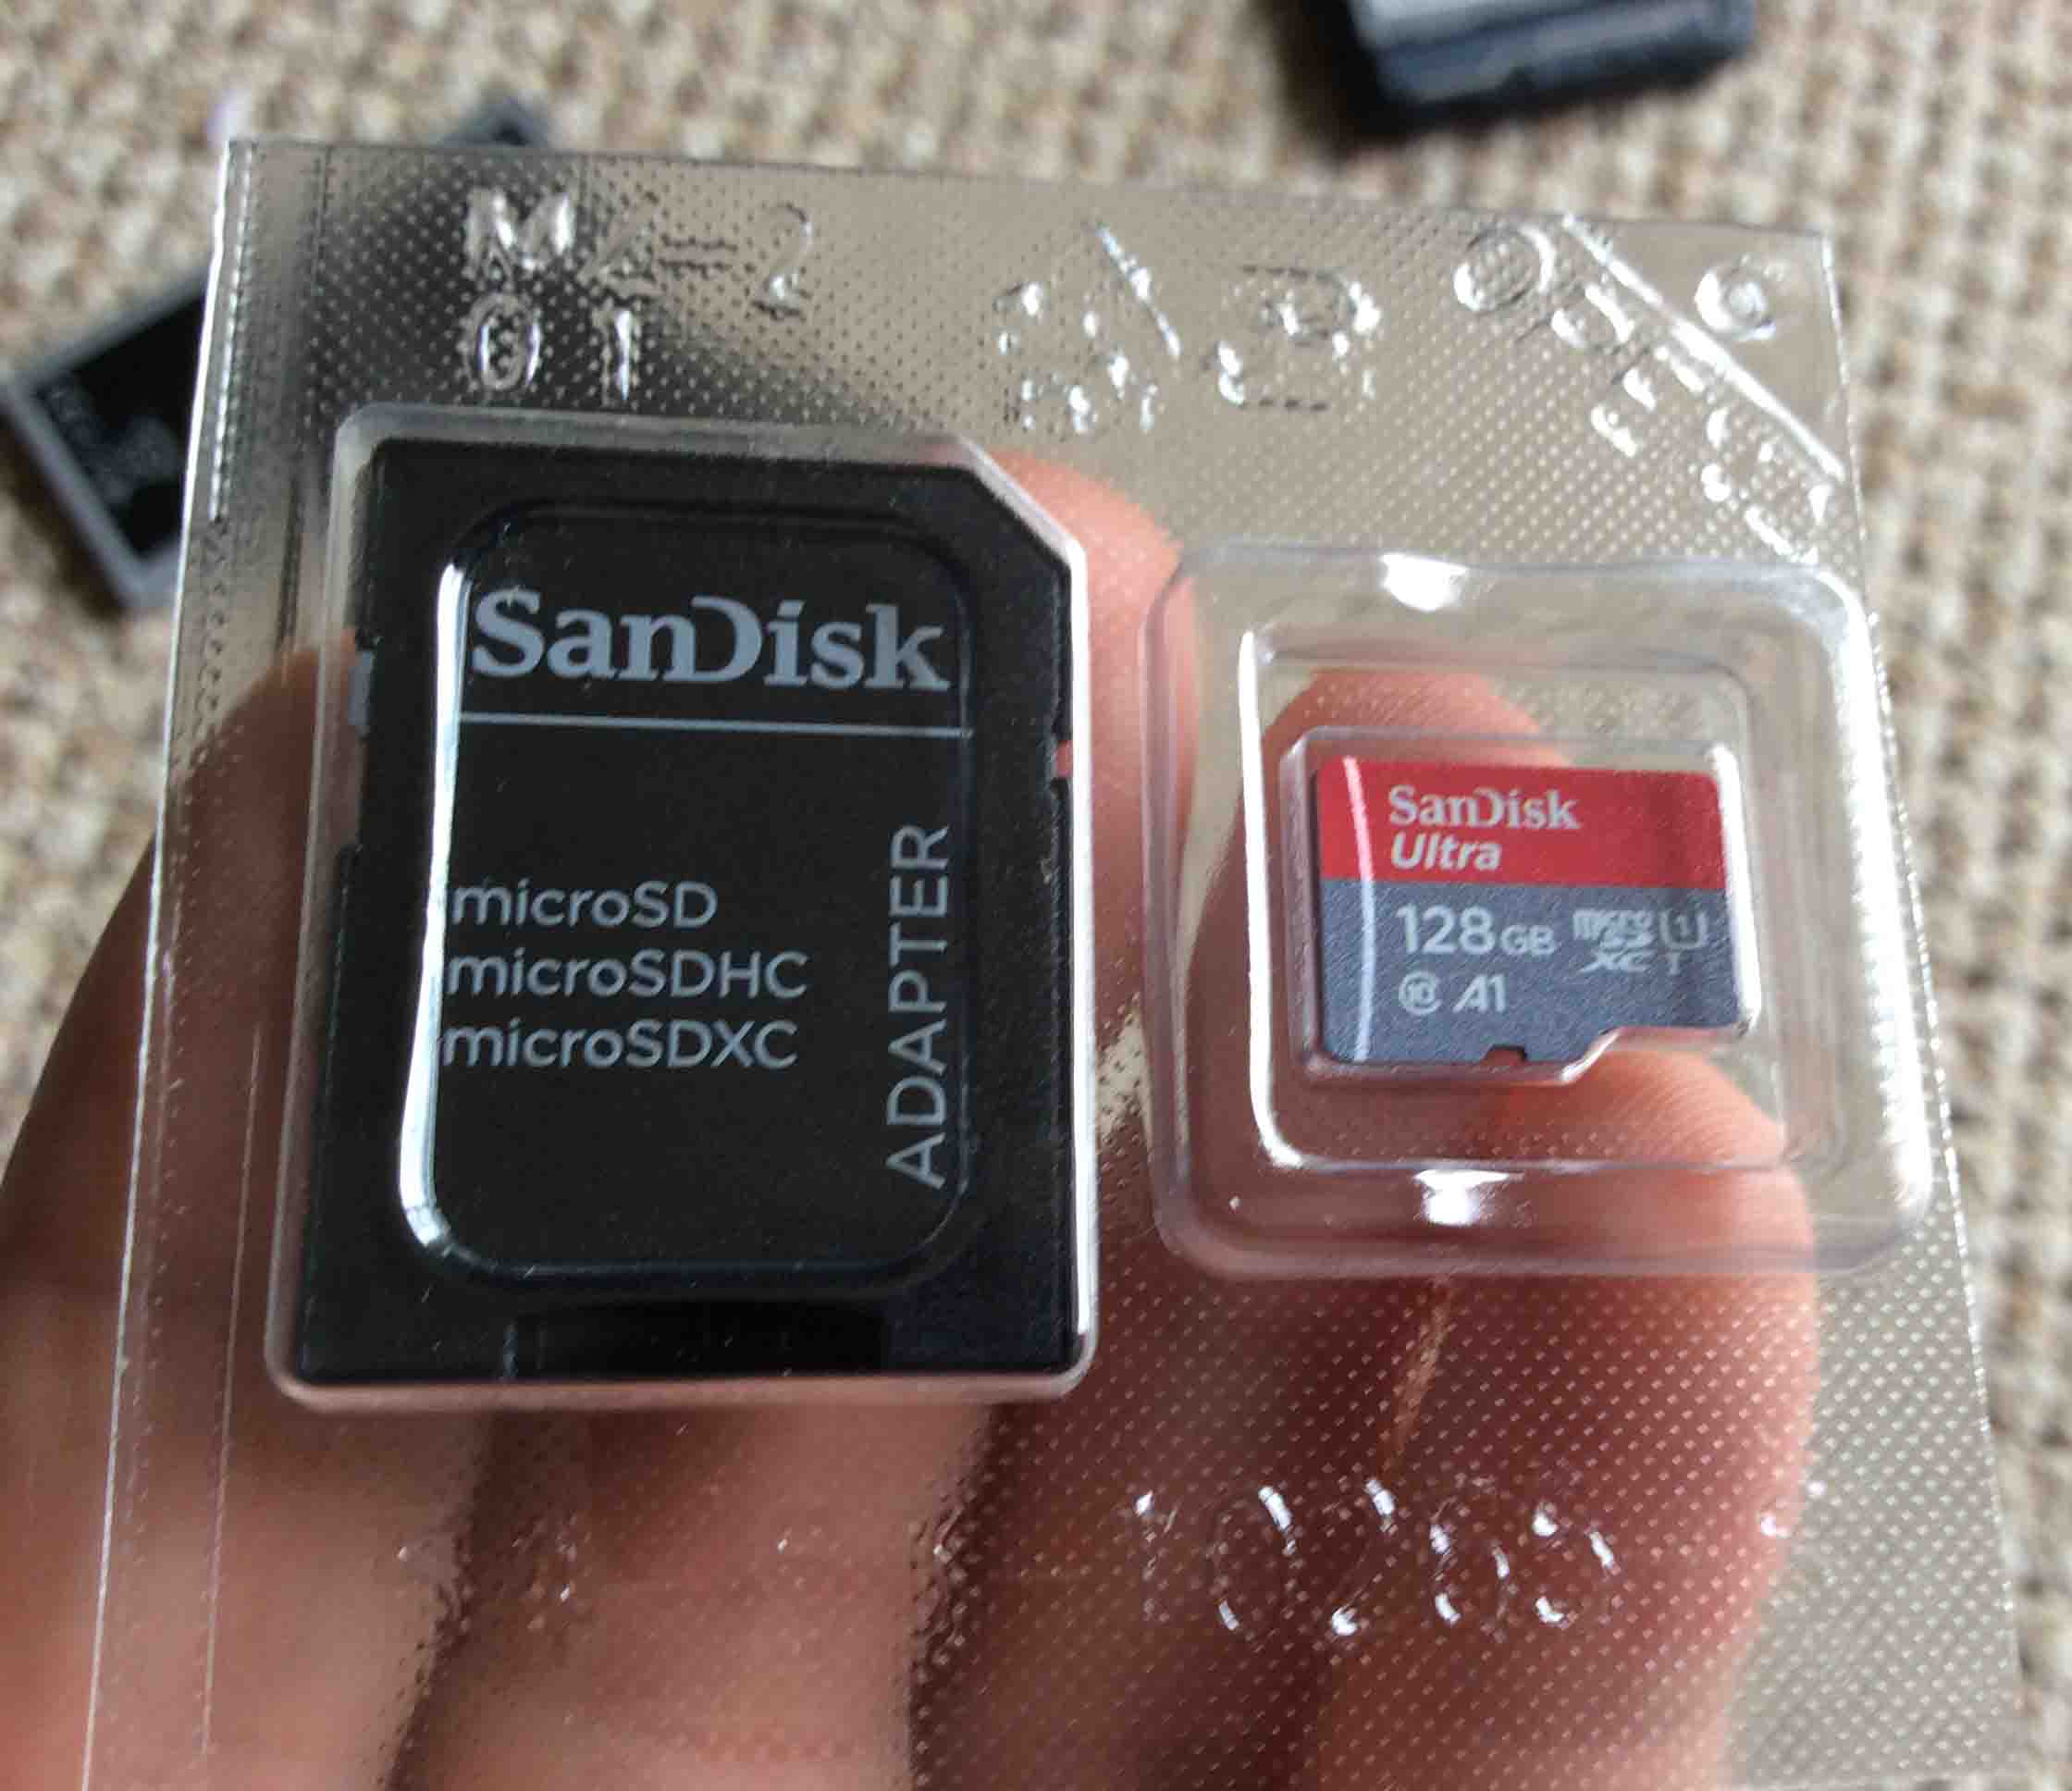
There-s an inner plastic tray in the middle of this package that holds the memory and adapter. To get that out, we cut a vertical slit just to the right of the memory itself.
This inner clear tray that holds the adapter and memory has a thin, Cellophane-like cover. Peel this off to gain access to the micro card inside.
Note that we won’t need the adapter, since the J7 accepts the micro SD card already.
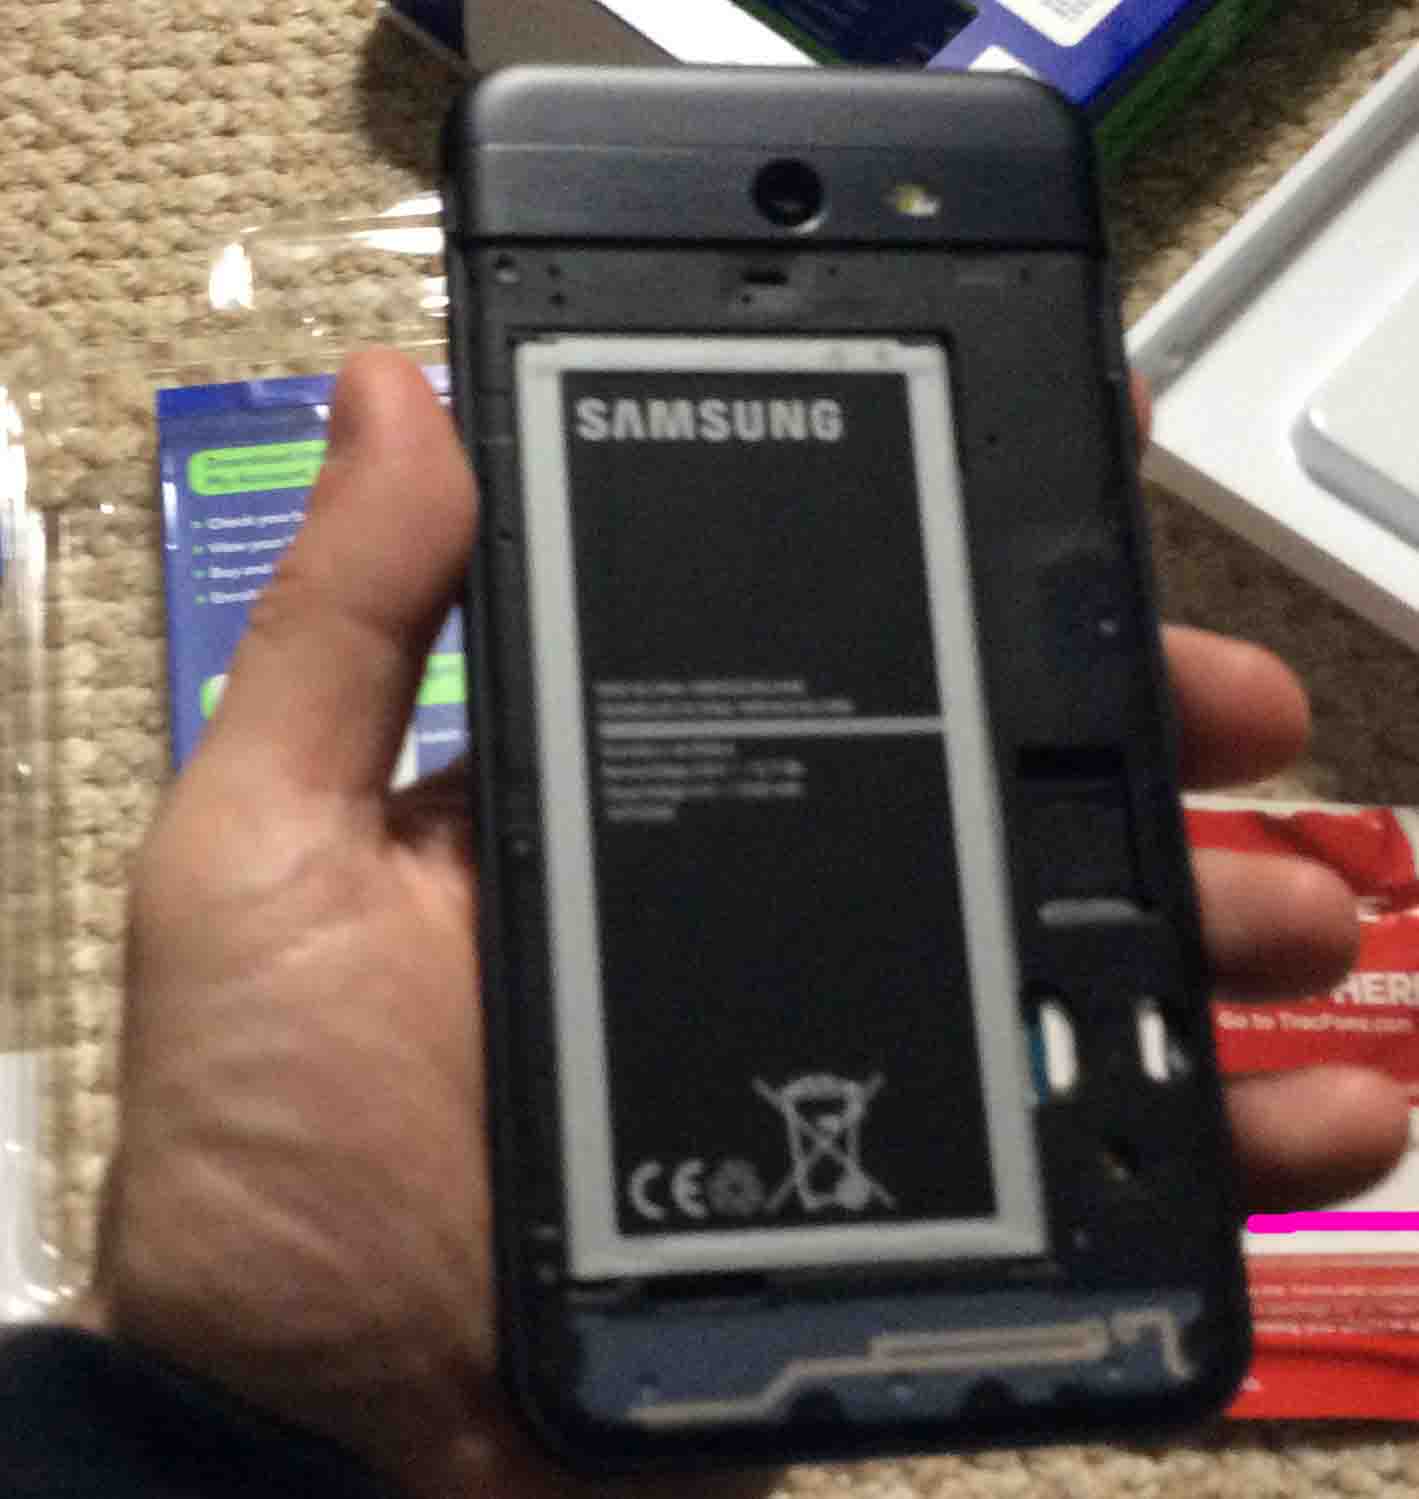
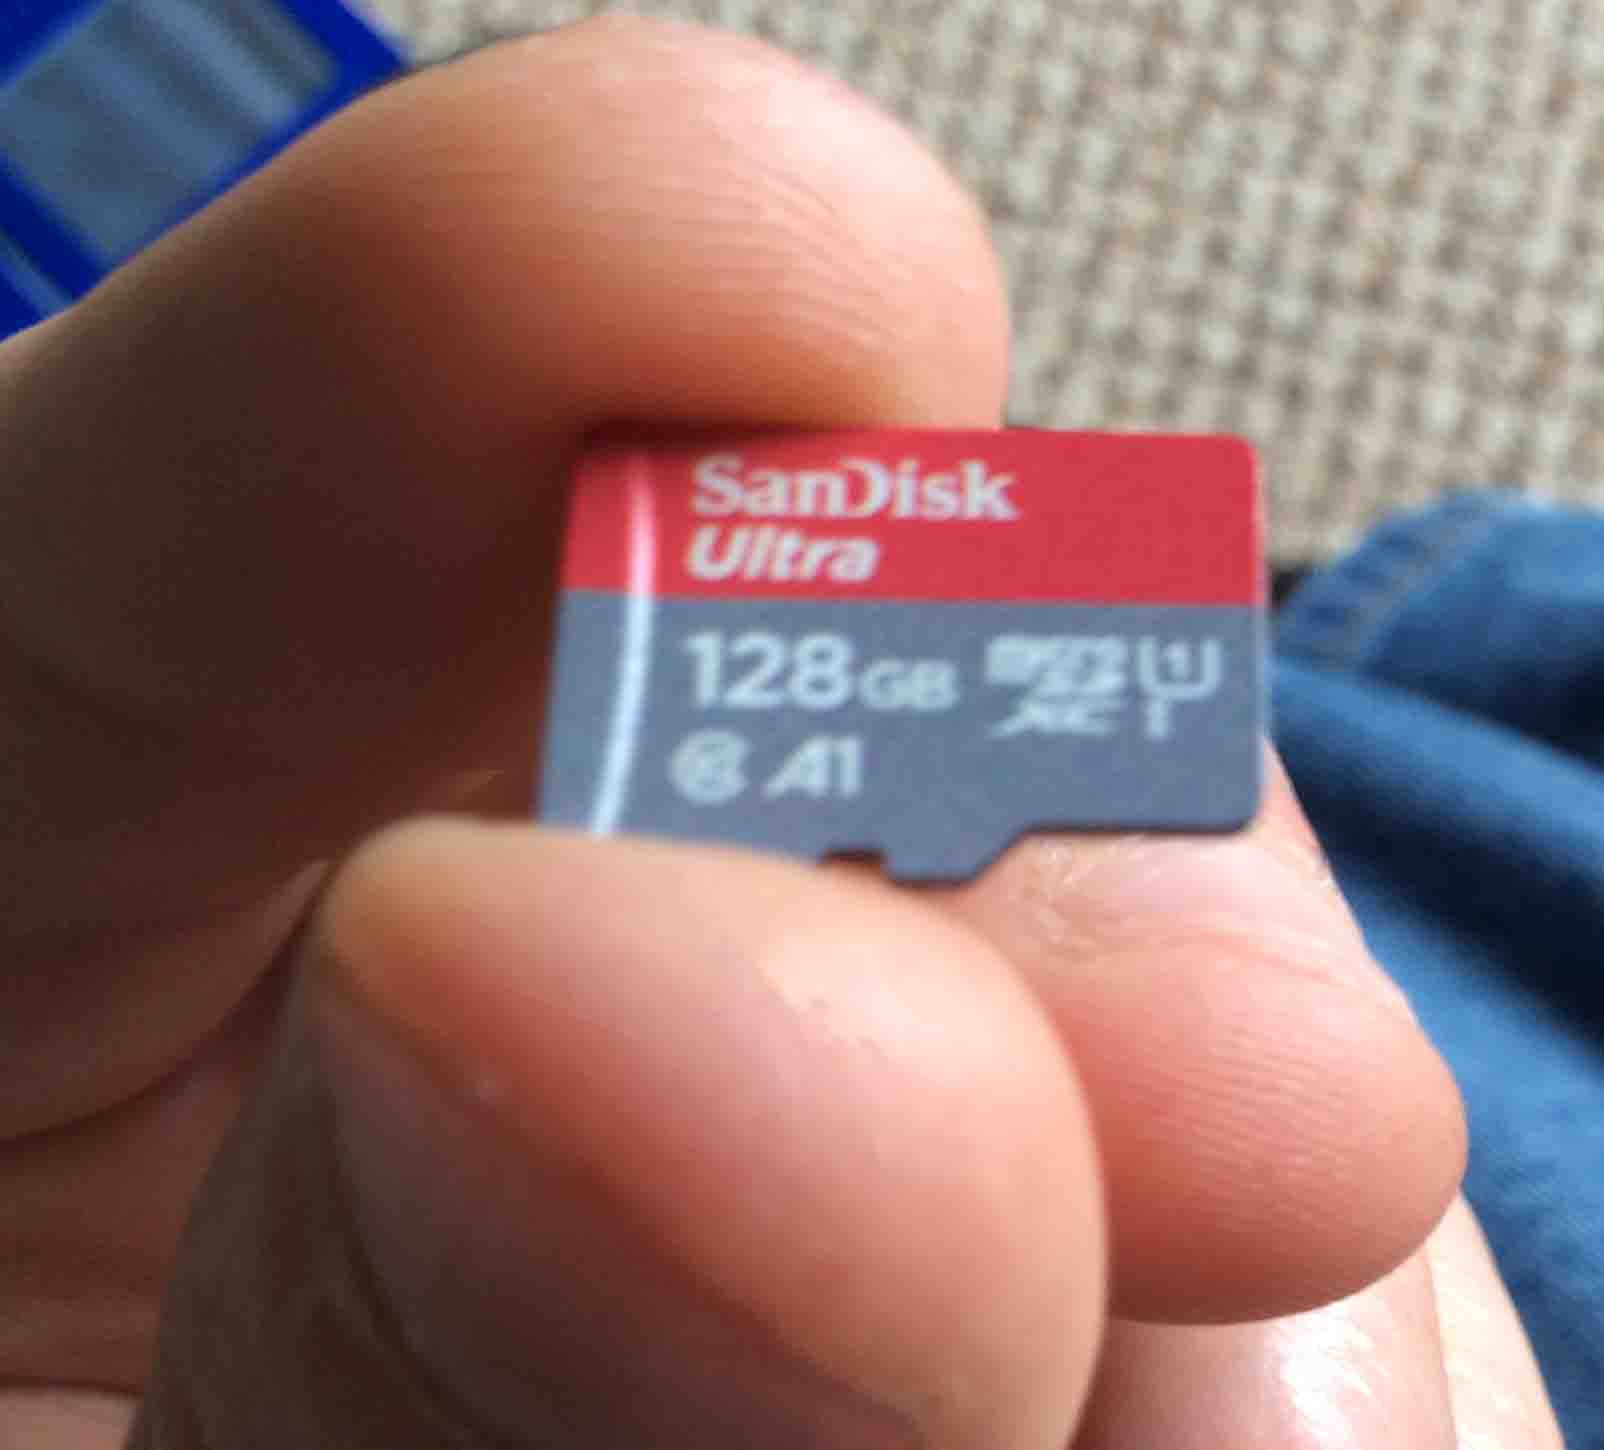
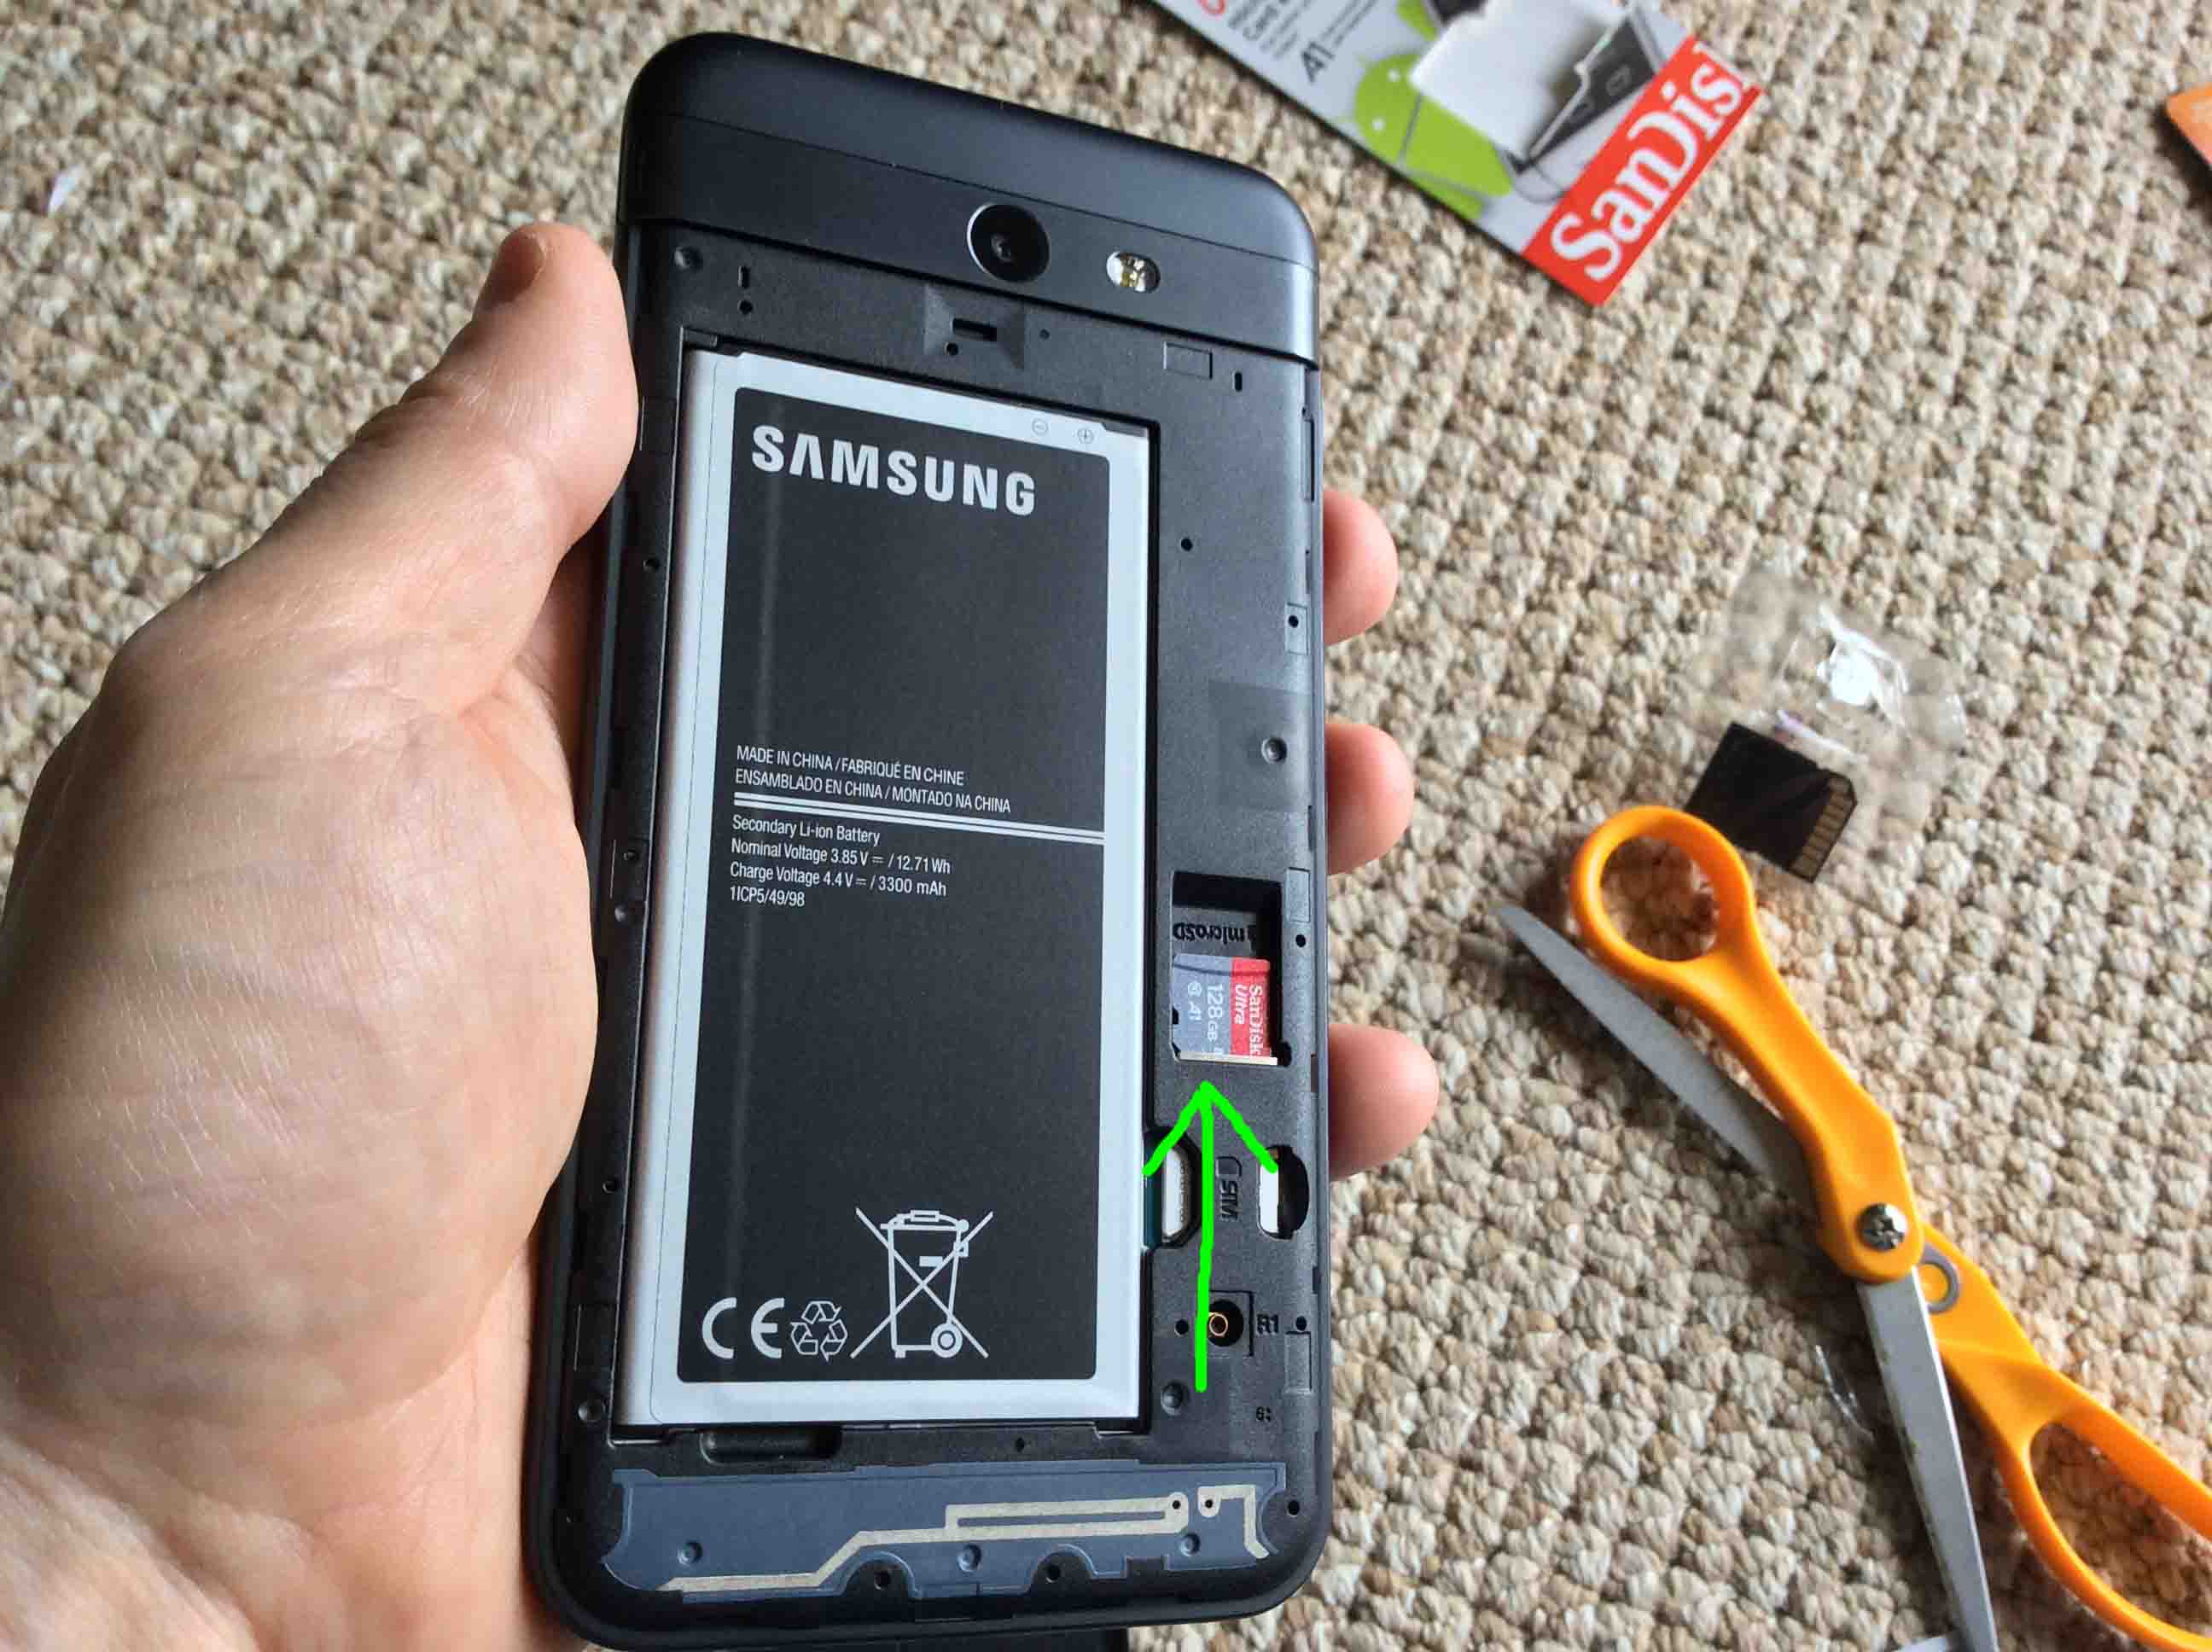
Lay the new memory into the small well with the label side facing you, as shown in the next shot, pointed at by the green arrow.
Then, slide the card down toward the bottom of the phone, as shown next, until it snaps in.
Put in the battery, label side up, as shown next.
Snap the back cover over the battery and new memory, as shown next.
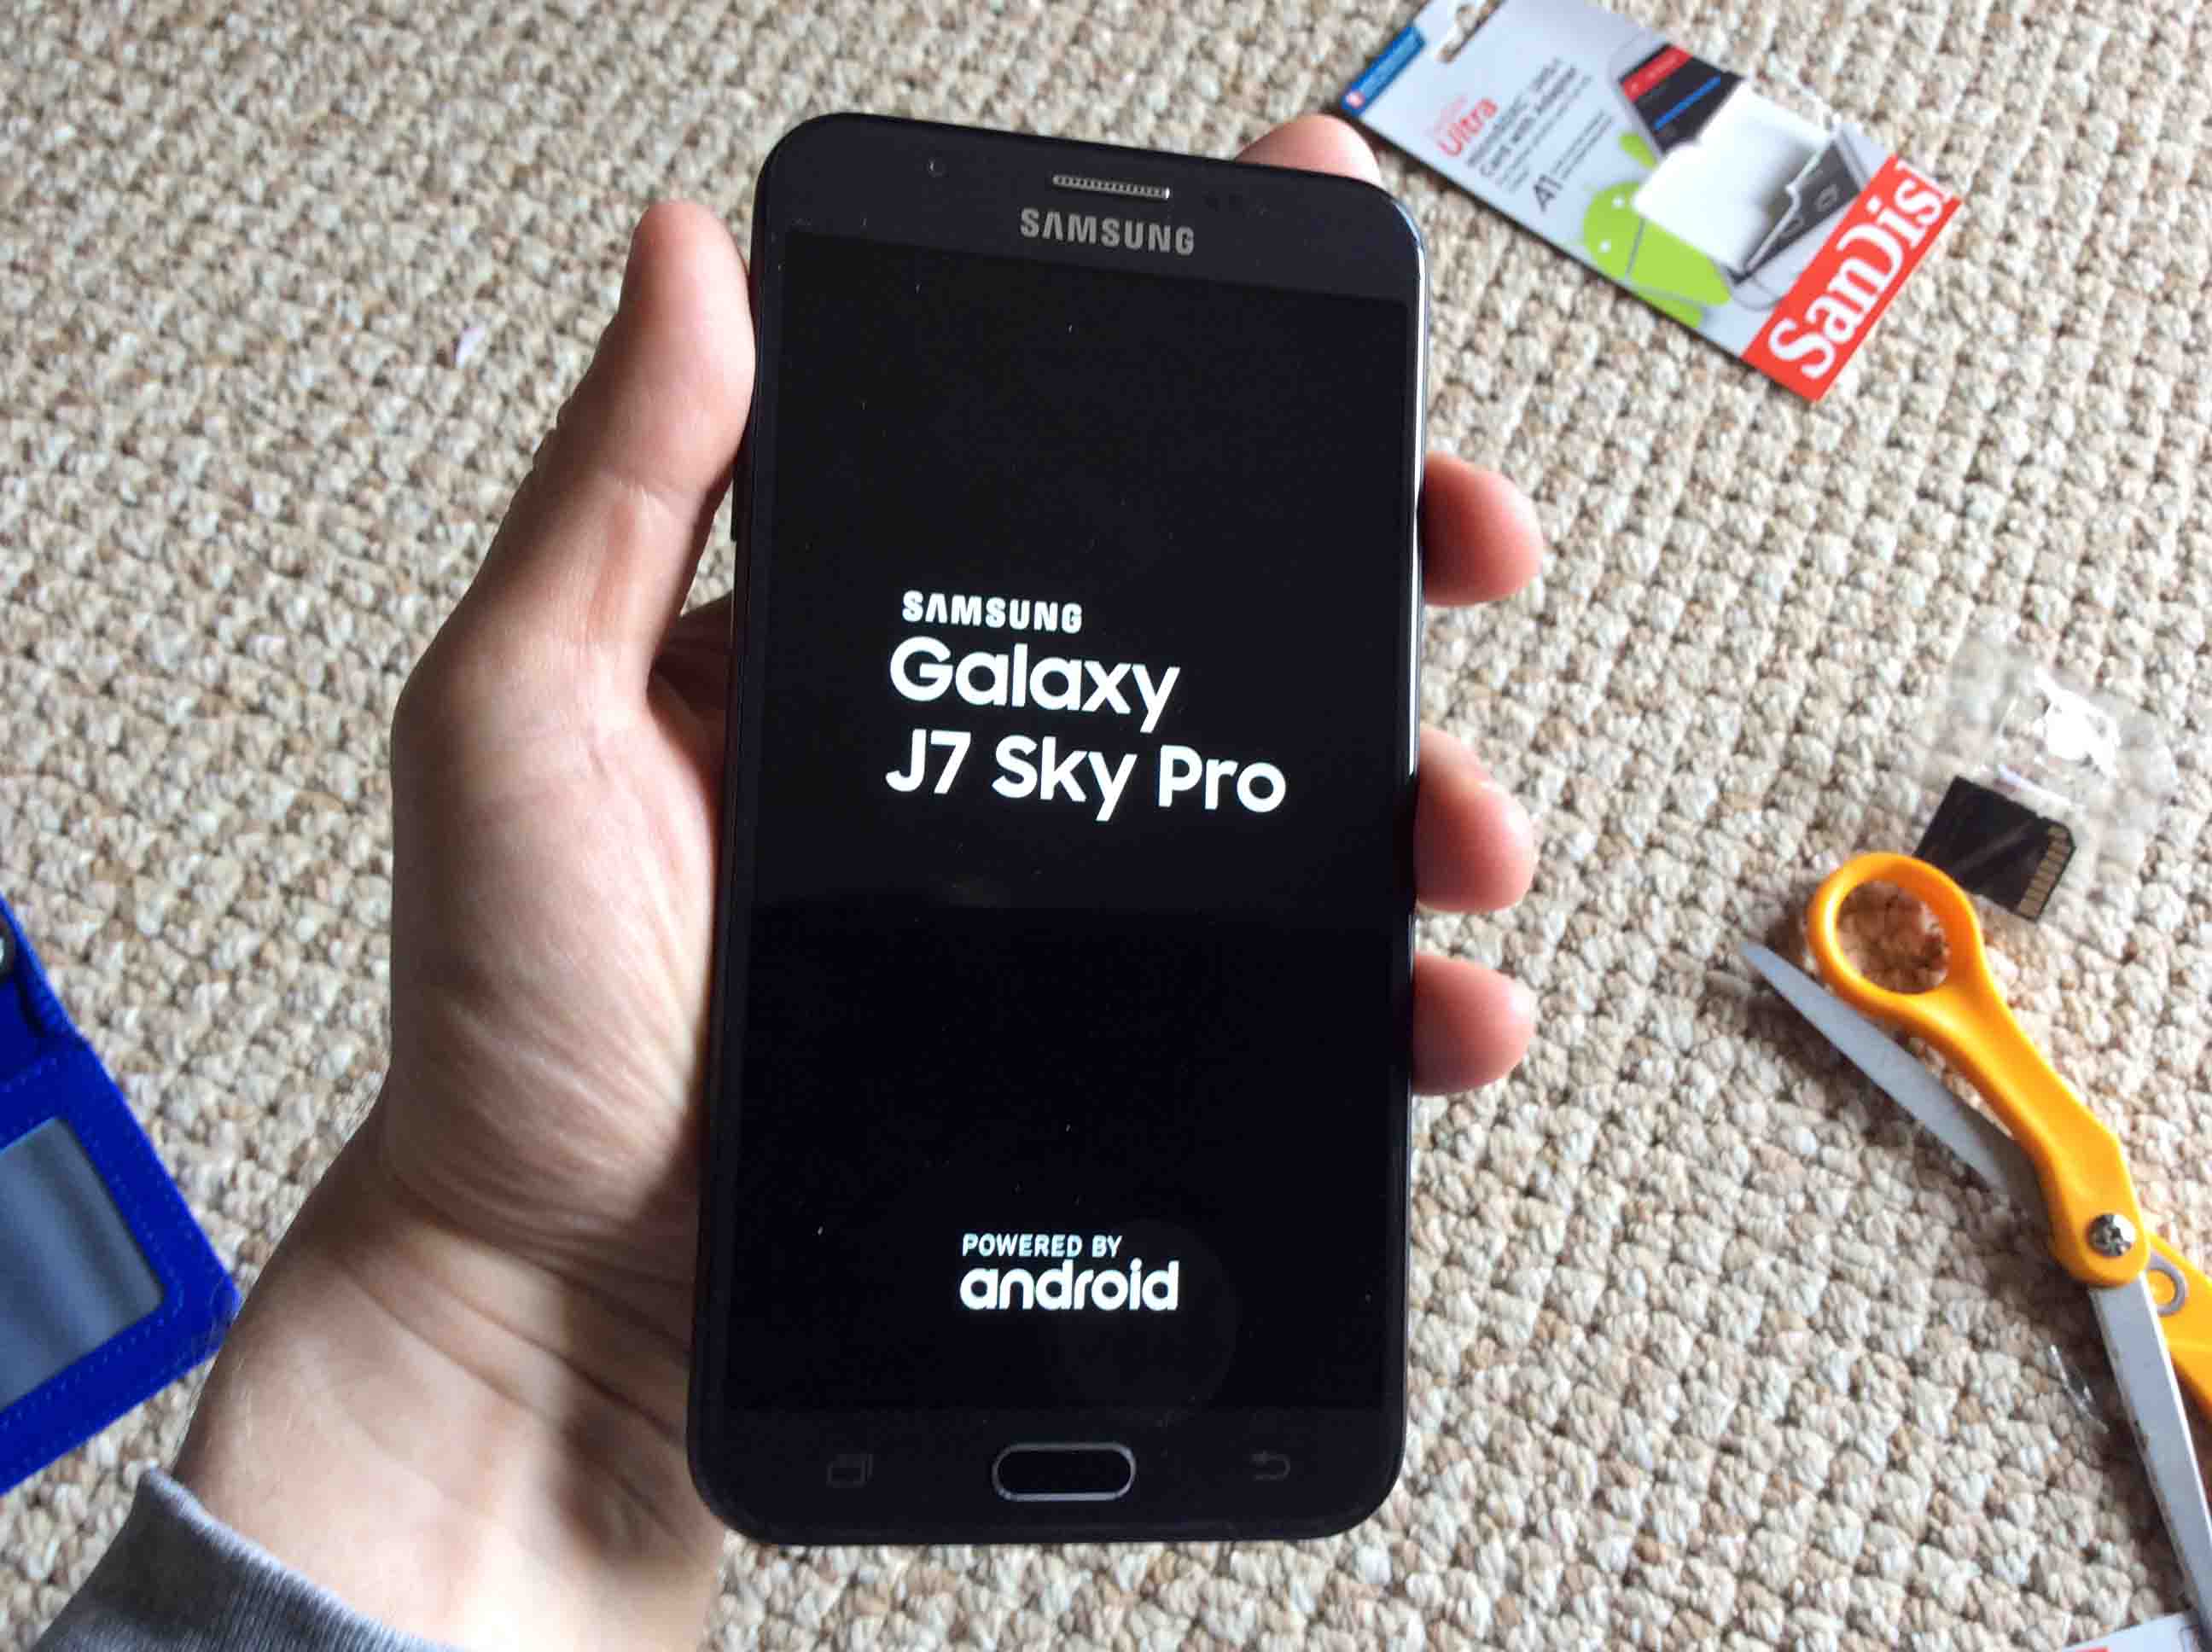
As you did when you turned off the J7, press and hold the Power button until you see the screen come on, as shown next.
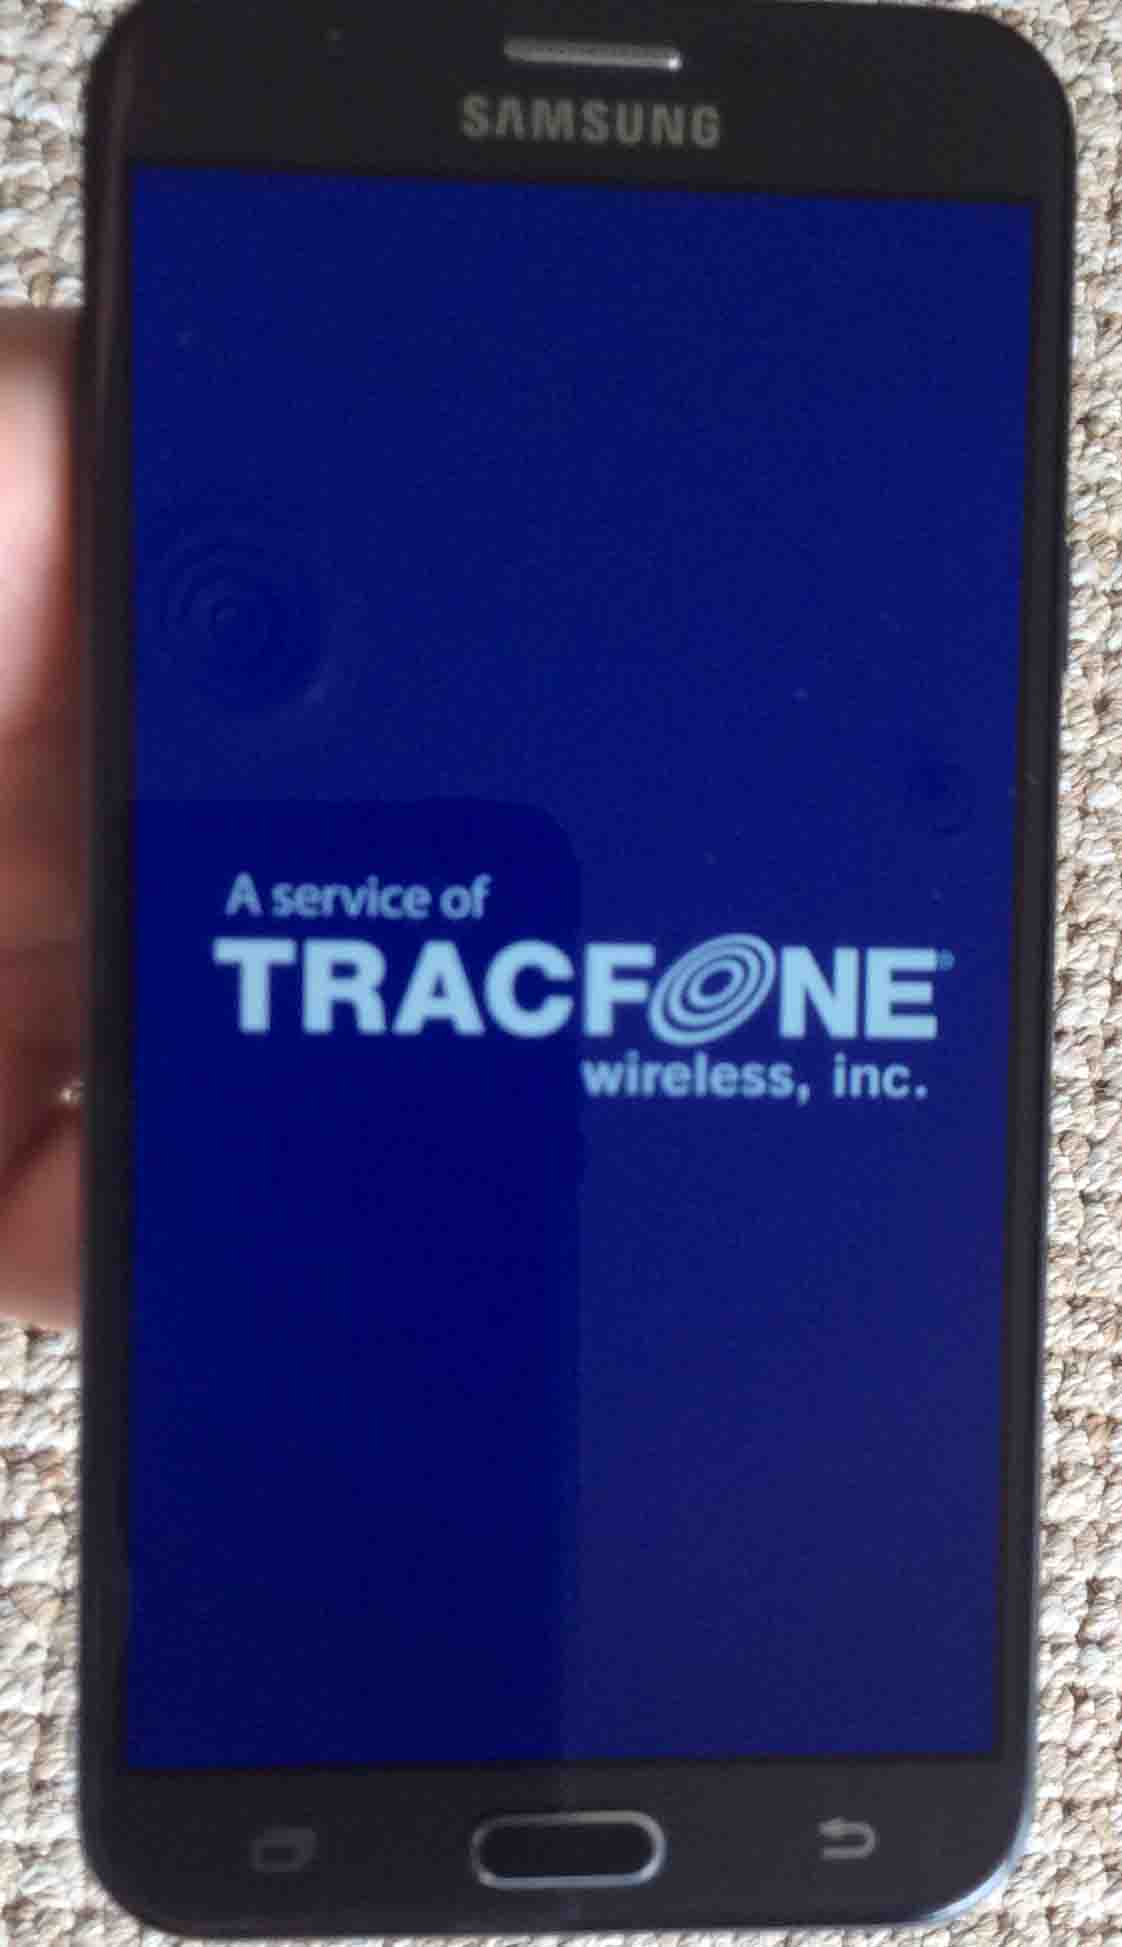
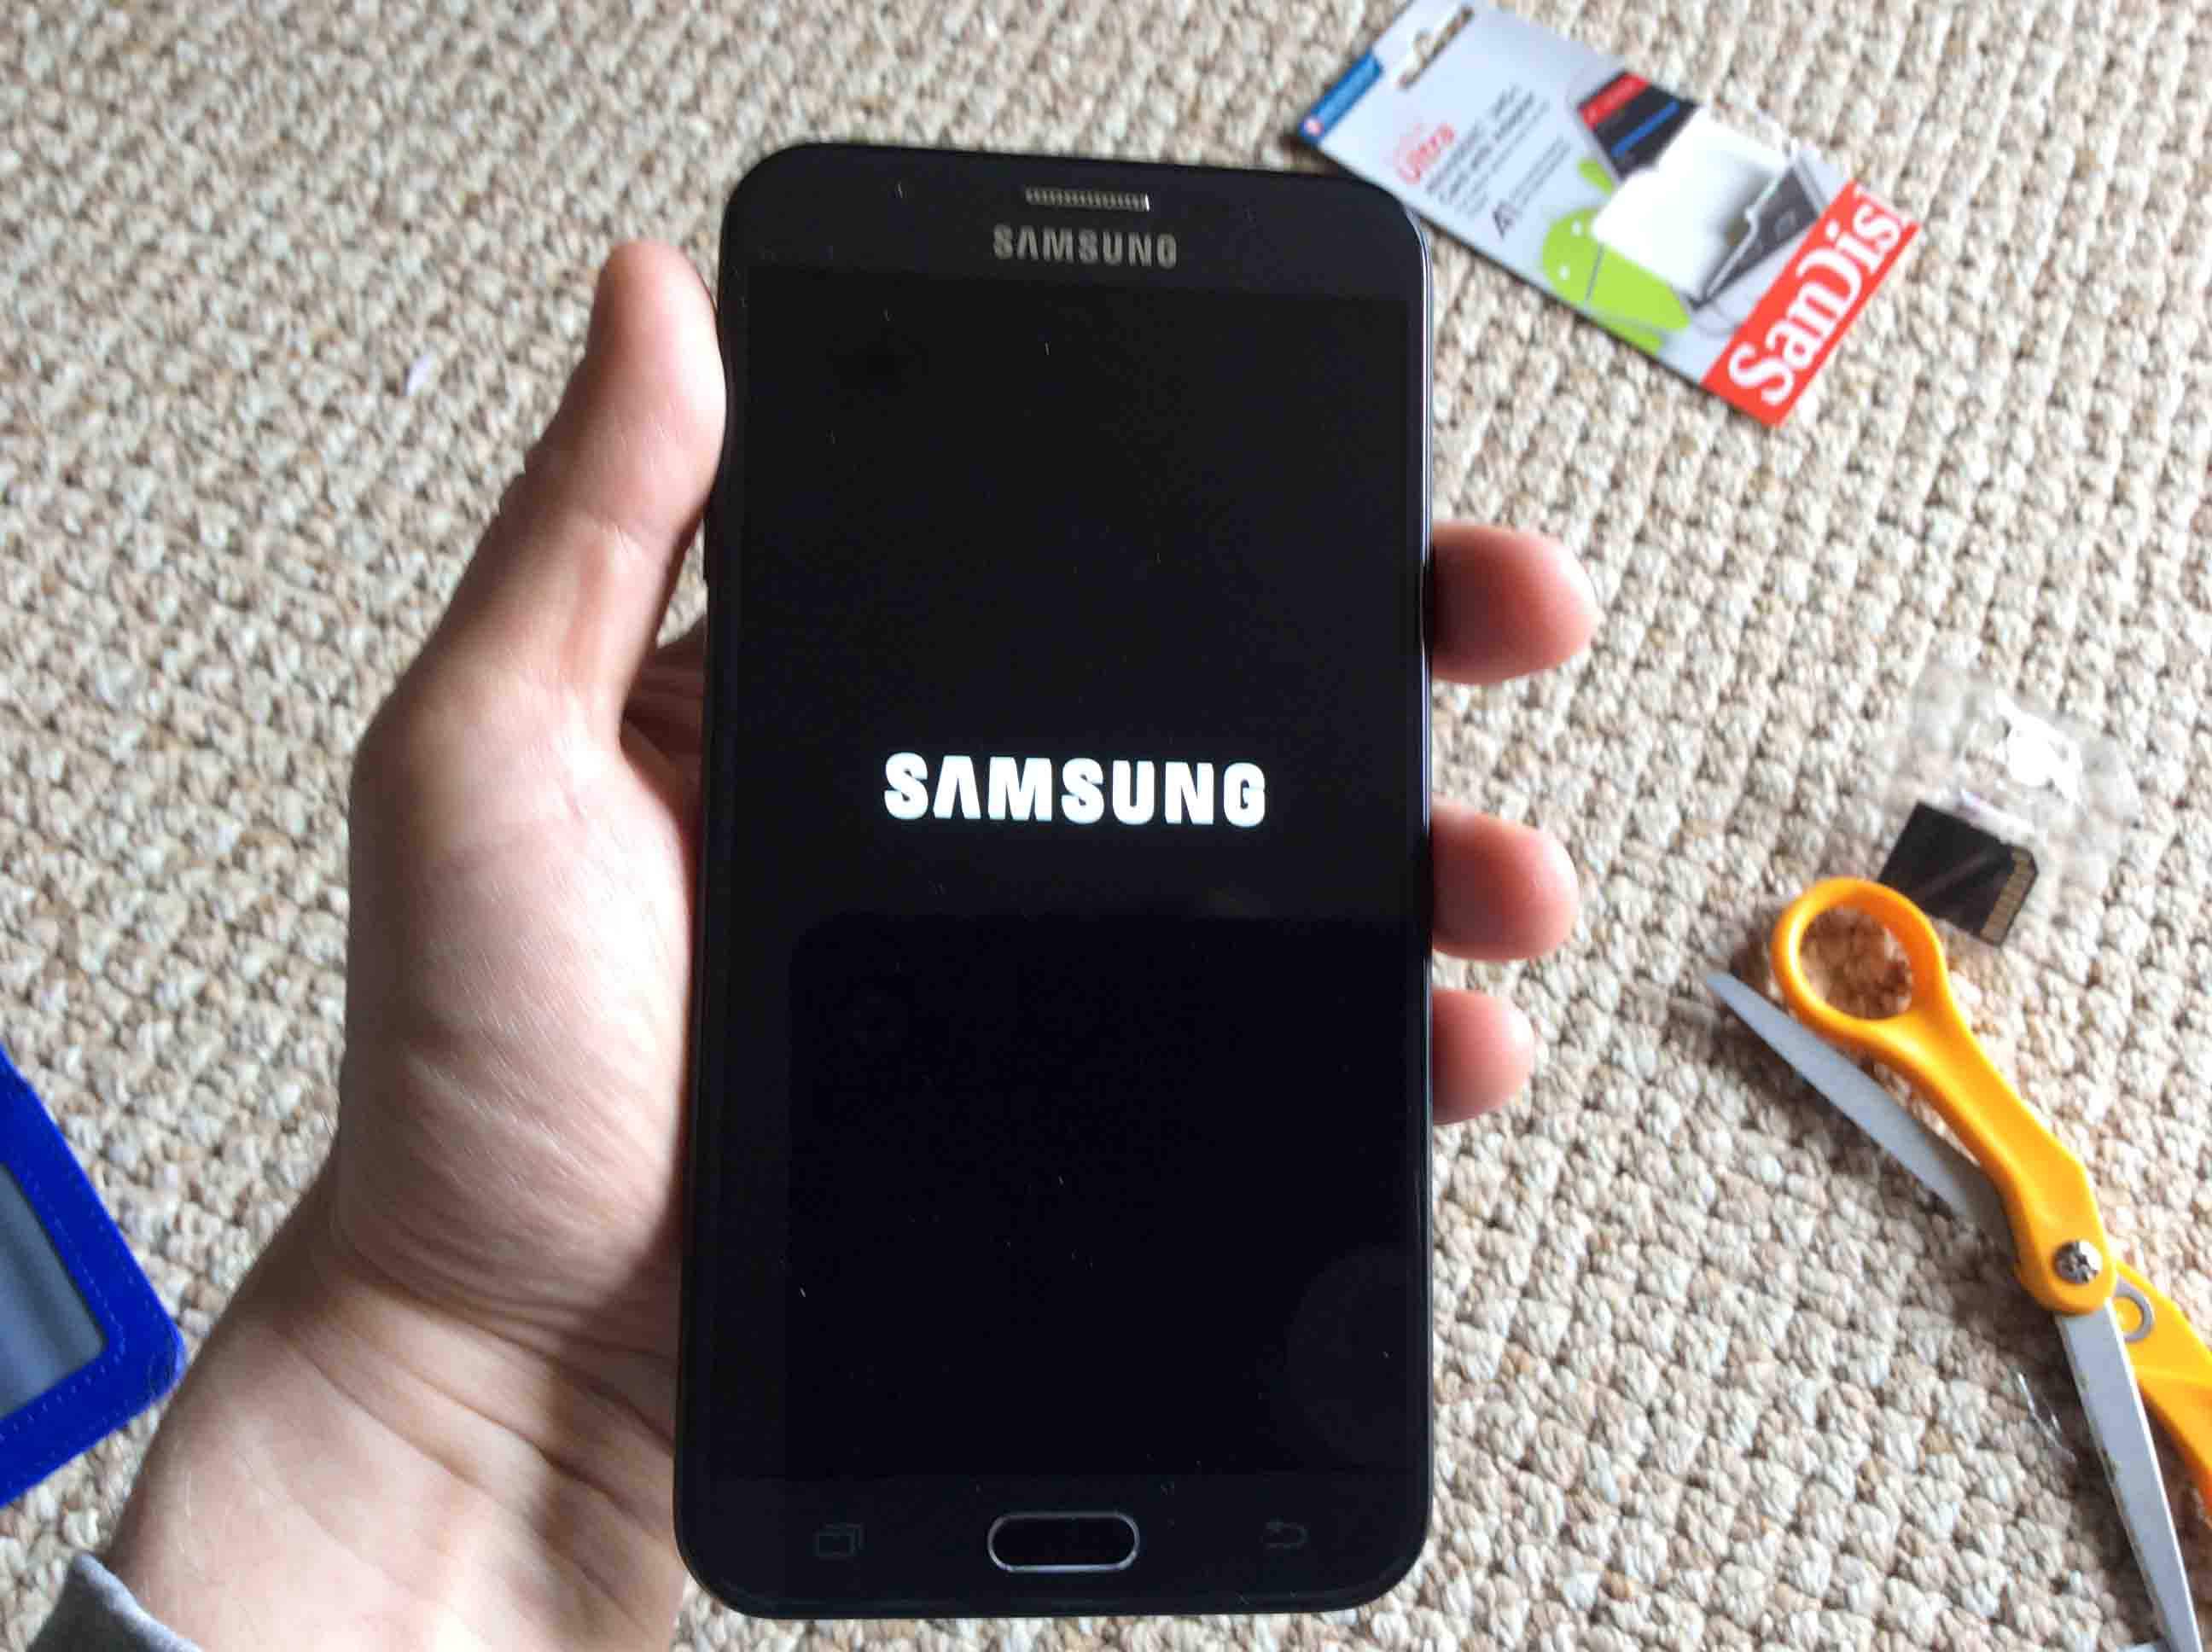
After a brief delay, the Samsung logo screen pops up, as seen next.
Then, the TracFone startup screen appears briefly.
The phone is done booting when its lock screen comes up.
Note that you may not see a lock screen on your phone if you’ve not set up screen locking.
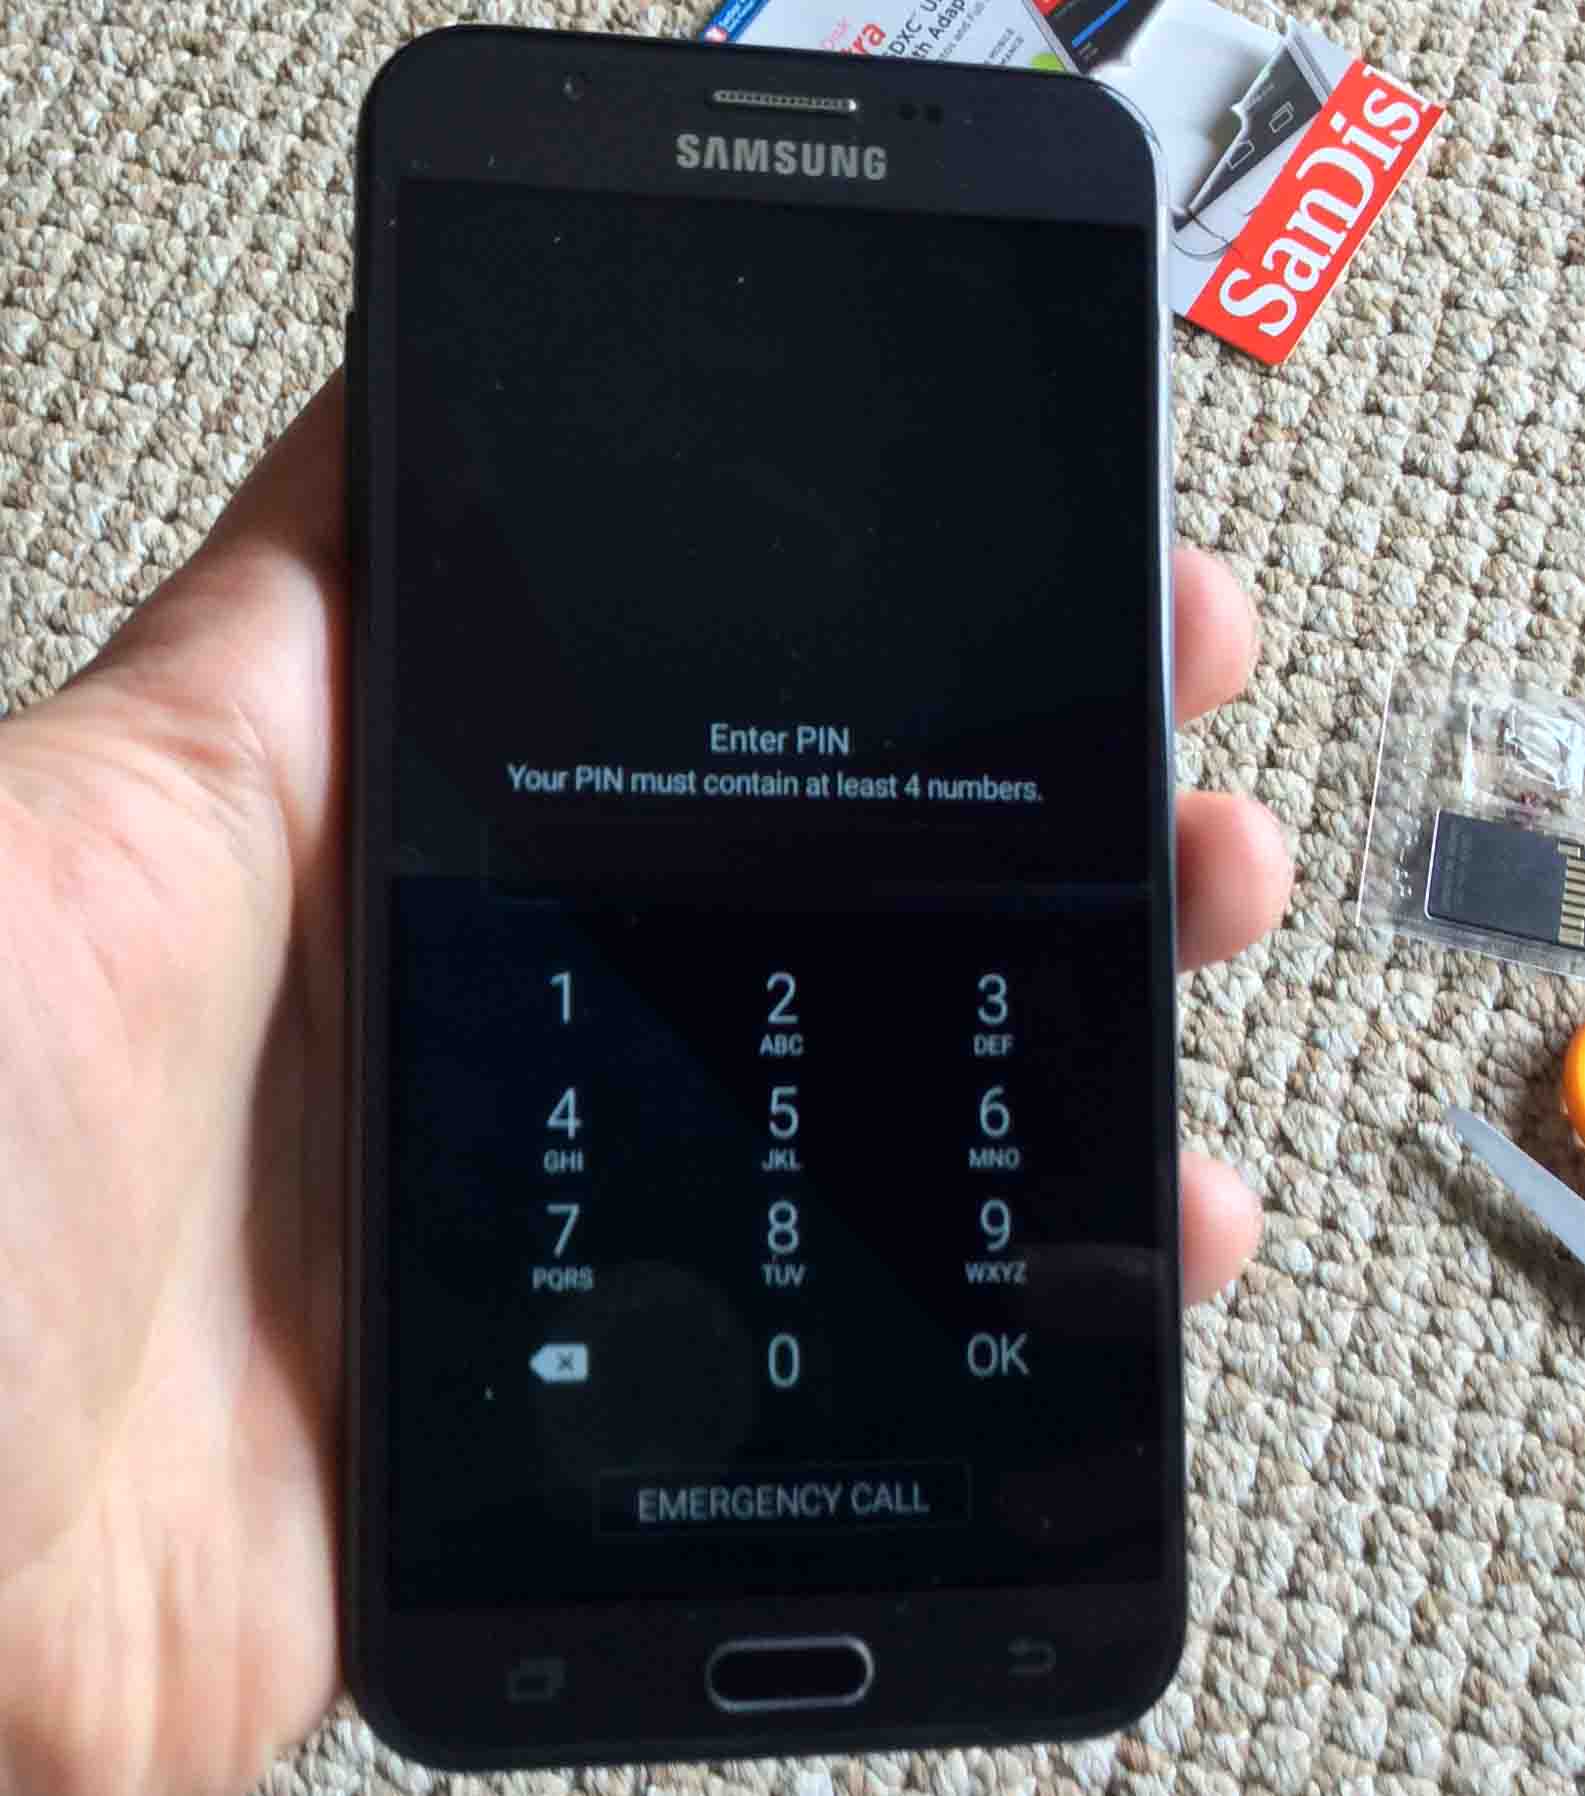
Lastly, quickly tap and release the Power button.
Now since we’ve set up a PIN code on our J7 TracFone, our phone prompts us for that code as shown next.
Next, key in your PIN code.
Note. After entering your PIN code for the first time after adding the new memory card, the J7 invites you to move files to that new memory.
You should get a notifications list screen like we saw on our phone, shown next.
Here, you can tap on that notification, and follow the prompts to copy any files you wish to copy from the J7’s internal memory to the new memory.
Finally, you have successfully added your new memory card if the phone tells you about copying your media files to the card, as discussed above.
If you don’t see this, it’s possible that the card didn’t seat in the socket correctly. So, power down and open up your J7 again. Check that you pushed the card all the way in.
Do not press too hard though, lest you damage the fragile card or socket.
Revision History
The JBL Go 2 speaker by Harman Kardon is a low power, hand-held style unit…
Shows how to fix Honeywell wireless thermostat connection failure issues. You might see these on…
Shows how to connect HP DeskJet 3630 series to WiFi. Note that doing this will…
Here, we show how to reset the Wonderboom speaker version 2. which returns it to…
We give here the JBL Clip reset directions, that return it to its default settings…
The JBL Boom Box JBL by Harman Kardon is a moderate to higher power, boom…