This post outlines what you’ll need for Echo Dot 2nd Generation setup. We cover the steps in doing it as well as how to test out your speaker after you finish setup.
What You’ll Need Before Starting Echo Dot 2nd Generation Setup
1. A WiFi Internet Connection
Firstly, none of the Echo devices so far has an Ethernet RJ45 port. So you connect this speaker to the Alexa service via your wireless network. Furthermore, this network must have internet access. Thus your Echo device will not work without a working WiFi connection.
2. An Amazon Account
Go to https://amazon.com/ to set up a new account there if you do not already have one. Typically, your account user name is your email address.
3. The Alexa App
The Alexa app is available in the Google Play (Android) store, as well as the App Store (iOS). Download and install the right version on your device.
Echo Dot 2nd Generation Setup: Step by Step
1. Unpack your Dot
First, it comes in a small blue box. And the box itself is in a plastic bag. Remove that outer bag, and slit the tape securing the box top closed with a knife.
Then open the box and spread the contents out on a table. You should have the Dot, the power adapter, and a micro USB to USB-A cable.
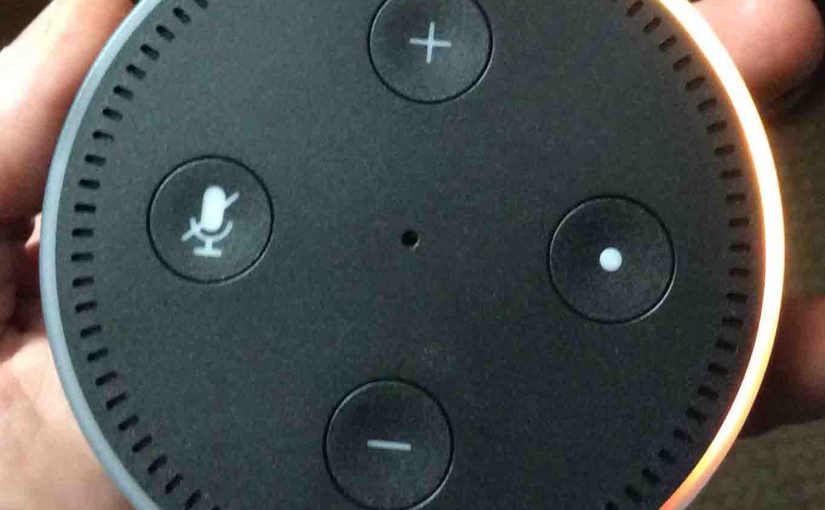
Remove all clear plastic protectors from the Dot from the side and top. This exposes the USB and audio output (headphone) cable ports (side) and volume up-down, mic mute, and wake buttons (top).
Finally, unpack the adapter and cable. You’re now ready to proceed with setup.
2. Run the Alexa App
Secondly, pick up your tablet and bring up the Amazon Alexa app. If this is your first Echo device, the app prompts you to set up a new device.
3. Check your Amazon Account Credentials to Continue with Echo Dot 2nd Generation Setup
Thirdly, if you haven’t yet signed in to your Amazon account, the app prompts for those credentials. But If you haven’t yet created an Amazon account, visit amazon.com. Follow the instructions there to set up a new account. Then once you do all of that, return here and pick up with the next step.
4. Enter Amazon Account Id and Password
In this step in Echo Dot 2nd generation setup, should the Alexa app ask, enter your Amazon account details.
This then signs you in. The app then remembers your account info any time you run it. That way, you won’t have to enter this data every time.
5. If the App Does Not Ask You to Set Up a New Device…
The app may not detect your new speaker. In that case, it just displays Home screen, with a menu on the left side.
6. Go to the Settings Screen
Then do this by tapping the Settings menu item (left side of screen).
The Settings screen displays.
7. Go to the Set Up New Device Screen to Continue with Echo Dot 2nd Generation Setup
Get there by tapping the so-named item, found on the Settings screen Alexa Devices group. That screen gives you a choice of which device (Echo, Echo Tap, or Echo Dot) to set up.
8. Tap the Echo Device that Matches the One you’re Setting Up
You’ll then see the Choose Language screen.
9. Choose the Language
Use the drop-down menu to pick the language you’ll use to speak to this device. English (United States) is the default.
Then, press the Continue button.
The Begin Echo Dot Setup screen appears.
10. Tap the Connect to WiFi Button
A picture of a Dot in setup mode with the rotating orange light appears on your tablet screen. At this point, make sure that your Dot has power and that the orange light ring glows. The orange light means that the Amazon.XXX network is currently “live.”
11. Press the Continue Button to Continue with Echo Dot 2nd Generation Setup
The Connect your iPad to Echo Dot screen displays.
Now go to your WiFi settings page on your tablet. Then look for the Amazon.XXX WiFi network. It’s an unsecured (open) network, so you need no password.
But not to worry though, as this network is only active while setting up your Dot. Otherwise, it does not broadcast, and no one can use it to hack your Dot.
12. Connect the Power Adapter to your Echo Dot 2nd Generation Speaker
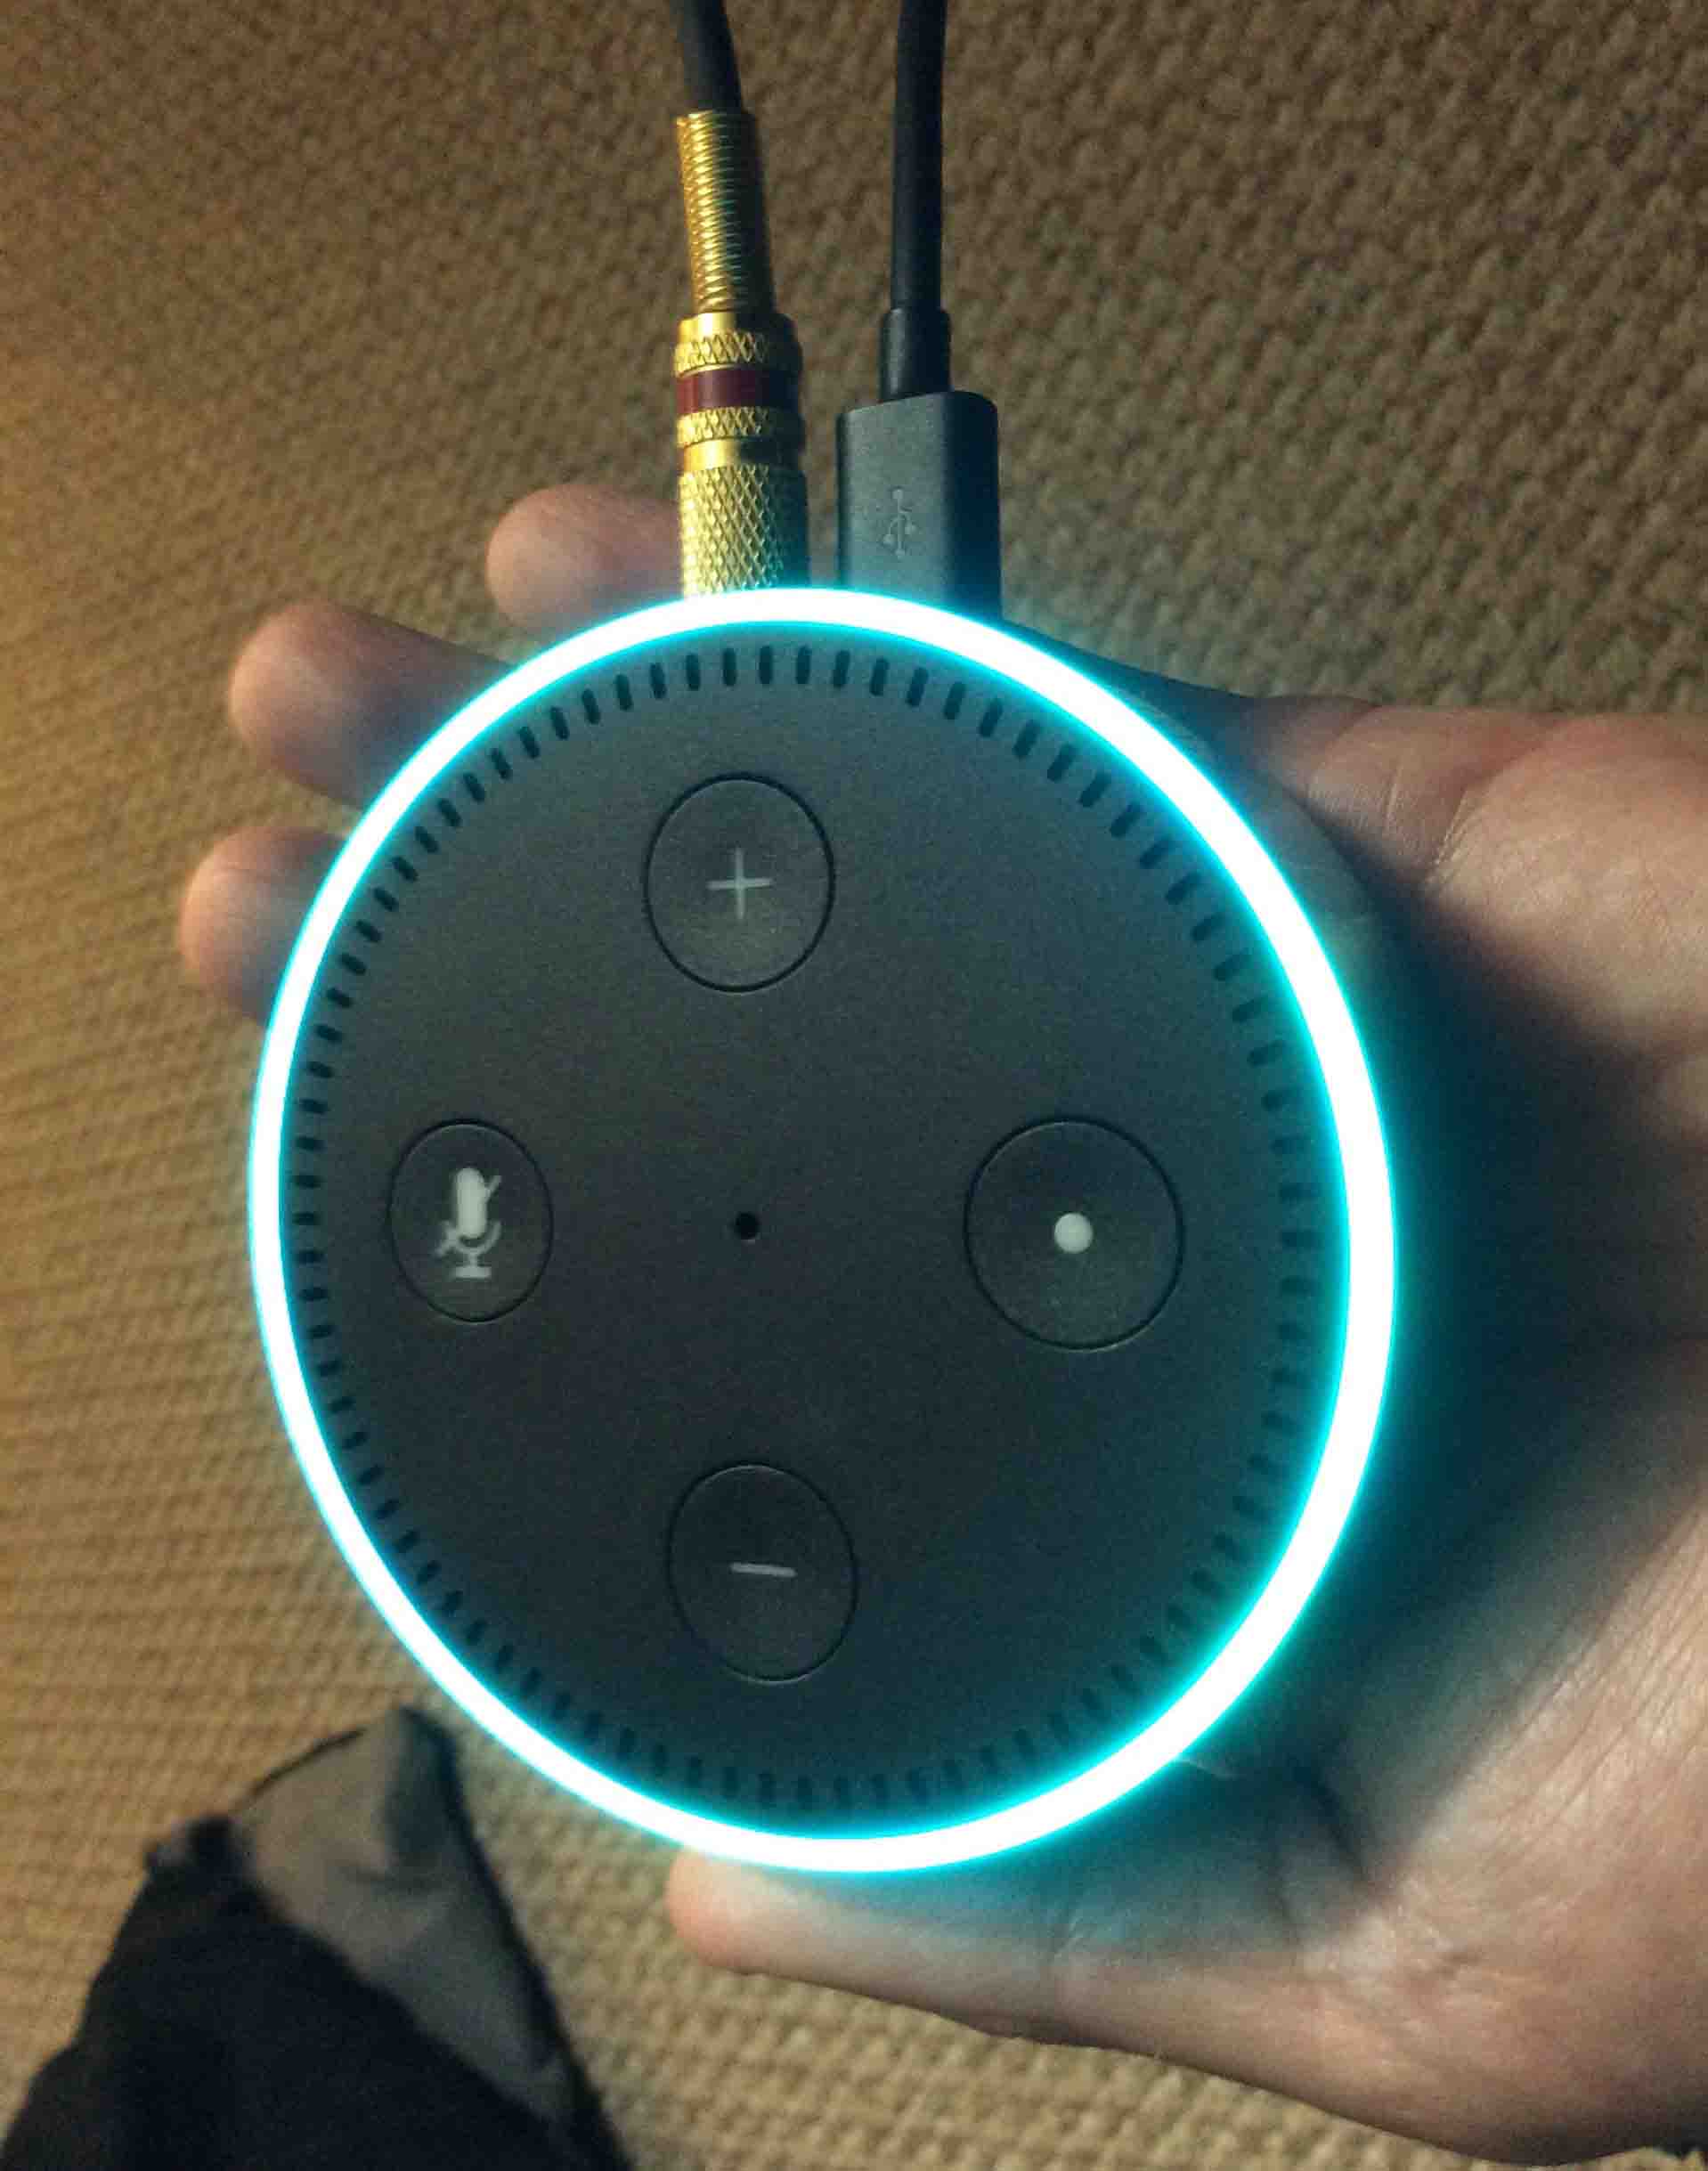
Plug the micro USB end of the power cord into the matching port on your Dot. Plug the USB A connector into the matching port on the AC adapter power supply. Then, plug that adapter into a working 120-volt AC outlet.
13. Watch the Echo Dot Power Up
The light ring first turns bright blue with an aqua (turquoise) blip that circles around the blue light ring.
After several seconds, the light ring turns orange. Then a female voice says, “Hello. Your Amazon Echo Dot is ready for setup. Just follow the instructions in your Alexa app.” If this does not happen, you may have to reset your Dot.

At this point, the Echo Dot creates its own WiFi network. Then you must connect your tablet to this network to program the necessary credentials.
14. Connect to the Amazon.XXX WiFi Network to Continue with Echo Dot 2nd Generation Setup
Back on your tablet, tap the Amazon.XXX item in the WiFi networks list. Note that the Amazon.XXX network only appears when your Dot is in setup mode. Plus your tablet needs to be close enough to the Dot to pick it up. Again, remember that once you finish setup, this network goes away.
Be sure your tablet and Dot are close enough for the tablet to see the Dot’s Amazon.XXX WiFi network. Echo Dot 2nd generation setup does not work if you’re too far away from the speaker. If you do not see this, move the Dot closer to the tablet. Then, on the tablet, check the available WiFi networks list once again.
When you successfully connect your tablet to this network, your Dot will sound a pleasant tone. It then says, “You’ve connected to Echo Dot. Go ahead and finish the setup in your Alexa app.” Not only do you hear this message from the Dot itself. But the Alexa app also displays a similar message.
15. Press the Continue Button back in Alexa App
To choose the WiFi network you dot will ultimately use during normal operation, tap the Continue button.
This starts a scan for in-range WiFi networks that your Dot sees.
Then after a few seconds, it displays that list onscreen.
16. Select the WiFi network to Connect your Echo Dot 2nd Generation To
From that list, tap the wireless network name your dot should use. This network must have internet. And it should be able to reach the Amazon servers for your speaker to function.
The Alexa app then prompts you (if the network is secure) to enter its password.
17. Enter the WiFi Password
Tap in the correct password for the network SSID you’ve chosen.
18. Press the Connect Button to Continue with Echo Dot 2nd Generation Setup
Lastly, after typing in the password, press the connect button on that same screen. So this instructs the Echo Dot to attempt to connect to the WiFi network you’ve just specified. This may take several tens of seconds. But eventually, if you’ve entered the correct password, the Dot successfully connects.
You’ll then see the “Preparing your Echo Dot.” message and a progress bar begins advancing.
Finally, after a short pause, and if all goes well, you’ll see the “Setup is complete. Your Dot is now connected to WiFi” message. Plus the Amazon.XXX network disappears. So you can no longer access the Dot through it. All further access happens via your own WiFi network.
Once you finish setup, your Dot is ready for questions once the orange light ring goes dark. Then the Alexa app offers to show an introductory video. After you watch that, try asking your Dot some questions like:
-
- Alexa, what time is it?
- Hey Alexa, what’s the weather?
- Alexa, give me my flash briefing.
- Okwy Alexa, tell me a joke.
- Alexa, how are you today?
- Hey Alexa, sing happy birthday.
… and so on.