Here, we include the Honeywell dial thermostat pictures we took that detail our experiences with installing, testing, and reviewing them.
Honeywell Dial Thermostat Pictures: The Model T87N1026
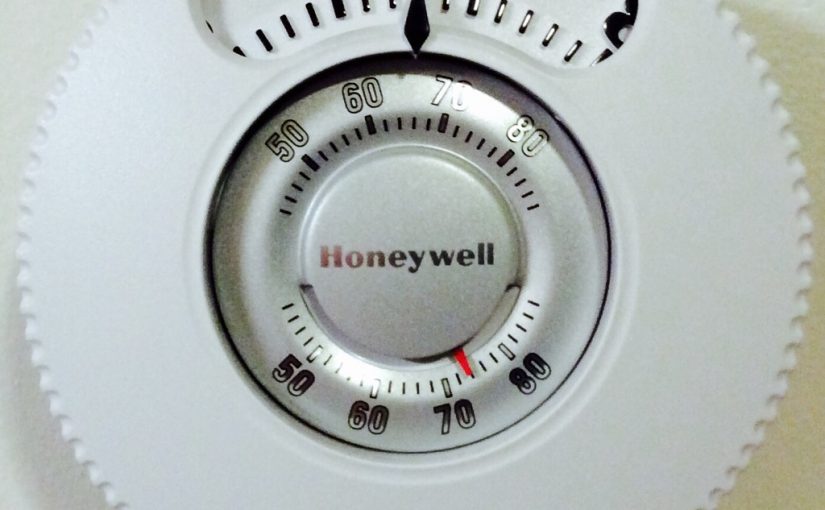
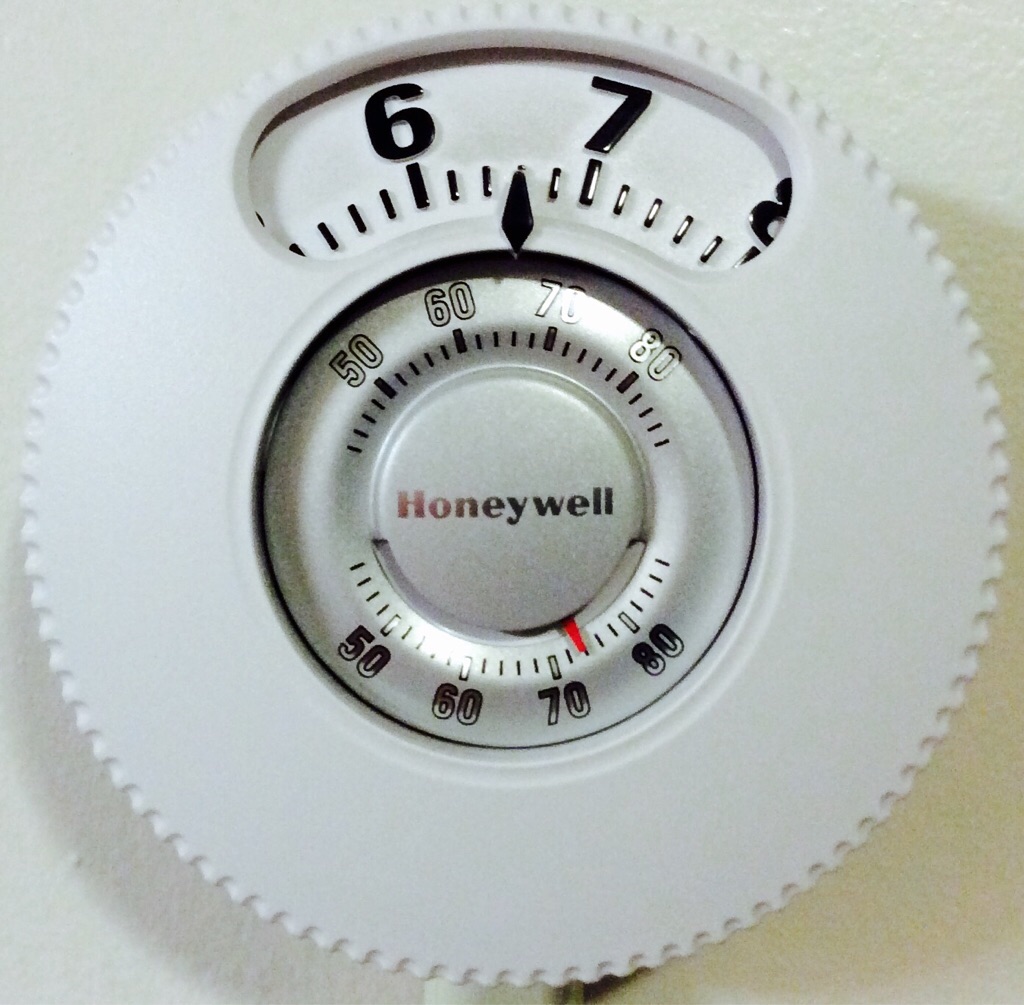
The Front of the T87N1026
Though it looks like an old fashioned dial thermostat, the T87N1026 is all electronic inside. So it has no sensor springs or mercury switches.
Yet another change from the past. This model is quite a bit larger than the classic dial thermostats of the 1960s and 1970s. Plus, the large, notched dial is easier to grab and rotate.
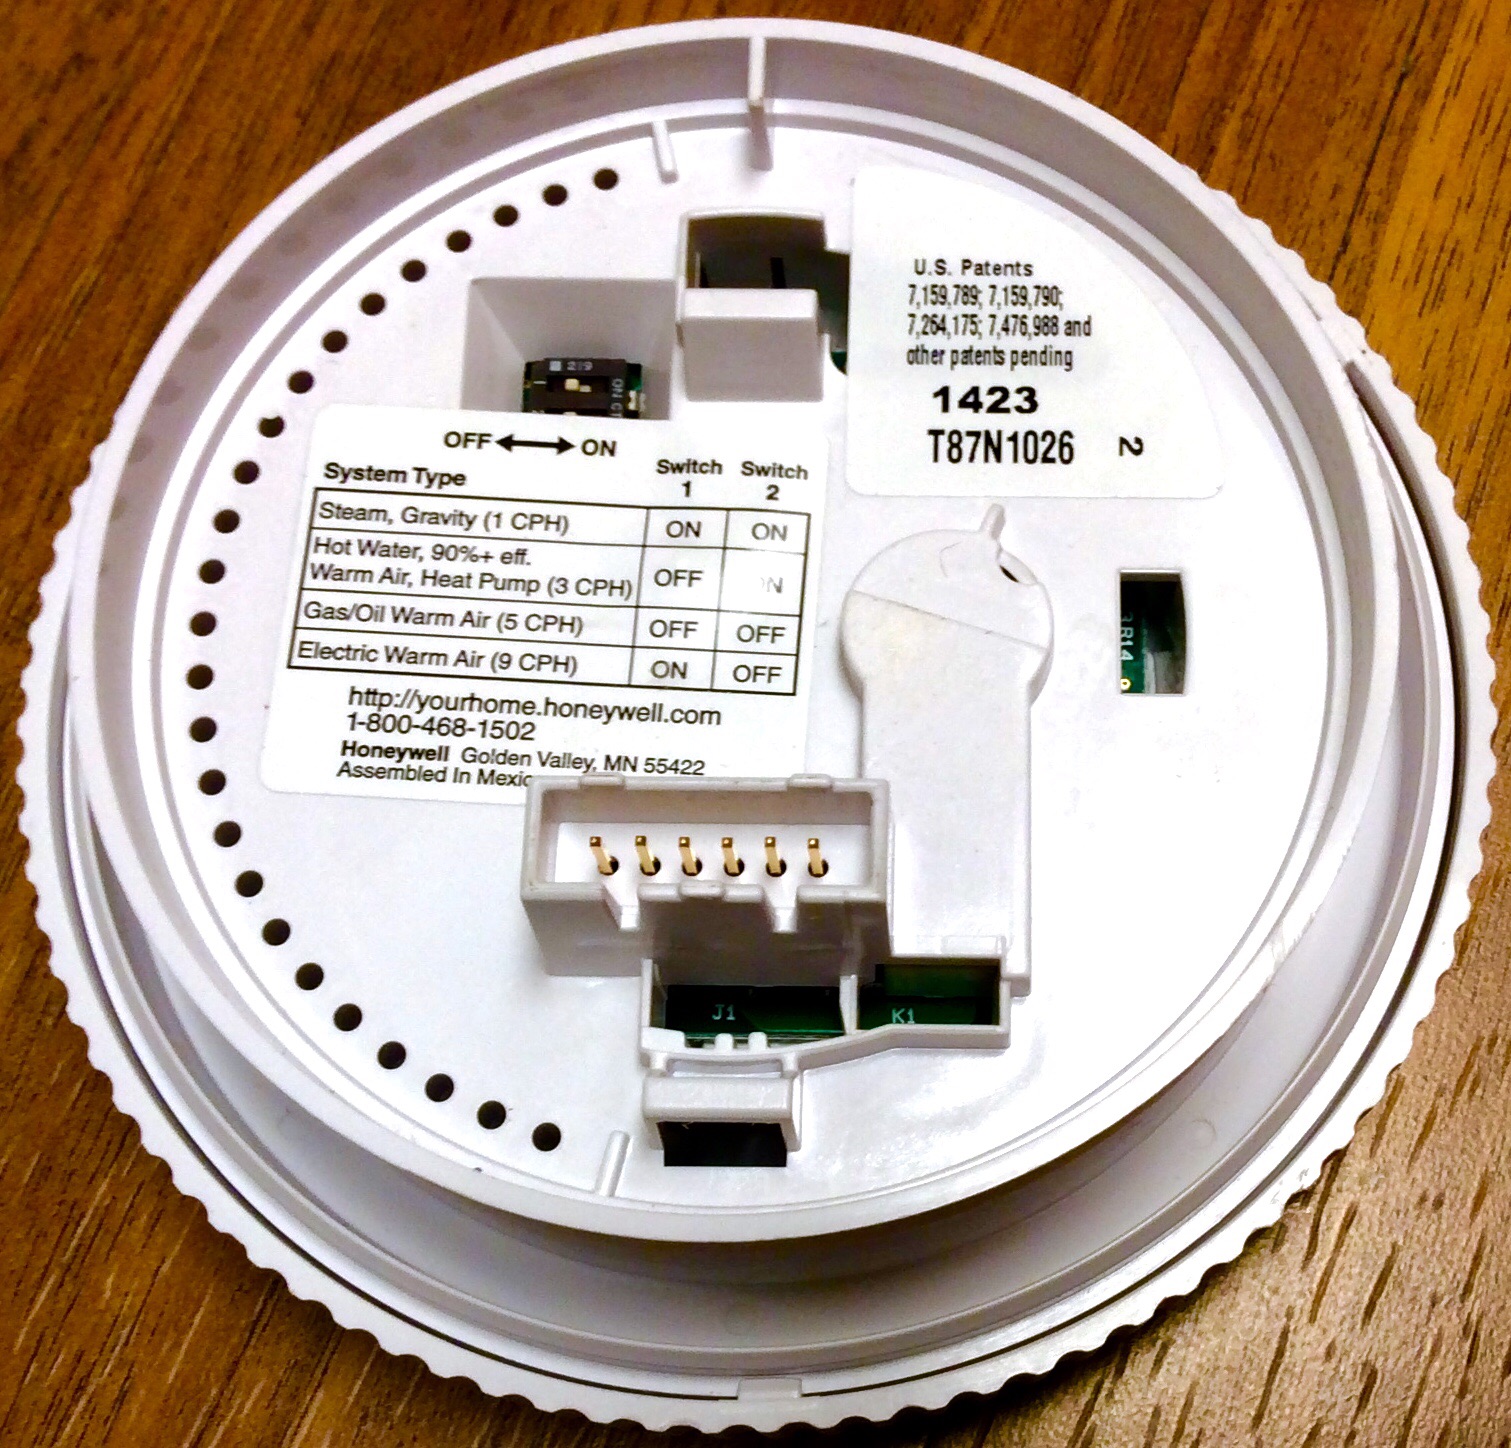
The Back of the T87N1026
Next, we have the back of the dial thermostat unit, removed from its wall holder. The main thermostat unit locks into the wall plate once you mount the plate and attach the wires.
Note the gold pins that mate with the wall plate. These supply power and HVAC switching lines.
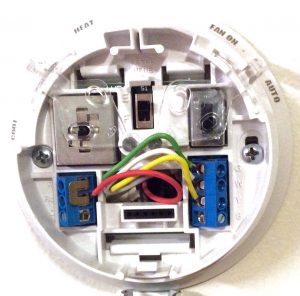
Then, there’s the front of the wall holder, showing the wires. But don’t let the few wires fool you. It’s still important to wire this unit the right way. This not only ensures correct function, but avoids damage to the thermostat or your HVAC system. Please note that the wire colors and lugs many not be the same on your system. If you’re not sure, please consult a home HVAC techician.