We love our Hamilton Beach 40891 cordless kettle. But by necessity, we learned a bit about kettle repair, when the lid for that kettle came apart after several years of use. We fixed it, and so here, we share how to repair electric kettle lid on our 40891 Hamilton Beach teapot.
So, we determined how to repair this break, with pretty good results.
How to Repair Electric Kettle Lid: How the Kettle Lid Should Look
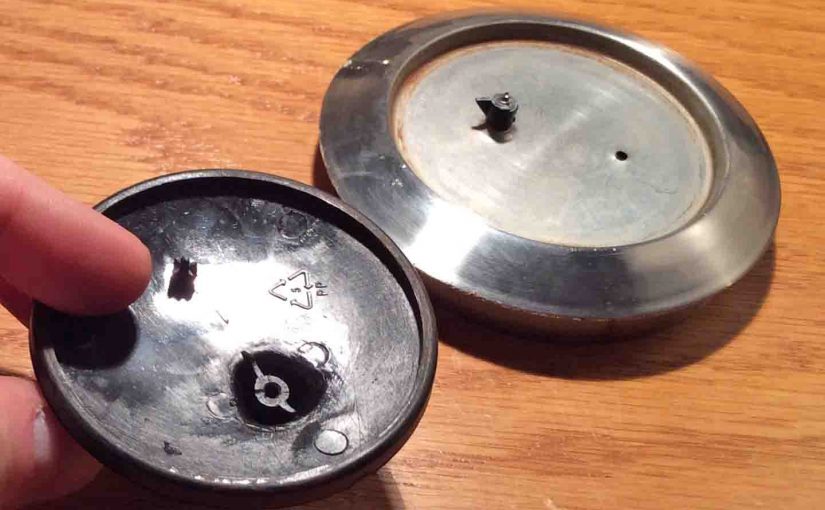
As pictured next, the lid consists of a stainless steel base and a plastic handle on top. They secured this heat insulating handle to the metal base with one Philips head screw. The properly assembled lid appears in the next picture. Using JB Weld Steel epoxy glue, we successfully repaired the electric kettle lid as follows.

The Broken Lid
We took the next picture after the handle piece broke. Note the broken plastic screw standoff fragment, still attached to the metal base.
How to Repair Electric Kettle Lid: Use the Right Glue
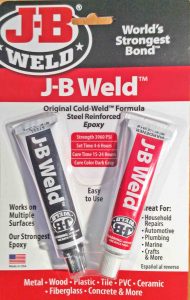
We glued the black plastic handle back to the stainless steel lid proper, using a high temperature handling epoxy compound from J-B Weld, pictured next.
We chose this one because, though it takes longer to set than some faster glues, it was the strongest glue that would maintain its holding strength in the high temperature environment of the electric kettle top.
Sandpaper for Electric Kettle Lid Repair
This compound requires that the surfaces are dry, clean, and rough. So we sanded the outer rim part of the black handle, as well as the mating areas of the lid. We used 3-M sandpaper for this, pictured next.

How to Repair Electric Kettle Lid: Prepare the Parts for Gluing
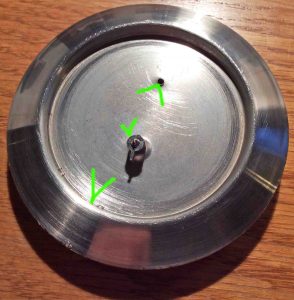
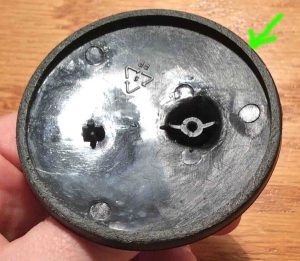
We sanded the highlighted regions of these parts, as shown below. Then, we rinsed both pieces in water, dried them with a hand towel, and let them sit for an hour or so to be sure that they had completely dried.
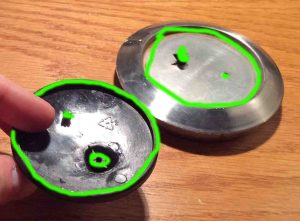
Here are pics of the pieces after sanding and drying, with green highlighting, illustrating exactly where sanding was done.
Mix Up the Epoxy
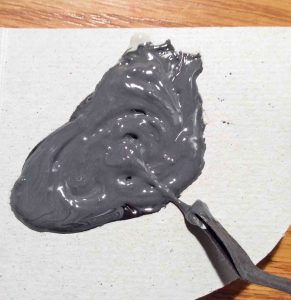
Next, we mixed the epoxy on a piece of old cardboard, as pictured next, starting with equal parts of the hardener and the steel.
Then we used an old bread bag tie to stir it up. Note the dark gray color in the mixed potion.

Spread the Glue Around, Generously
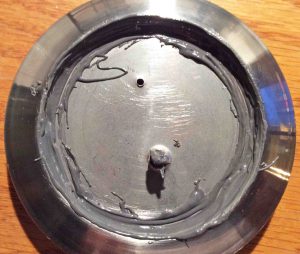
Then, we spread the mixed epoxy on the surfaces of the parts to be bonded, as illustrated in the images below. We used that same bread bag tie as a spreader.
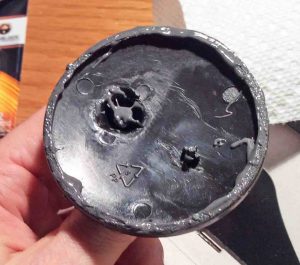
How to Repair Electric Kettle Lid: Press the Pieces Together
Next, we pressed the handle and lid pieces together, and wiped off any excess epoxy with an old rag. It’s important to remove any glue before it sets. So we were quick about it.

Clamp and Wait
Next, we set the assembly aside for 24 hours, to allow the epoxy to fully set, bond, and cure. It bonded quite well. To be safe, we waited a day or two longer before using the pot. But after that wait period, we got full use of our Hamilton Beach electric cordless kettle back. We succeeded in our first electric kettle repair.

See our Hamilton Beach 40891 Cordless Kettle Review piece for more details about this little electric water boiler.
Related Posts
- How to Clean a Cordless Electric Kettle
- J-B Weld Steel Reinforced Epoxy Bond 8265-H Review
- How to Clean Electric Kettle with Baking Soda
- Farberware Cordless Electric Kettle 104556 Review
References for How to Repair Electric Kettle Lid
Revision History
- 2020-04-01: Added more tags.
- 2018-03-02: Then, updated the title and the tags list.
- 2015-11-29: Next, added appropriate tags.
- 2015-09-23: Then, added the Suggested Reading section and also, more tags.
- 2014-12-06: Originally published.