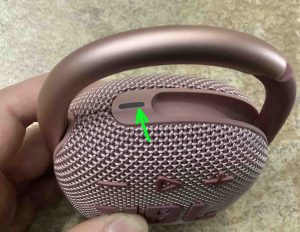
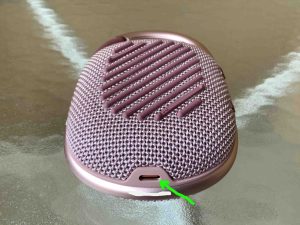
You can charge JBL Clip 4 conveniently via the USB-C charge port. Find this on the bottom edge of the unit. So here, we cover how to charge the JBL Clip 4 using a standard AC adapter.
In short: Choose an adequate USB power adapter. Note that this speaker does not come with one.
Next, connect a USB-C charge cord between the Clip 4 and that adapter. Then, plug that supply into a working wall outlet.
Finally after a few hours, this speaker fully recharges. Then you’ll be able to play it again for up to ten hours before needing another charging.

How to Charge JBL Clip 4: Step by Step
1. Choose Right Size Power Adapter
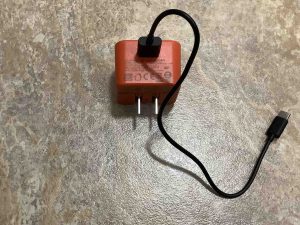
Now in this demo, we use the JBL AC adapter that came with another speaker. But here it provides more than enough current. Now this speaker needs 5 volts at 500 milliamps to charge fully in the shortest time. So this adapter is plenty big enough.

2. Plug the USB-A End of the Cord into the Power Adapter
Then, connect the A end of the USB charge cable to the power adapter, as we show next. In this demo, we’re using the USB-C cord that came with our test Clip 4.
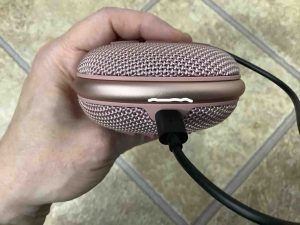
3. Plug in the USB-C Cord to the Speaker to Continue with How to Charge JBL Clip 4
Next, plug the C end of the cable into the USB-C DC input port.
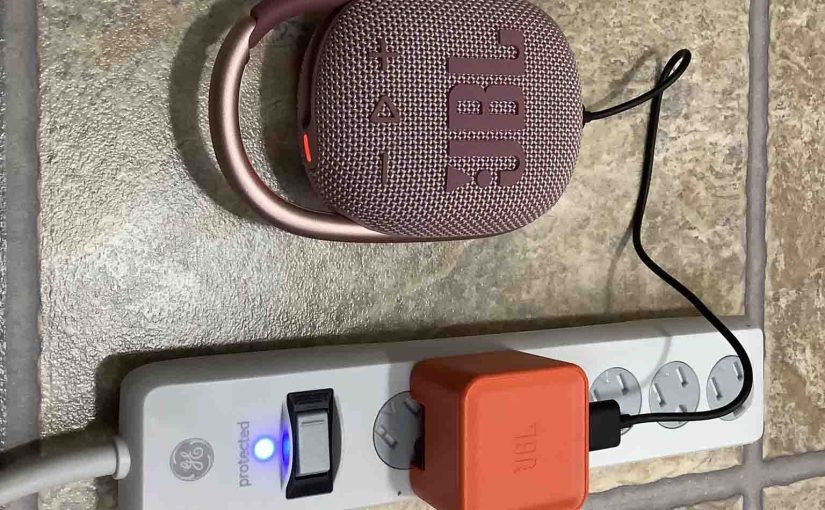
4. Plug the AC USB Power Adapter into a Working Wall Outlet
After connecting the speaker and adapter, plug the adapter into a working AC outlet.

The status lamp lights up solid red on the Clip. Also note that there is no battery status gauge that shows percentage of charge on this particular speaker. Thus alternatively, the red light means that charging is in progress. Furthermore, to indicate full charge, that lamp goes out. Thus, since there is no status meter, we cannot tell how far along the charging is. This tells little about charging progress until when it actually completes.
6. Let the Clip 4 Charge Until the Red Light Goes Dark
Battery charging is complete when the solid red lamp goes dark, as we see next.
7. Unplug the USB-C Charge Cable from the JBL Clip 4
9. Done with How to Charge JBL Clip 4 !
Finally, we have now fully charged this speaker.
Then repeat this process every time the battery dies, as this helps keep it in top condition for years.