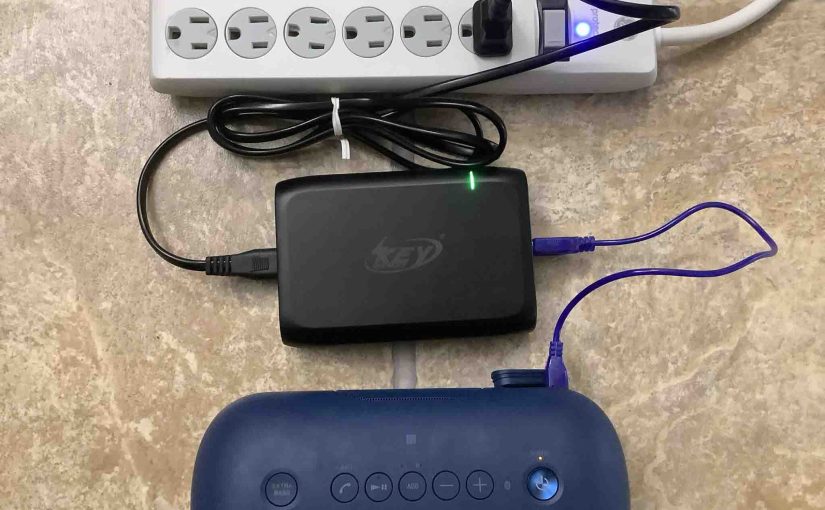
This piece covers how to charge the Sony XB20. Do this easily through the micro USB power in port, shown in the pictures below. Note that you can still play your XB20 as it recharges, without raising the charging time by very much.
First, pick a powerful enough USB adapter, as no charger comes with this Sony Bluetooth speaker. Next, connect a medium to high current USB cable (one that easily handles 1.5 amps) between the speaker and that adapter (the speaker comes with a short micro USB to USB-A cord). Then, plug the charger into a working wall outlet. Finally, after four hours or so, your XB 20 finishes recharging. So it’s ready to play once more for up to twelve (12) hours before needing another charge-up.
How to Charge Sony XB20, Step by Step
1. Choose Correct Size AC or Car Adapter
The charger you use should provide 5 volts and at least 0.5 amps (2.5 watts). But for fastest results, use one that can deliver 5 volts at 1.5 amps (7.5 watts). So with that in mind, we use here the Key Power model HDD15-3-PD USB charging station. Now as we said earlier, this speaker needs roughly one and a half an amp of current to recharge fully in the shortest time. So this charger supplies way more than enough capacity to do the job. Now you could use a small charger (0.5 amp), but this would increase the recharge time to around twelve (12) hours. Thus, we choose the higher current option.
2. Power OFF the Unit
Note that the SRSXB20 still charges when running. But depending on how much above-and-beyond recharging headroom that your charger supplies, the speaker might charge a trifle faster when turned OFF.
3. Plug the Micro USB Cord into the Speaker
First, open the water resistant port door.
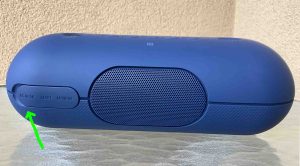
This exposes the micro USB input port as we see next.
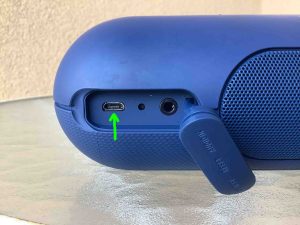
Then, plug the small end of the cable into the port on the back of the speaker, as we see in the next shot.
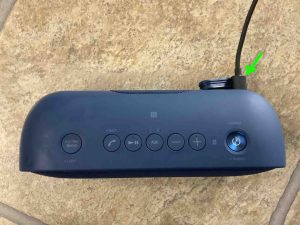
4. Plug the Other End of the Cable into your Charger Adapter
Next, connect the large end of the cord to the AC or car adapter.
5. Plug the USB Adapter into a Working Wall Receptacle
Now that we connected the XB 20 and our adapter, we then plug the mains end of the adapter into a working AC outlet, as we show next. We connected ours to a power strip surge protector.
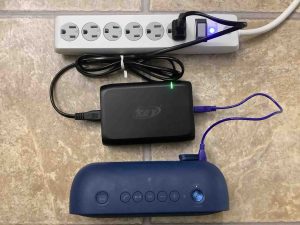
The status lamp lights up solid orange on the speaker. And while no battery status gauge shows percentage of charge, the glowing CHARGE lamp means that charging is occurring, as shown next.

6. Let the XB20 Charge Until the Orange CHARGE Light Goes Out
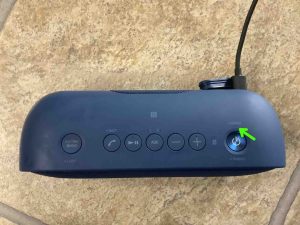
Full battery charging is complete when the solid glowing CHARGE lamp on the top panel, behind the Power button turns off, as shown next.
7. Unplug the Micro USB Cord to Continue with How to Charge Sony XB20
Also, close the port cap to maintain water resistance.

8. Done with How to Charge the Sony XB20 !
We have now fully charged this Sony speaker.
Finally, repeat this recharging every twelve hours of play, or any time the 20 goes dead, to keep the battery in top condition for years to come.
