This piece covers Sony X 2 speaker charging instructions . Do this easily through the micro USB power in port, shown in the pictures below. Note that you can still play your X 2 as it charges, without increasing the recharge time by much, as long as your charger is “beefy” enough.
Sony X 2 Charging Summary
So to that end, pick a strong enough USB power adapter.
Next, connect a medium to high current USB cable between the speaker and that adapter (if you’re using a commercial charger with a USB-A output port). Then, plug the charger into a working wall outlet.
Finally, after three (3) hours or so, your X 2 finishes recharging. So it’s ready to play once more for up to five (5) hours before needing another recharge.
Sony X 2 Charging, Step by Step Instructions
1. Choose Correct Size AC or Car Adapter
The charger you use should provide 5 volts and at least 0.5 amps (2.5 watts). This option though yields much longer charging times. But ideally, you want a 1.5 amp charger (7.5 watts) for the fastest recharging. So here, we use a Key Power model HDD15-3-PD USB power delivery system. Now as mentioned, this speaker needs roughly an amp and a half current to recharge fully in the shortest time. So this charger supplies way more than enough power to do that job.
2. Power OFF the Unit to Continue with Sony X 2 Charging
Note that the X 2 still charges when booted. But depending on how much above-and-beyond recharging capacity your charger offers, the speaker might charge a bit faster when powered OFF.
3. Plug the Micro USB Cord into the X 2
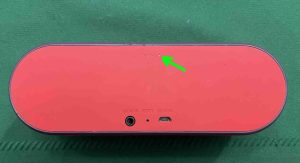
Then, plug the small end of the cable into the port on the back of the speaker, as we see in the next shot.

4. Plug the Other End of the Cable into your Charger Adapter
Next, connect the large end of the cord to the AC or car adapter if you’re using this sort of charger. For chargers with permanently attached cables, skip ahead to the next step.
5. Plug the AC Adapter into a Working Wall Receptacle, to Continue with Sony X 2 Charging
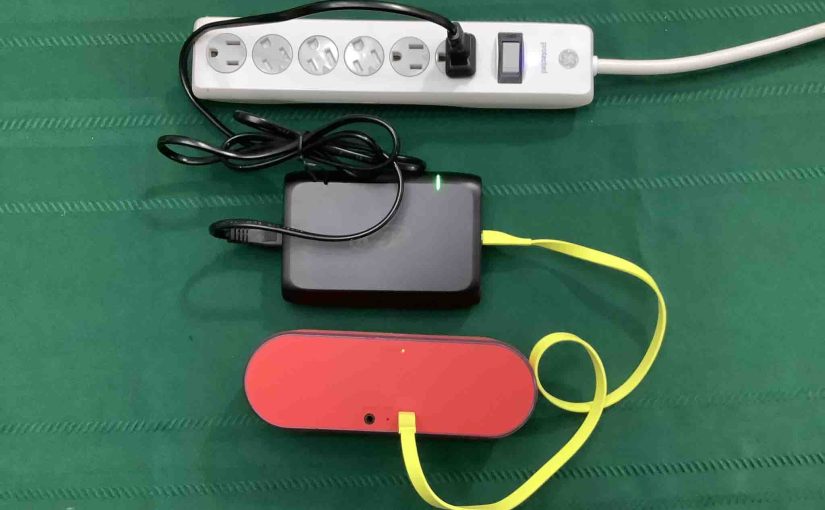
Now that we connected the X 2 and our adapter, we then plug the mains end of the adapter into a working AC outlet, as shown next. We plugged ours into a surge protecting power strip.

The CHARGE lamp lights up solid orange on the back of the speaker. And while no battery status gauge shows percentage of charge, this glowing lamp means that charging is occurring, as shown next.

6. Let the X 2 Charge Until the Orange CHARGE Light Goes Dark
Full battery charging is complete when the solid glowing lamp turns off, as shown next.

7. Unplug the Micro USB Cord from the Speaker
8. Done with Sony X 2 Charging Tips
We have now fully charged this little Sony speaker.
Finally, repeat this charging every five (5) hours of use to keep the battery in top condition for years.
Related Posts to Sony X 2 Charging Instructions
Other Sony X 2 Posts
References
Revision History
-
- 2023-04-17: First published.
